

Article Summary: This step-by-step guide explains how to successfully import a CSV accounting export file from Reservit PMS into QuickBooks Online. You will learn how to initialize journal entries, accurately map essential data fields, and troubleshoot chart of accounts naming discrepancies. Mastering this integration ensures your financial records stay flawlessly synced, reducing administrative overhead and maintaining a perfectly accurate general ledger.
The 4 key steps to export and map data to QuickBooks:
-
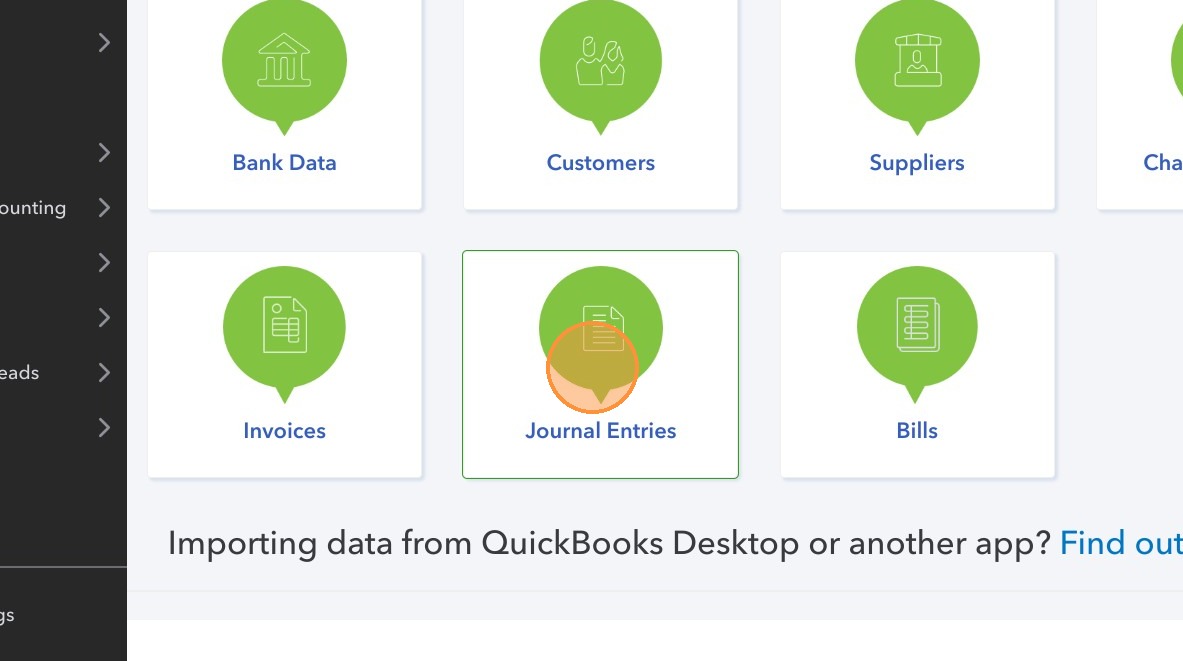
Initiate the Import: Navigate to your QuickBooks data import utility, select the "Journal Entries" module, upload your exported Reservit CSV file, and click next.
-
Map Core Accounting Fields: Match your system headers accurately by pairing Journal Number with Invoice Number, selecting the YYYY/M/D date format, and aligning the Description field with Libelle.
-
Synchronize the Chart of Accounts: Map the QuickBooks Account Name to the Reservit "Accounting code label", making absolutely sure that the character wording is 100% identical between both platforms to prevent system validation blocks.
-
Finalize and Validate: Verify that debit and credit values have populated automatically, click "Next," and select "Start import" to successfully commit the journal entries to your software (if the import button is hidden, double-check your account label naming symmetry).
Why follow this guide? Following this tutorial completely eliminates repetitive, manual bookkeeping by automating the synchronization between your PMS billing data and your QuickBooks ledger. It optimizes your financial reporting workflows, shielding your accounting team from common data mapping errors and ensuring smooth, effortless reconciliation during audits or monthly closeouts.
1. Select "Journal Entries"
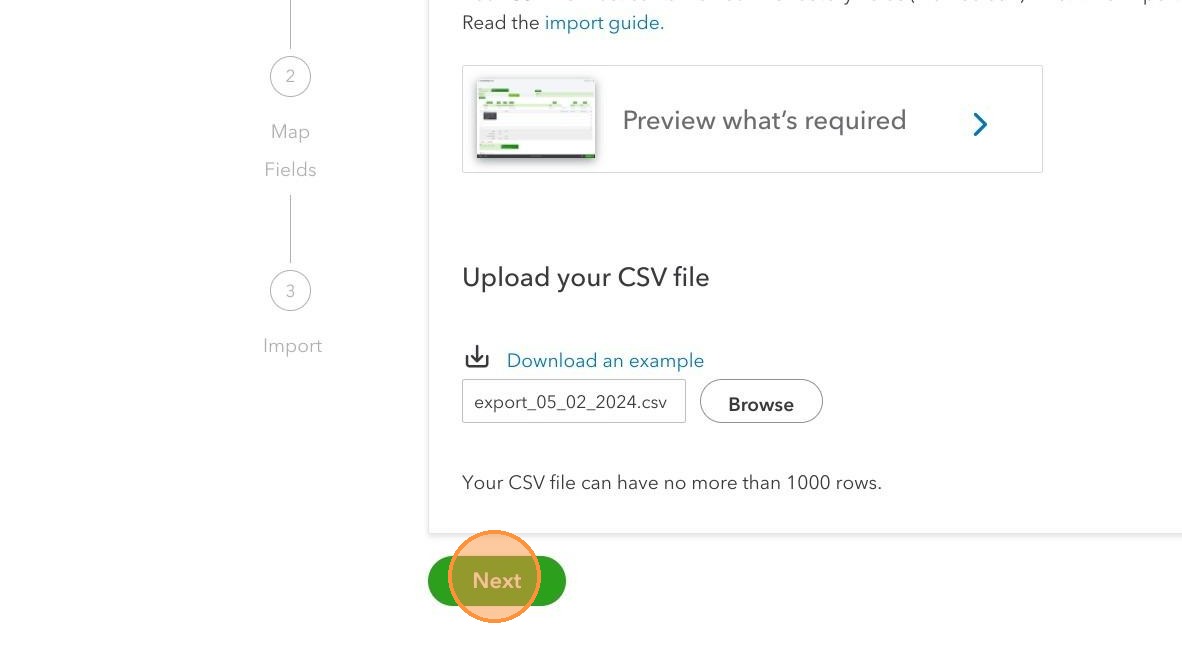
2. Insert your accounting export file
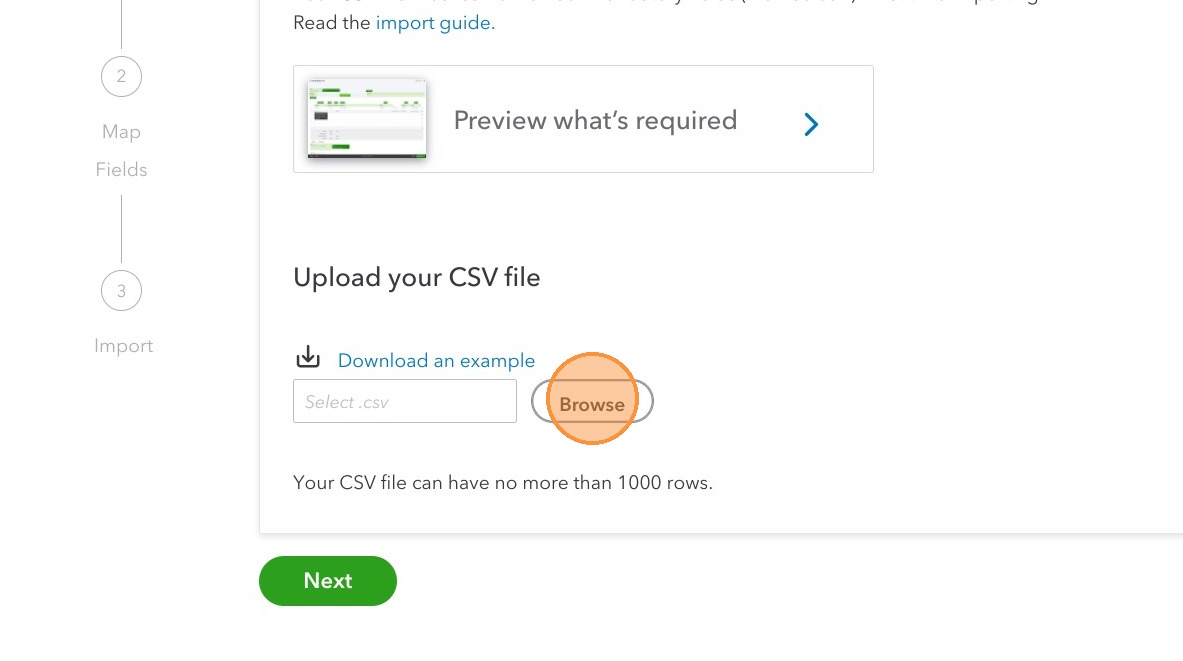
3. Click on "Next"
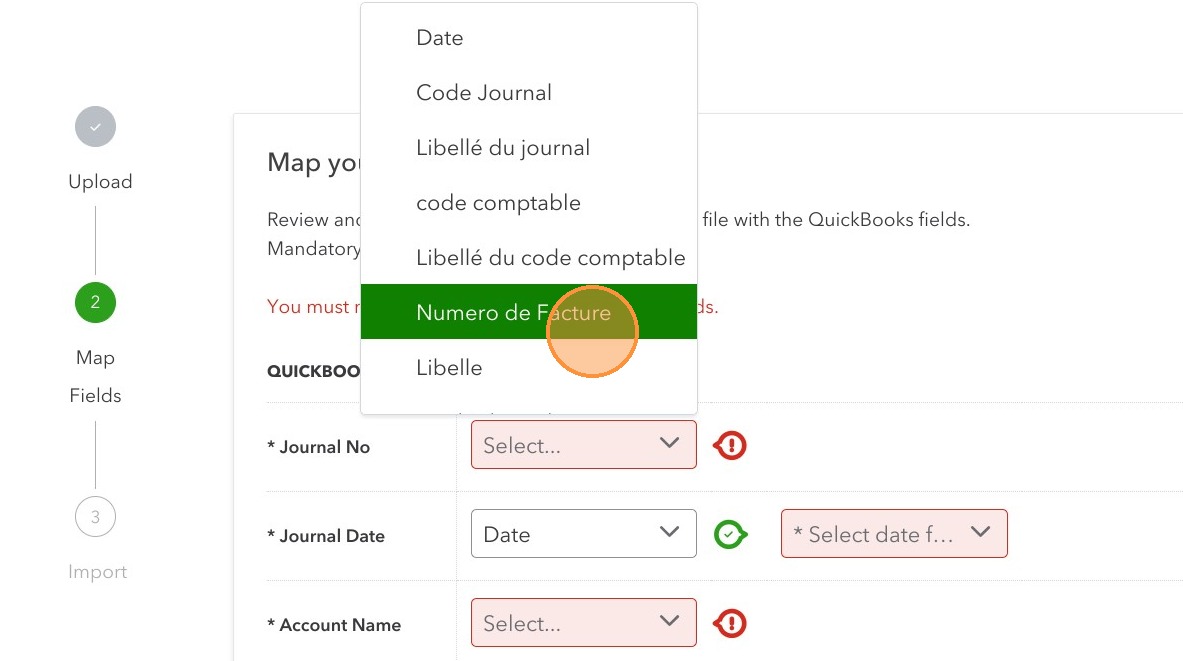
4. "Journal number" corresponds to "Invoice number".
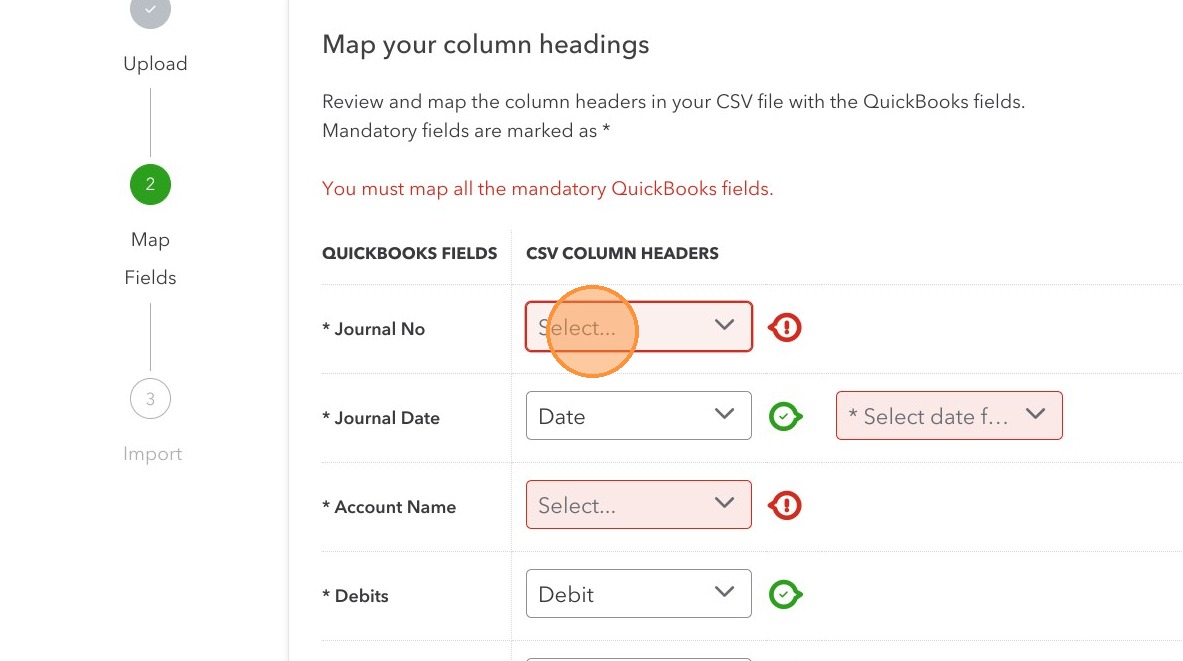
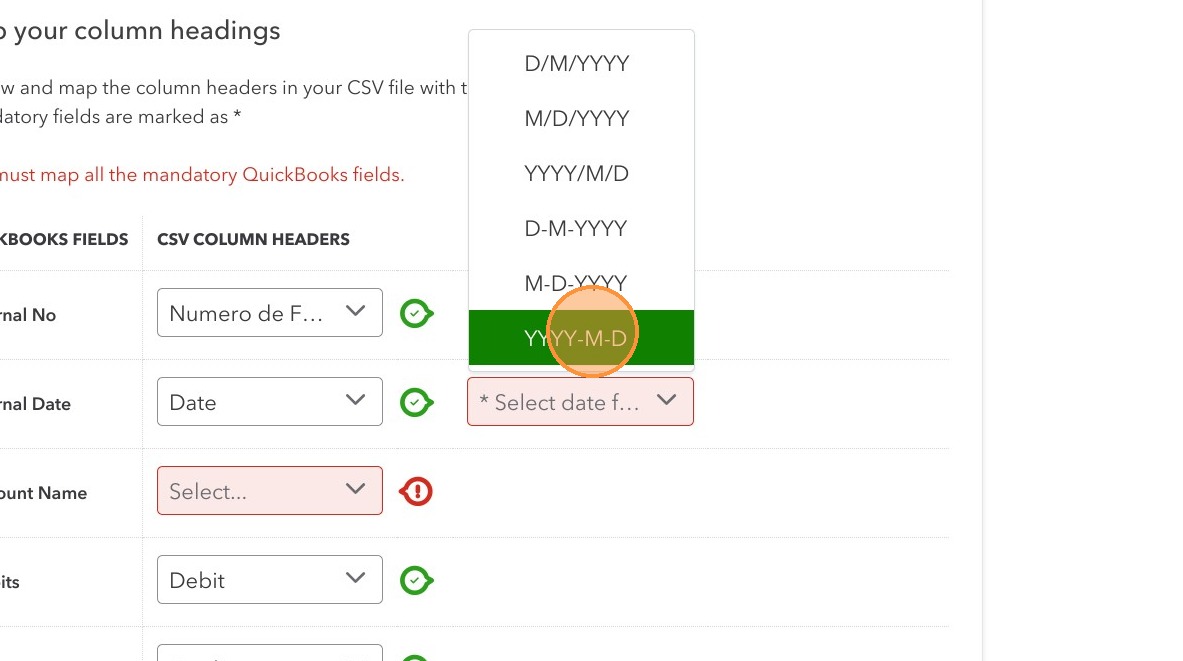
5. The date format to be selected is "YYYY/M/D".

6. The ''Account name'' corresponds to the "Accounting code label".
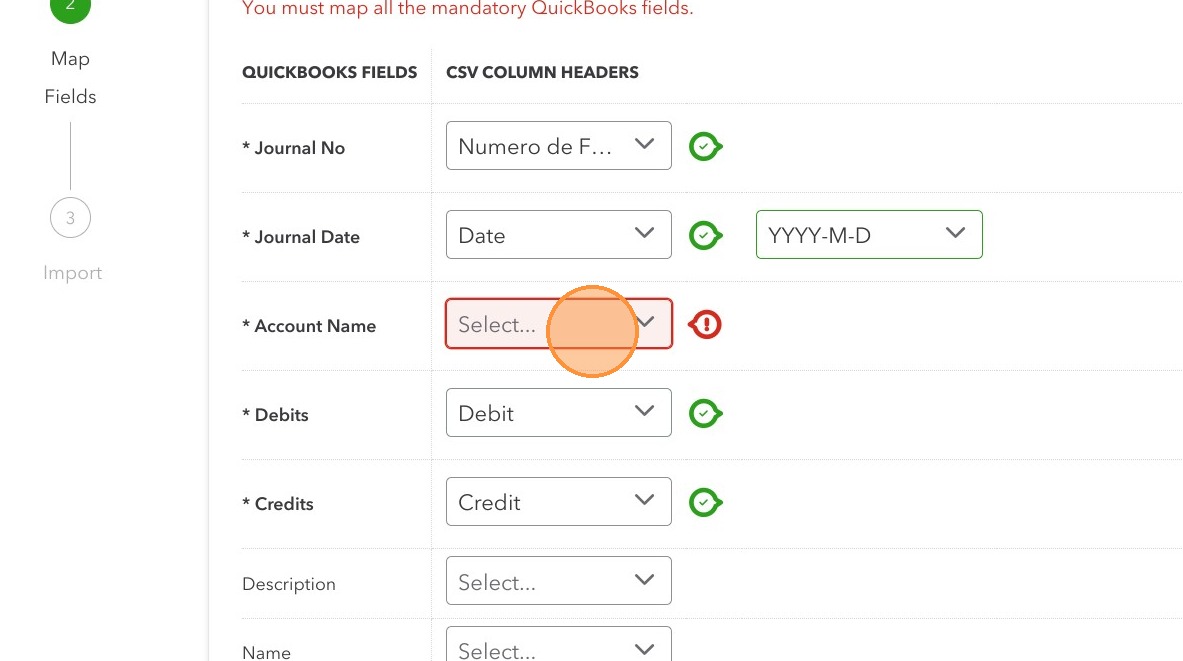

Alert: Please note! Your wording in Reservit must be identical to that in Quickbooks in order to match.
Here's a Quickbooks tutorial for adding or modifying the chart of accounts in QuickBooks online
7. Debit and credit fields are imported automatically

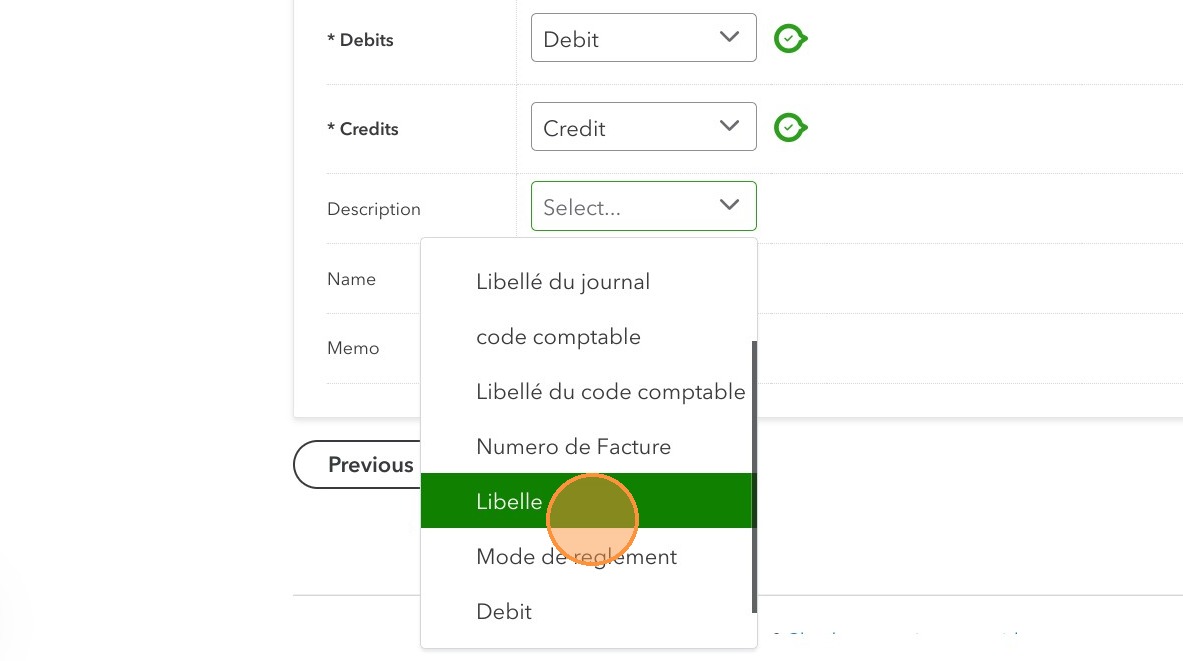
8. The "Description" field corresponds to "Libelle".
9. Click on "Next"
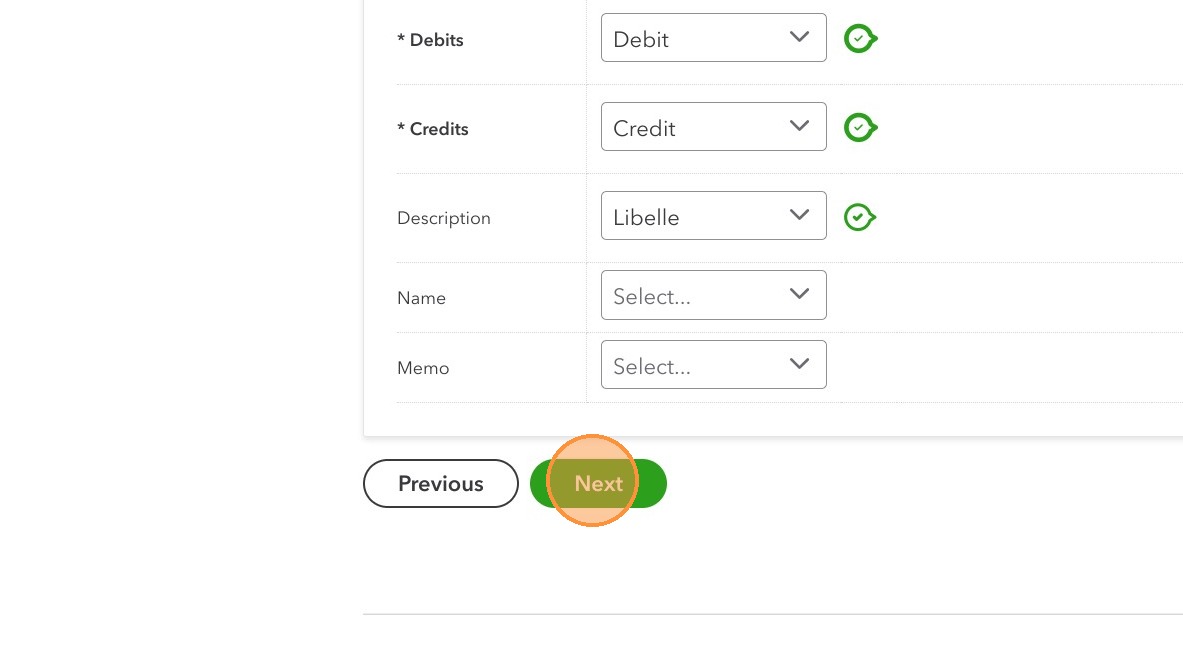
10. Then "Start import".
Tip: If the Start import button does not appear, this is very often due to differences between the "Account name" and the "Accounting code label".
11. Once imported, the various journal entries will be present in your software.