

Article summary: This comprehensive guide provides step-by-step instructions on how to add a new access code and create secure user logins within the Reservit Activities platform. You will learn how to set up customized access privileges, assign specific roles such as reservation agents, and seamlessly link accounts to your existing team members. Mastering this user management process ensures your staff has the exact permissions they need while keeping your central booking system completely secure.
The 5 key steps to add an access code and manage users:
-
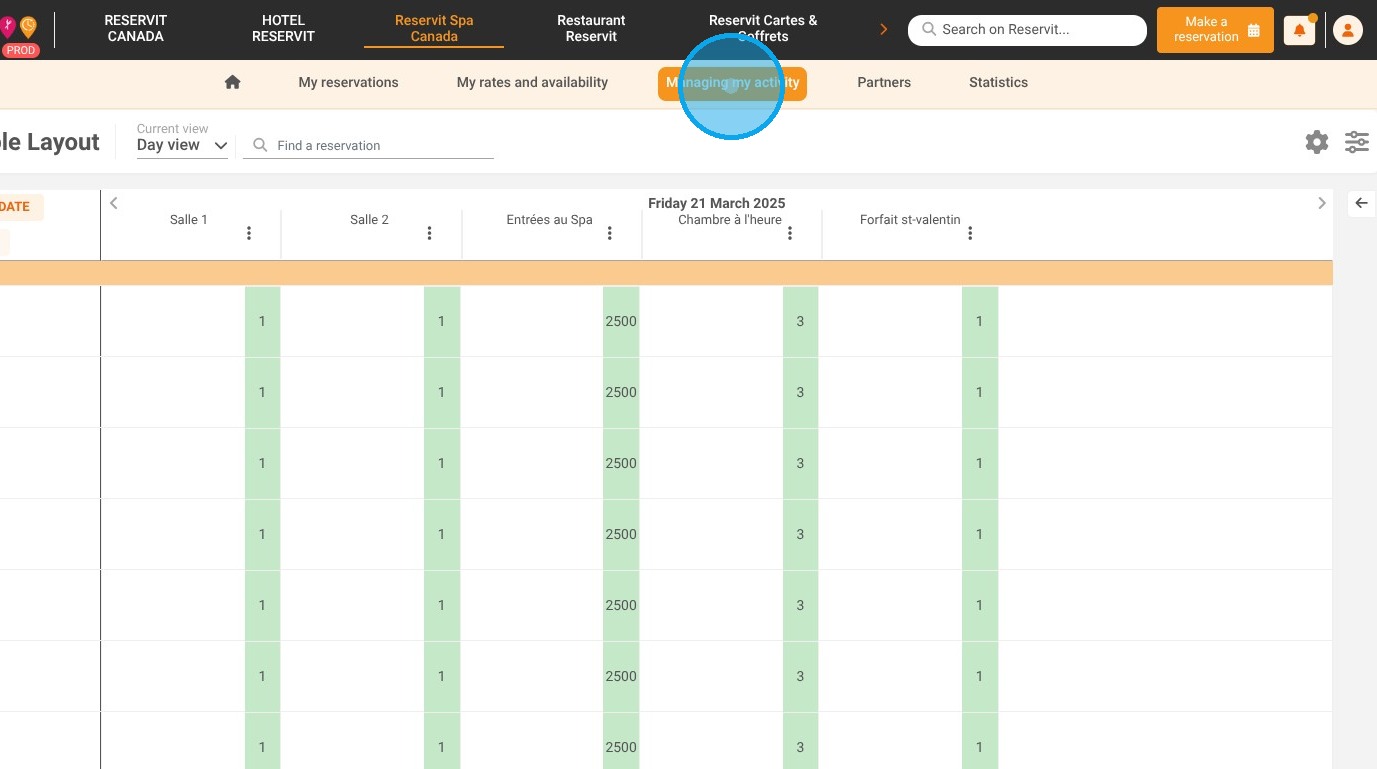
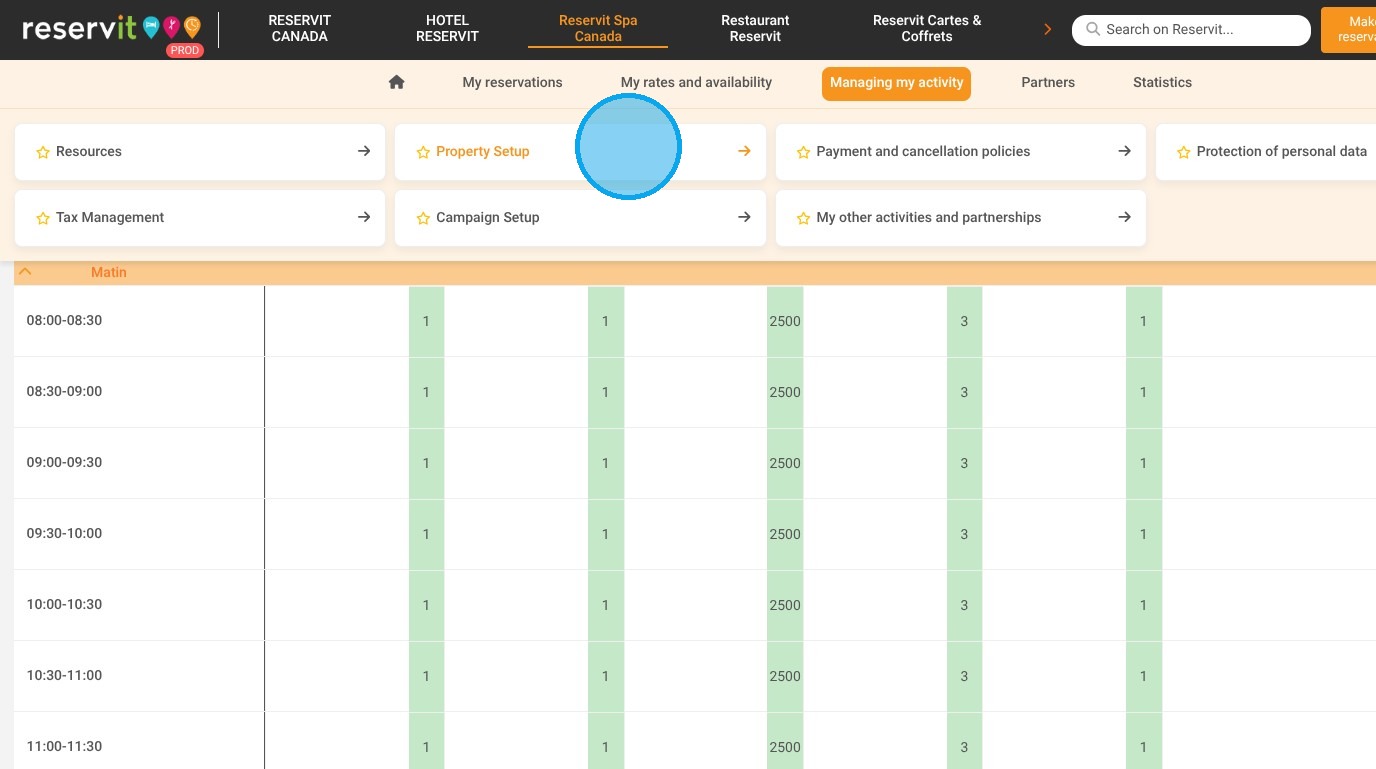
Access the security settings: Navigate to your dashboard, open "Managing my activity," select "Property Setup," and click on "Access Code" to initiate a new user profile.
-
Define user details and roles: Fill in the mandatory contact fields and select the appropriate access level (e.g., "Agent") to restrict or allow specific actions like rate modifications.
-
Configure staff links and validity: Link the new login directly to a created team member (like a guide) and manage the account's lifespan by setting an expiration date for seasonal staff.
-
Customize page permissions: Save the initial profile, click "Create Now," and use the "Selection of pages" feature to strictly define exactly which areas of the software the user is allowed to view.
-
Send the activation link: Finalize the setup to automatically trigger an email containing a secure activation link, allowing your new user to safely create their personal password.
Why follow this guide? Following this guide helps you maintain strict security and operational control over your Reservit platform by ensuring every employee only accesses the tools relevant to their specific role. It prevents unauthorized modifications to your business settings and significantly streamlines the technical onboarding process for your new staff members.
1. Click "Managing my activity"
2. Then ''Proerty Setup''
3. And ''Access Code''
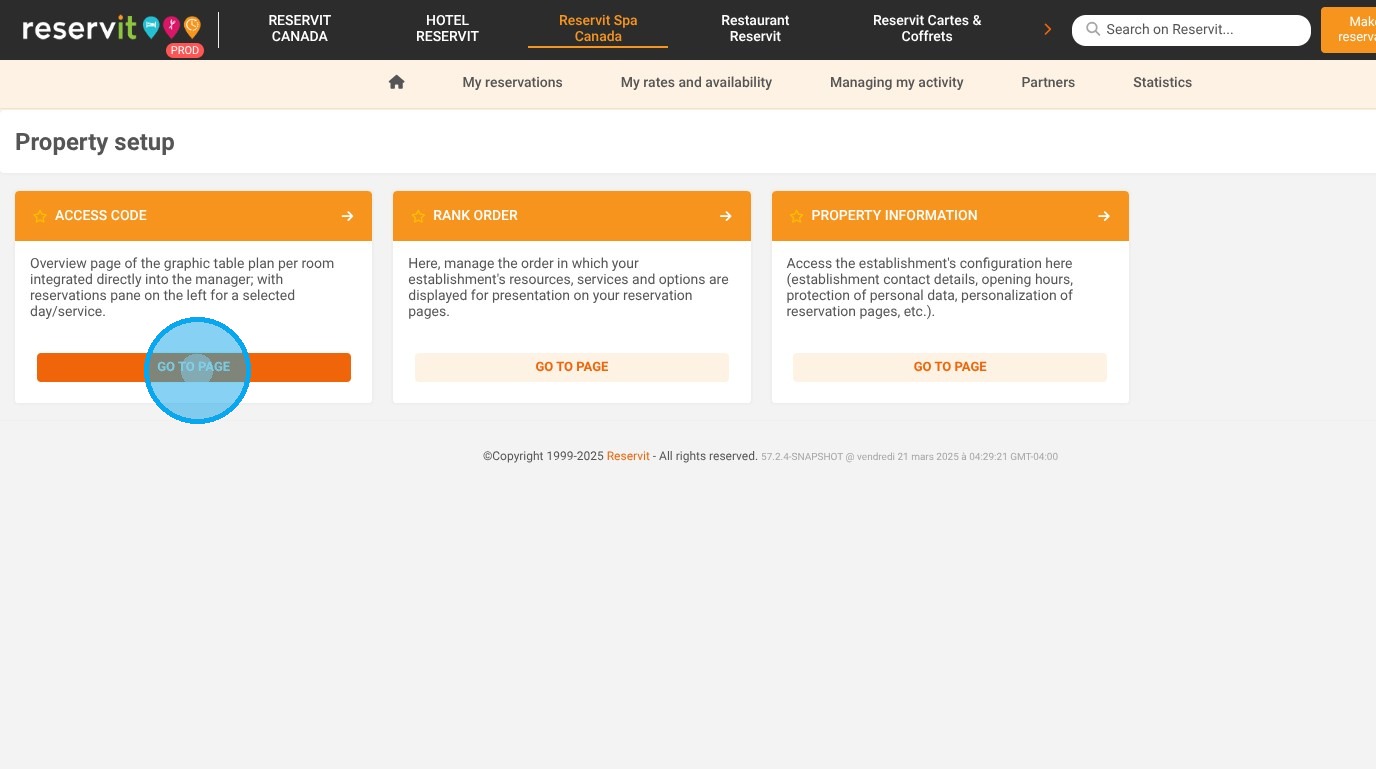
4. Click "ADD"

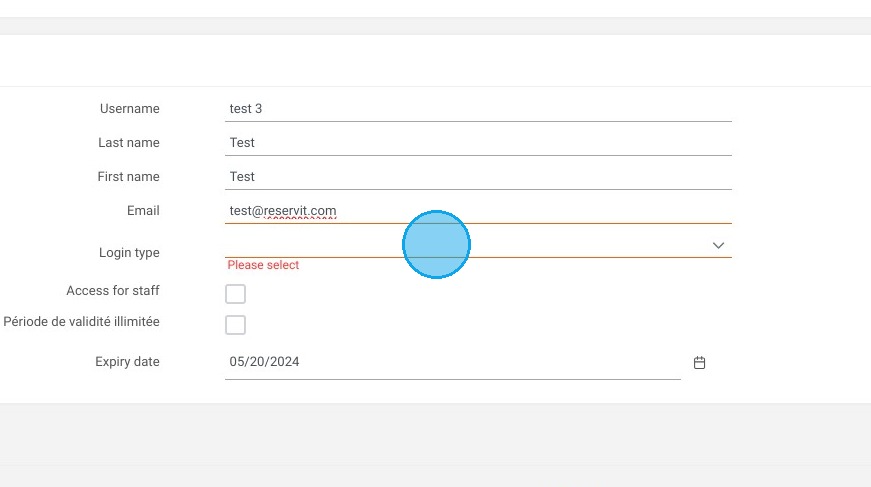
5. Fill in the empty fields in red.
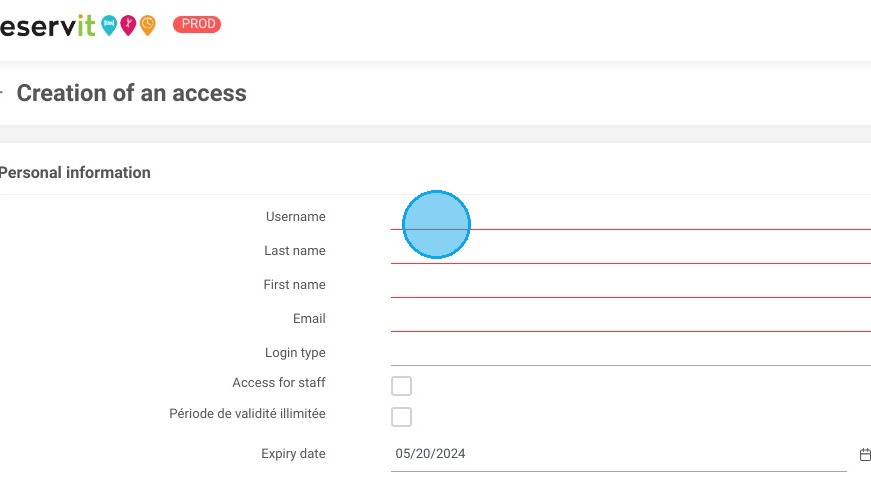
6. Click here.
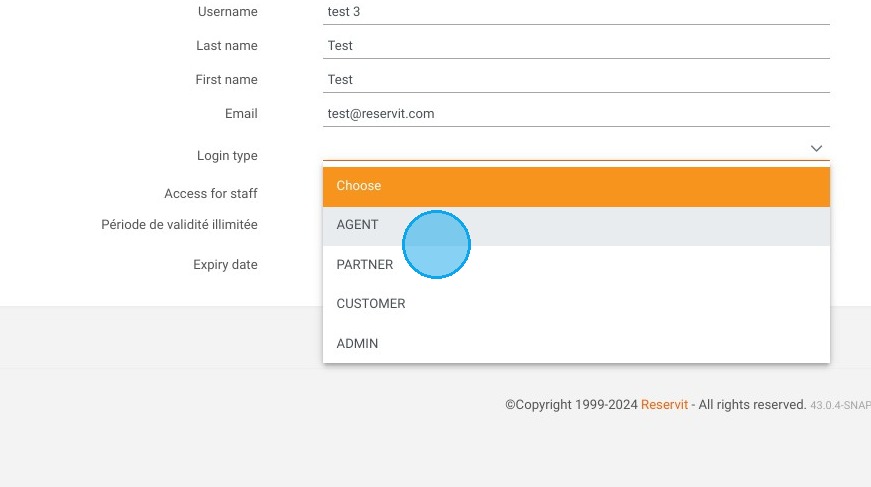
7. Select the type of access required. For example, an “AGENT” access is mainly dedicated to a reservation agent who will not be able to modify rates.
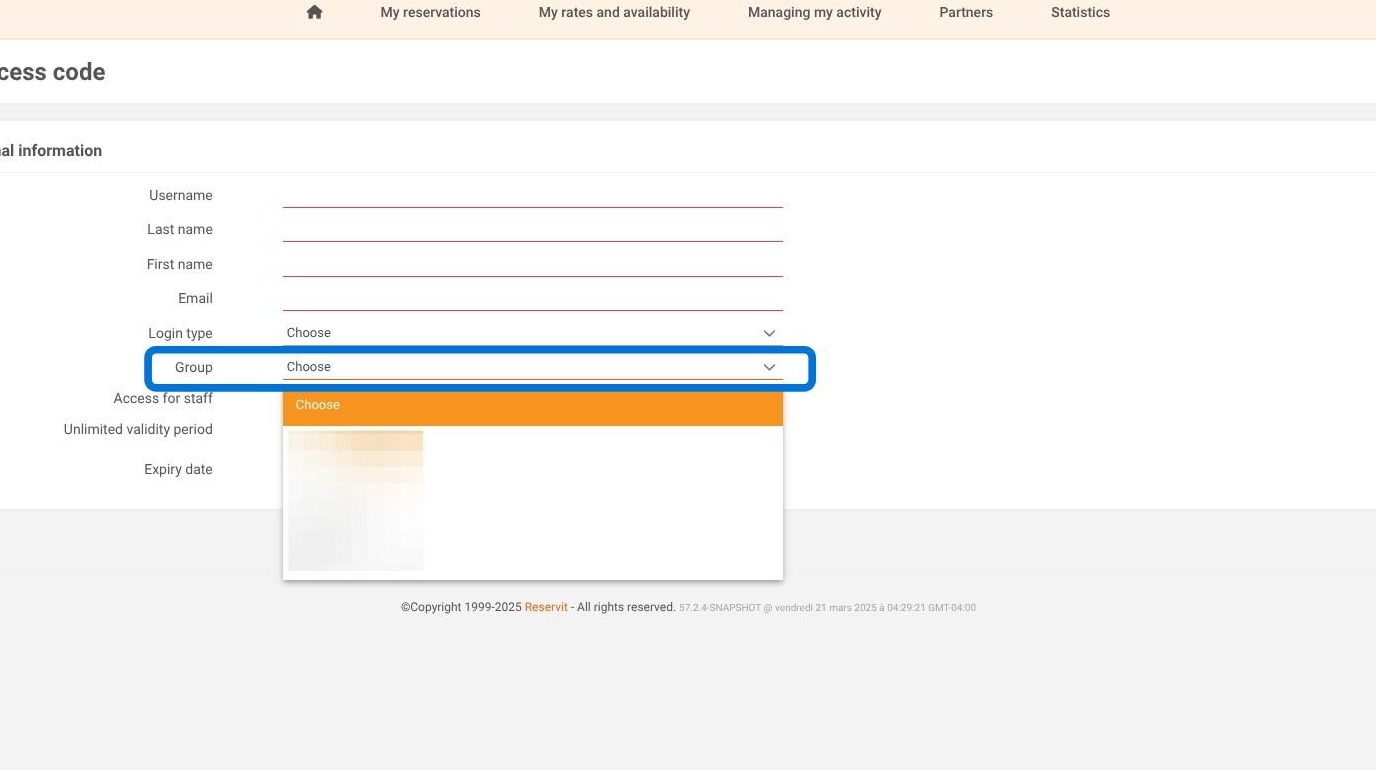
8. If you manage multiple Reservit Activities, a "Group" field will automatically appear when creating a new user ID. You can then choose whether this account should have access to all activity software within your group, or only to the current property.
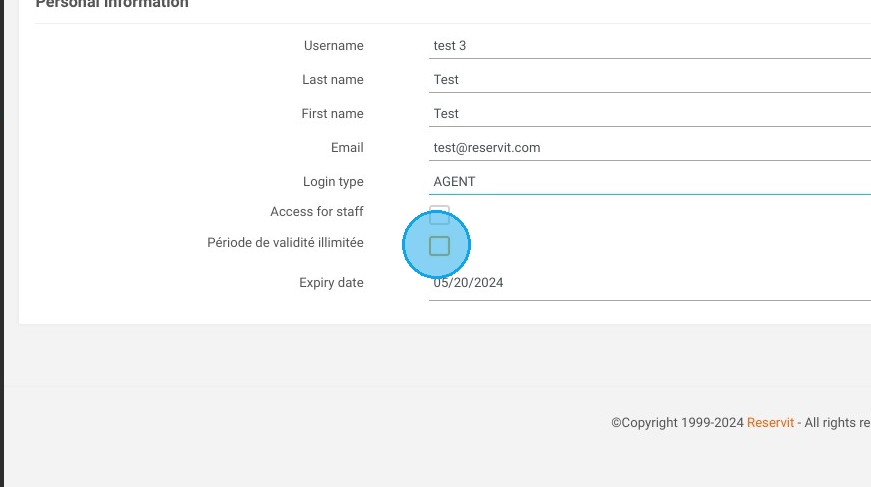
9. The box ''Access for staff'' will allow you to link this access to a team member created within ''Resources'', for example a guide.
The “Unlimited validity period” box will hide the expiry date of the access code. You can enter an expiry date for seasonal access, for example.
10. Click "SAVE"
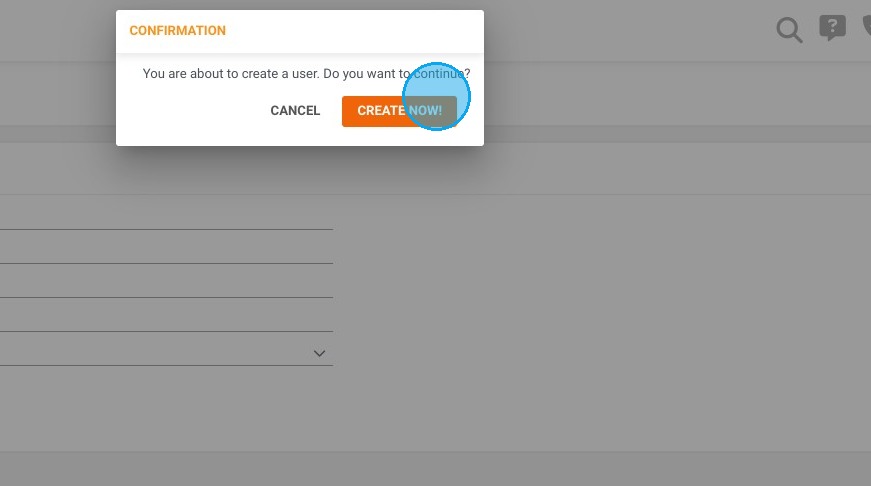
11. Click "CREATE NOW!"
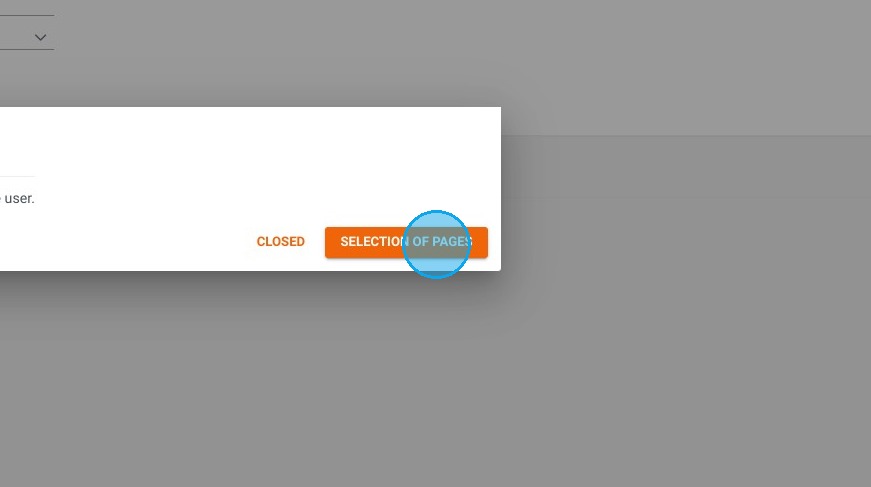
12. Click "SELECTION OF PAGES"
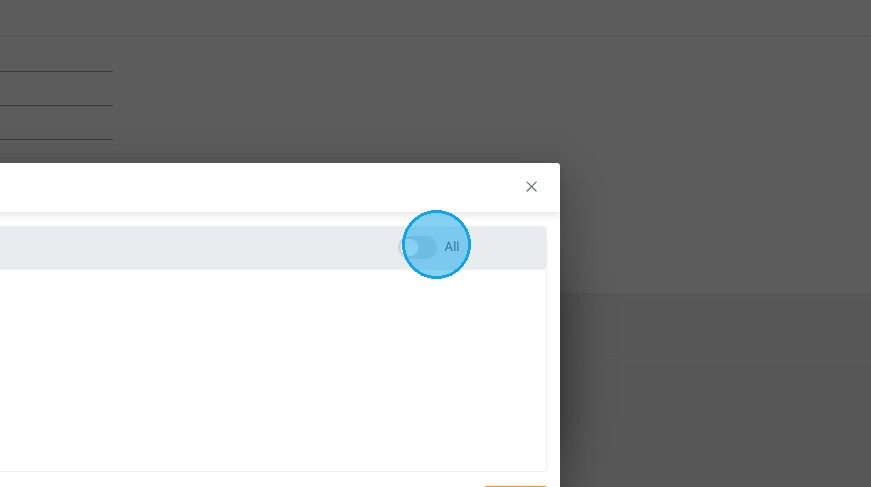
13. Activate ''All'' or select the pages you want the person to access.
14. Click "SAVE"
15. Click on “CLOSED”. The e-mail sent contains an activation link to create the user password.
