Article Summary: This tutorial explains how to securely create a new login and set up employee accounts within your Reservit Accommodation platform. You will learn how to add new users, define their specific system permissions, and generate their automated password setup email. Mastering this process ensures your staff has the exact tools they need to manage bookings efficiently while keeping your property's core configuration secure.
The 5 Key Steps to Create a New Employee Login:
-
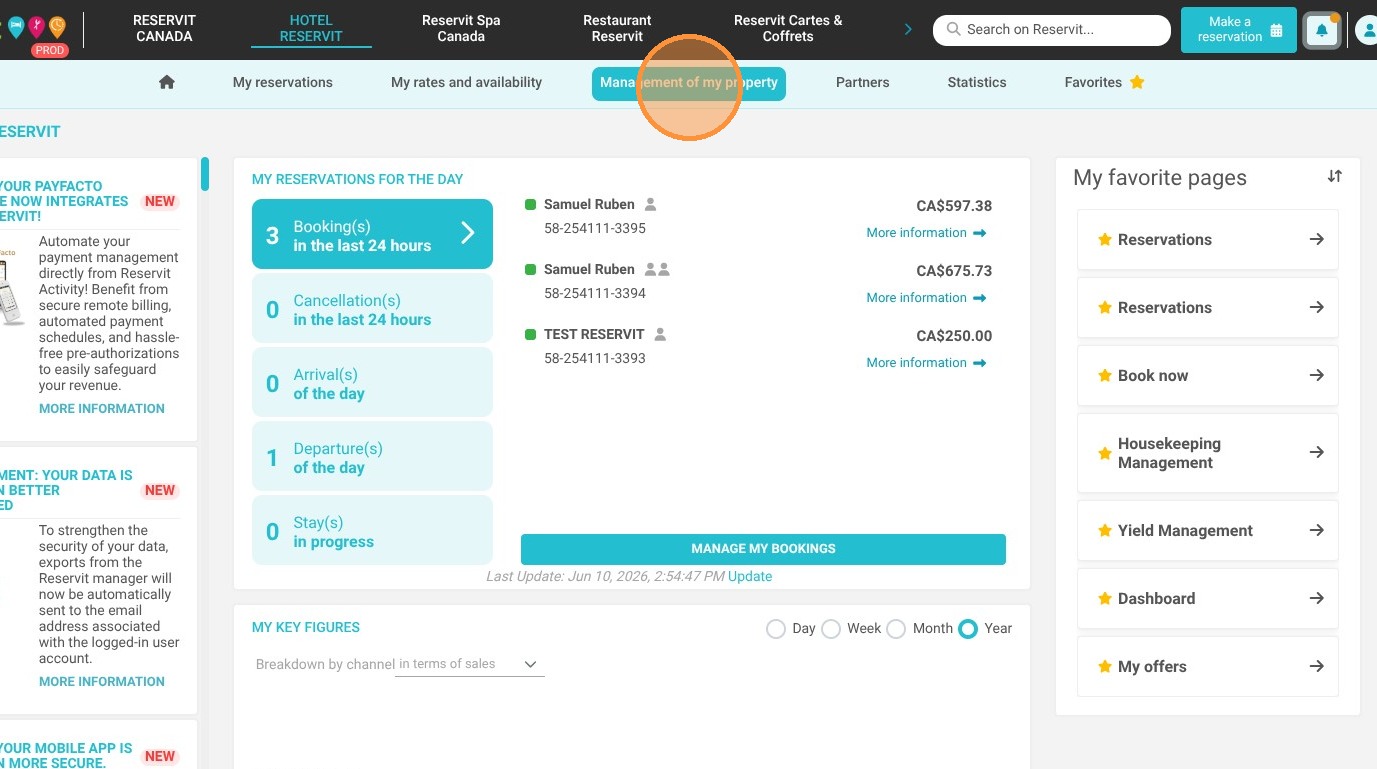
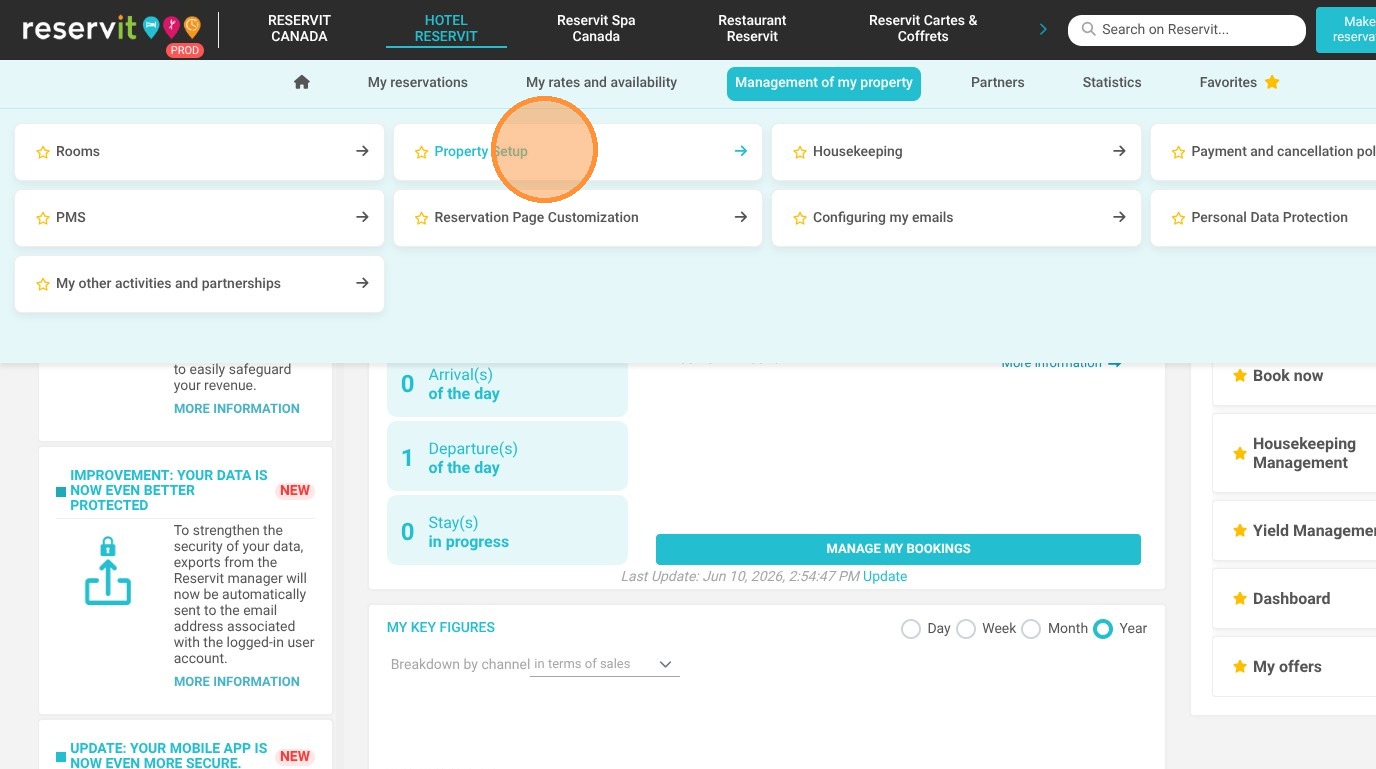
Access the Setup Menu: Navigate to "Management of my property," proceed to "Property Setup," and click on "Access code."
-
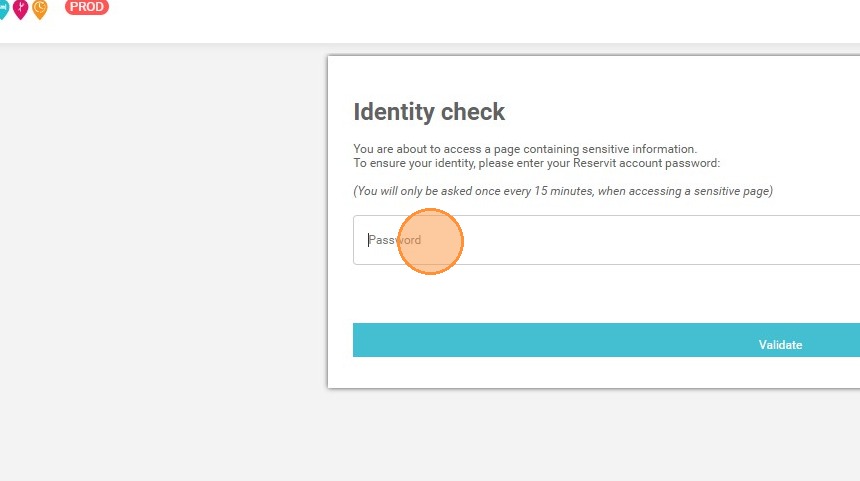
Authenticate and Initiate: Enter your current master password for security, then click "Create Now!" to begin adding a new user.
-
Enter User Details: Fill out all mandatory fields (marked in red), ensuring you create a completely unique login name, and click "Add."
-
Assign Access Permissions: Browse the list of Reservit modules (like "Manage reservations," "Agenda," or "My planning") and check only the specific pages this employee needs for their role.
-
Confirm and Notify: Click "Add" one final time to save the profile. The system will automatically email the new user a link to create their password (remind them to check their spam folder!).
Why follow this guide? Properly managing user accounts enhances your property's security by ensuring each team member only interacts with the modules relevant to their daily tasks. Following these steps prevents account duplication errors and streamlines the digital onboarding process for your new staff members.
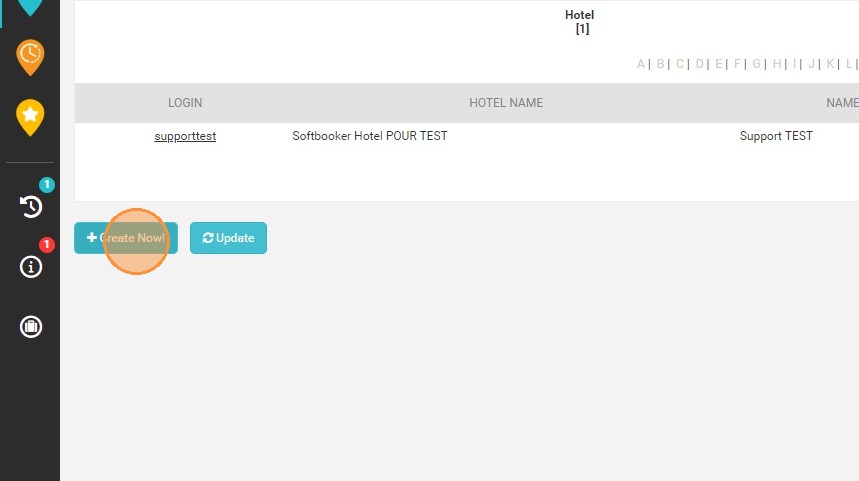
1. Select "Management of my property," then proceed to "Property Setup," and finally click "Access code."

2. The system will ask you to enter your password to access this page.
3. Click "Create Now!"to add a new user.
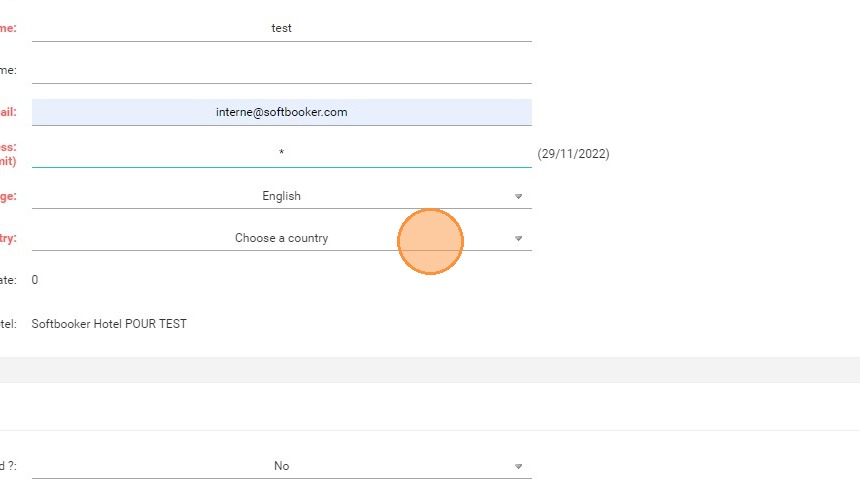
4. Fields in red are mandatory.
Attention, a login cannot exist twice.
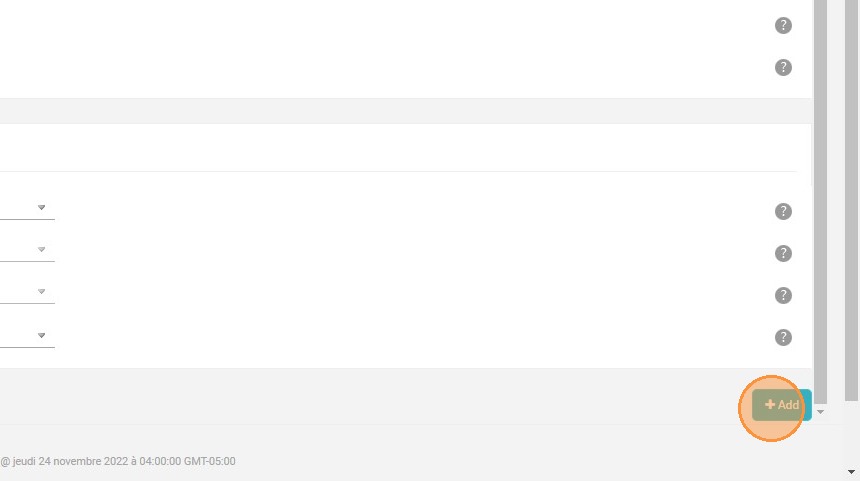
5. Save the information by clicking on "Add".
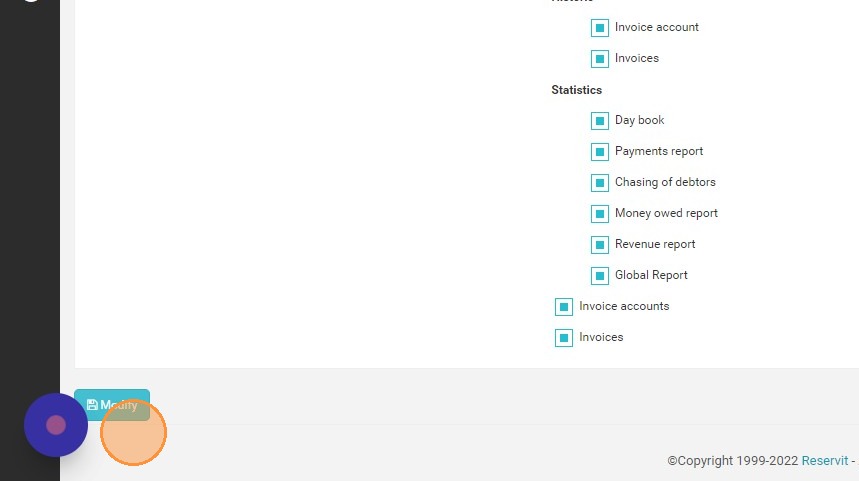
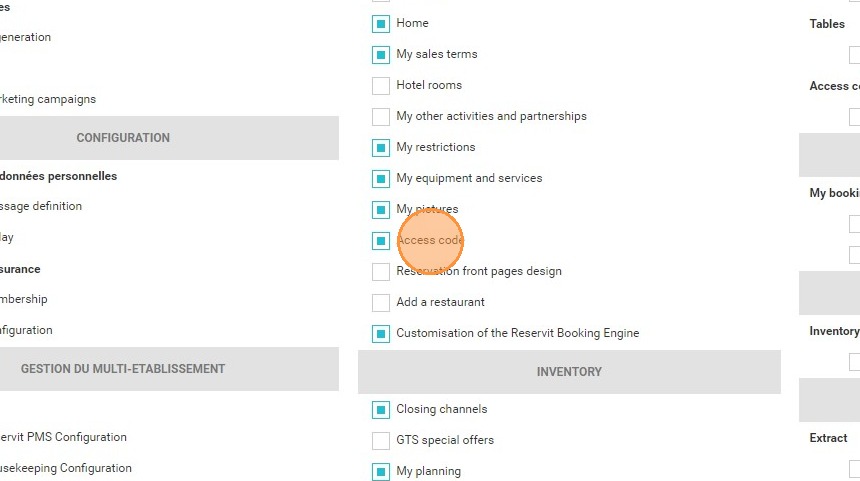
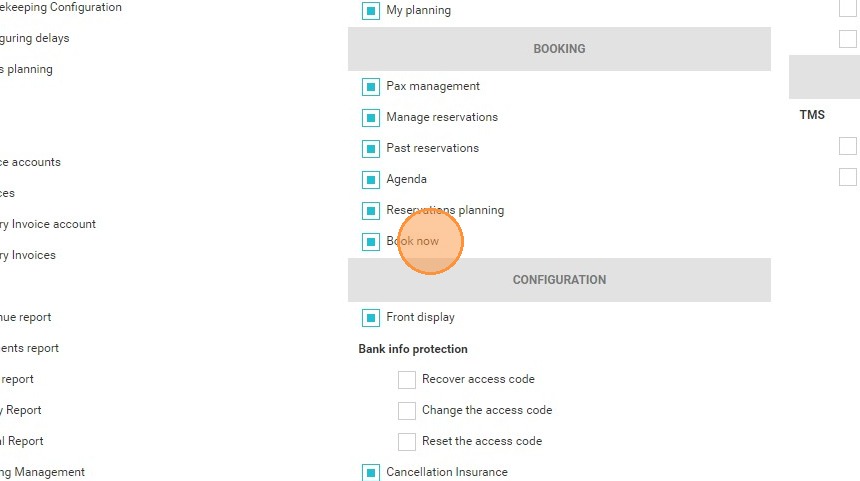
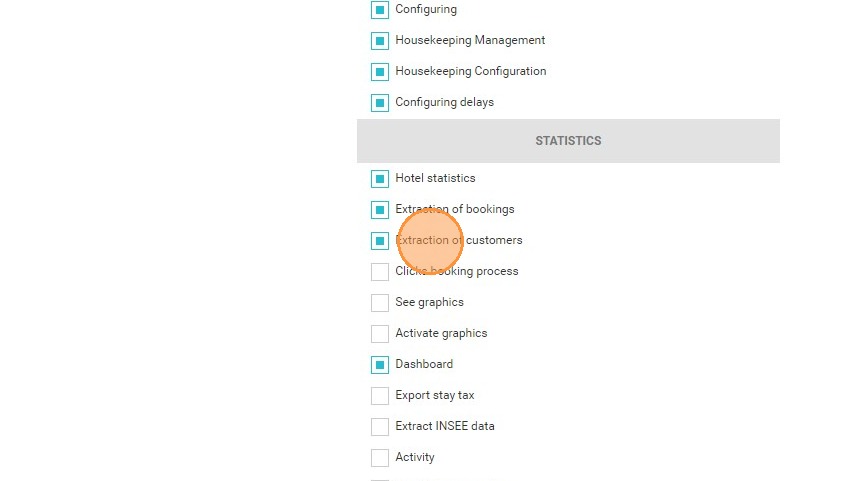
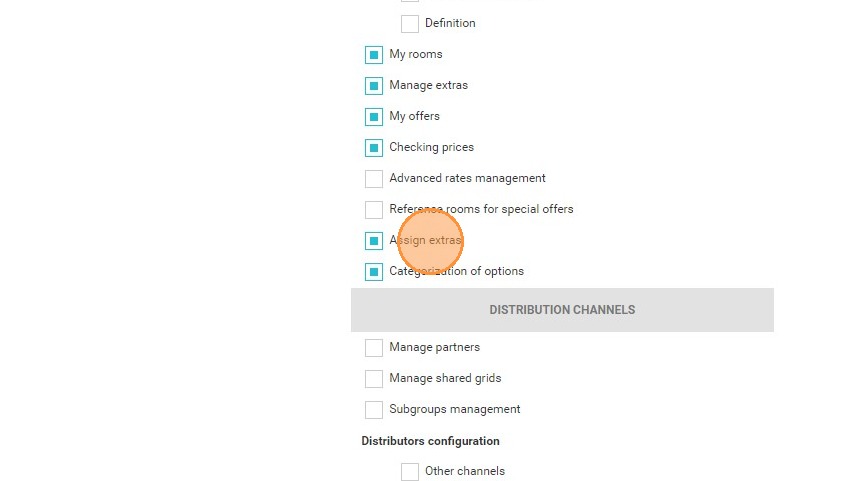
6. Here, all the pages of Reservit will be presented to you. You just have to check the pages for which you want to give access to the login.
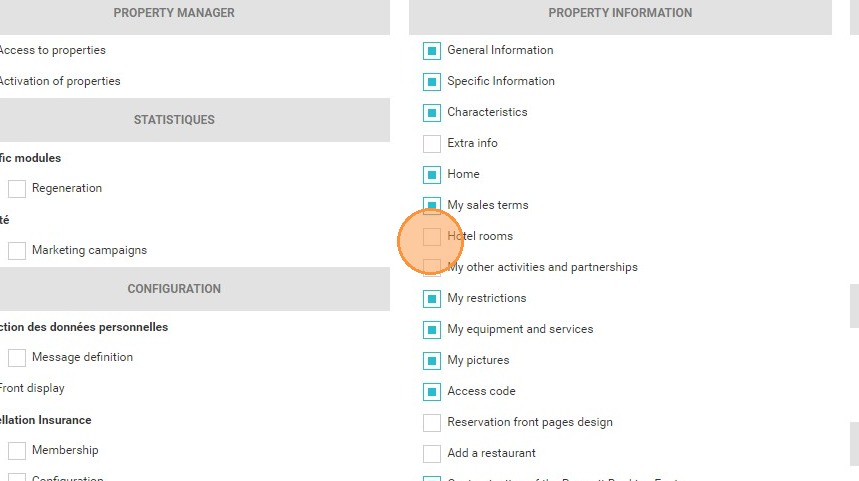
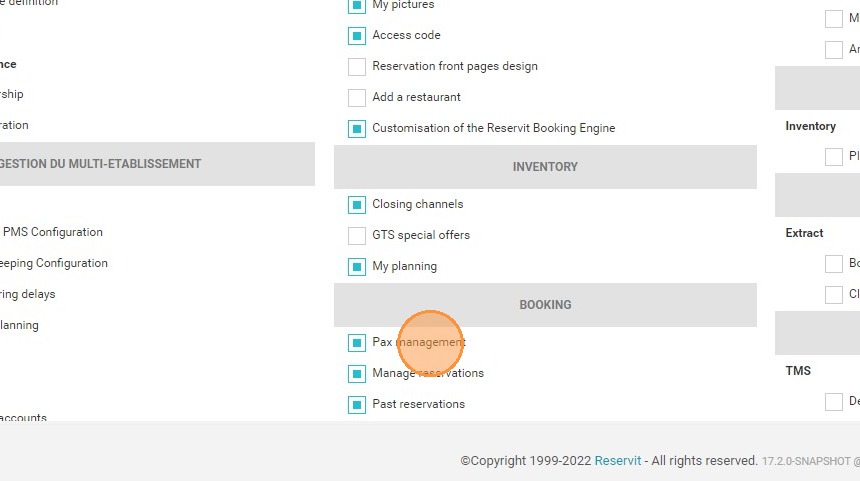
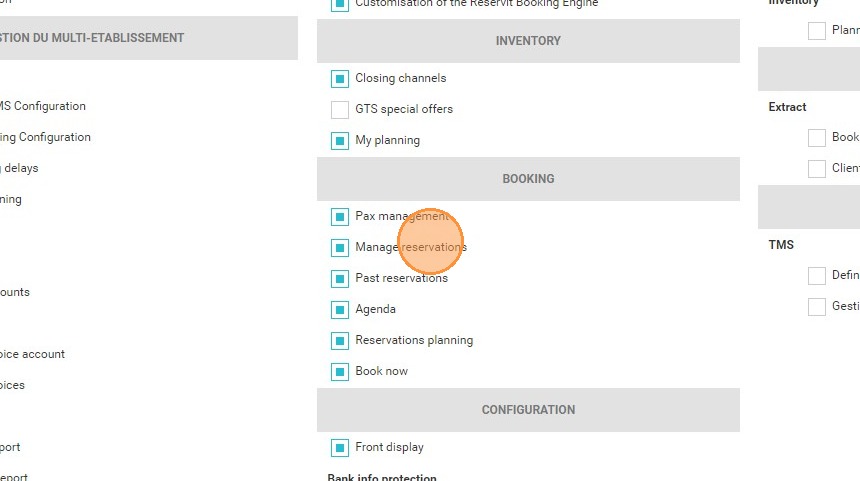
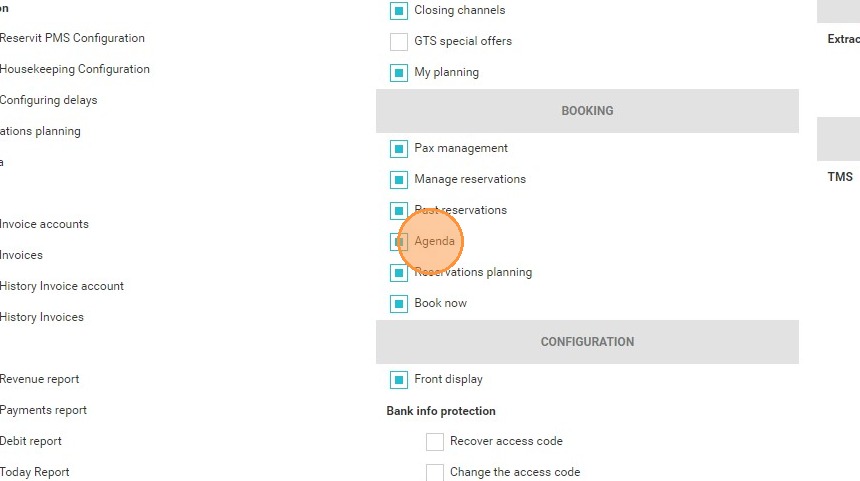
7. Here is an example of the access you can give to your receptionist.

8. Double-click "My planning"

9. Double-click "Access code"
10. Double-click "Pax management"
11. Double-click "Manage reservations"
12. Double-click "Agenda"
13. Double-click "Reservations planning"
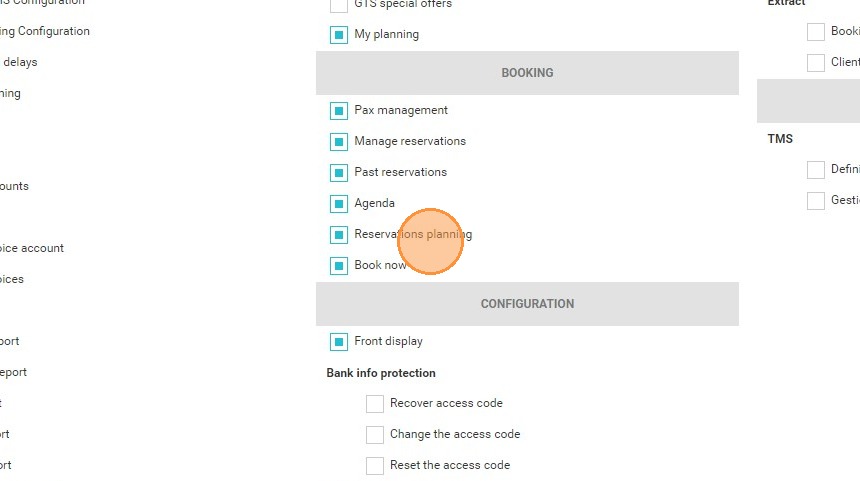
14. Double-click "Book now"
15.
16.
17. When you are finished, click on Add to confirm.
Your collaborator will receive an email asking him to create his password. Be sure to check that it is not hidden in SPAMS!