Article Summary: This comprehensive tutorial provides step-by-step instructions on how to add and customize equipment and services within your Reservit Accommodation platform. You will learn how to select relevant amenities, accurately assign them to specific room categories, and customize the display terms associated with each pictogram. Mastering this setup enables you to effectively showcase your property's unique features, making your reservation pages more informative and attractive to potential guests.
The 5 Key Steps to Define Your Equipment and Services:
-
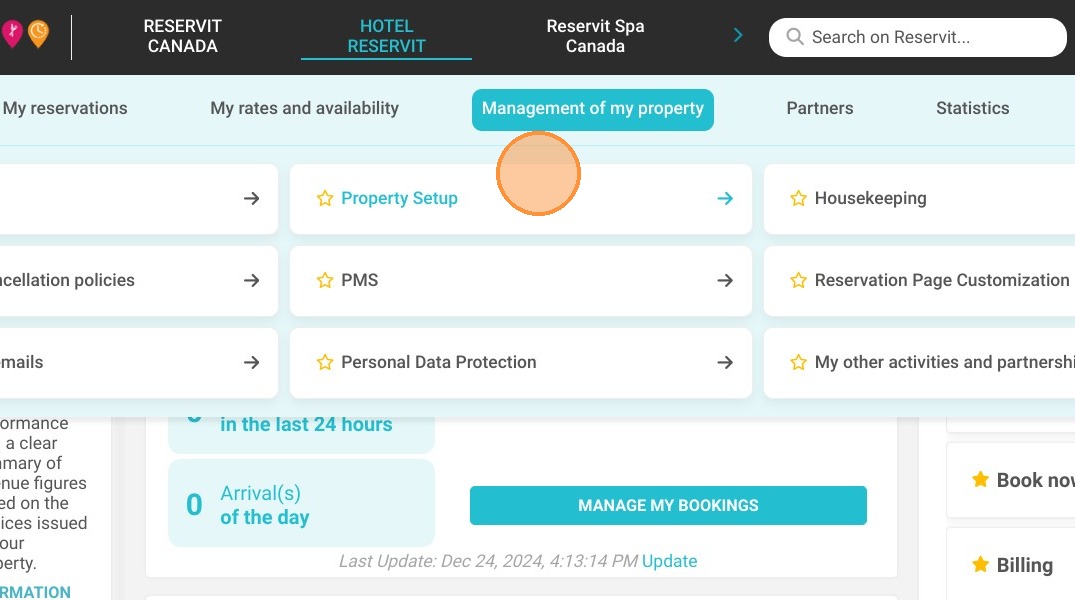
Access Property Setup: Navigate to the "Management of my property" menu from your main dashboard and select "Property Setup."
-
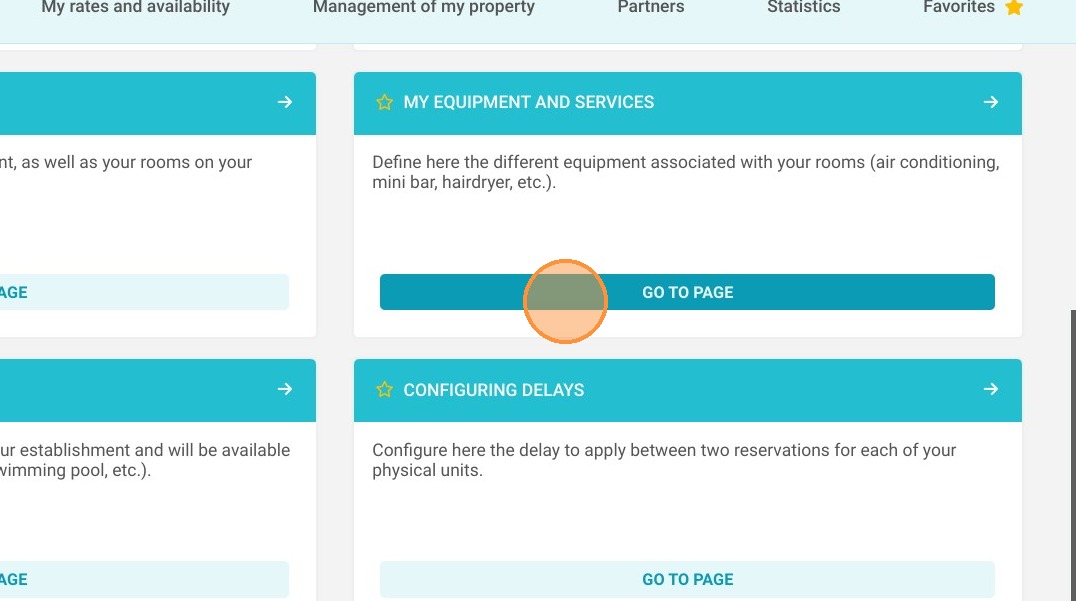
Open Equipment Settings: Click on the "My equipment and services" tab to view the available amenity options for your establishment.
-
Select and Assign Amenities: Click on the specific equipment you wish to add, then select exactly which room categories they should be displayed under.
-
Customize Display Terms: Click the pencil icon to edit the text associated with each pictogram, ensuring the terminology perfectly matches your specific offerings.
-
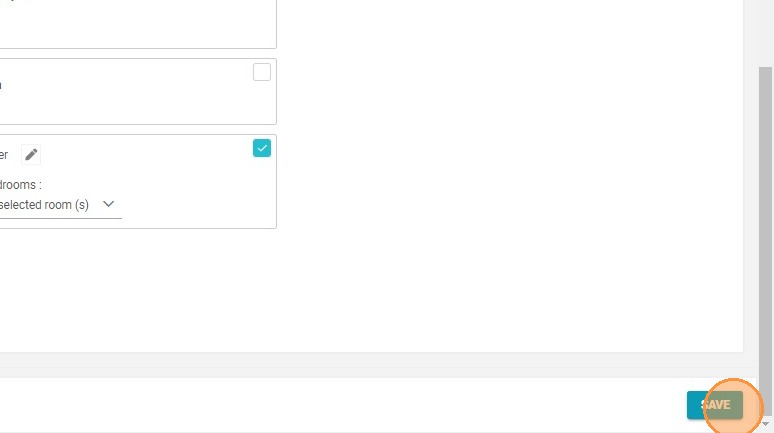
Save Your Configuration: Apply your customizations across different views as needed, then click "Save" to instantly update the amenities displayed on your public booking pages.
Why follow this guide? Following this guide helps you accurately merchandise your property's amenities, setting clear guest expectations and improving the overall booking experience. It saves you valuable administrative time by allowing you to quickly bulk-assign services to categories, ultimately boosting your online conversion rates by highlighting your best features.
1. Go to Management of my property > Property Setup.
2. Go to My equipment and services.
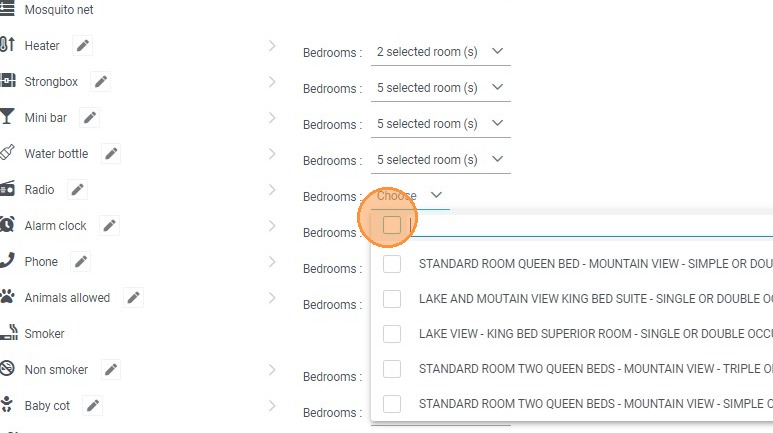
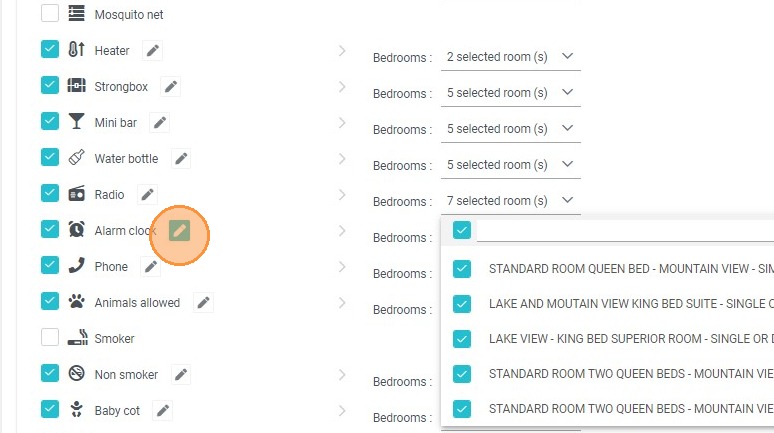
3. Click on the equipment you wish to add.
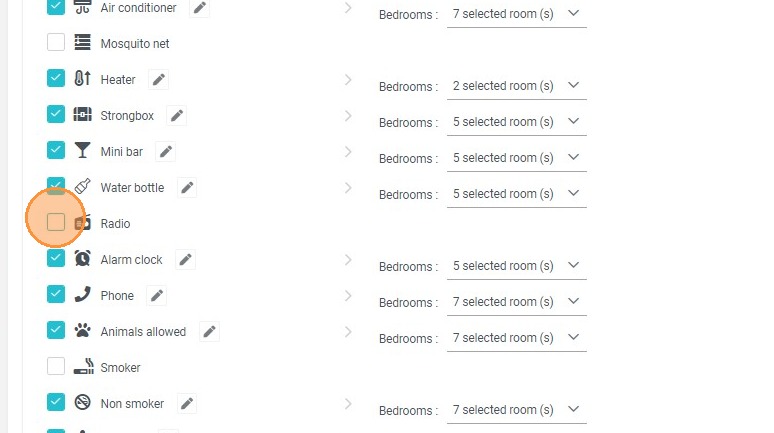
4. You can then choose on which categories to display them.
5. By clicking on the pencil, you can change the term associated with the pictogram.
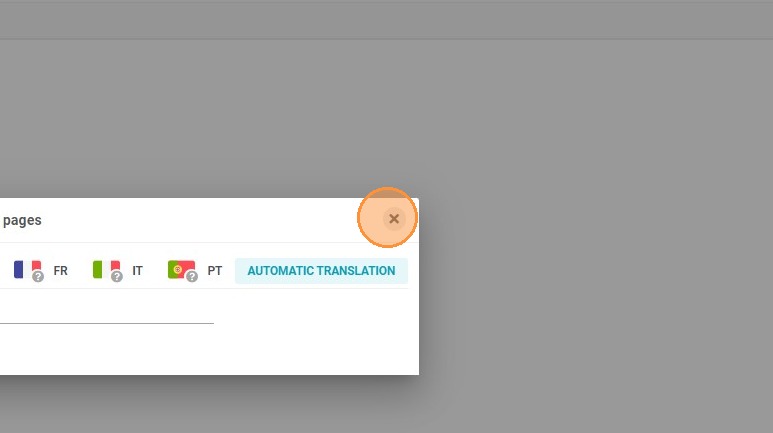
6. This is the term that will be displayed for this pictogram on the reservation pages.
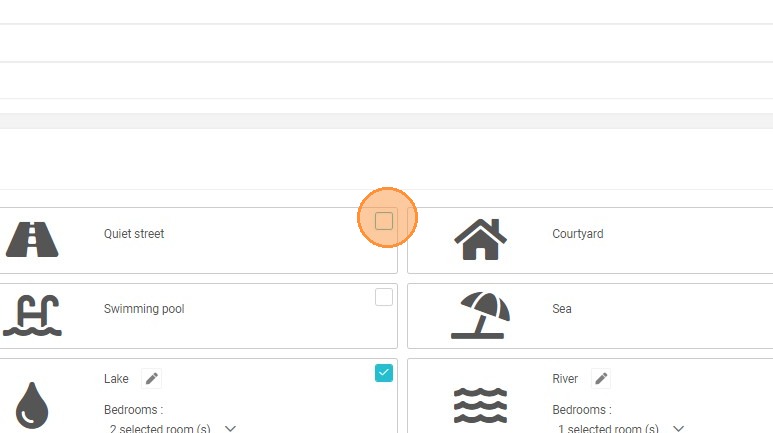
7. You can do the same thing with the different views.
8. Click "SAVE"