Article Summary: This step-by-step tutorial explains how to effectively create and edit your seating plan within the Reservit Restaurant system. You will learn how to upload your custom room map, add specific tables, and visually arrange your floor layout to perfectly match your physical dining space. Mastering this visual setup allows your staff to manage reservations effortlessly and optimize table turnover during busy services.
The 5 key steps to edit your seating plan:
-
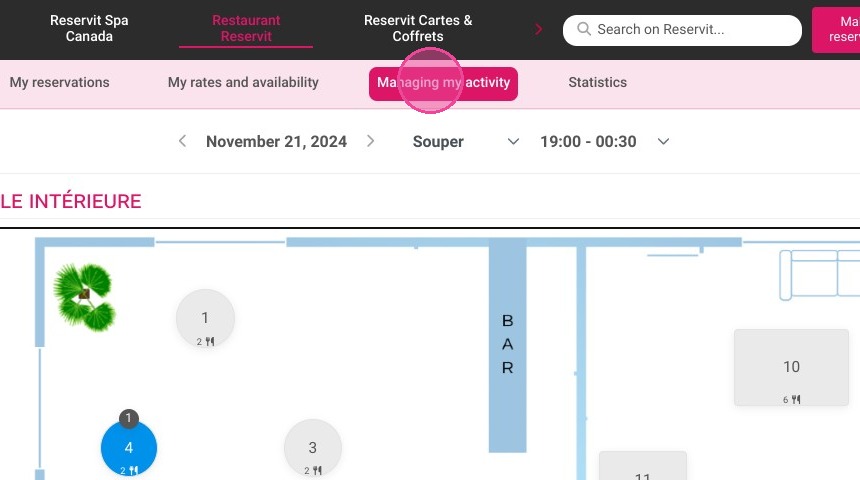
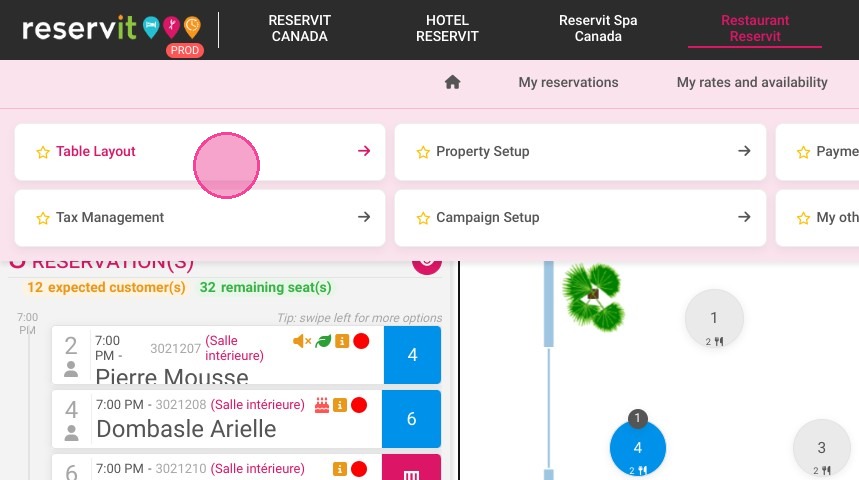
Navigate to layout settings: Open the "Managing my activity" menu, click on "Table Layout," and select the specific dining room you want to configure.
-
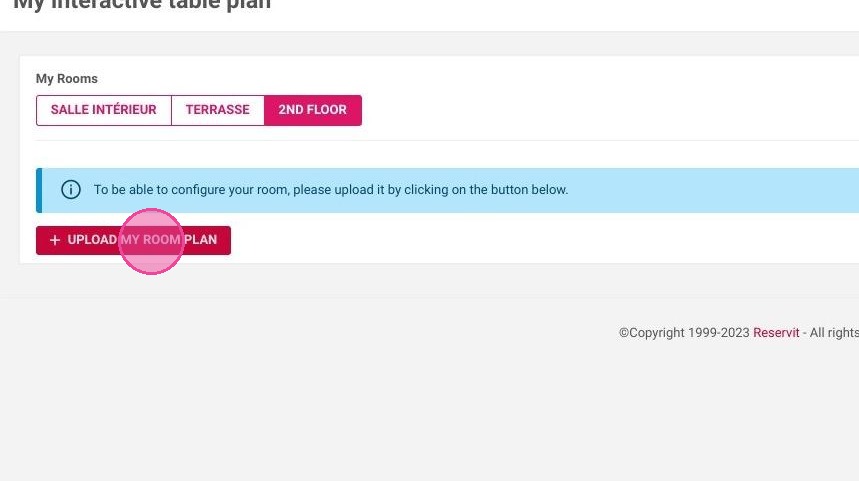
Upload your floor map: Click "UPLOAD MY ROOM PLAN" to choose and import a background image that represents your restaurant's actual layout.
-
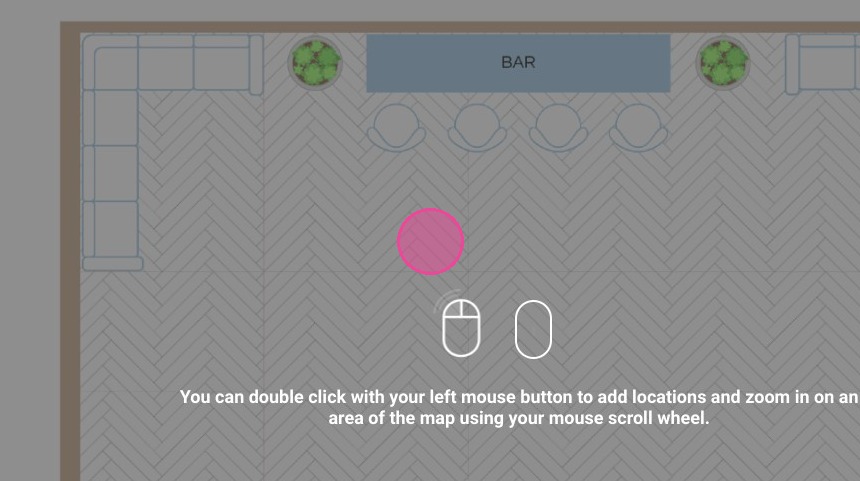
Add new tables: Double-click anywhere on the map to create a new table, then select its specific shape and define its size to match reality.
-
Arrange your dining space: Click and drag the tables to position them accurately across your floor plan, and easily delete any unneeded tables using the side menu.
-
Save your configuration: Click "SAVE" once your digital seating arrangement is complete to instantly apply the new layout to your reservation dashboard.
Why follow this guide? Creating a precise digital representation of your dining room prevents seating confusion and helps avoid double-booking specific tables during peak hours. A visually accurate floor plan empowers your front-of-house team to assign tables faster, ultimately maximizing your restaurant's daily capacity and improving guest flow.
1. Click "Managing my activity"
2. Click on "Table Layout"
3. Go to "Table Layout Setup"
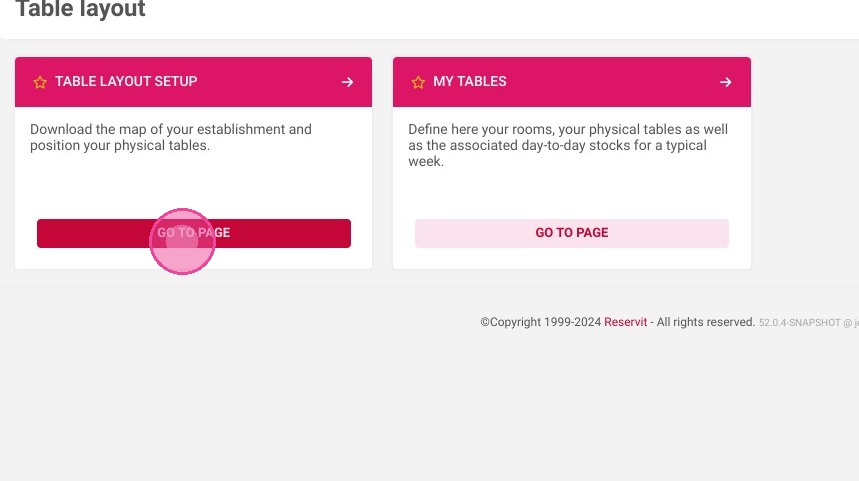
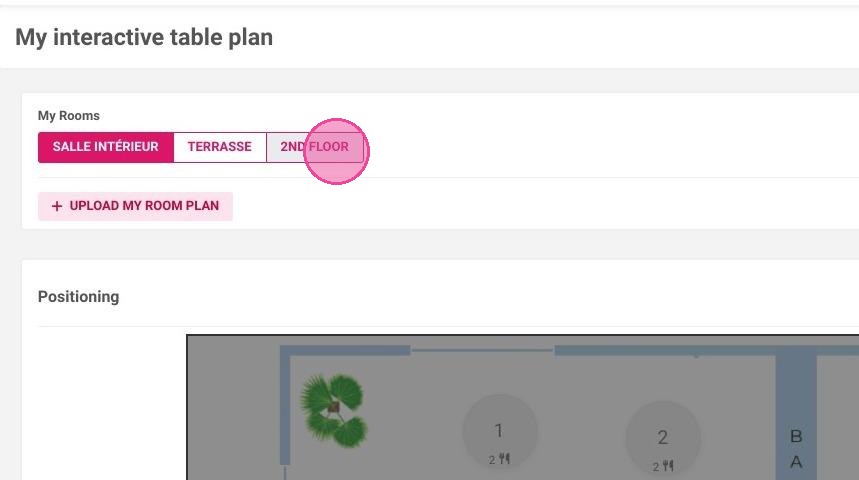
4. Select the room you want to set up
5. Click "UPLOAD MY ROOM PLAN"
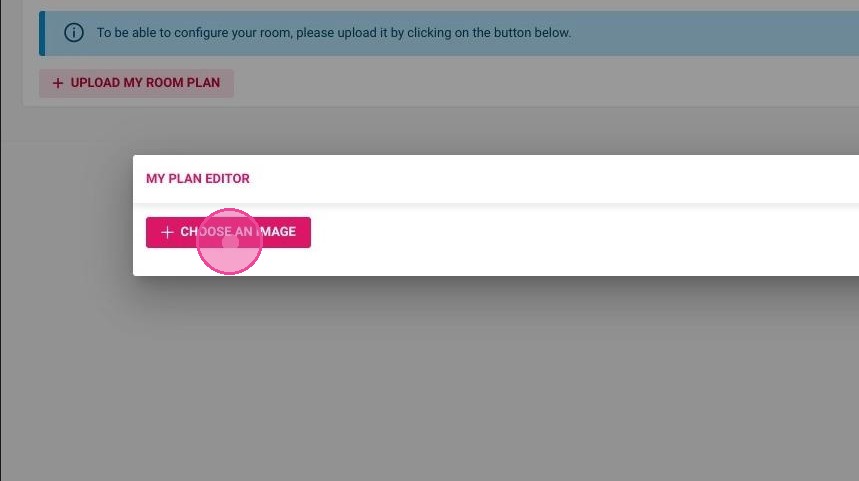
6. Click "CHOOSE AN IMAGE" and choose the file in your folders
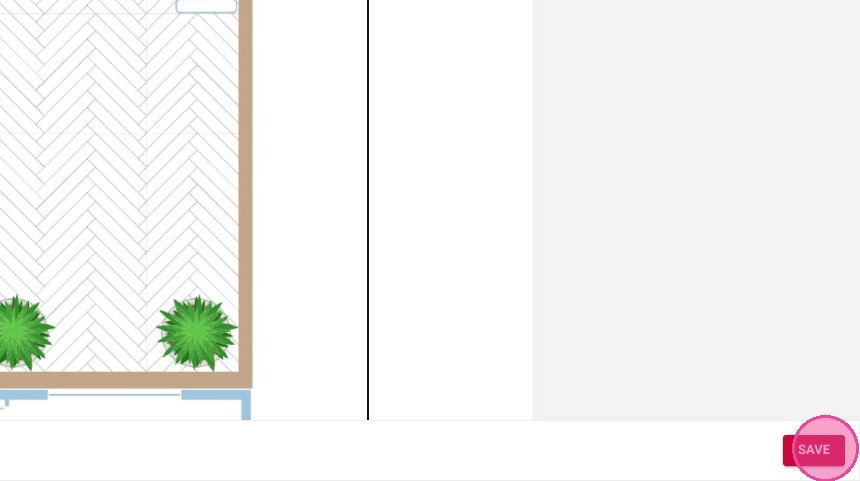
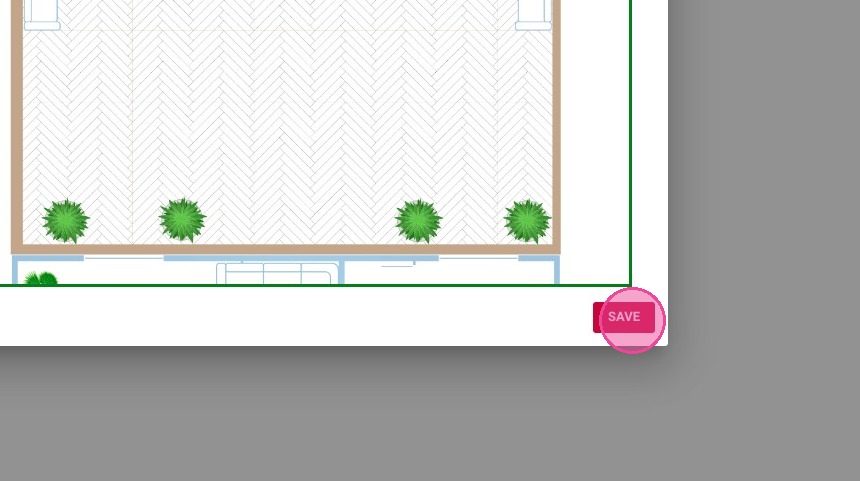
7. One it is well adjusted, click "SAVE"
8. Double-click on the map to add a table
9. Select the table you want to add
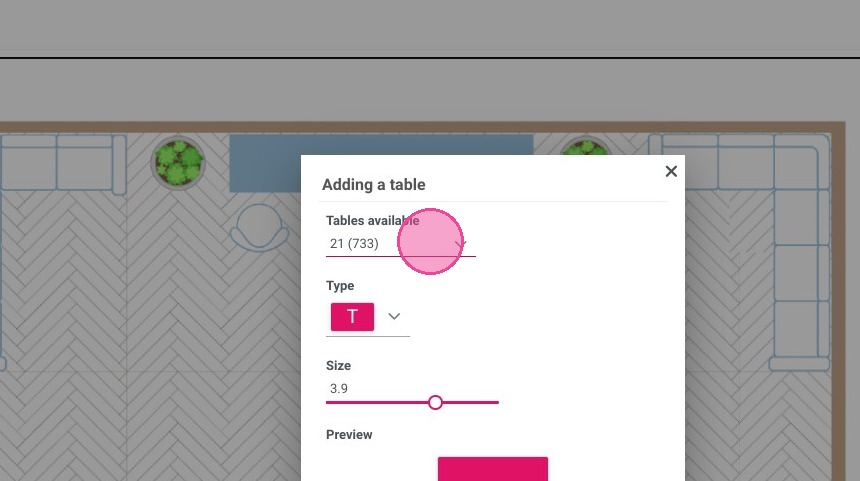
10. Choose the form of the table
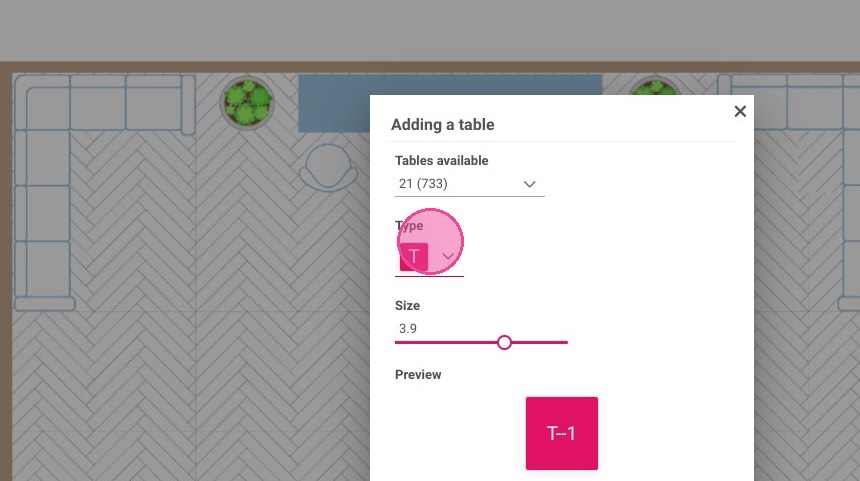
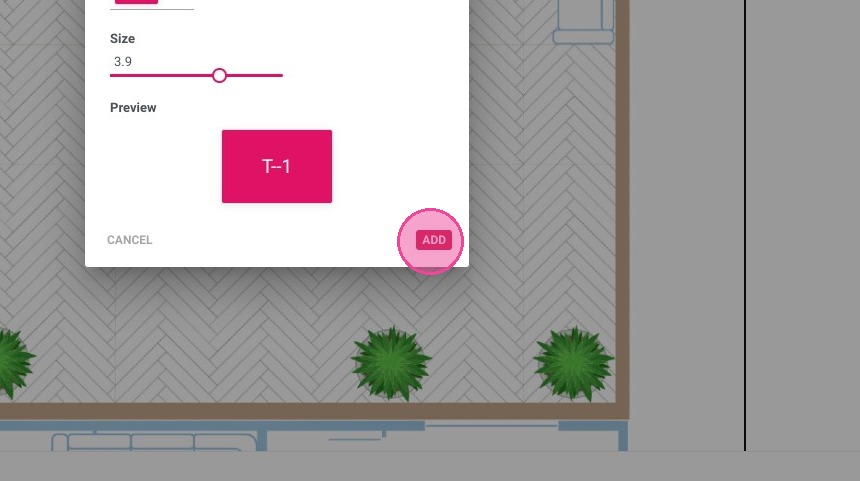
11. Define its size
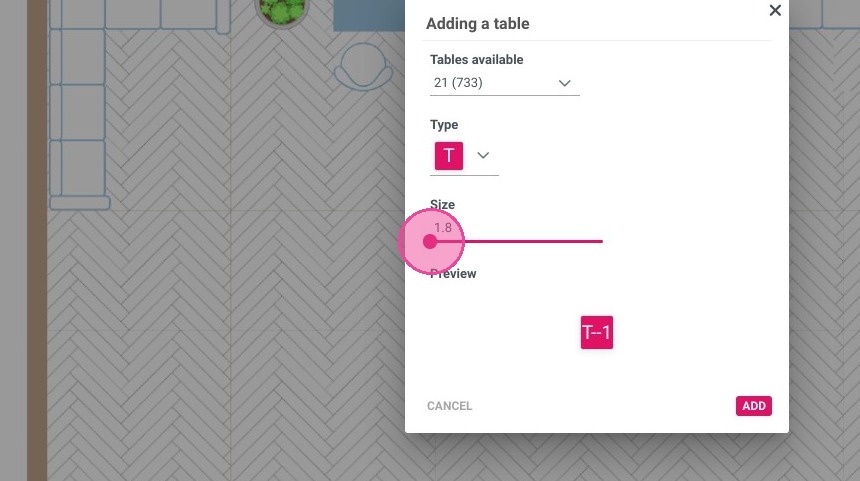
12. Click "ADD"
13. You cam move the table on the map by maintaining the cursor
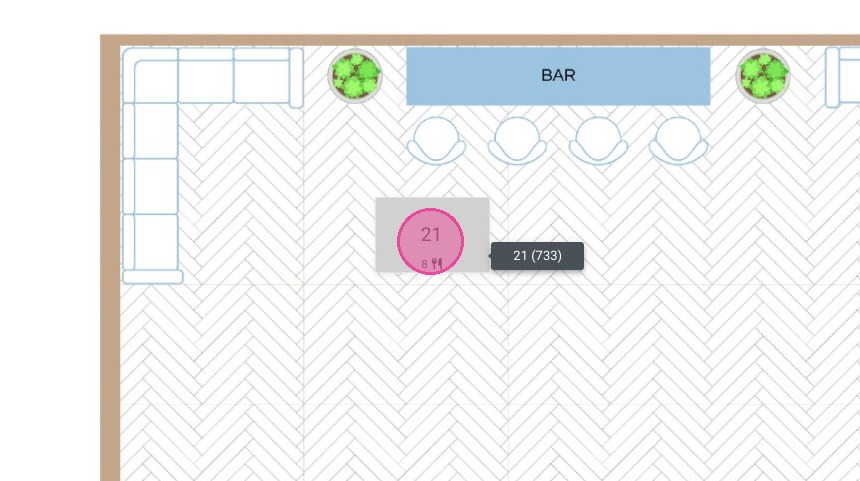
14. Repeat these steps with all the tables
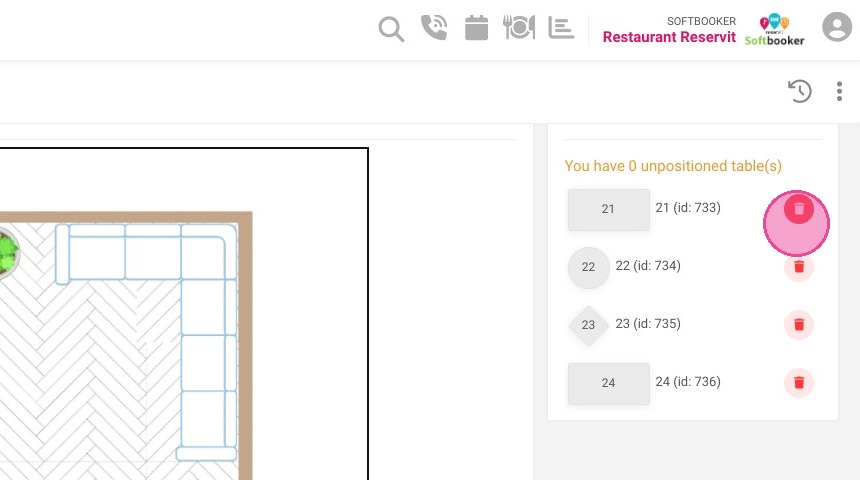
15. You will find all the tables at the right, click here to delete one of them
16. Once you are satisfied with your seating plan, click "SAVE"