Article summary: This tutorial explains how to effectively navigate the table plan feature in Reservit Restaurant to organize your daily reservations. You will learn how to filter incoming bookings by service, identify special guest requests, and seamlessly assign parties to specific tables in your dining room. Mastering this seating management tool ensures a smoother operational flow and an exceptional dining experience for your guests.
The 4 key steps to manage your restaurant's table plan:
-
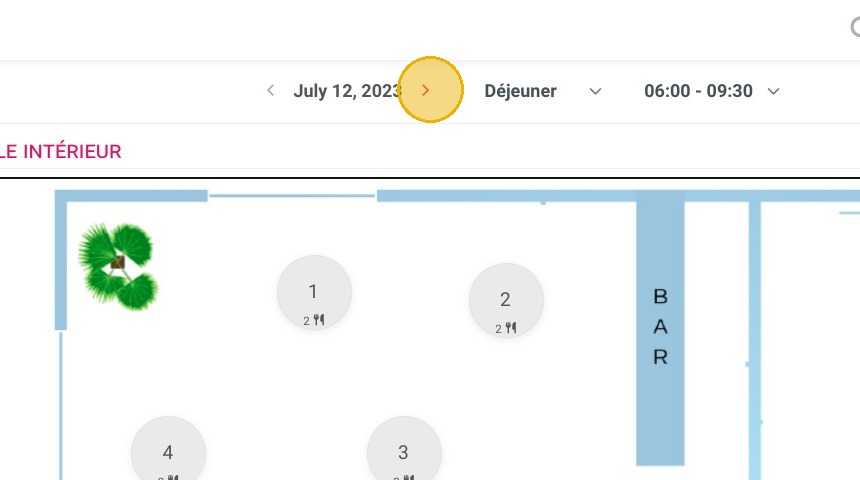
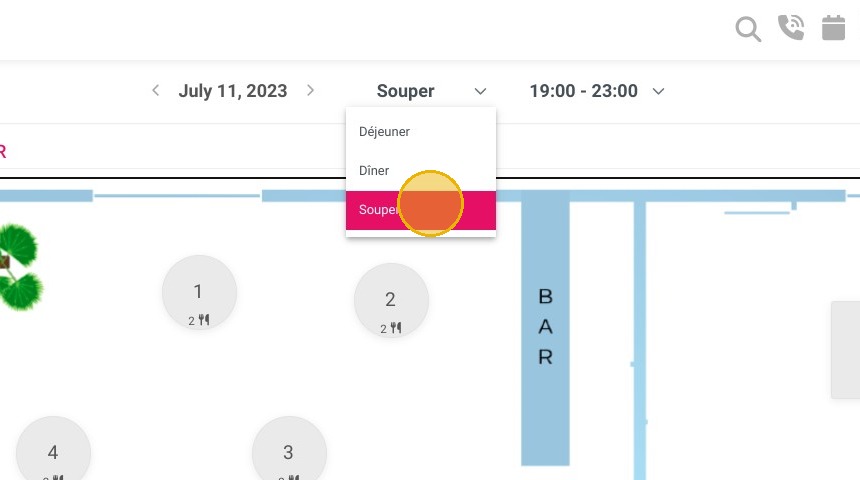
Select the date and service: Use the arrows to choose your desired date, then select the specific service and timeframe you want to manage.
-
Review incoming reservations: Check the booking list to identify unassigned parties (in red), seated guests (in blue), and spot special tags like dietary restrictions or hotel guest status.
-
Assign bookings to tables: Click to assign a reservation, choose the appropriate dining room, select an available table (highlighted in blue), and validate your choice.
-
Filter and monitor the dining room: Navigate between different room plans and use the filter button to easily locate specific tables or view detailed seating arrangements at a glance.
Why follow this guide? Following this guide will help you avoid double-booking errors and save your staff valuable time during peak service hours. By optimizing your table assignments in advance, you maximize your restaurant's seating capacity and empower your front-of-house team to operate with confidence.
Tip: The table plan is accessible on the "Home" page of your Reservit Restaurant module.
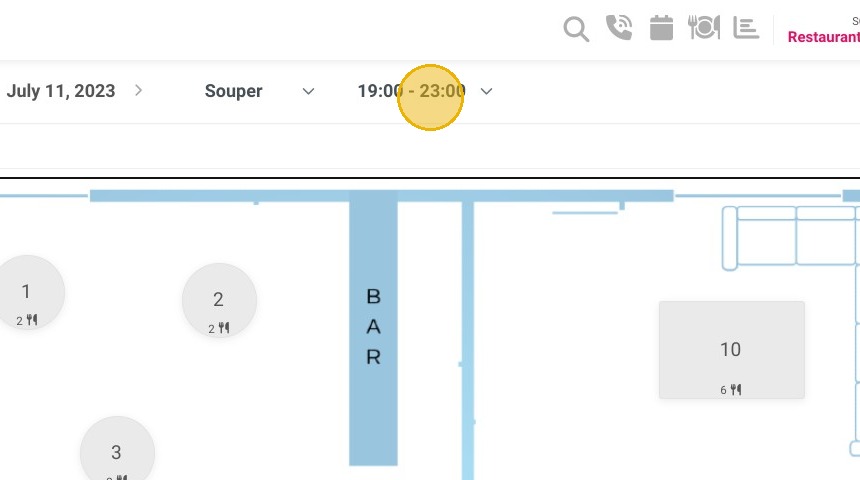
1. Select the wanted date with the arrows
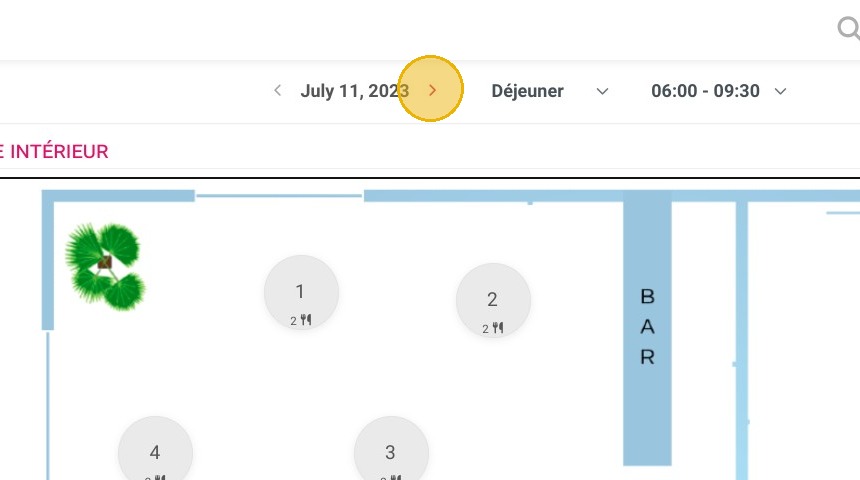
2. Select the concerned service here

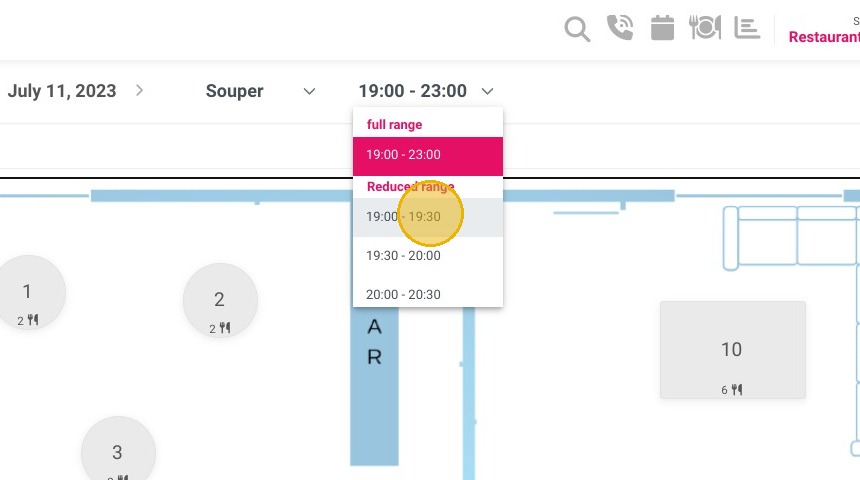
3. If you wish to select a specific period of the service, click here :
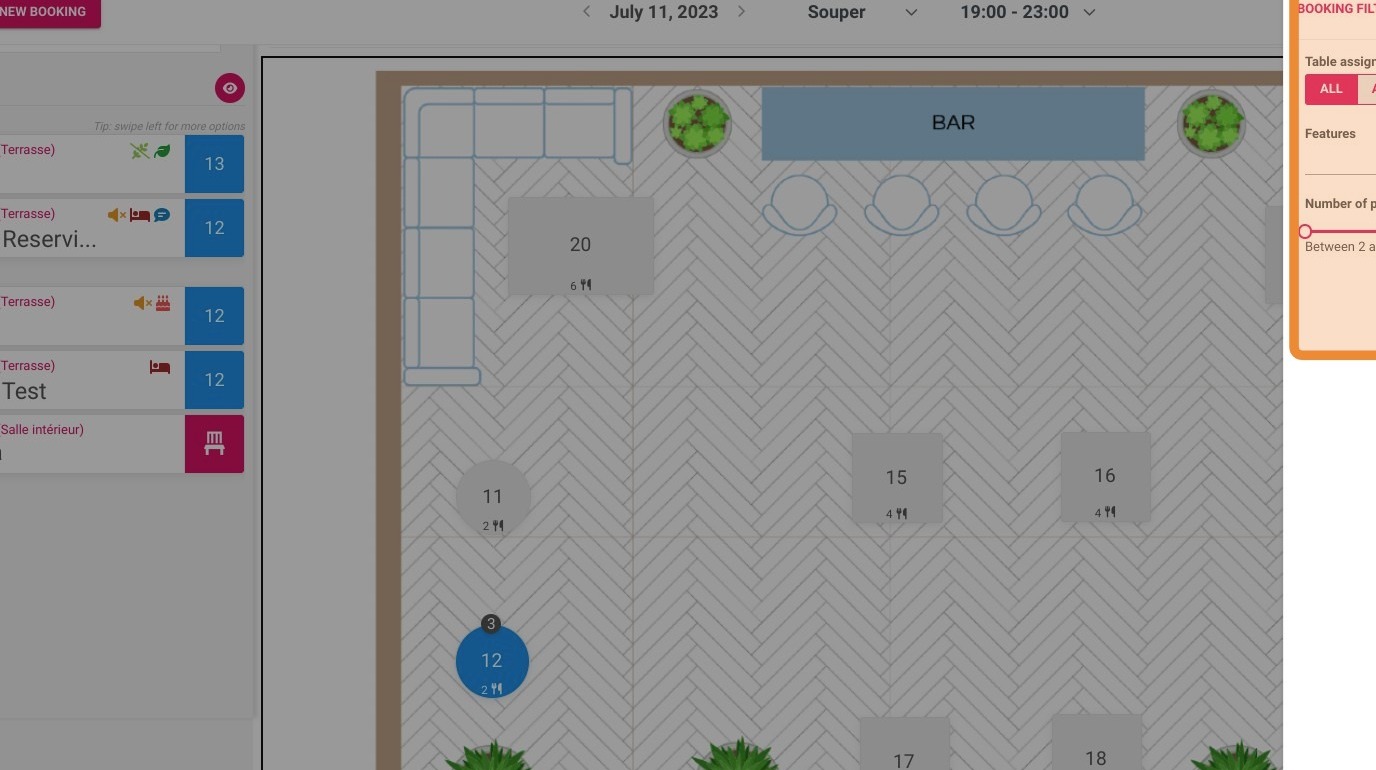
4. Here are the concerned bookings
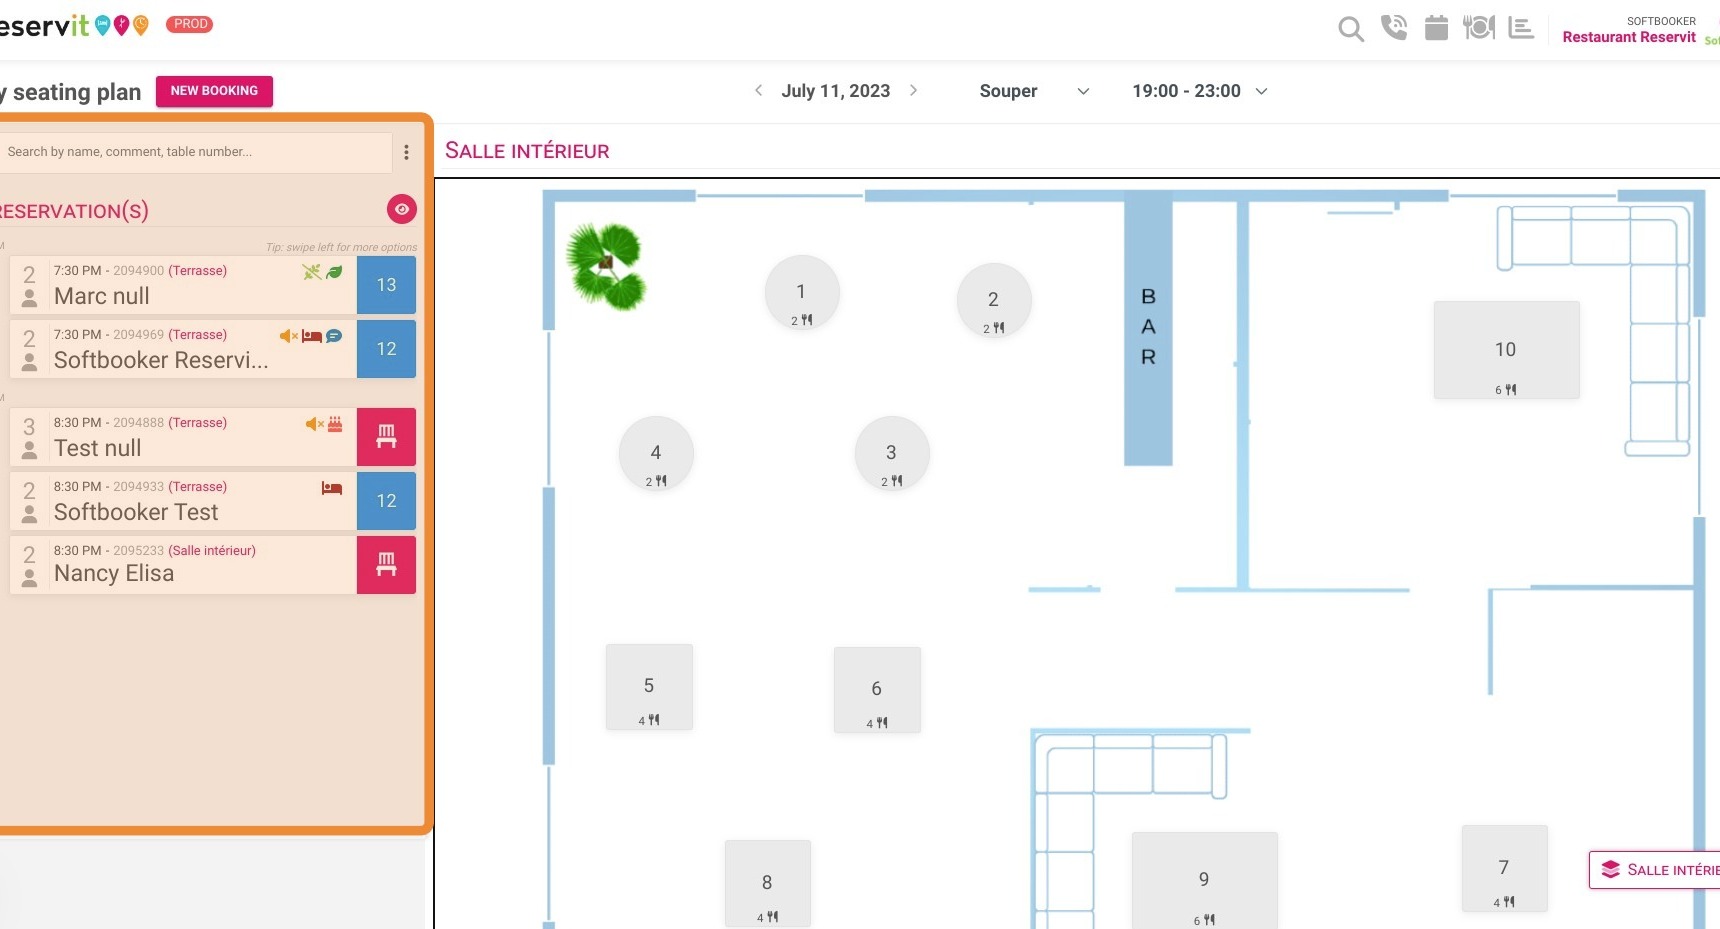
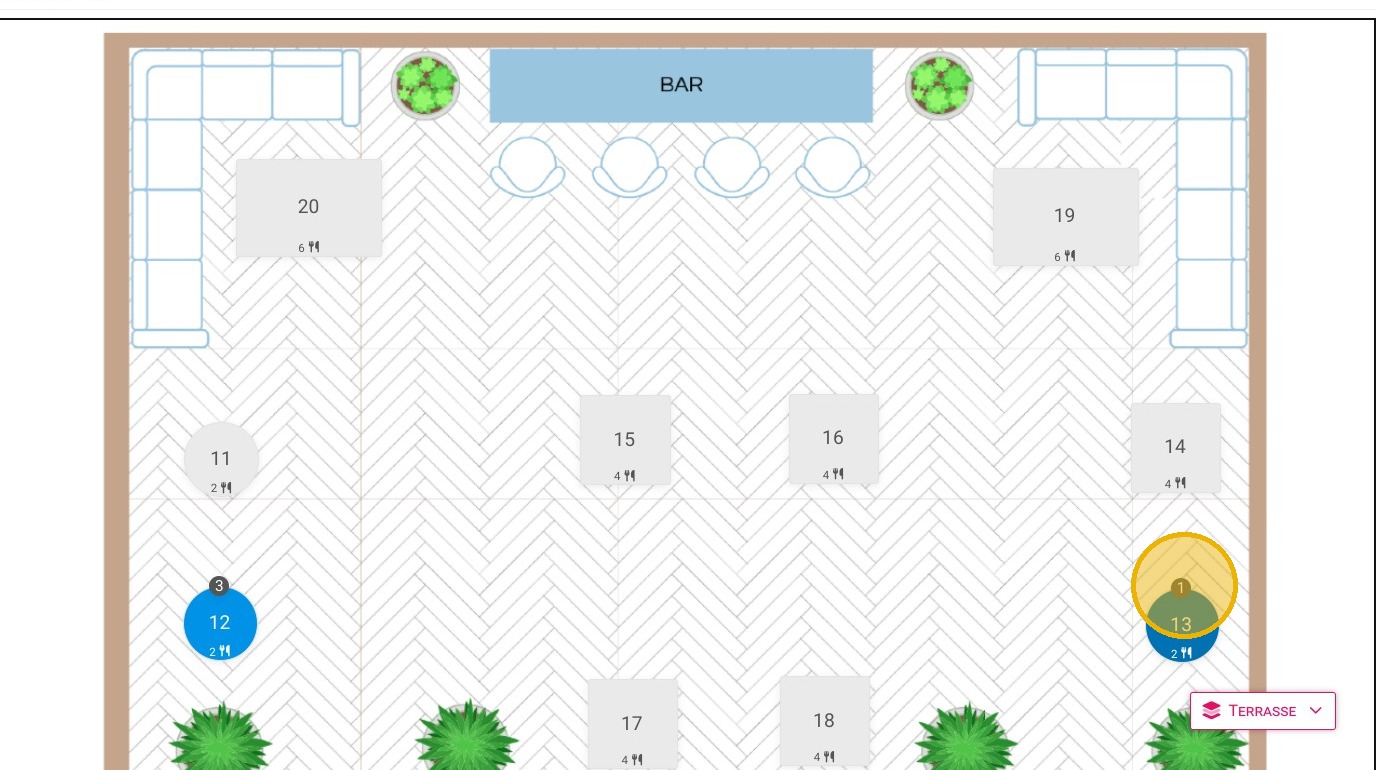
5. In blue, you can see the seated bookings
6. In red, the bookings to be attributed yet
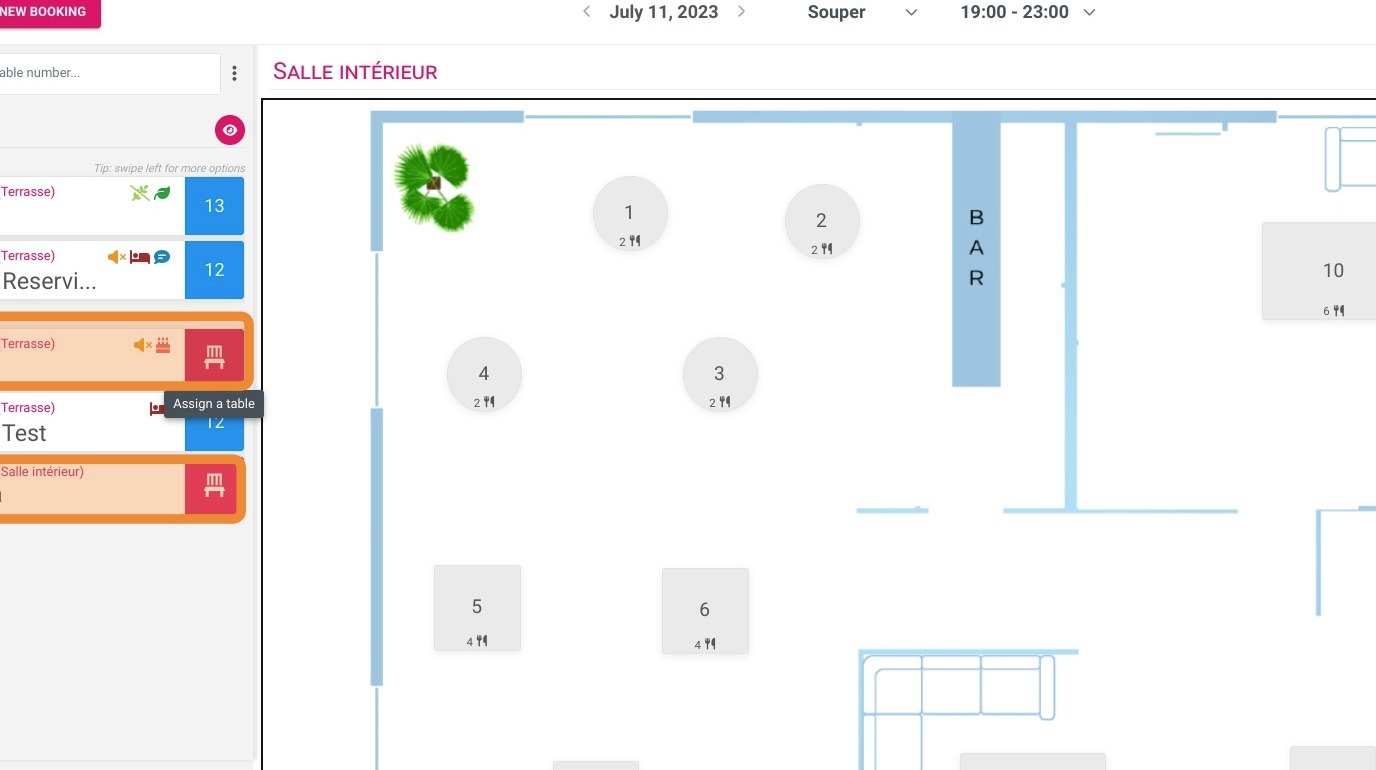
7. Here you can see the specific caracteristics of your bookings (vegan, gluten free etc...)
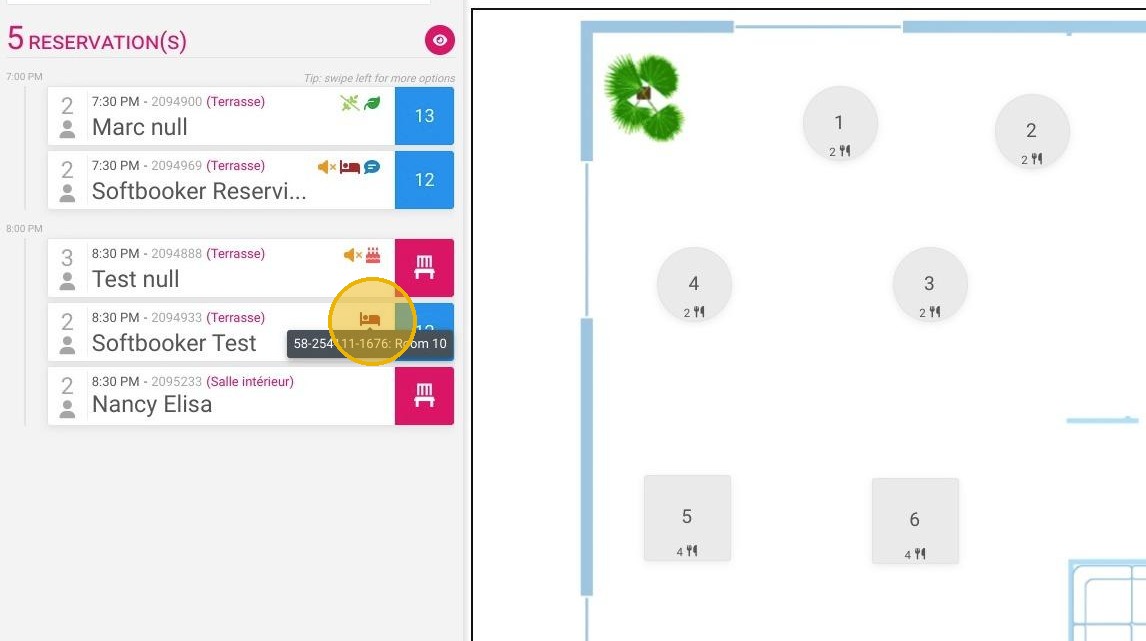
8. You can see here a pictogram indicating that the customer is a customer of the accomodation
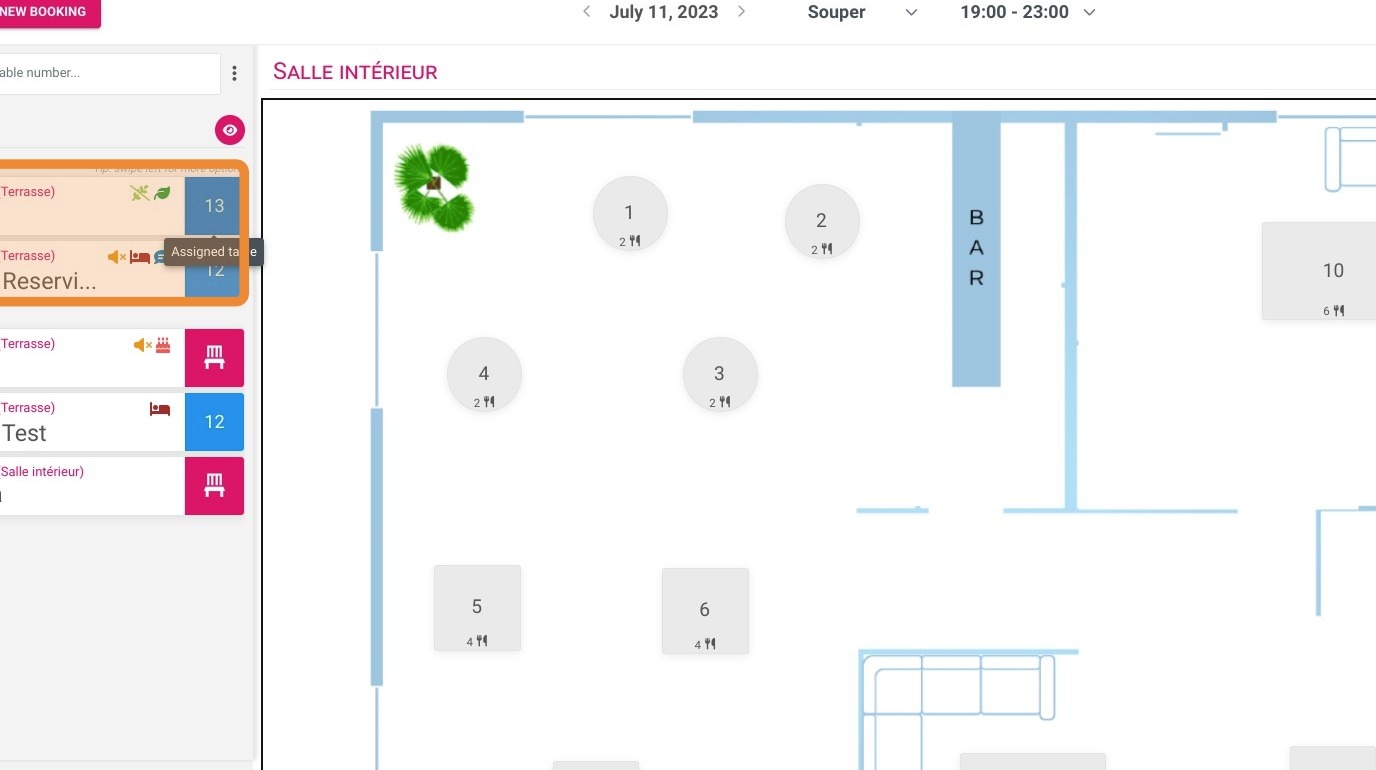
9. To attribute a booking to a table click here :
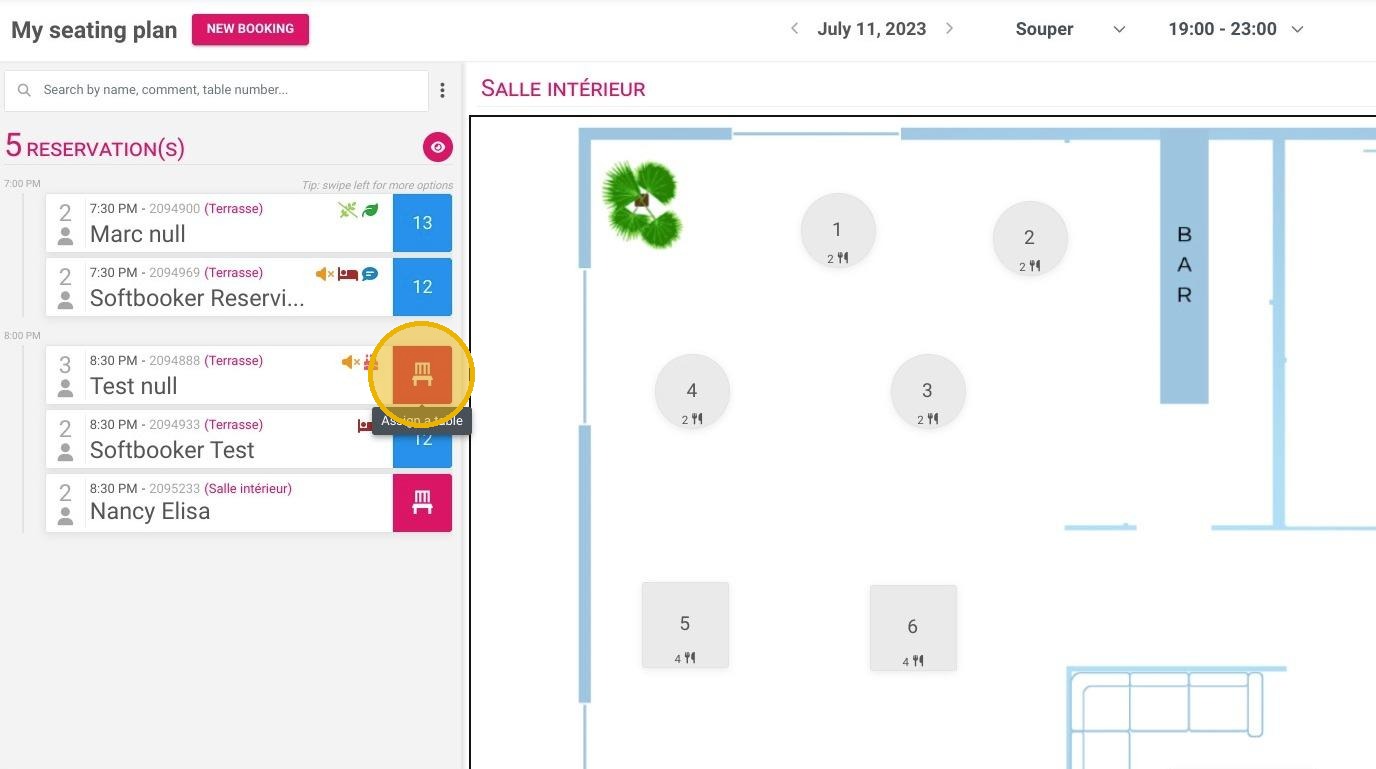
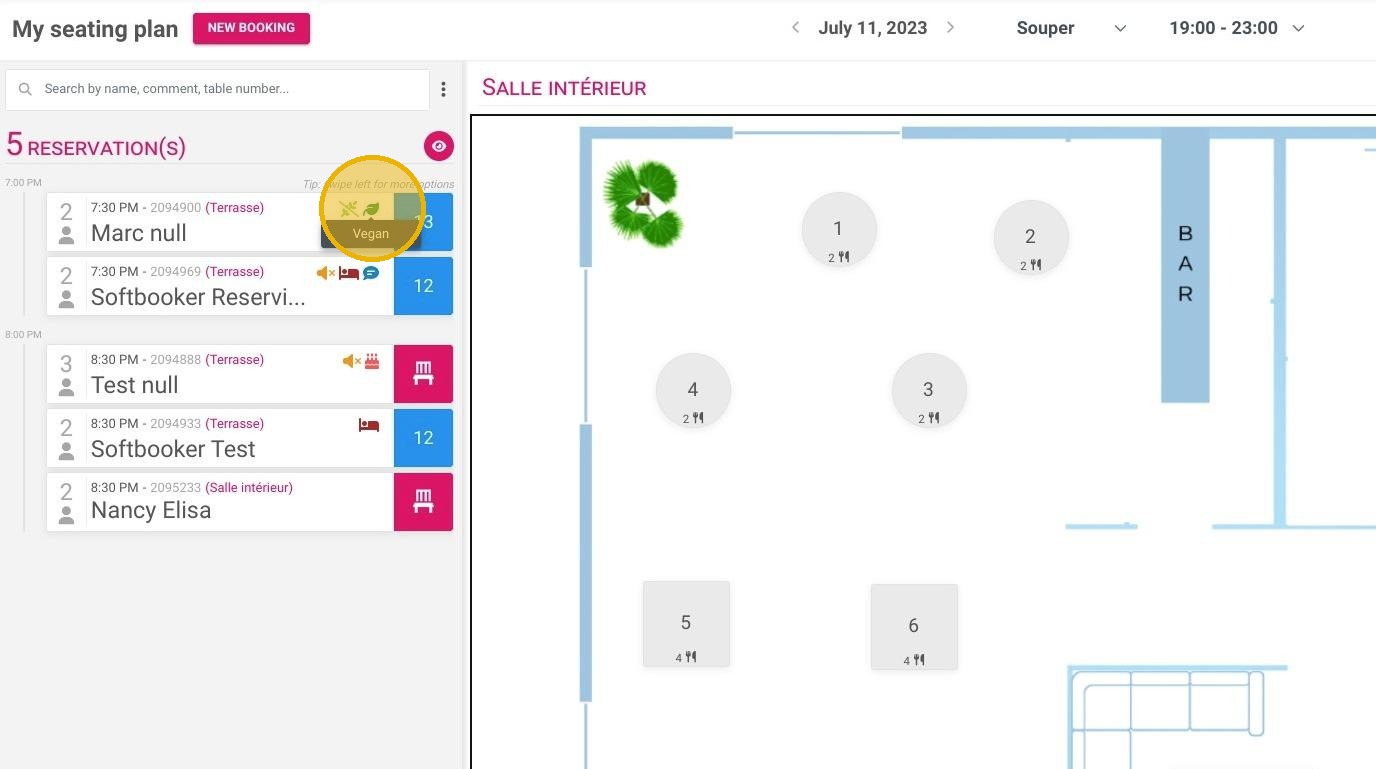
10. Chose a room here :
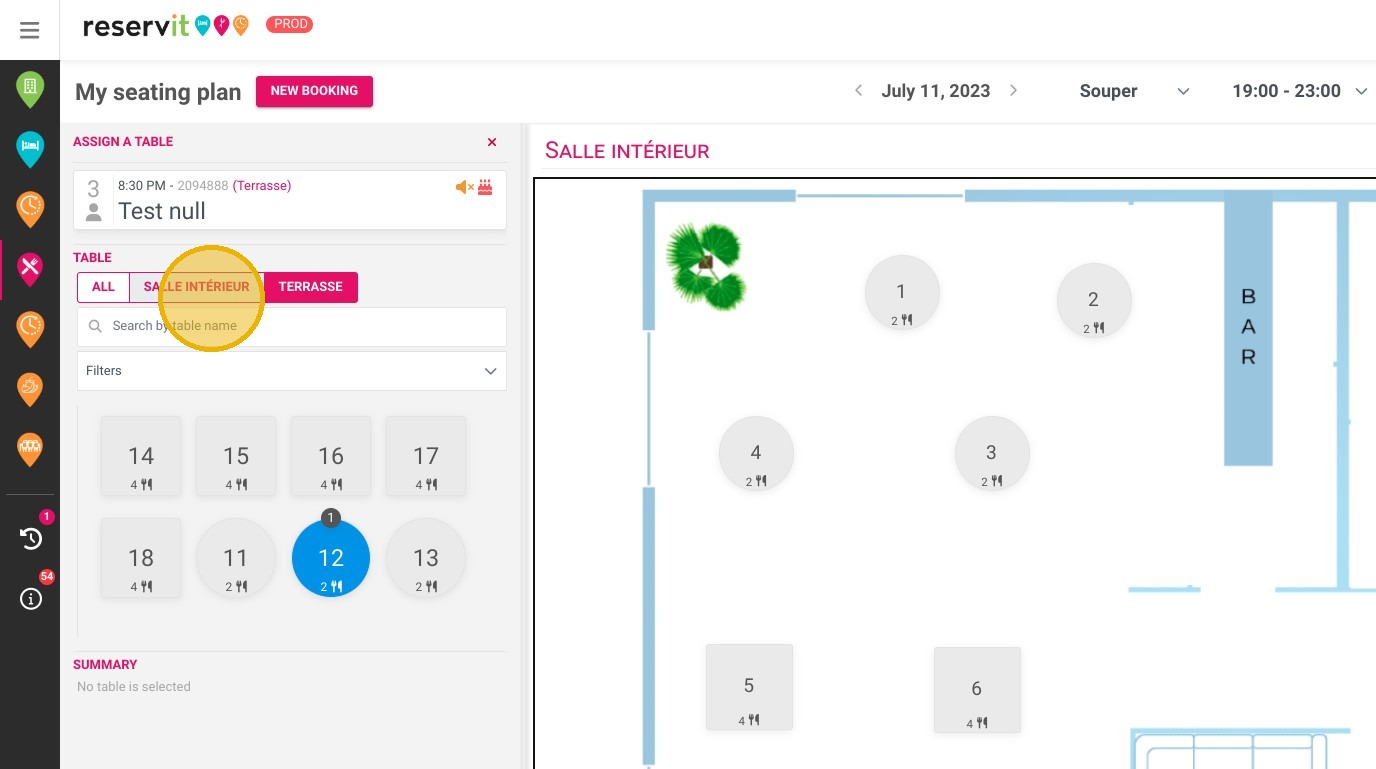
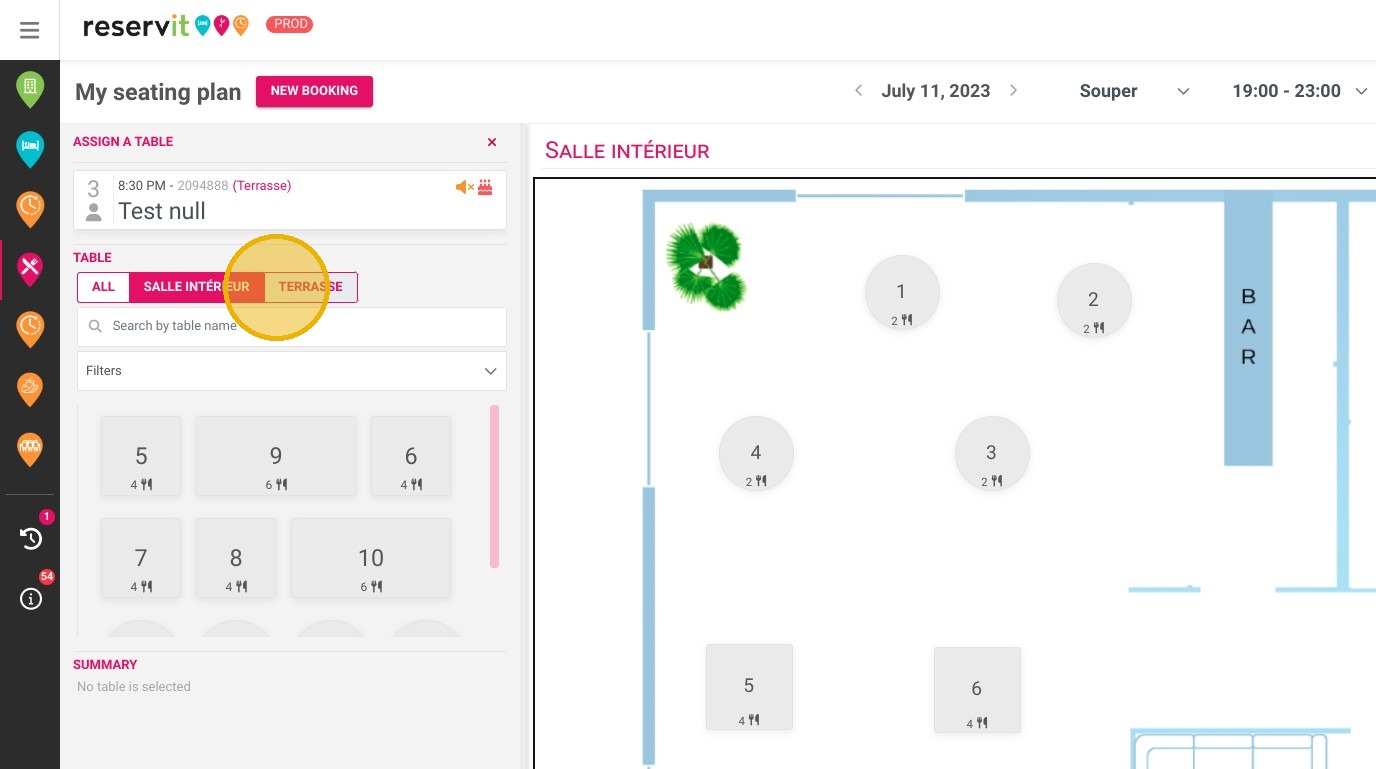
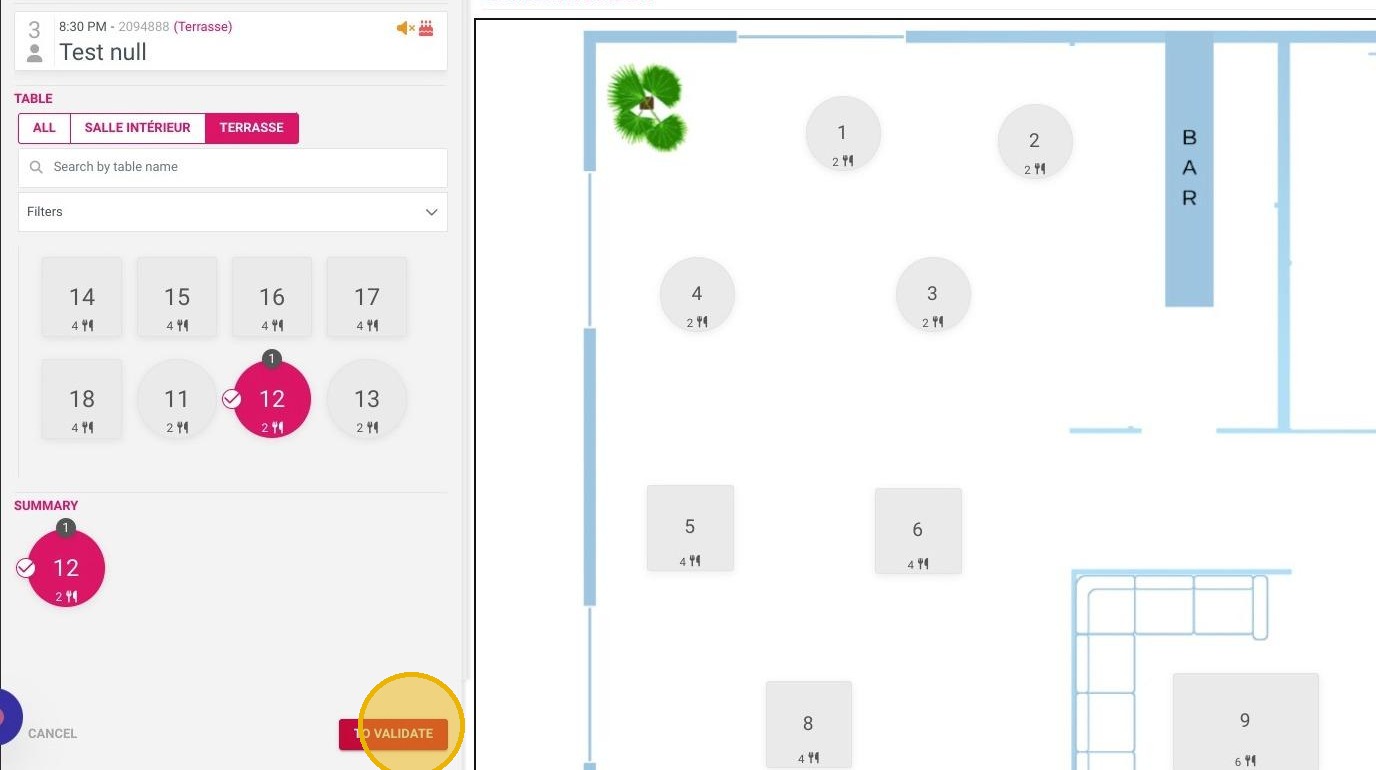
11. Select the designed table here (the available ones are blue)
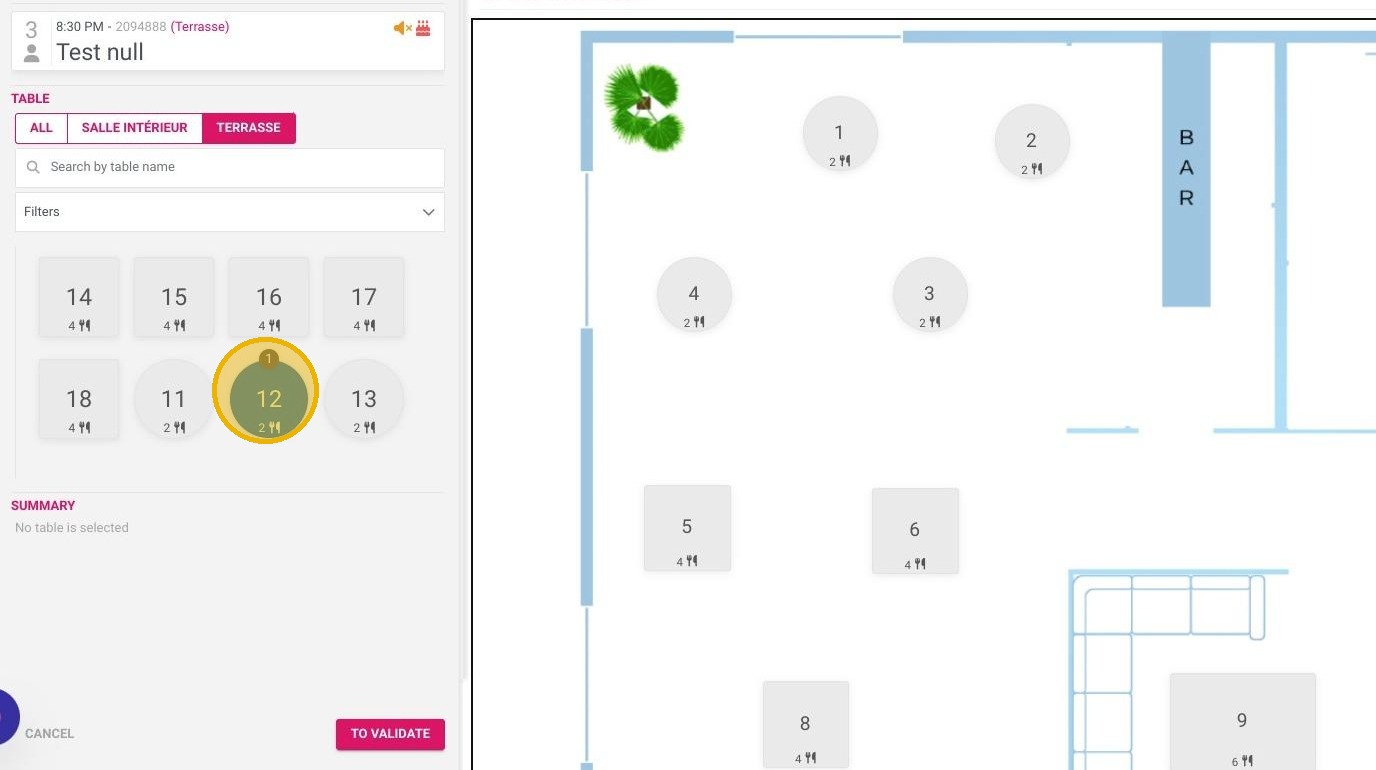
12. And click ''To validate''
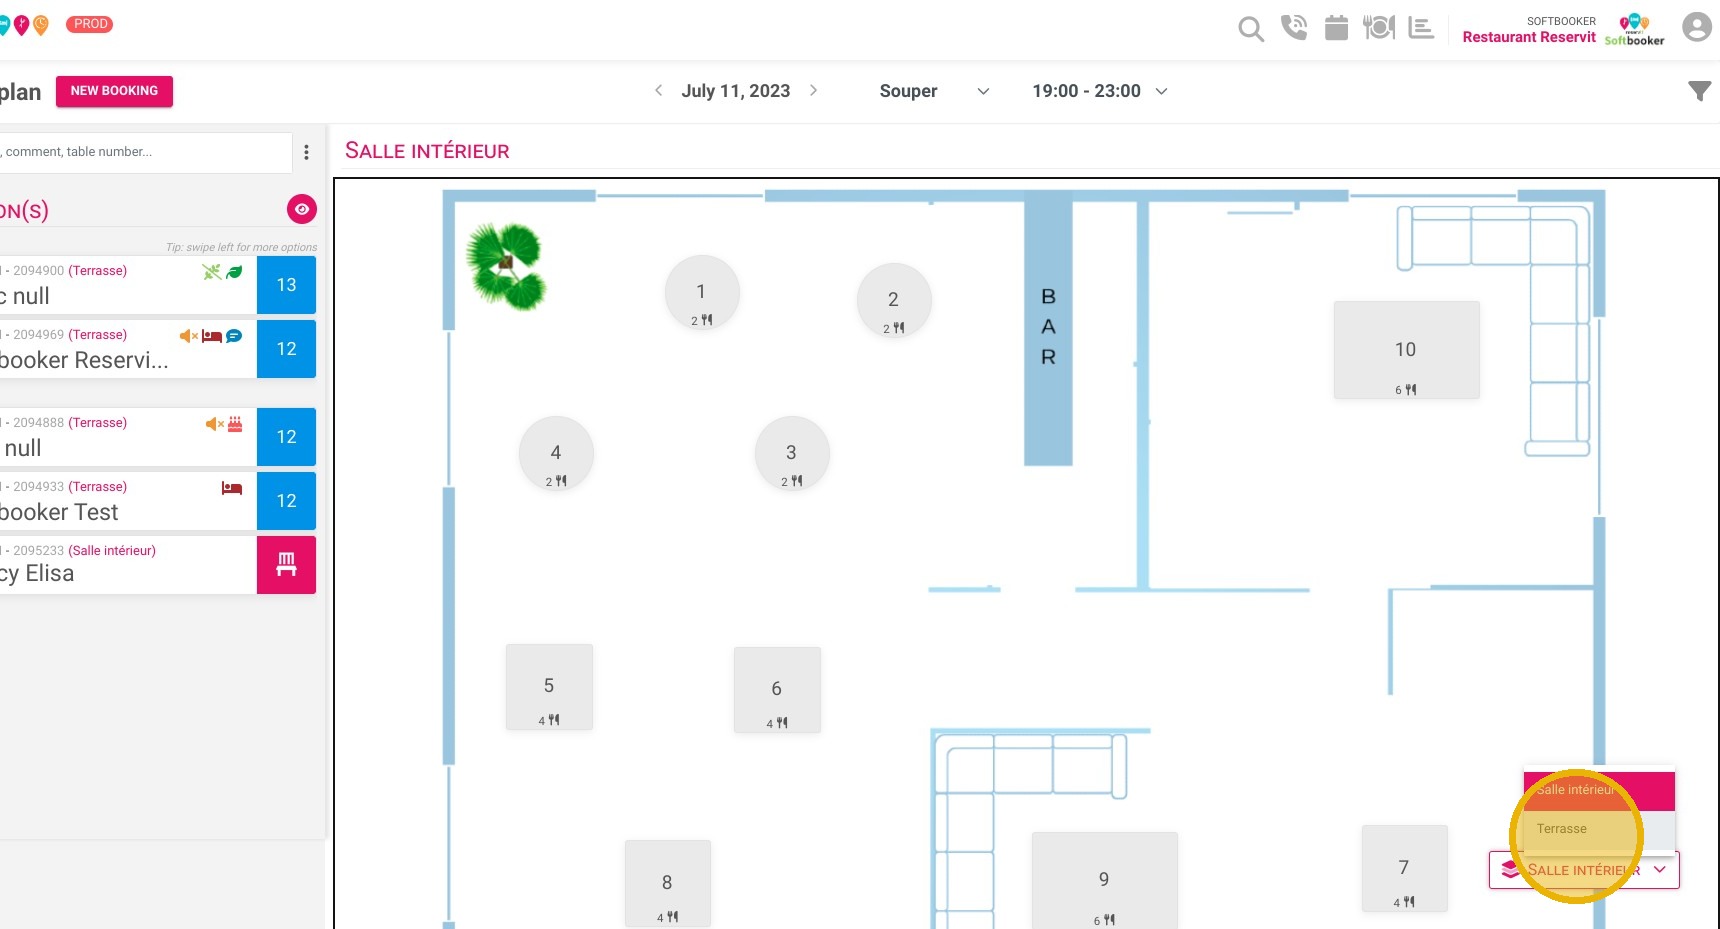
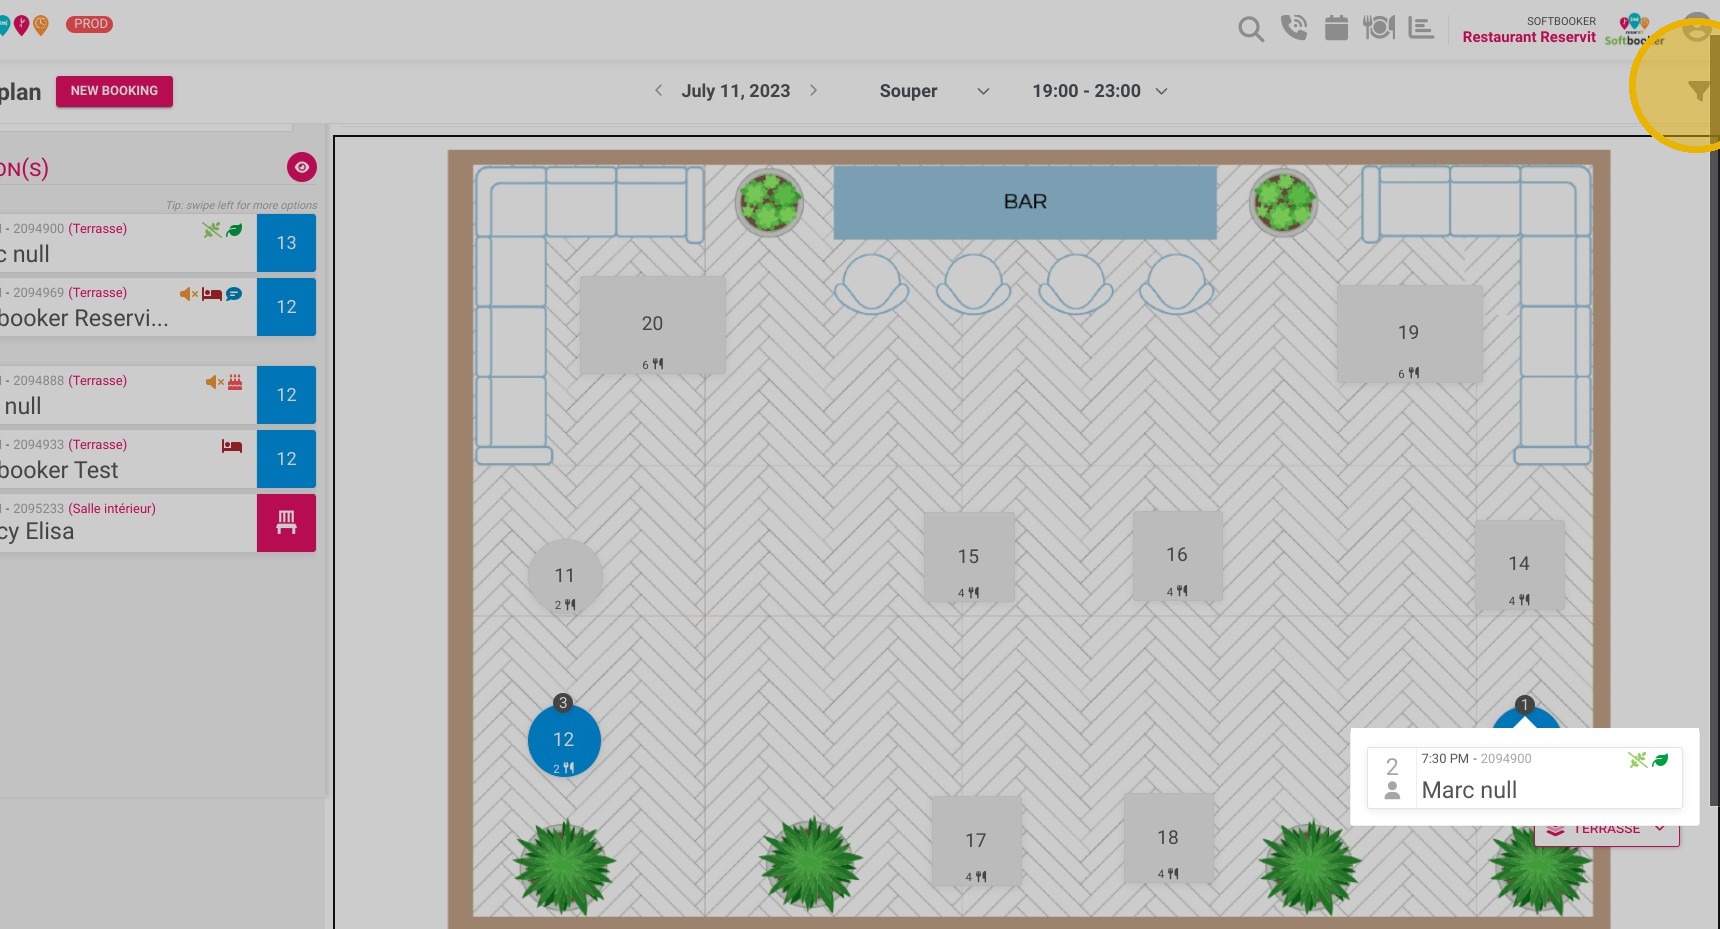
13. At the bottom right of the screen, you can visual all your tables plan, if you have several ones
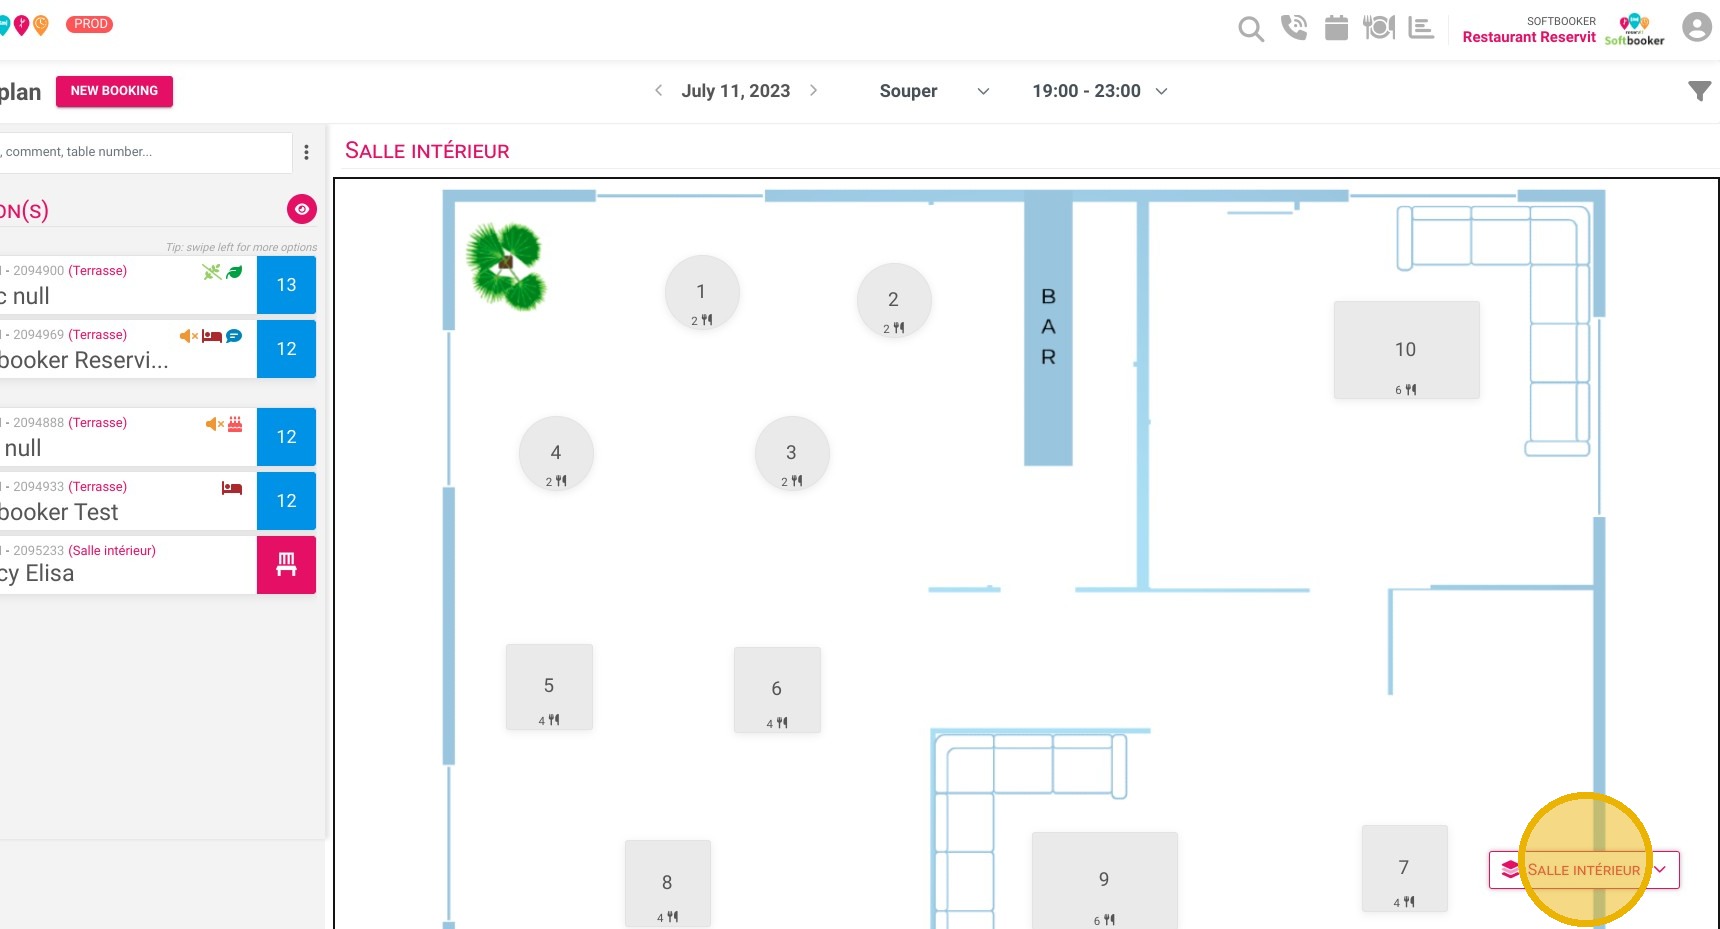
14. The assigned tables are in blue, click on it to show details
15. You can choose which table to show by clicking the filter button here :
16. Here are the details of the filters