
Article Summary: This tutorial explains how to set up the core settings of your billing module in Reservit Activities. You will learn how to enter your company details, upload your logo, add your sales tax numbers (such as GST/QST) and define how your documents are numbered. A careful initial setup ensures that your invoices meet legal and tax requirements.
The 5 Key Steps to Set Up Your Billing Module:
-
Open the setup page: Click "My reservations" > "Billing Management", then "GO TO PAGE" on the "BILLING MODULE SETUP" tile, and open the "Invoicing" tab.
-
Enter your company identity: Fill in the general information about your company and upload your logo so that it appears in the header of all your billing documents.
-
Add your tax and banking details: In "Additional information", enter your sales tax numbers (such as GST and QST), then the banking details customers use for payments.
-
Define your fiscal rules: Select your "Currency", enter the "Closing date of the current fiscal year" and the next invoice number in "Document numbering".
-
Select your payment methods and save: Tick the payment methods you accept in "Payments mode", then click "SAVE" at the bottom of the page.
Why Follow This Guide? A precise billing setup is required to issue accurate, compliant documents from your very first transactions. By including your tax numbers, payment methods and banking details automatically, you avoid manual errors, look more professional to your customers and simplify your fiscal year-end.
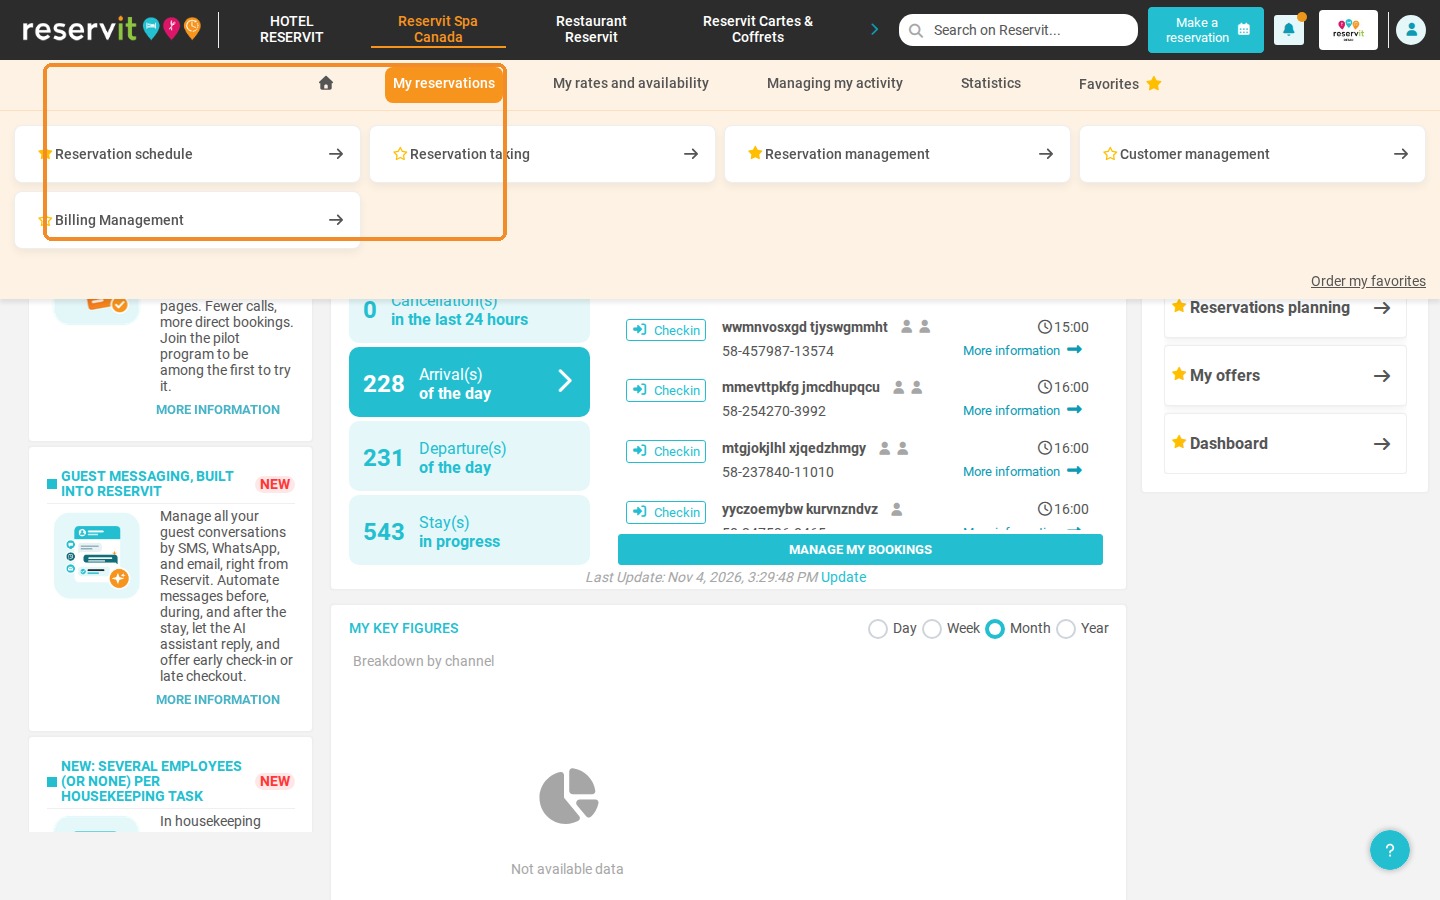
1. Click "My reservations" > "Billing Management".
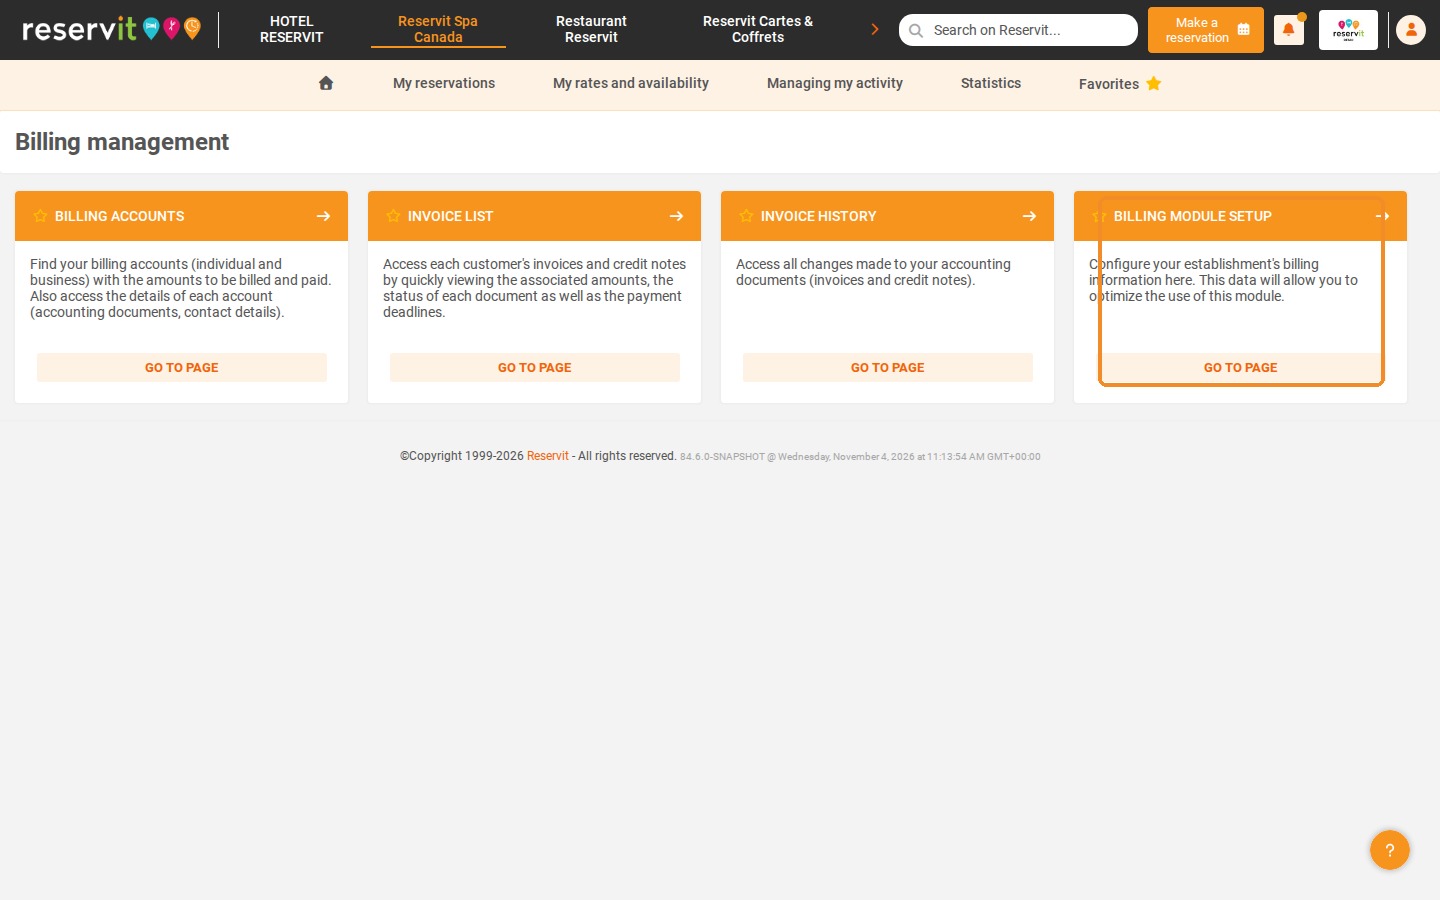
2. Click "GO TO PAGE" on the "BILLING MODULE SETUP" tile.
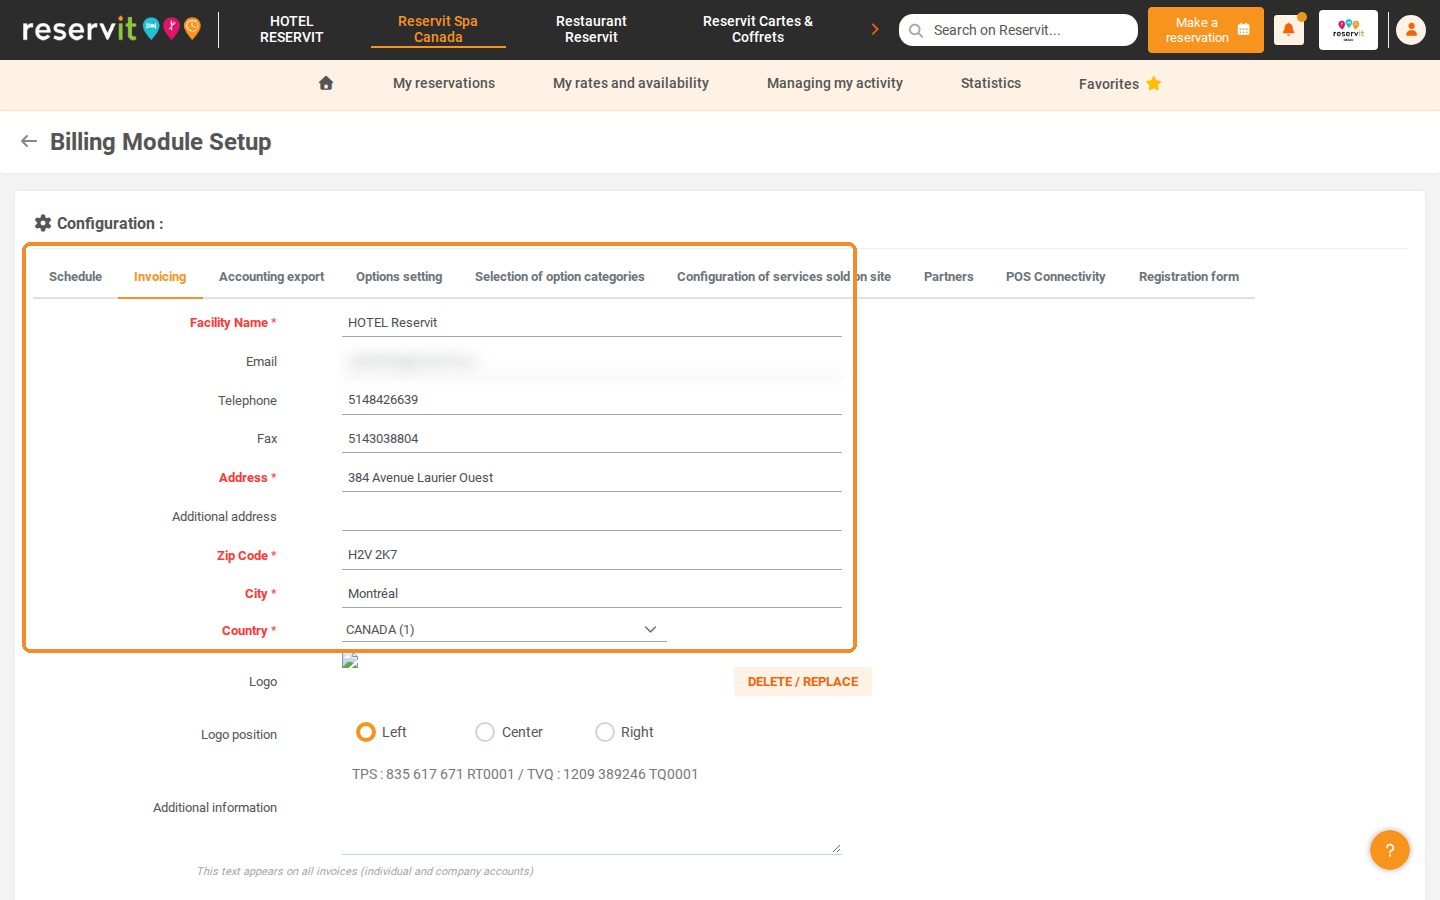
3. On the "Billing Module Setup" page, click the "Invoicing" tab: it contains the information printed on your invoices. Fill in the fields; "Facility Name", "Address", "Zip Code", "City" and "Country" are required.
4. Don't forget to upload your logo with the "DELETE / REPLACE" button next to "Logo", then choose its "Logo position": "Left", "Center" or "Right".
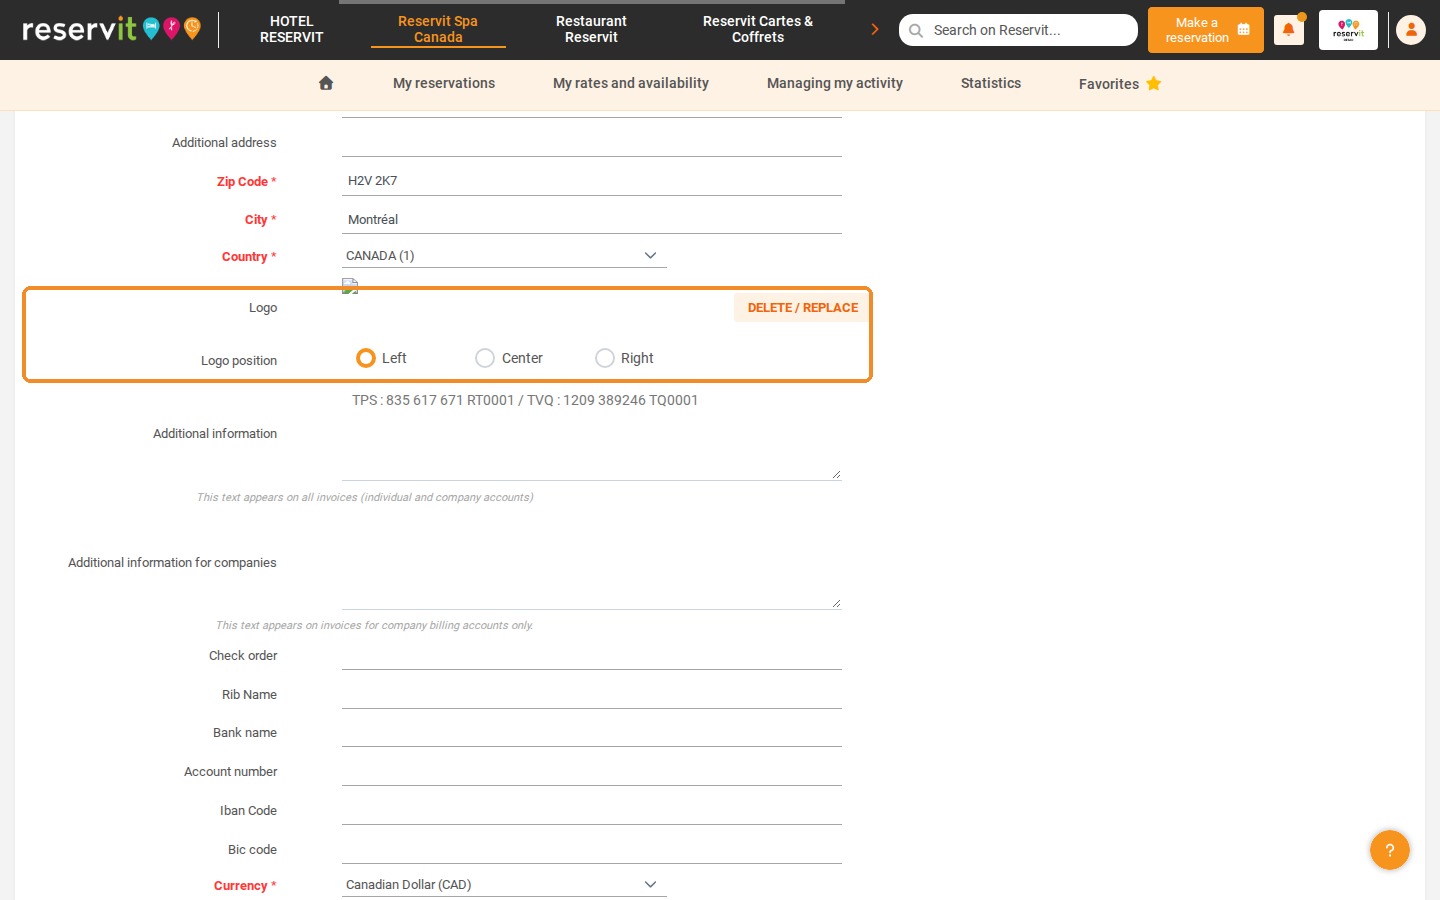
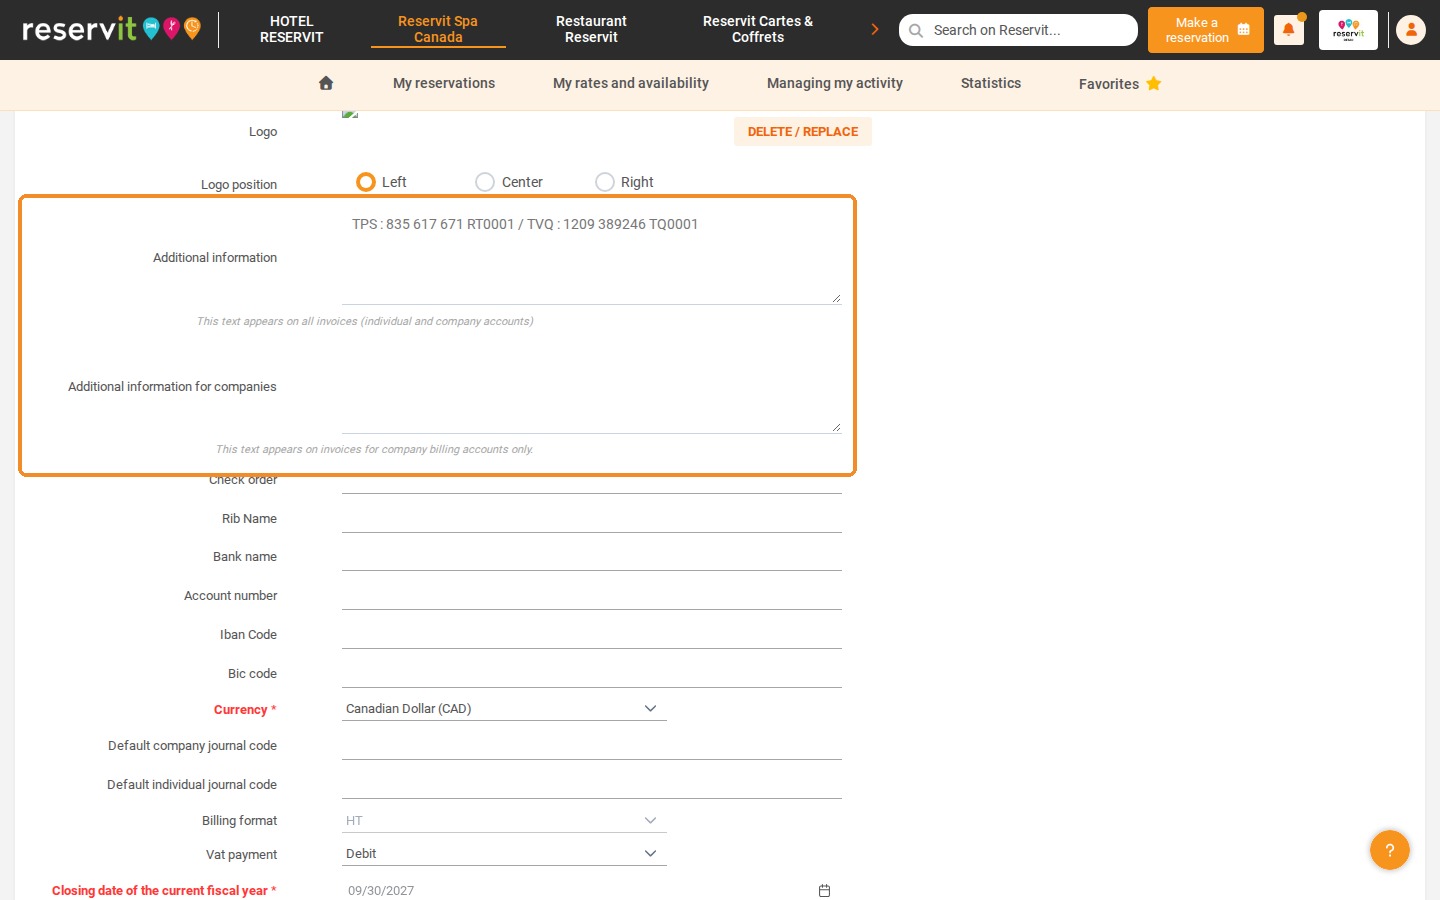
5. In "Additional information", enter your sales tax numbers (for example your GST and QST numbers): this text appears on all invoices (individual and company accounts). Text entered in "Additional information for companies" appears only on invoices for company billing accounts.
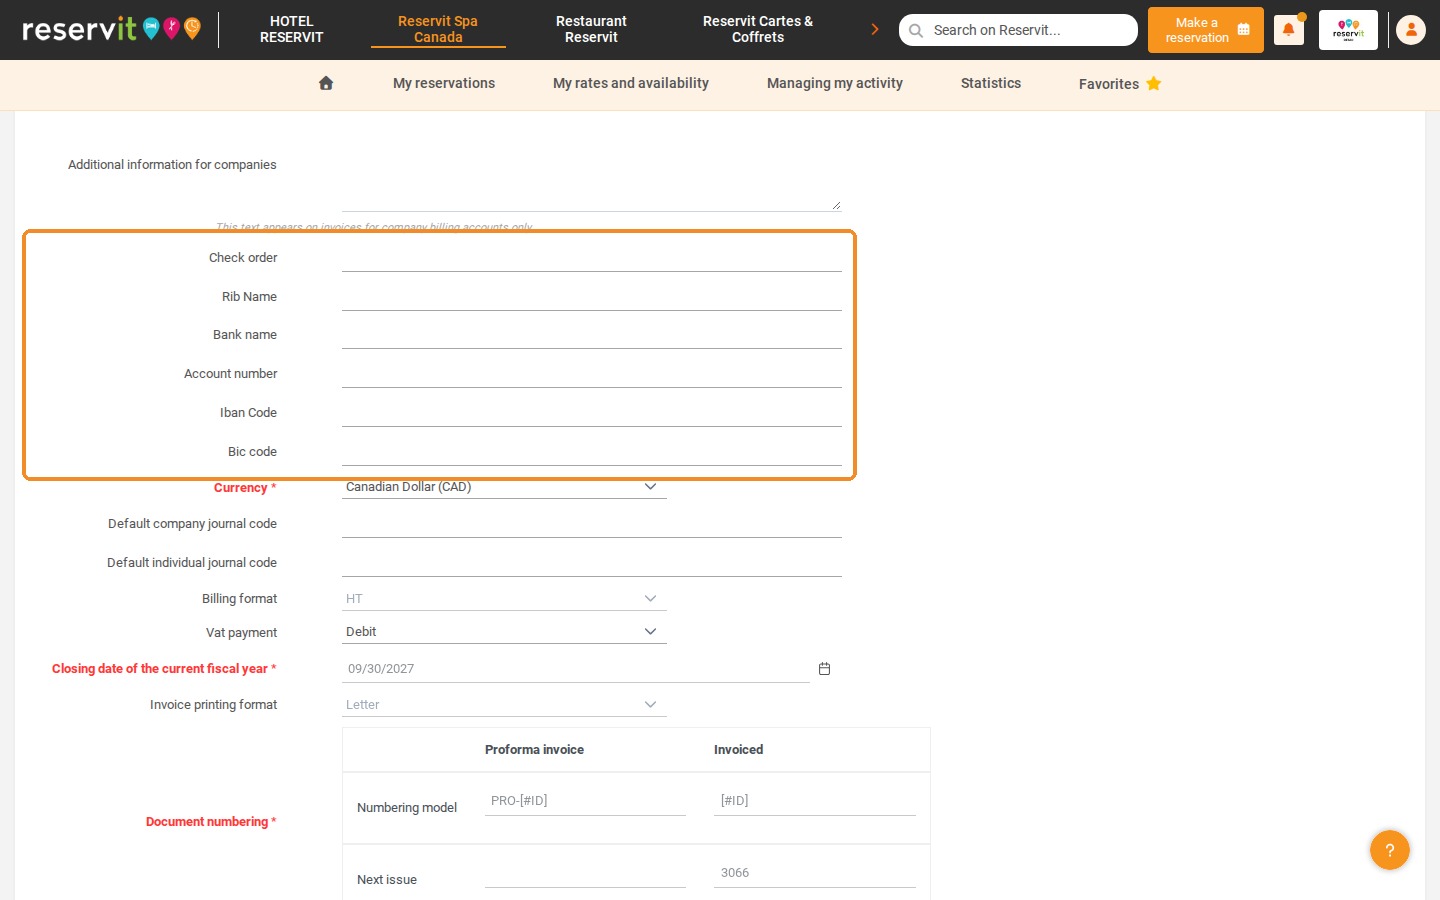
6. Enter your banking details in "Check order", "Rib Name", "Bank name", "Account number", "Iban Code" and "Bic code" (fill in only the fields that apply to your bank).
7. In "Currency", select the currency you use (for example "Canadian Dollar (CAD)").
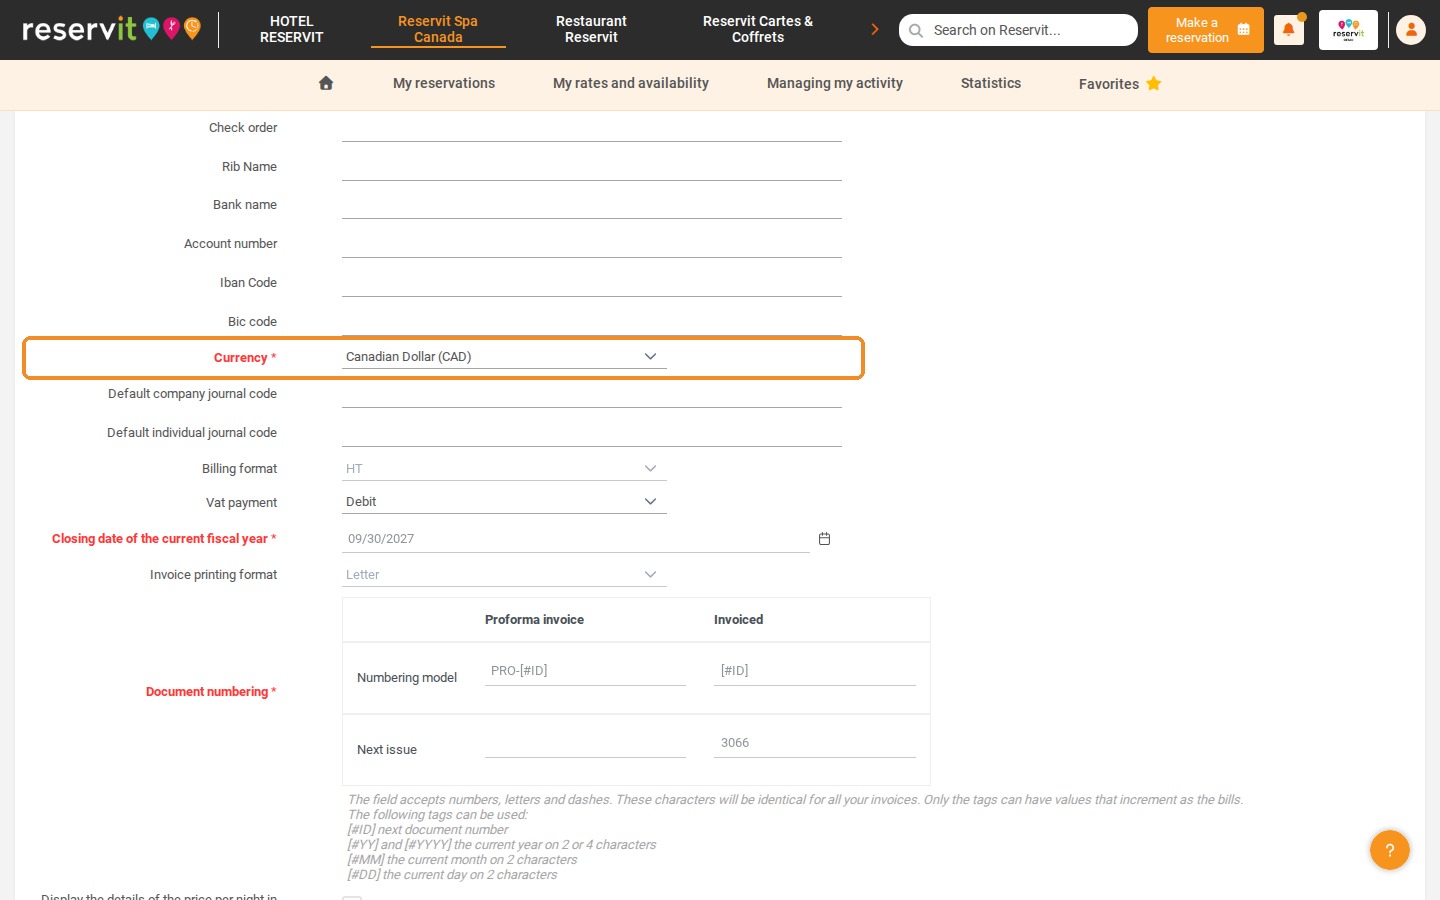
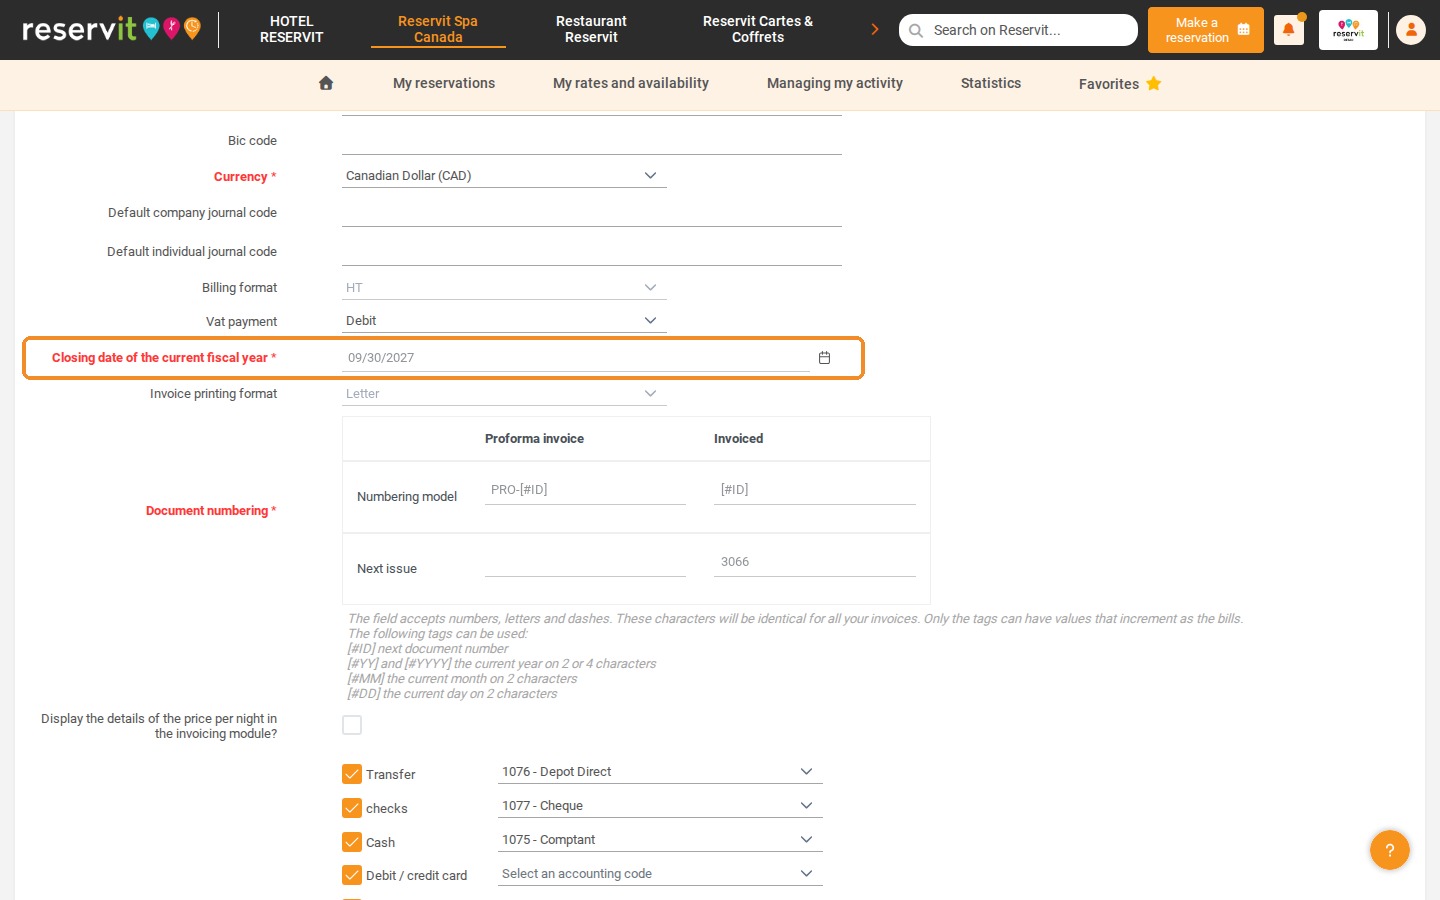
8. Enter the "Closing date of the current fiscal year".
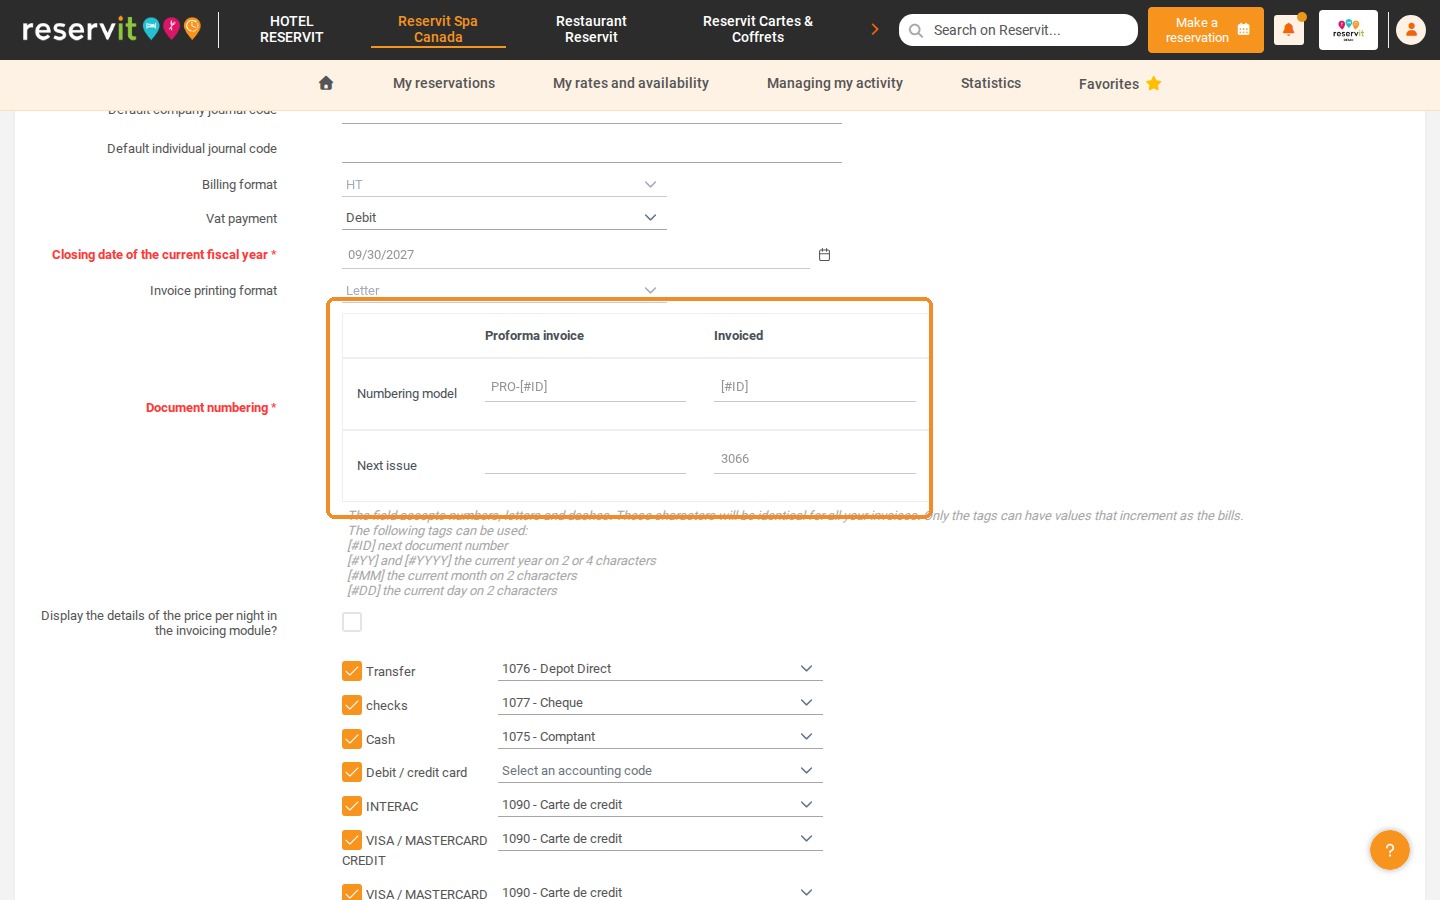
9. In "Document numbering", enter the next invoice number in the "Next issue" field of the "Invoiced" column. The "Numbering model" row defines the format of the numbers; it accepts numbers, letters, dashes and tags such as [#ID] (next document number) or [#YYYY] (current year).
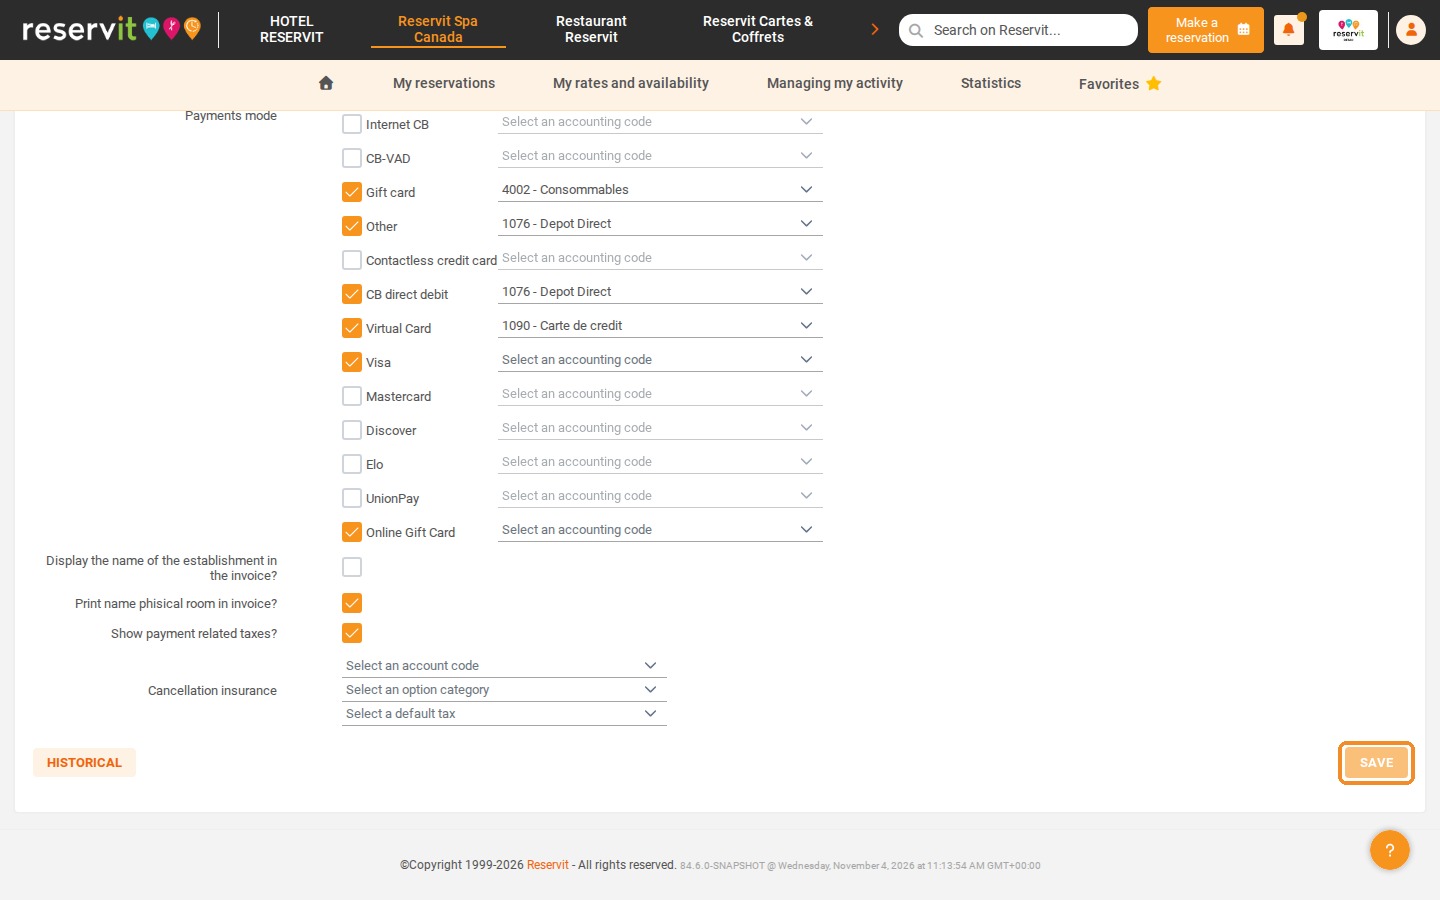
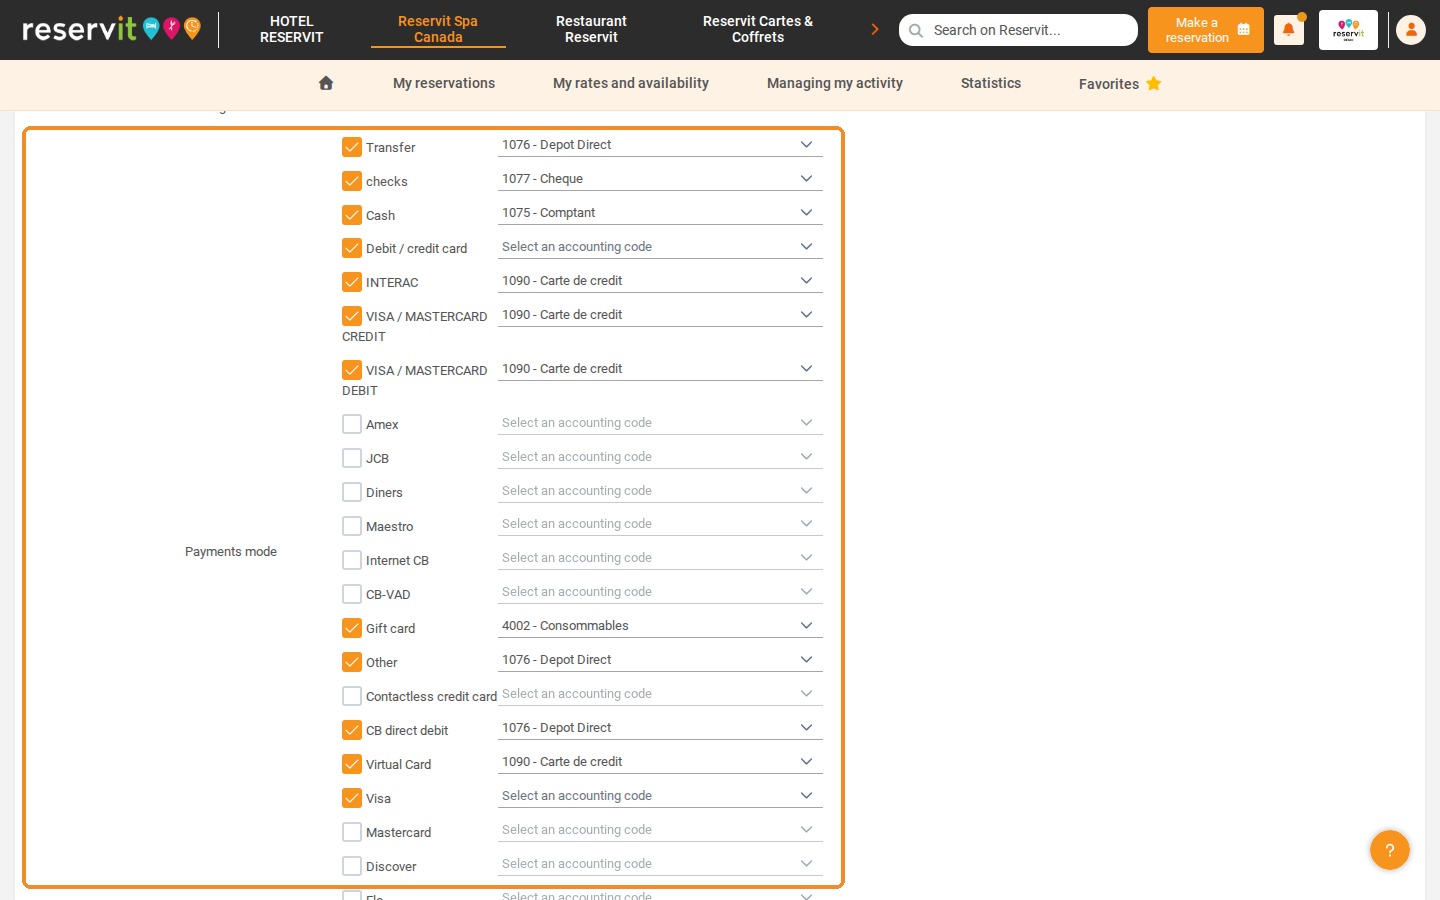
10. In "Payments mode", tick the payment methods you accept.
11. Finally, click "SAVE" at the bottom of the page to apply your settings.