Article Summary: This step-by-step tutorial explains how to easily edit and manage table characteristics within the Reservit Restaurant system. You will learn how to add specific seating features, customize their names, and translate them into multiple languages to accommodate your diverse clientele. Mastering this setup allows you to fully personalize your restaurant's profile and ensure your staff can quickly match guests with their preferred dining experience.
The 5 key steps to edit your table characteristics:
-
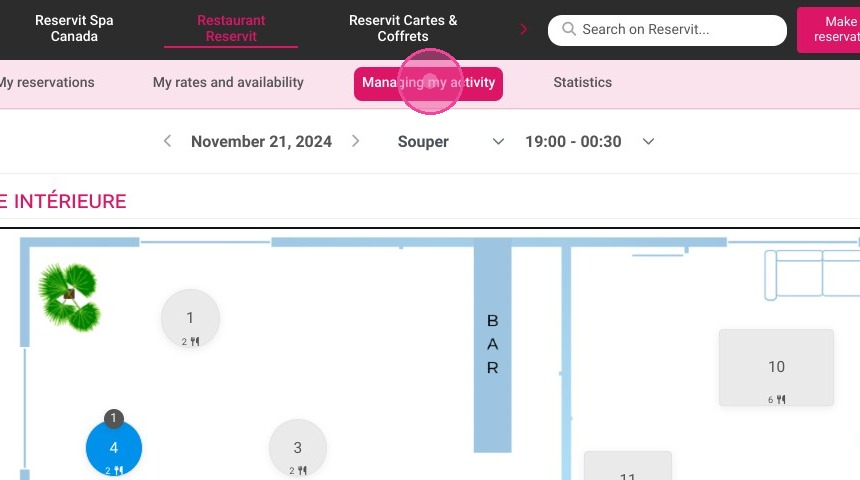
Access your property setup: Open the "Managing my activity" menu and click on "Property Setup" to configure your restaurant's core settings.
-
Navigate to your features: Go to the "My Characteristics" section to view and manage all available table traits in your system.
-
Select new characteristics: Choose and add the specific seating features you want to make available for your restaurant's floor plan.
-
Rename and translate: Modify the default names of your selected features and seamlessly translate them into different languages to support international guests.
-
Save your updates: Click "SAVE" to confirm your changes and instantly apply these customized characteristics to your live reservation platform.
Why follow this guide? Accurately defining and translating your table characteristics allows your staff to seamlessly accommodate special guest requests, such as accessible seating or a window view. This proactive configuration prevents seating errors, saves valuable time during busy services, and significantly elevates the overall customer experience.
Step 1 - Create a room
1. Click "Managing my activity"
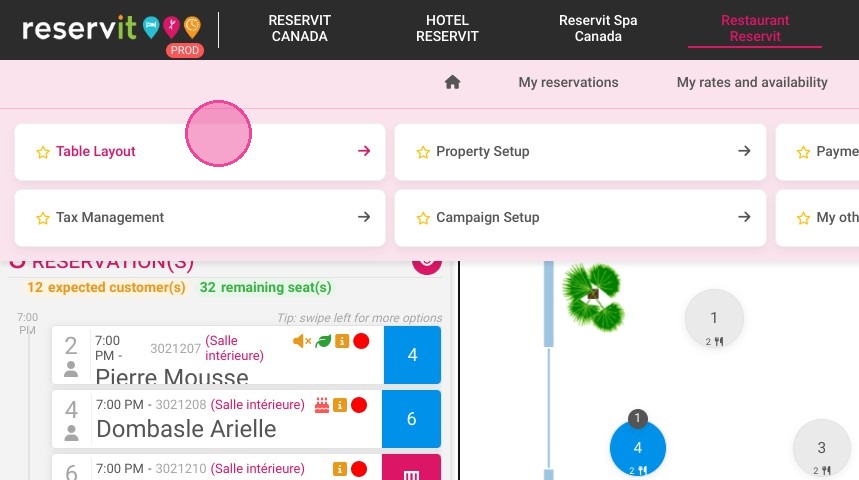
2. Click on "Table Layout"
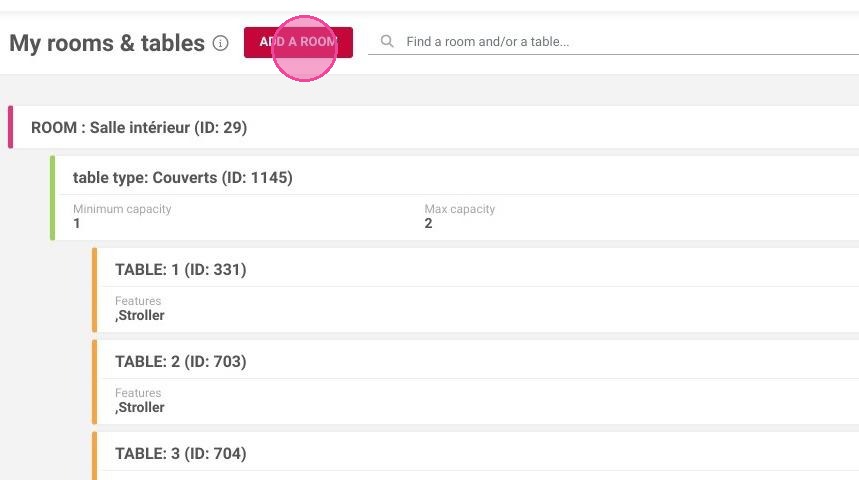
3. Go to "My Tables"

4. Click "ADD A ROOM"
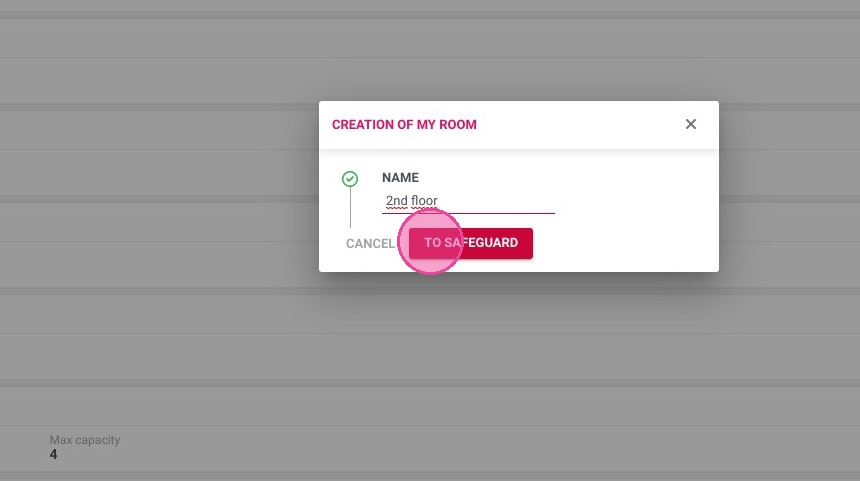
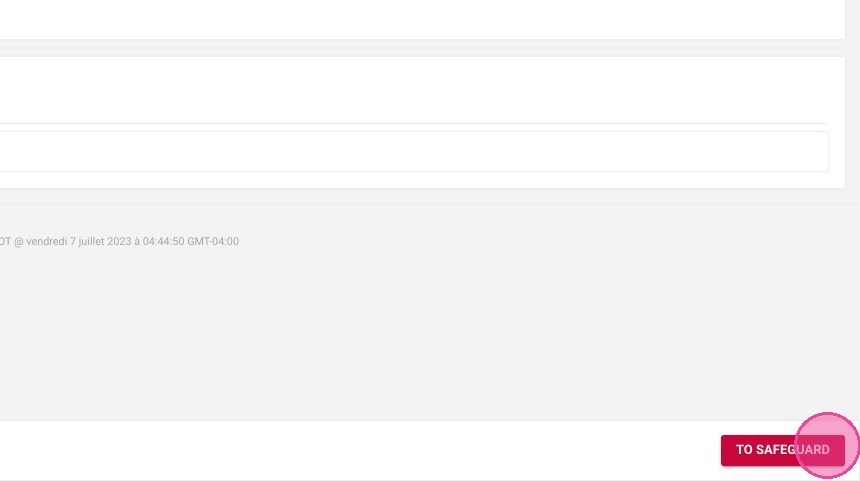
5. Enter the name of the room
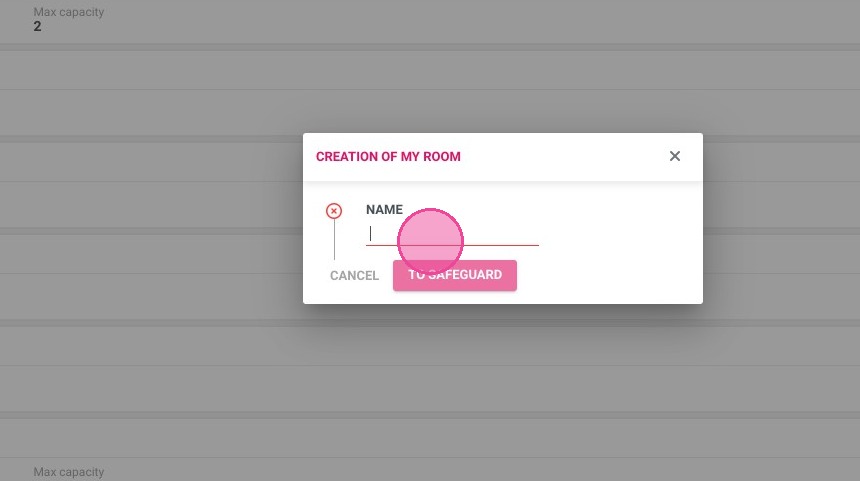
6. Click "TO SAFEGUARD"
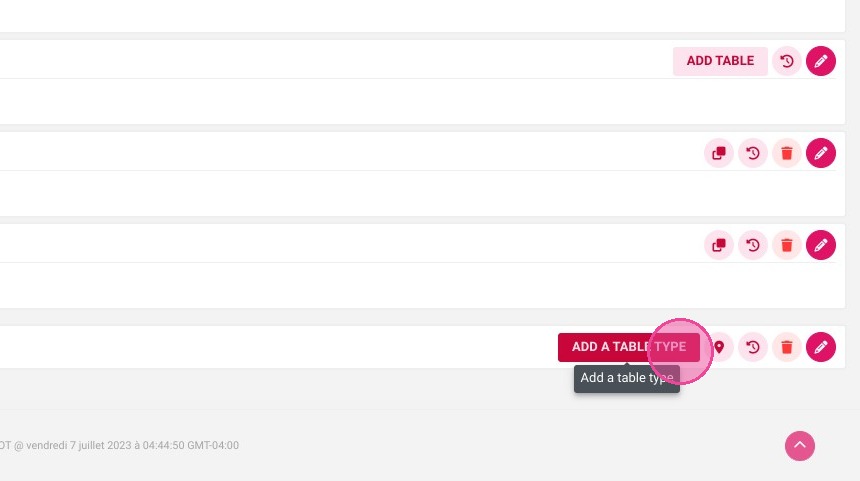
Step 2 - Add a table type
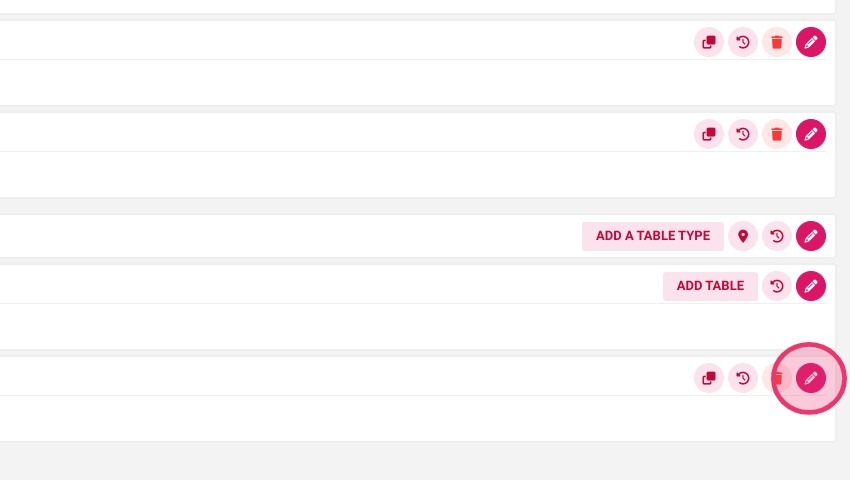
7. Click "ADD A TABLE TYPE"
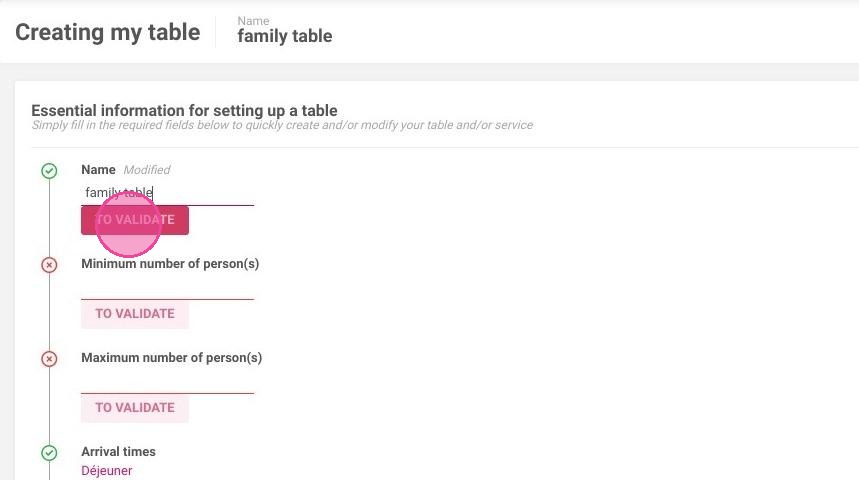
8. Enter the name of the table type
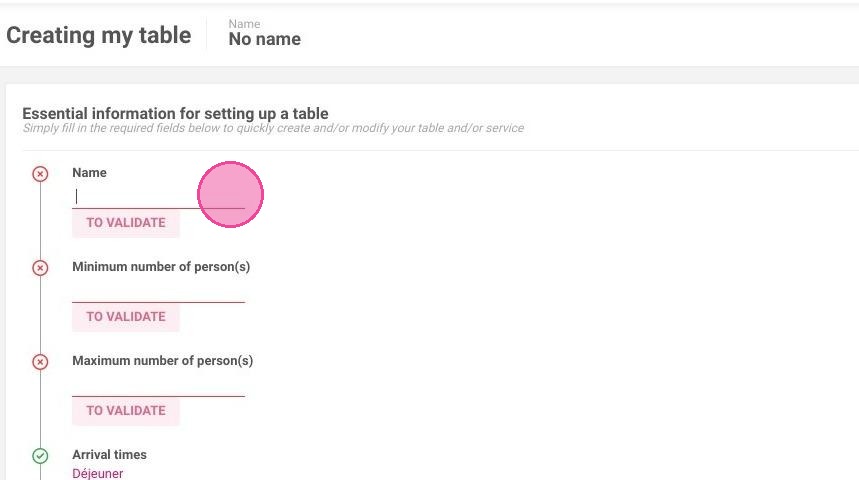
9. Click "TO VALIDATE"
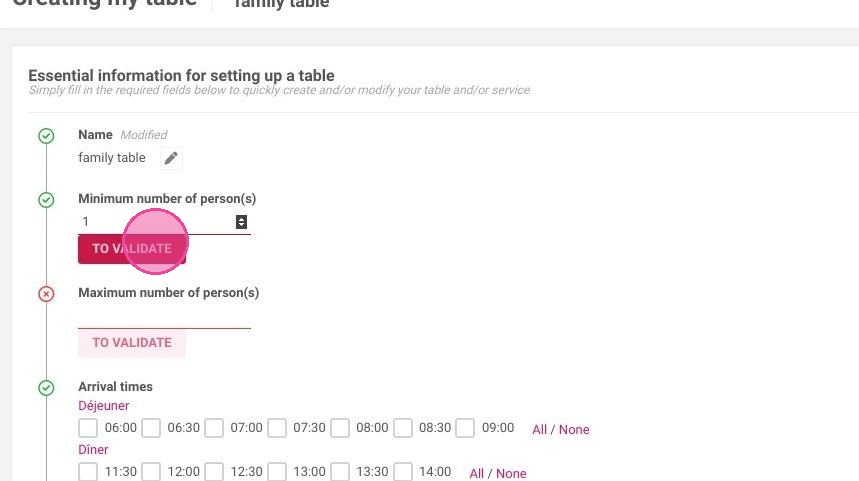
10. Enter the minimum number of persons allowed to the table
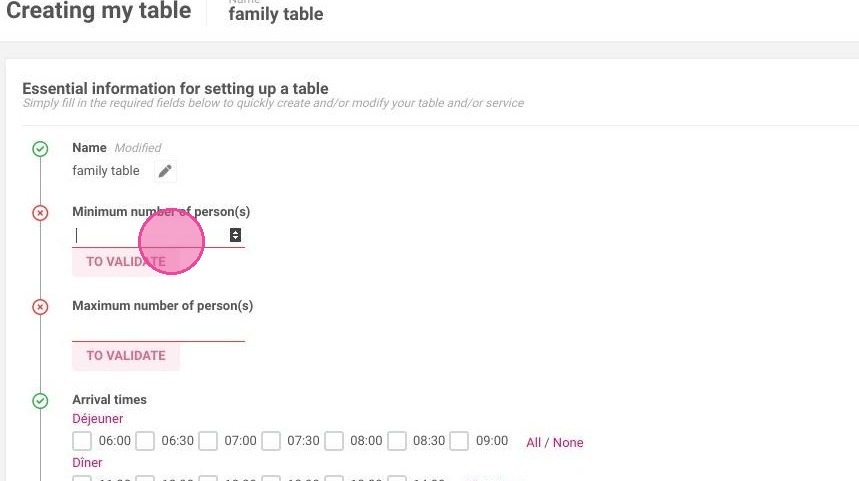
11. Click "TO VALIDATE"
12. Enter the maximum number of persons allowed to the table
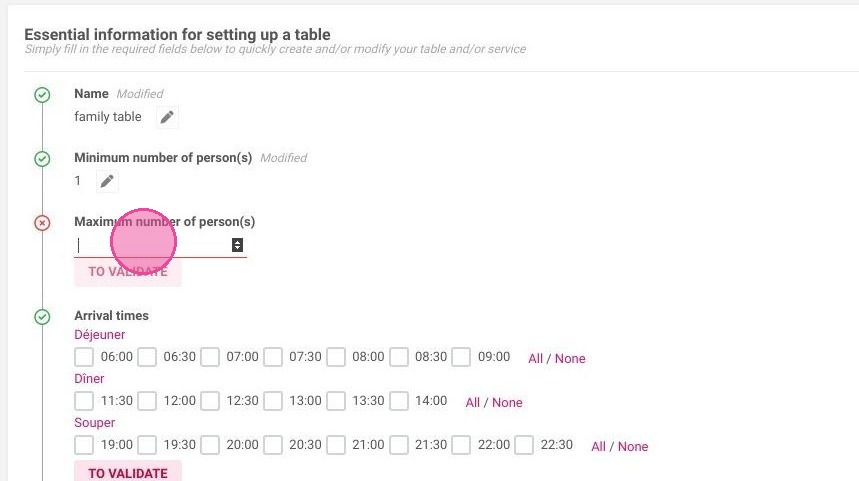
13. Click "TO VALIDATE"
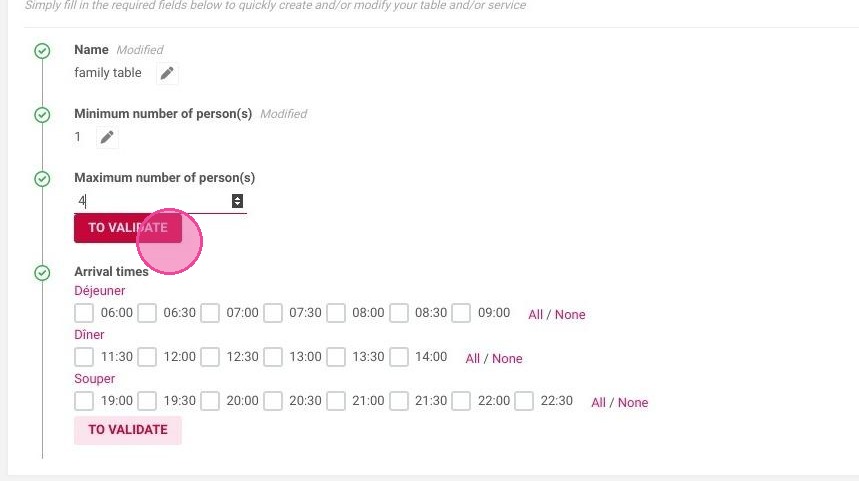
14. Select the arrival times allowed
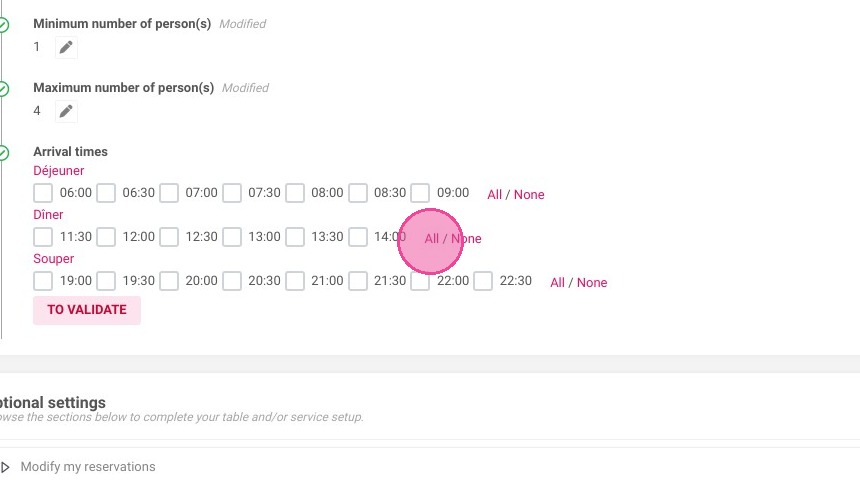
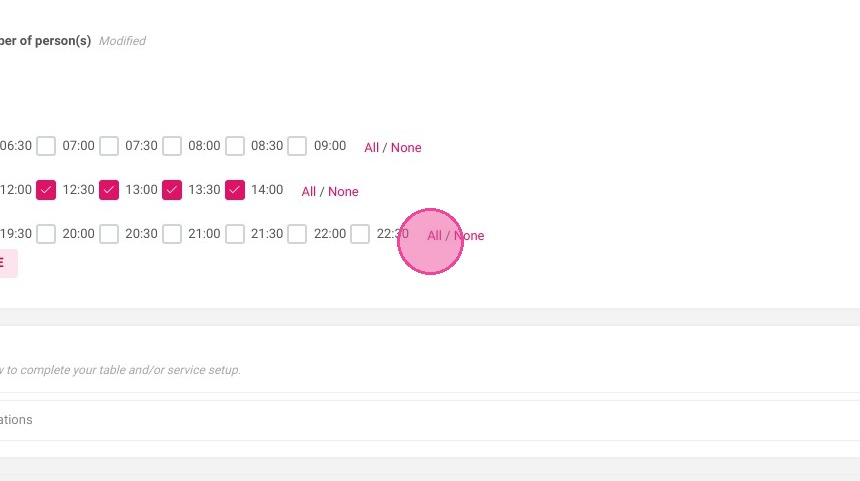
15. Click "TO VALIDATE"
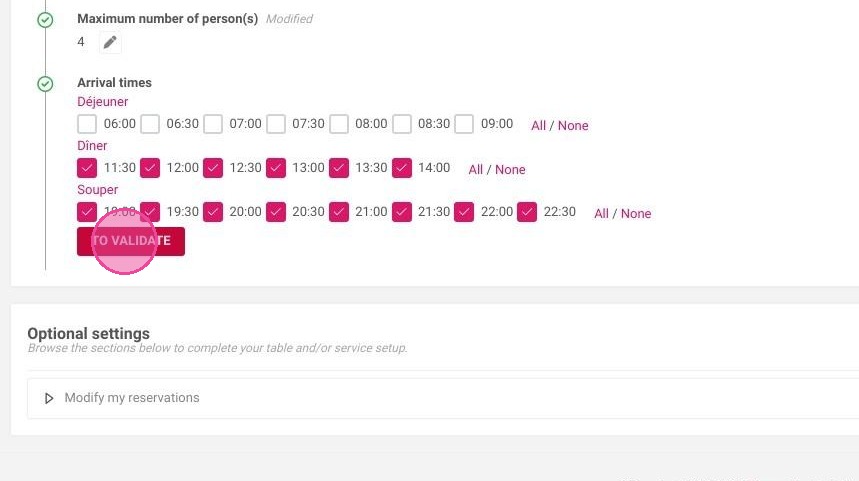
16. Click "TO SAFEGUARD"
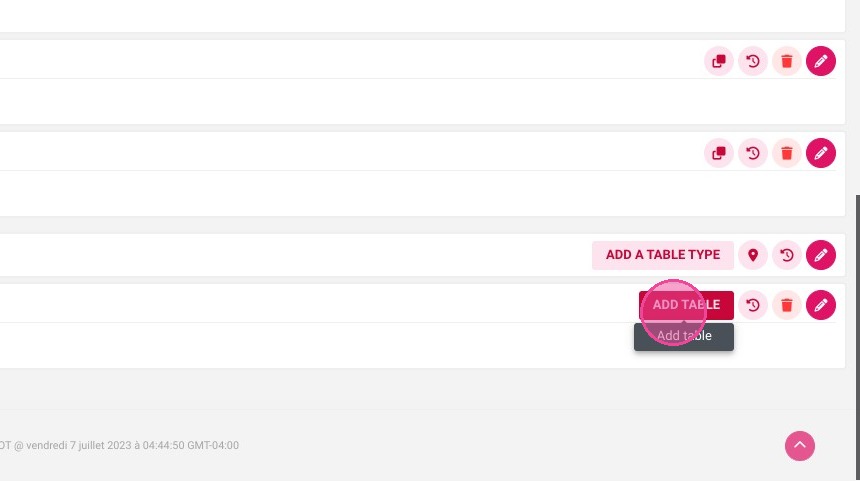
Step 3 - Add tables
17. Click "ADD TABLE"
18. Enter the name or number of the table
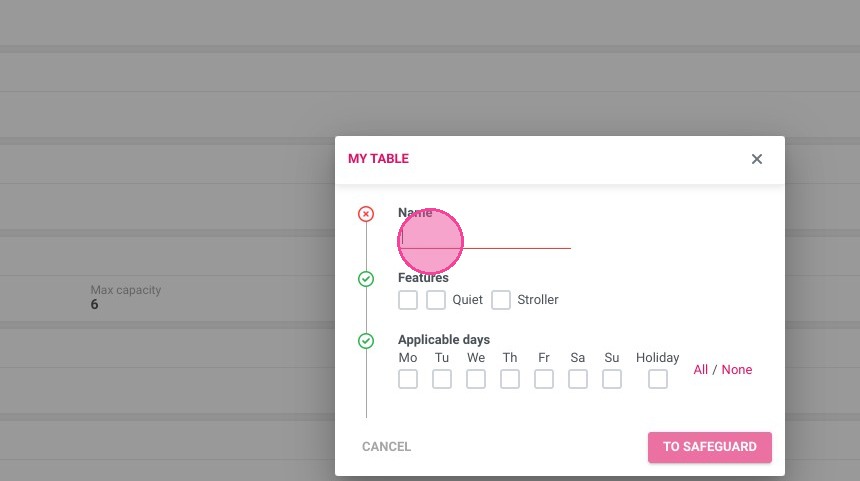
19. You can add some features
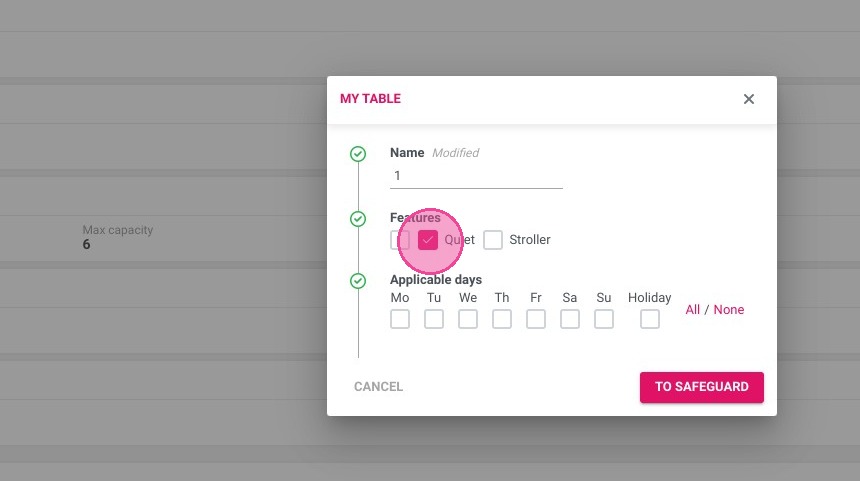
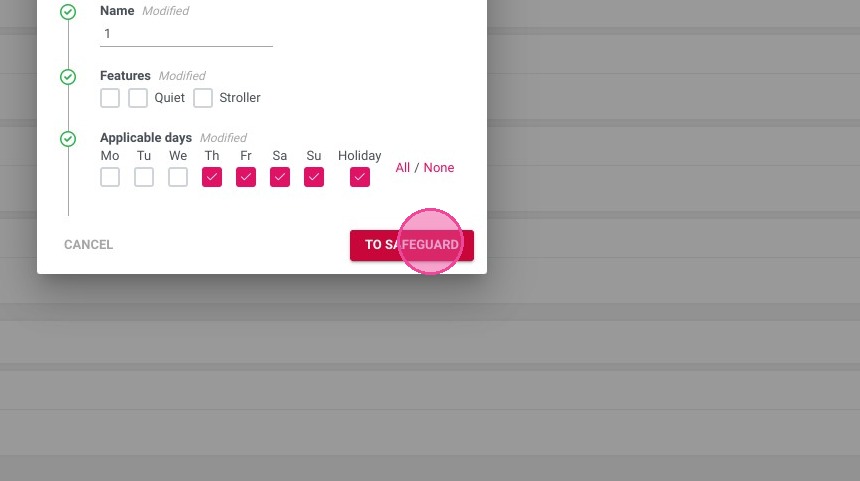
20. Select the applicable days
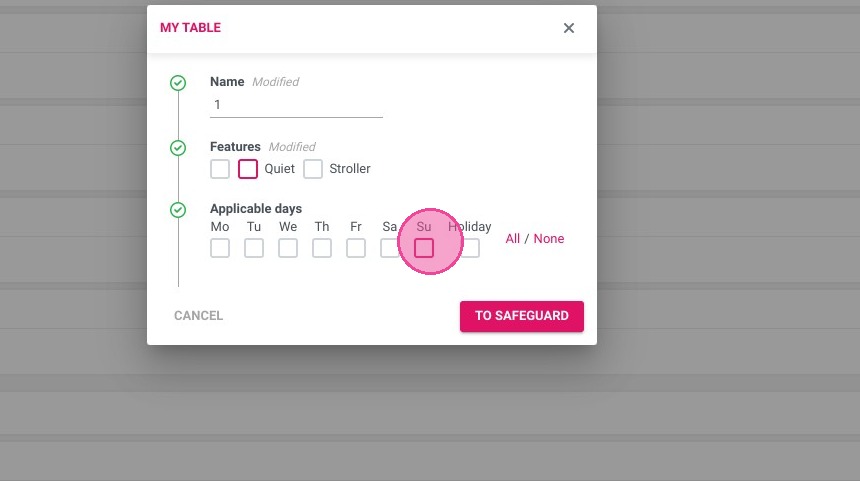
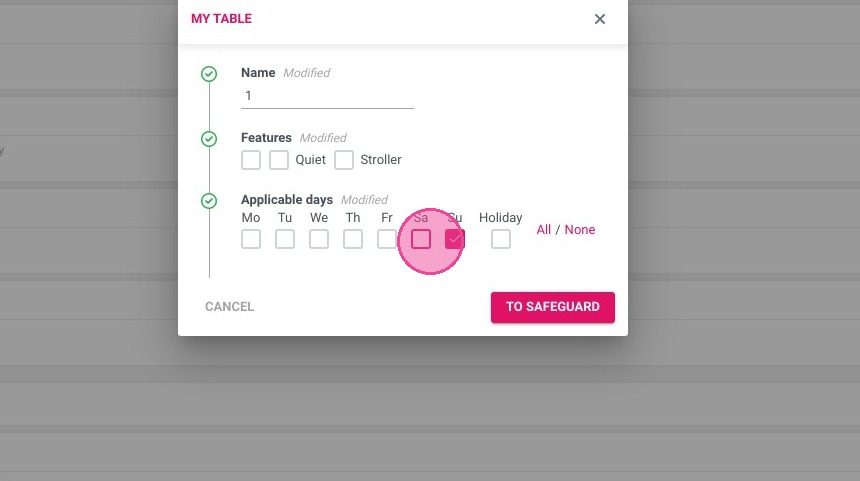
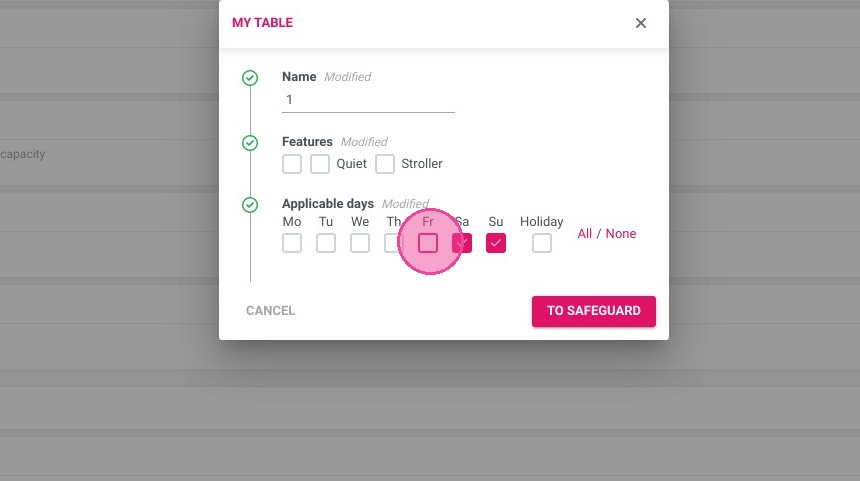
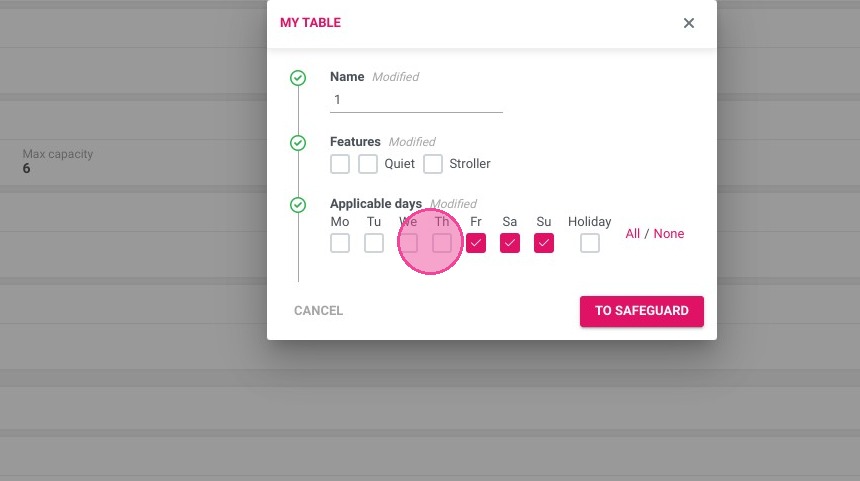
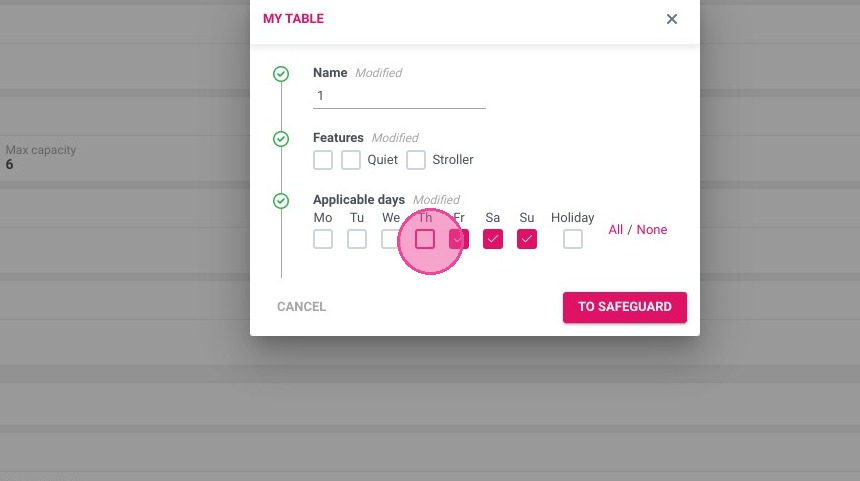
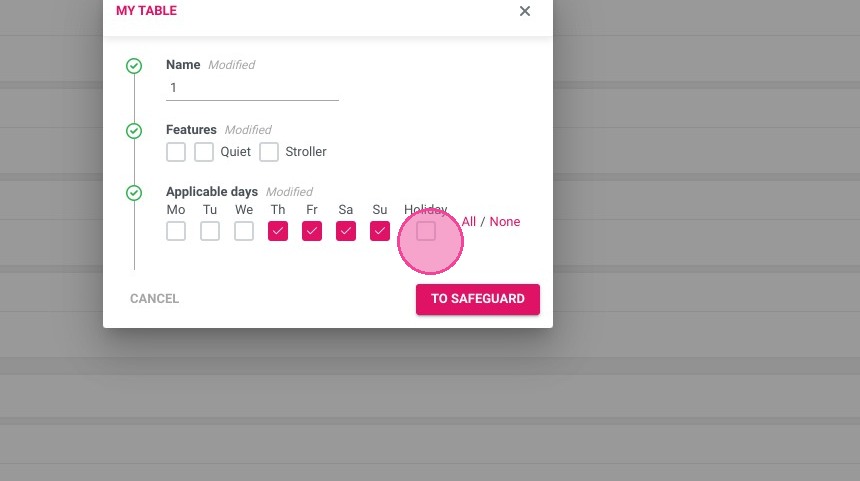
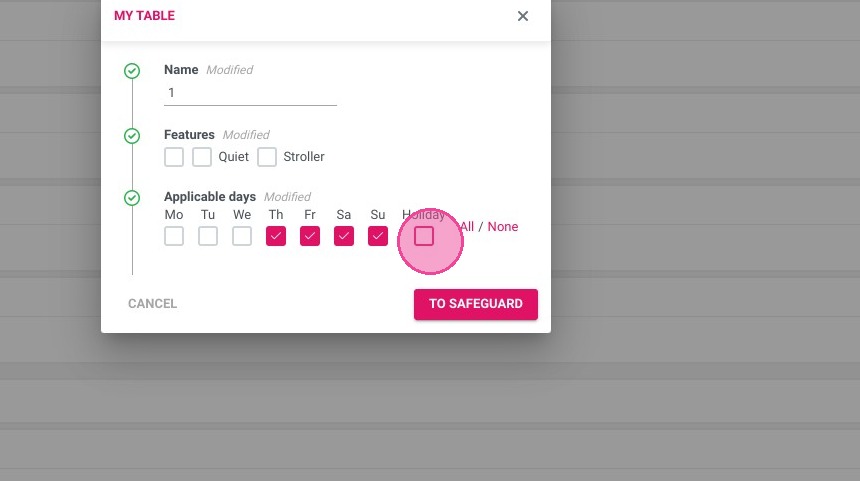
21. Click "TO SAFEGUARD"
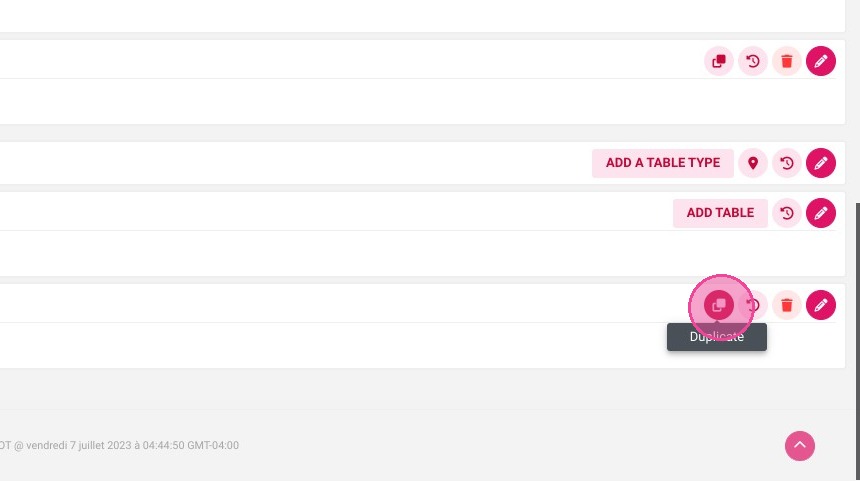
Tip: You can duplicate the table to go faster!
22. Click Duplicate
23. Enter the number of copies you want
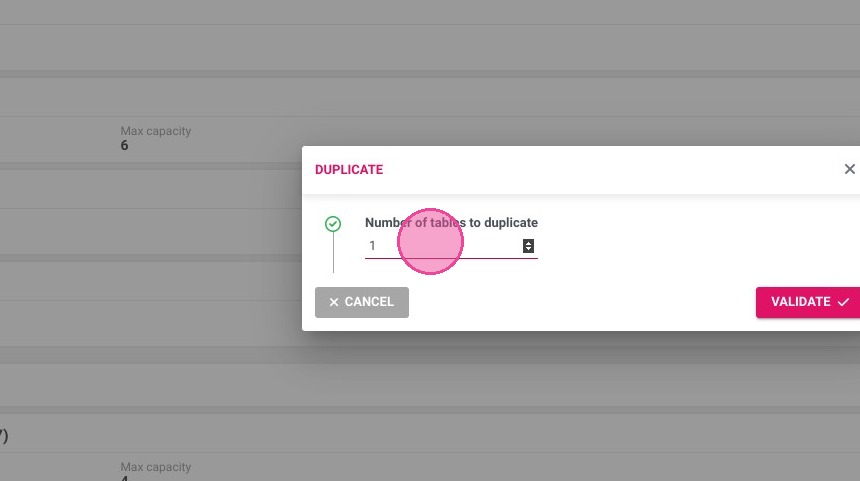
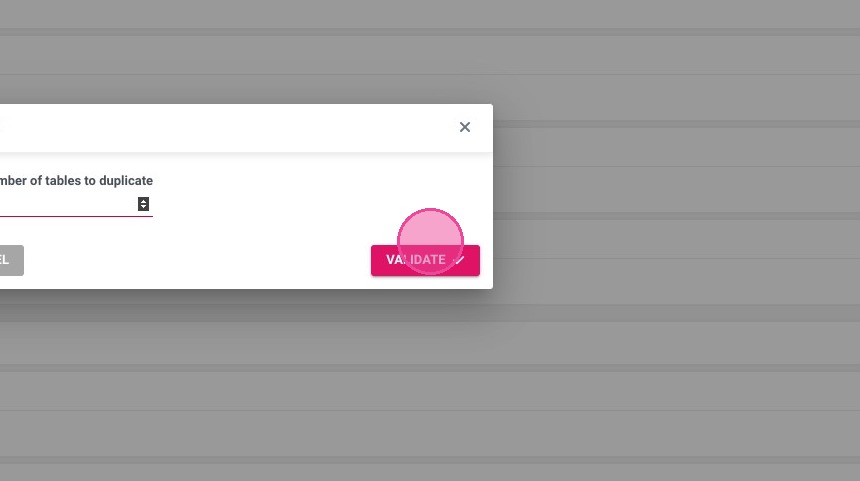
24. Then Validate
25. Simply modify the new tables if necessary by clicking here