Article Summary: This comprehensive tutorial provides step-by-step instructions on how to set and assign pictures to specific physical locations within Reservit Accommodation. Designed specifically for campgrounds and outdoor hospitality properties, you will learn how to easily organize your visual content and link images directly to an interactive map. Mastering this feature allows you to showcase individual campsites, significantly improving the online booking experience and helping potential guests visualize their exact stay.
The 4 Key Steps to Link Pictures to Physical Locations:
-
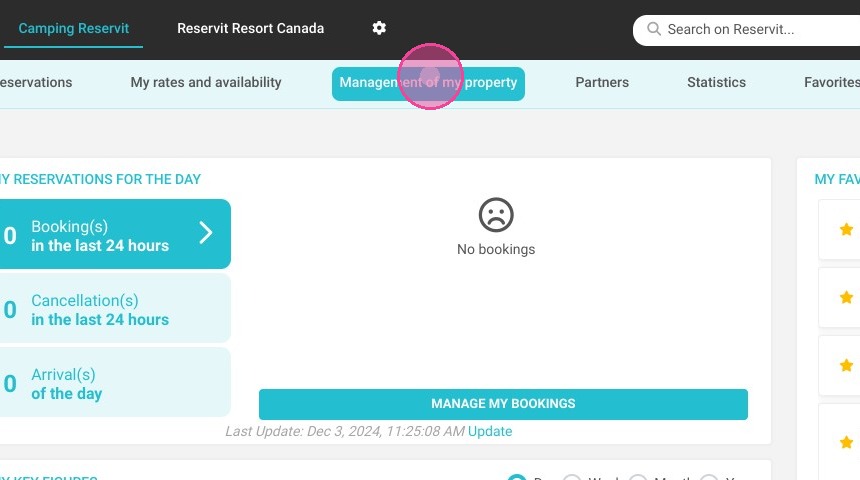
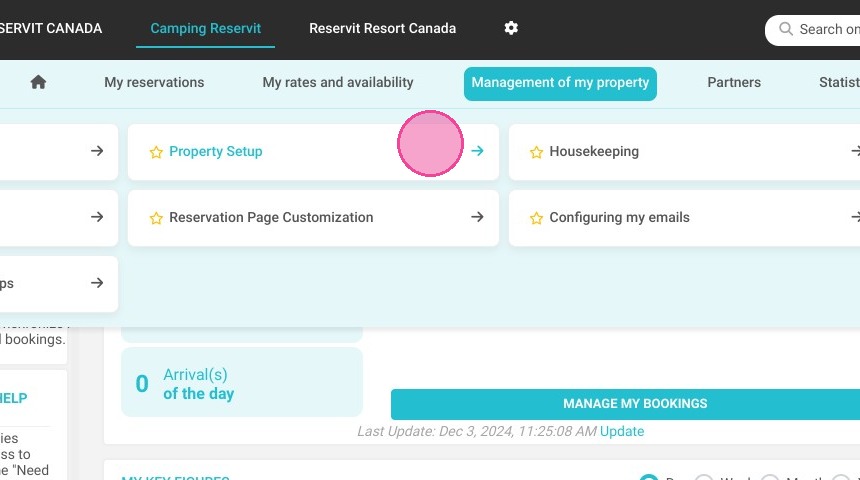
Access the Photo Setup: Navigate to "Management of my property," select "Property Setup," and open the "My Pictures" menu.
-
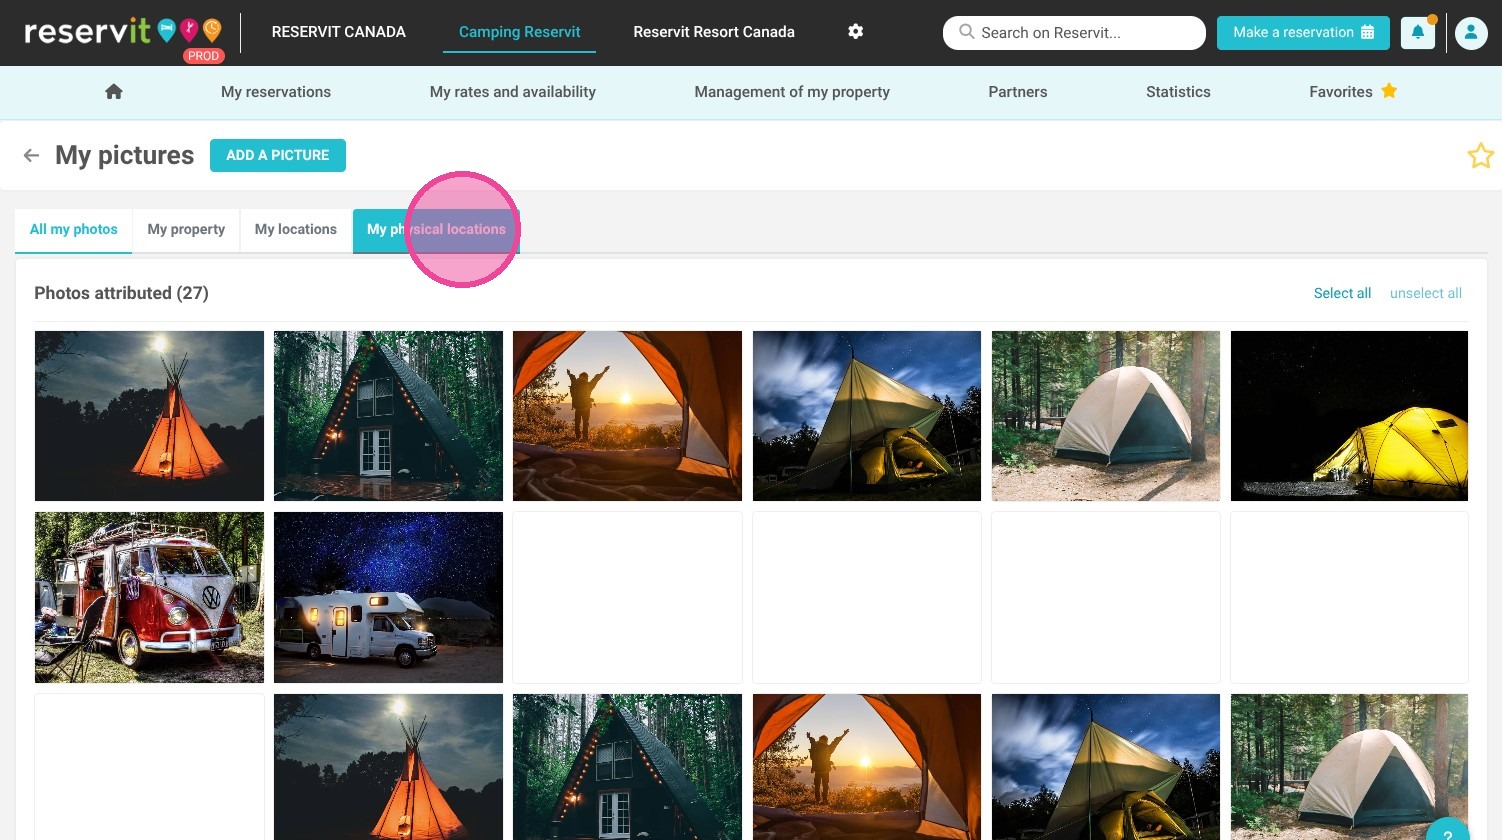
Select the Locations Tab: Click on "My physical locations" to access the media section dedicated to your interactive property map and individual plots.
-
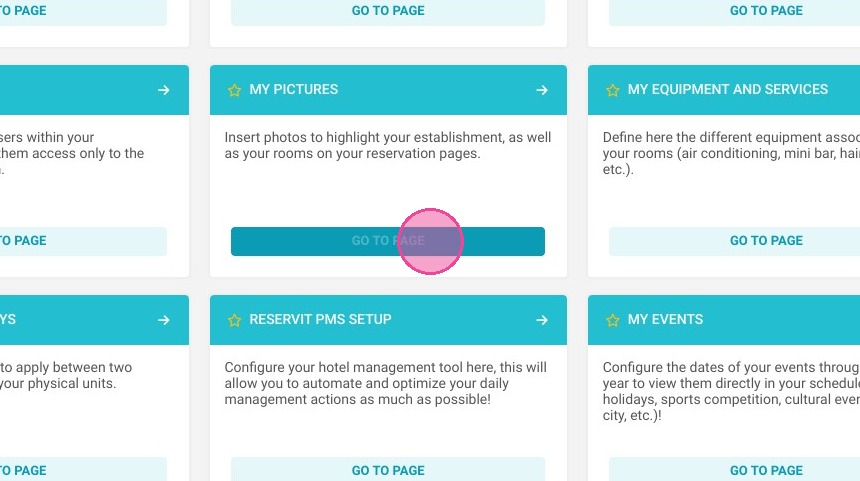
Upload or Choose an Image: Click "Add a picture" to upload a new file from your device, or select an existing photo from your current media library.
-
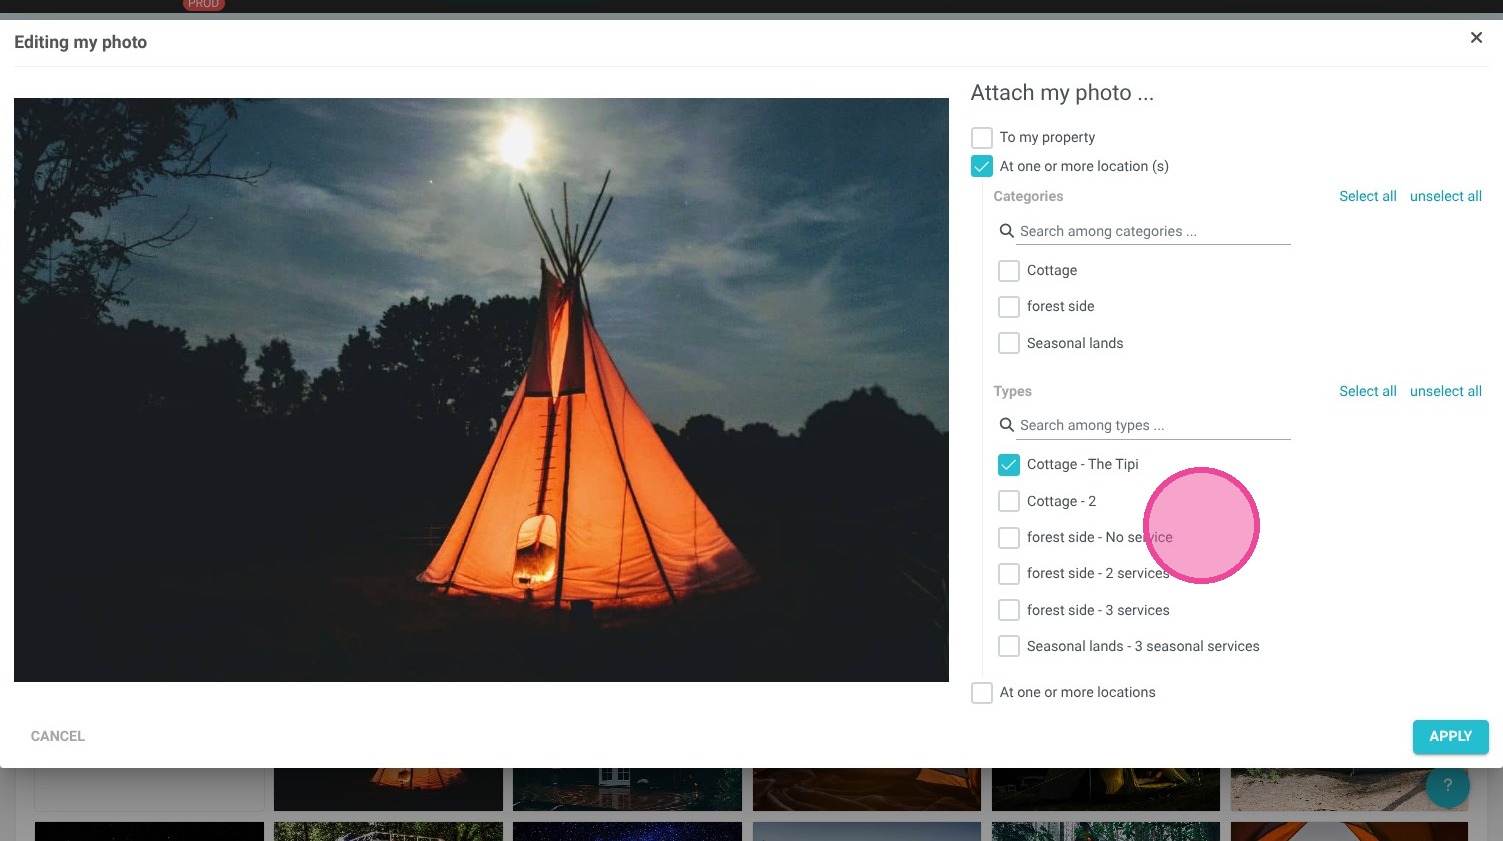
Link to Specific Locations: Click "At one or more locations" to accurately assign the chosen image to the exact physical spots on your campground map.
Why follow this guide? Following this guide optimizes your campground's online merchandising by providing travelers with a clear, interactive visual representation of your specific plots. This transparency drastically reduces front-desk inquiries about site specifics and boosts your overall reservation conversion rates by building trust during the online booking process.
1. Click "Management of my property" then ''Property Setup'' and ''My Pictures'' Select "My physical locations" You will find all of your pictures of your property, your rooms, and your physical locations. The interactive map is used to locate physical locations.
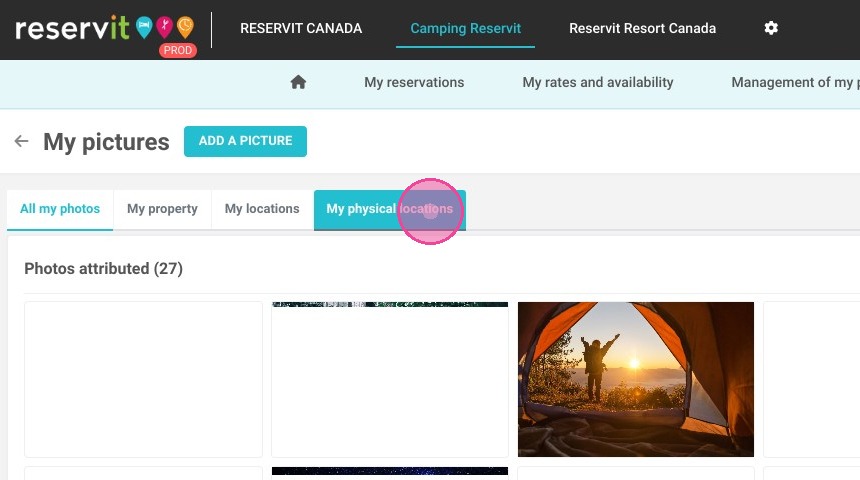
2. Click "My physical locations"
3. Click "Add a picture"
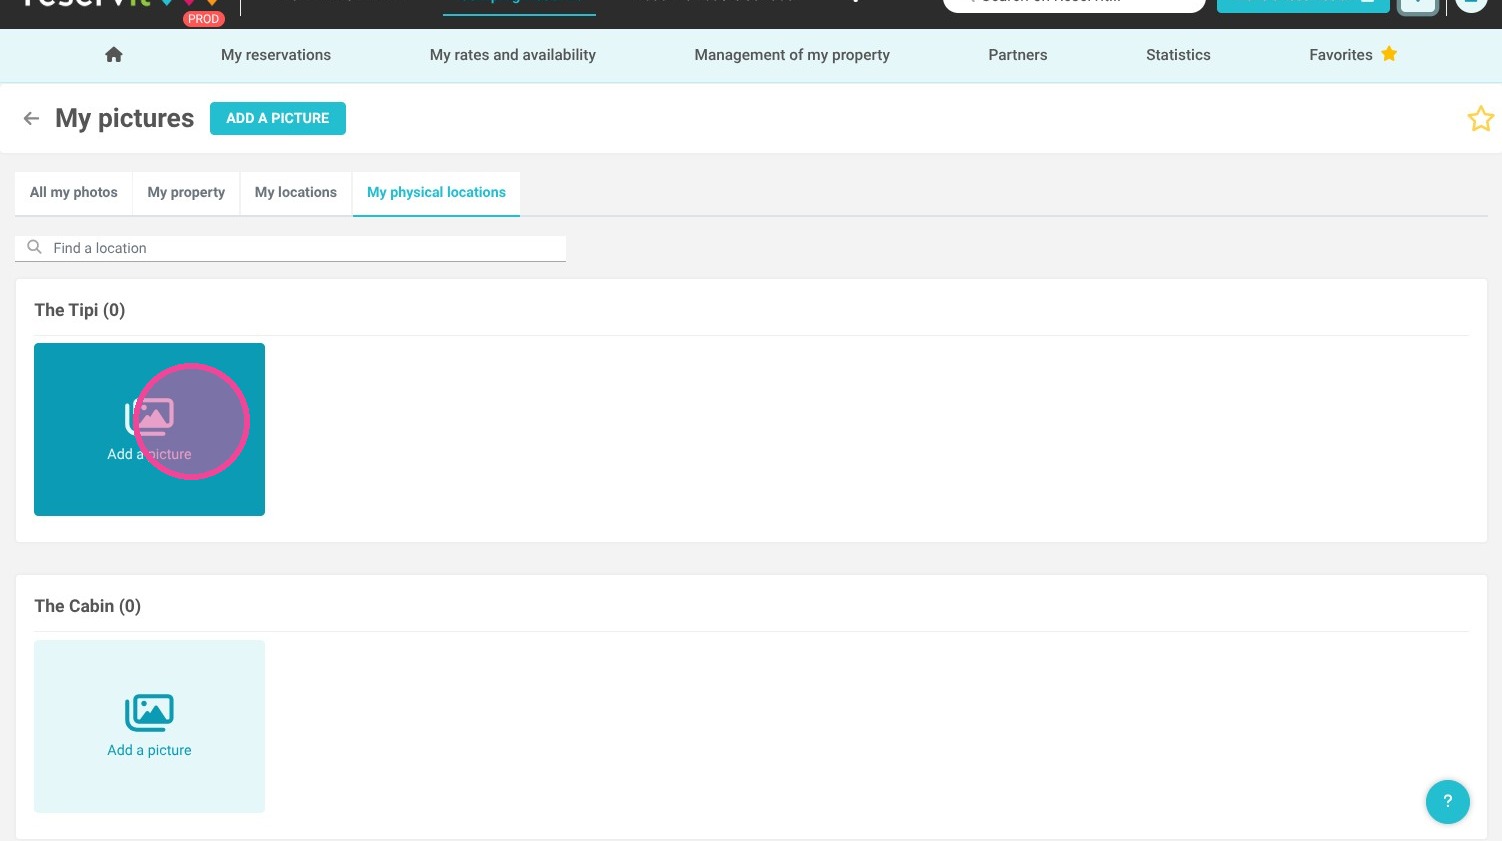
4. You can also click on a picture already uploaded.
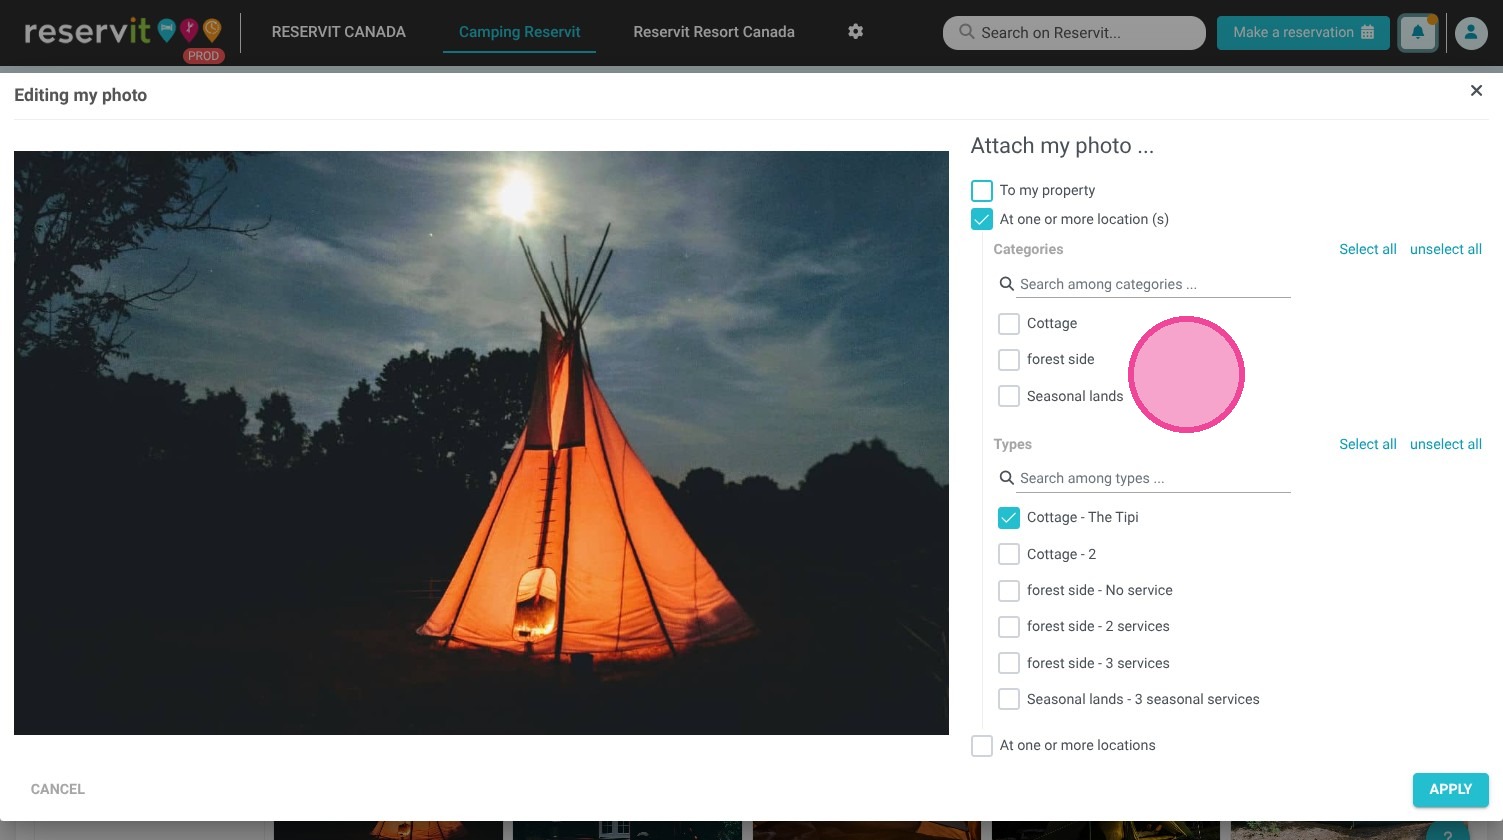
5. Click on "At one or more locations" to link it to the physical locations.