Article Summary: This step-by-step tutorial explains how to set up the connectivity between your Maître'D POS software and Reservit PMS. You will learn how to sync your IDs and accurately configure your services, taxes, and tips within your system. By mastering this integration, you guarantee unified, transparent invoicing and highly reliable turnover reports for your property.
The 5 key steps to configure the Maître'D integration:
-
Access connectivity settings: Navigate to your property configuration (Property Setup > Reservit PMS Setup) to open the dedicated Maître'D connectivity tab.
-
Create services and menus: Add your various services, making absolutely sure that the IDs exactly match the ones in your Maître'D point of sale.
-
Link accounting for charges: Define the invoicing labels, accounting codes, and turnover report options for each service line.
-
Configure taxes: Add the applicable restaurant taxes by associating them with the relevant tax families and accounting codes.
-
Manage tips and save: Set up how tips will be labeled on your invoices, link them to your accounting, then validate and save your final configuration.
Why follow this guide? A rigorous configuration of this POS connectivity helps you avoid costly double-entry errors and billing discrepancies between the restaurant and the front desk. This optimizes your daily workflows, secures the accurate transfer of your accounting data, and saves you valuable time during audits and closings.
Important! The ids entred in Reservit should match the one you have in Maître'D
1. Go to Management of my property > Property Setup.
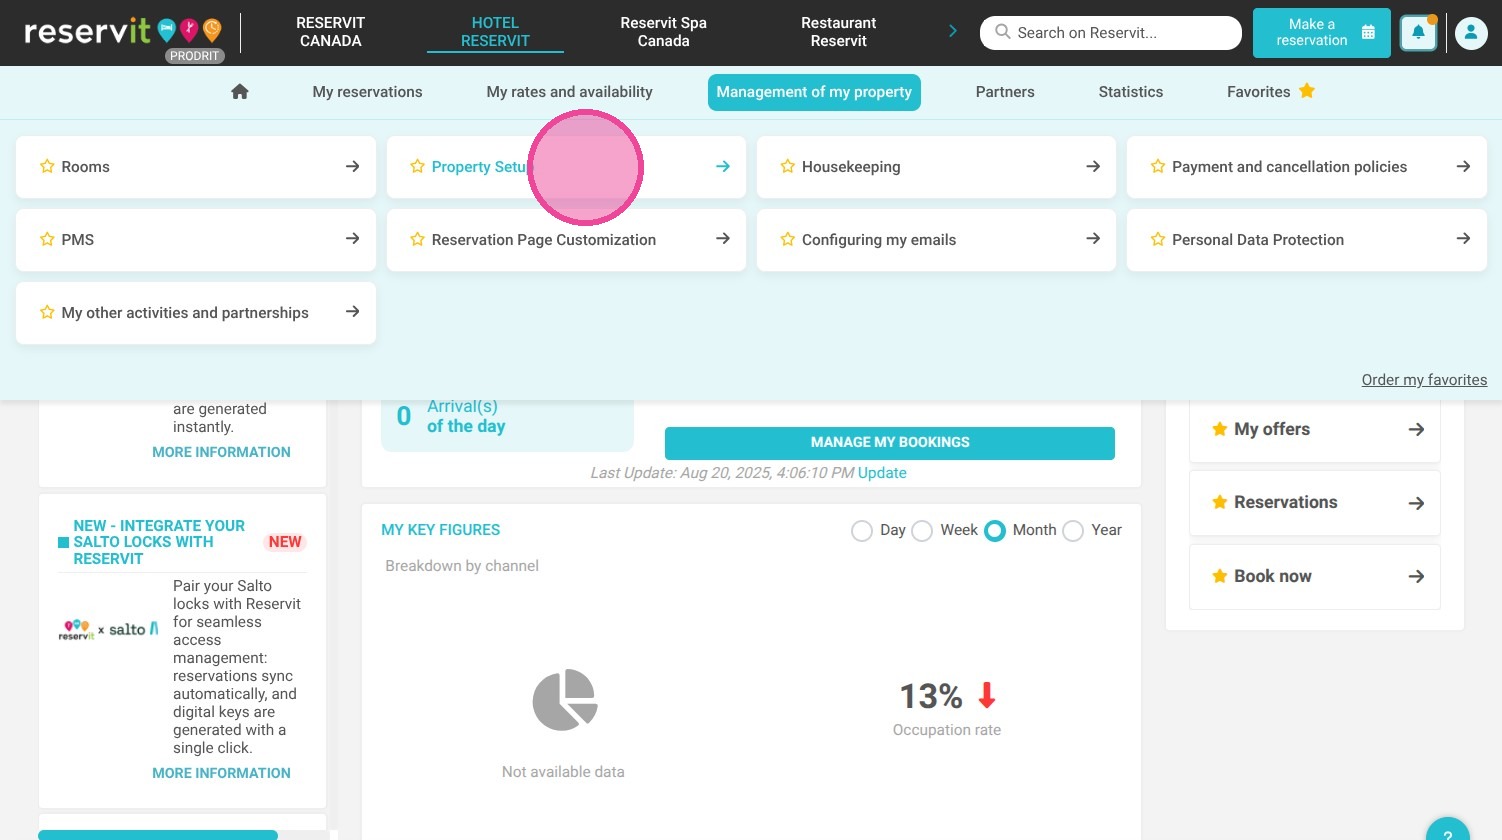
2. Access Reservit PMS Setup.

3. Click "MasterD Connectivity" tab
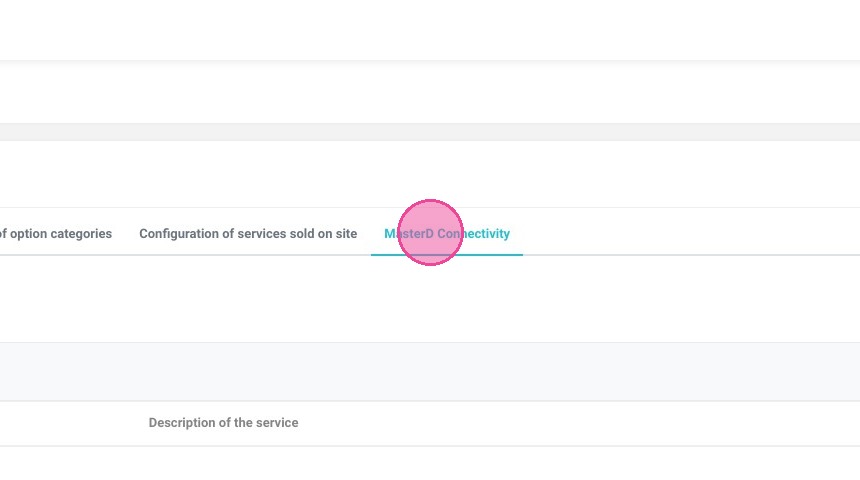
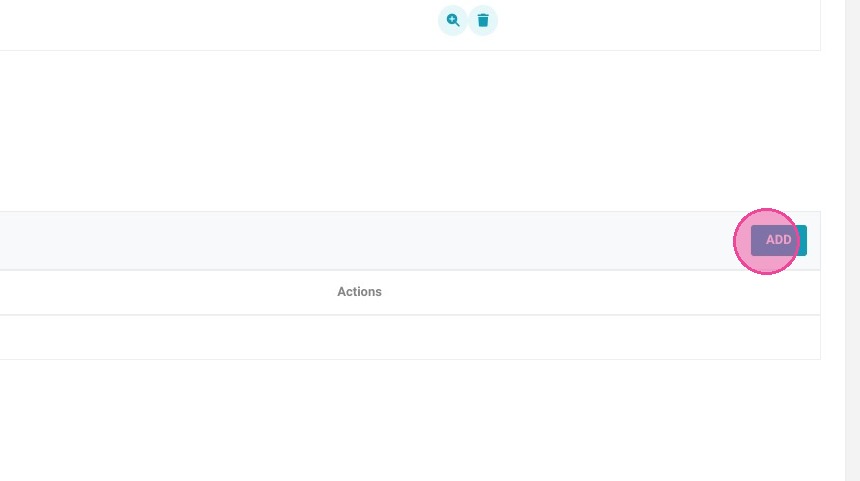
4. Click "ADD"

5. Enter your first service (or menu)
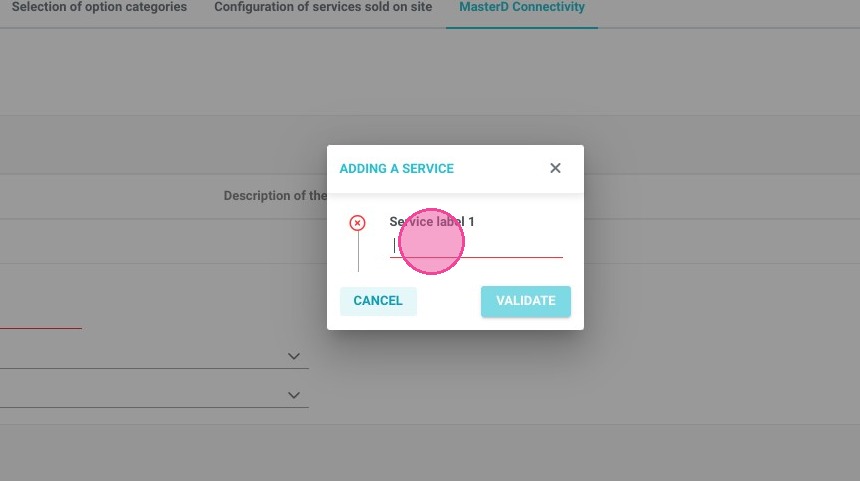
6. Repeat this step as many time as needed
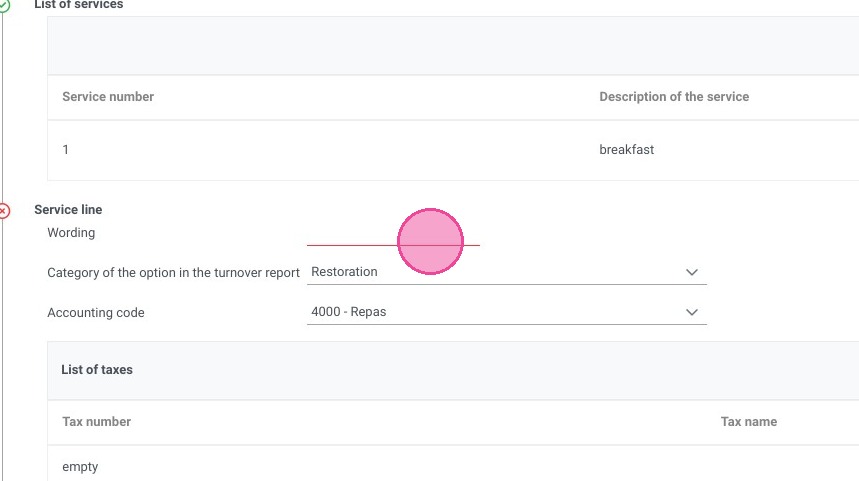
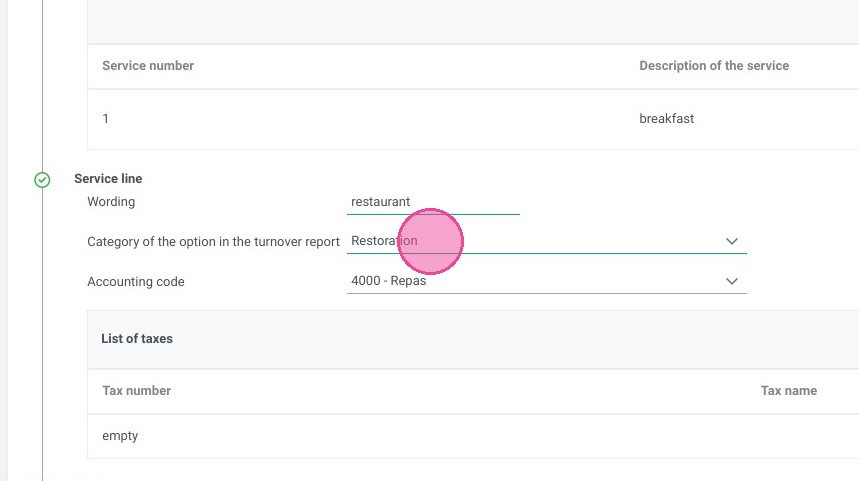
7. In service line, you'll define how your maitre d charges will be labelled
8. Select the relevant option for the turnover report
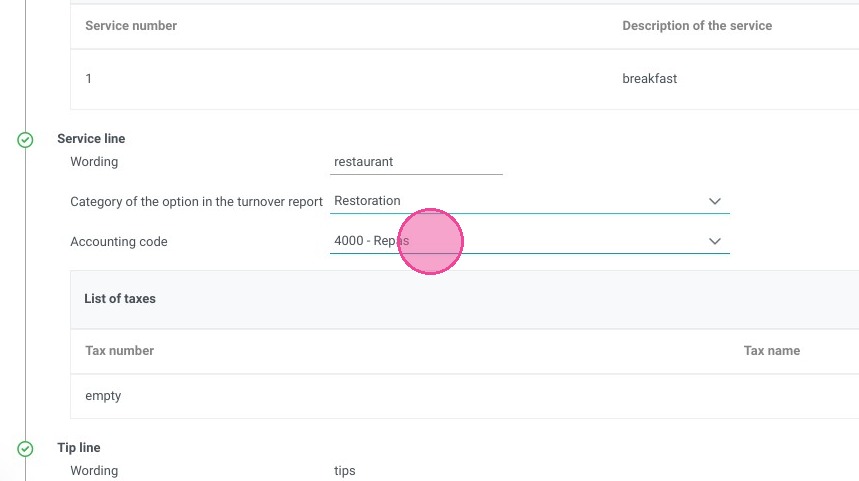
9. Select the relevant accounting code
10. Click "ADD"
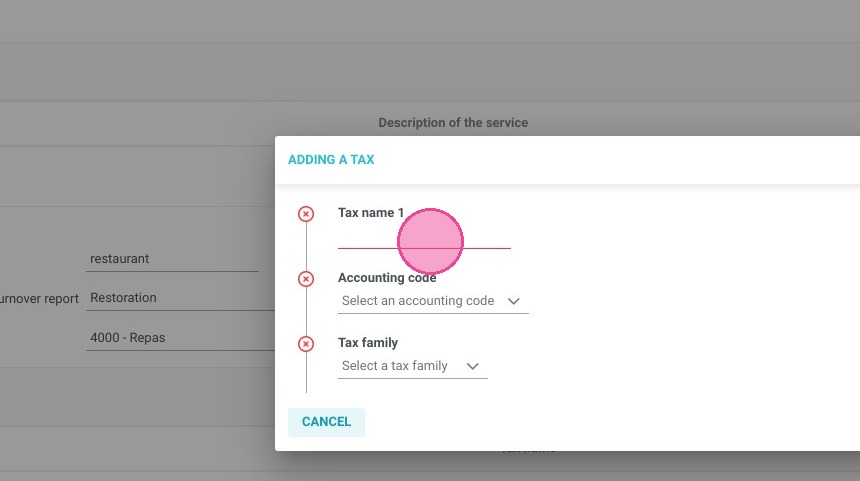
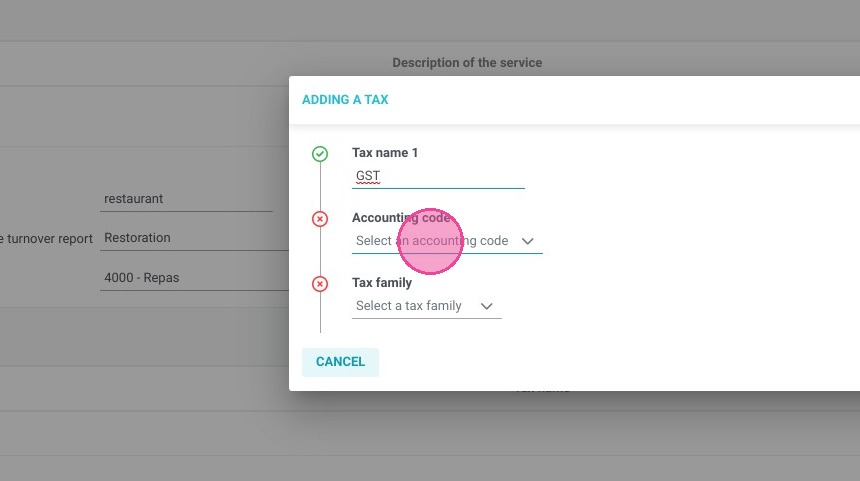
11. Add your first tax
12. Select the relevant accounting code
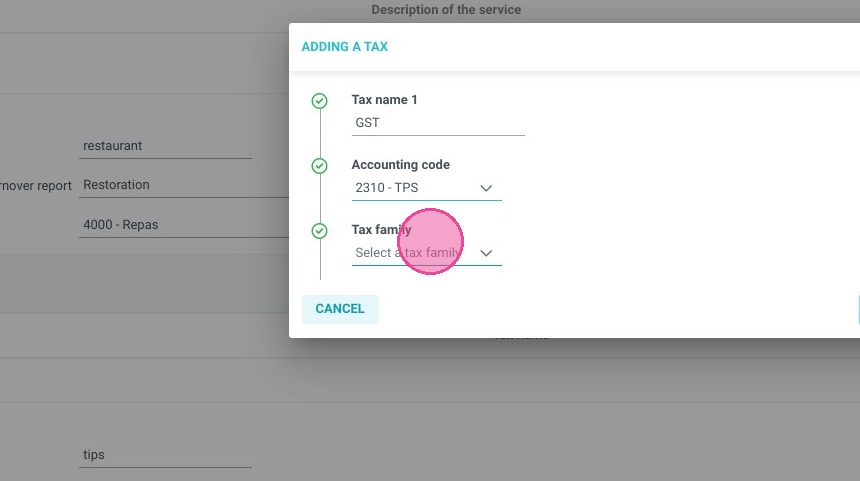
13. Select the relevant tax family
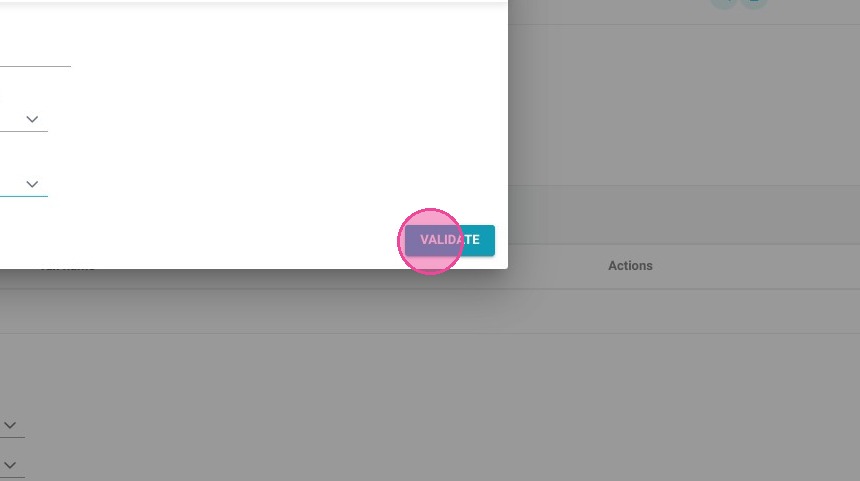
14. Click "VALIDATE"
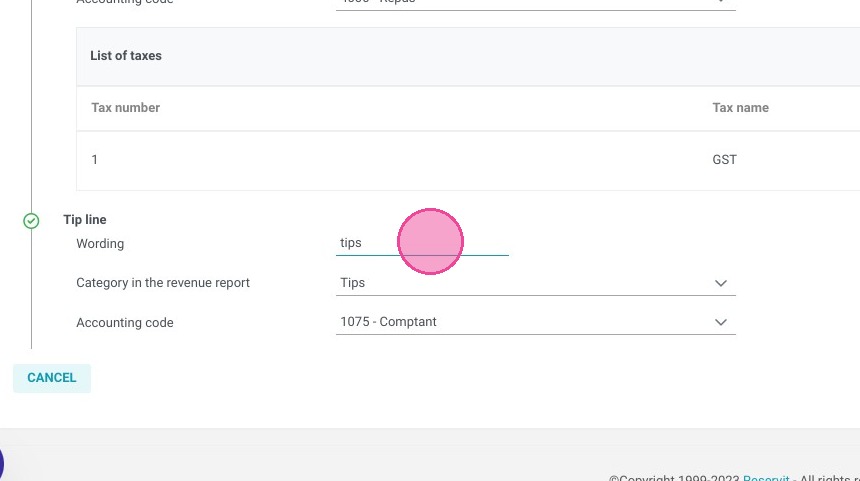
15. In Tip line you'll choose how do you want the tips to be labelled in your invoicing
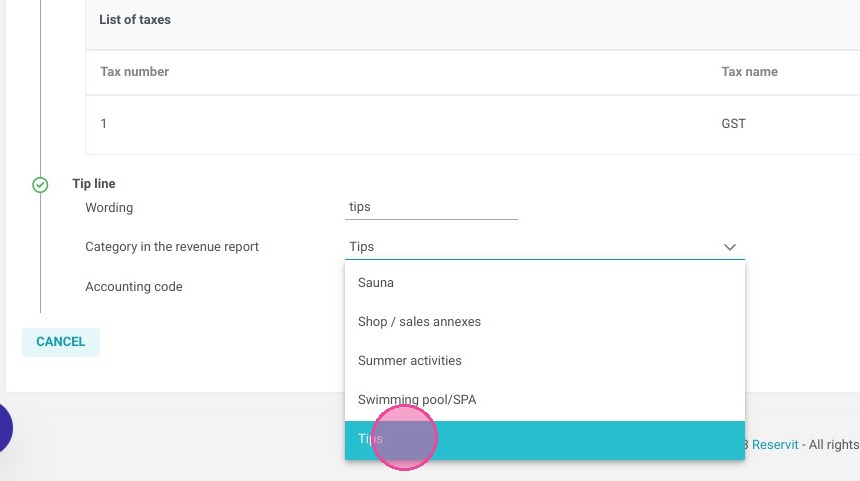
16. Select the relevant option for the turnover report
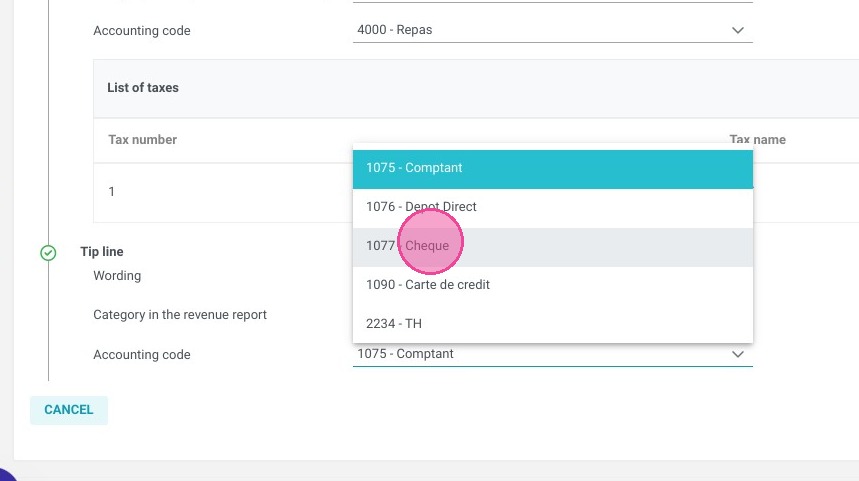
17. Select the relevant accounting code
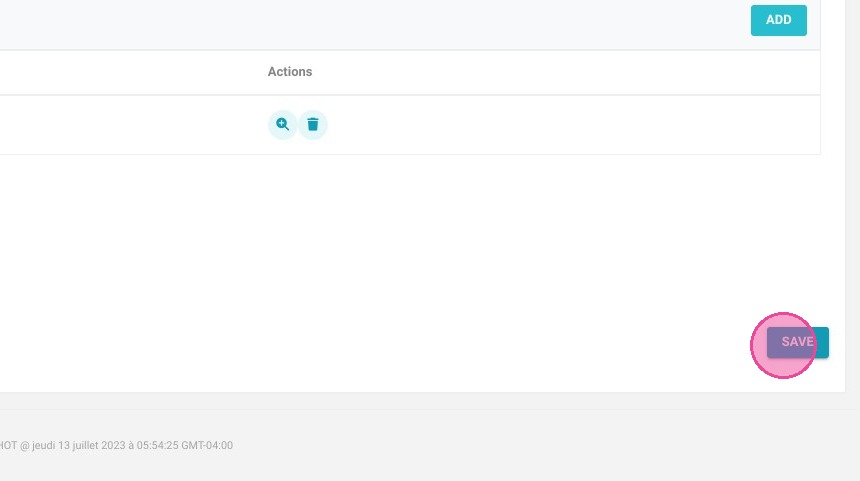
18. Click "SAVE"