Article summary: This comprehensive guide explains how to manually create and process reservations within the Reservit Activities platform. You will learn how to navigate both quick and advanced booking methods, from selecting the right offers and schedules to adding customer details and sending automated confirmation emails. By mastering this reservation process, you ensure a seamless booking experience for your guests while keeping your internal calendar perfectly organized.
The 5 key steps to create a reservation:
-
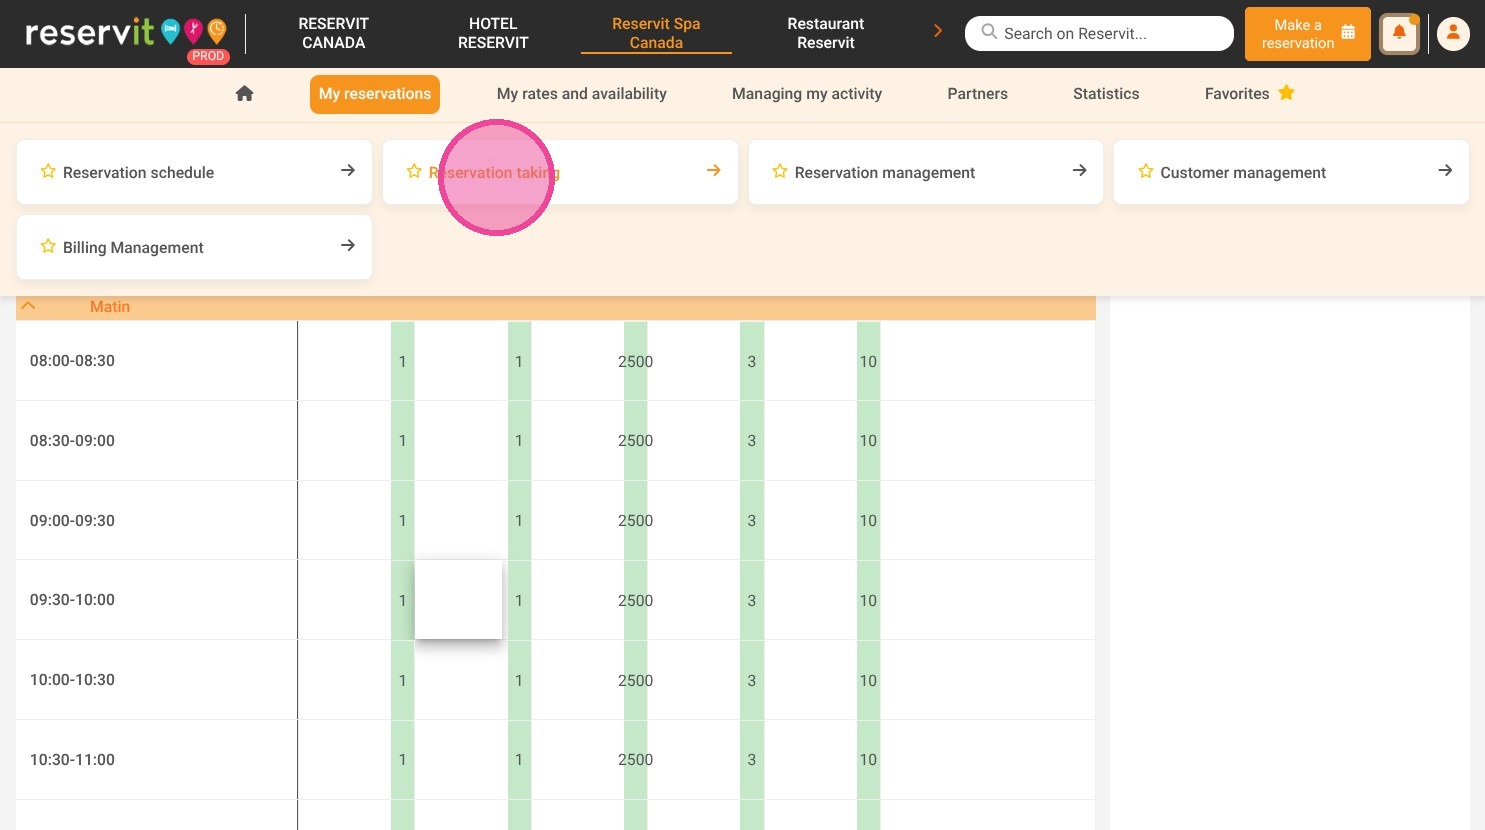
Access the reservation tool: Use the quick "+" shortcut directly on your calendar, or navigate to "My reservations" and select "Reservation taking" for an advanced setup.
-
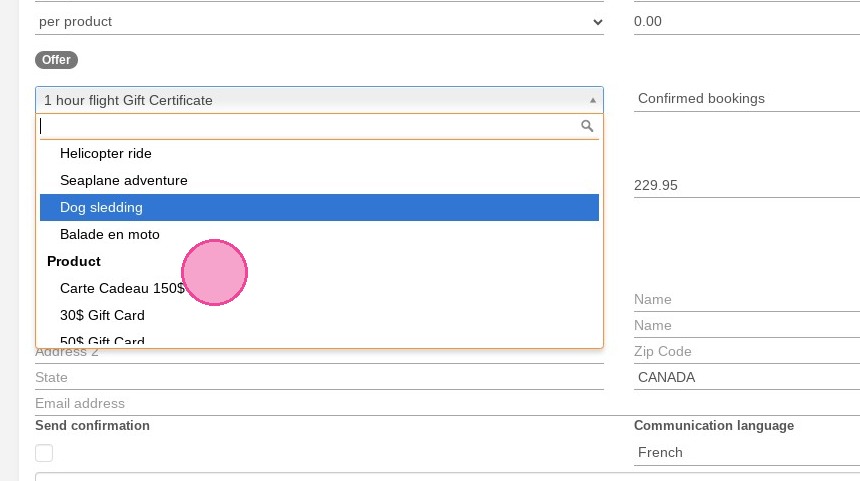
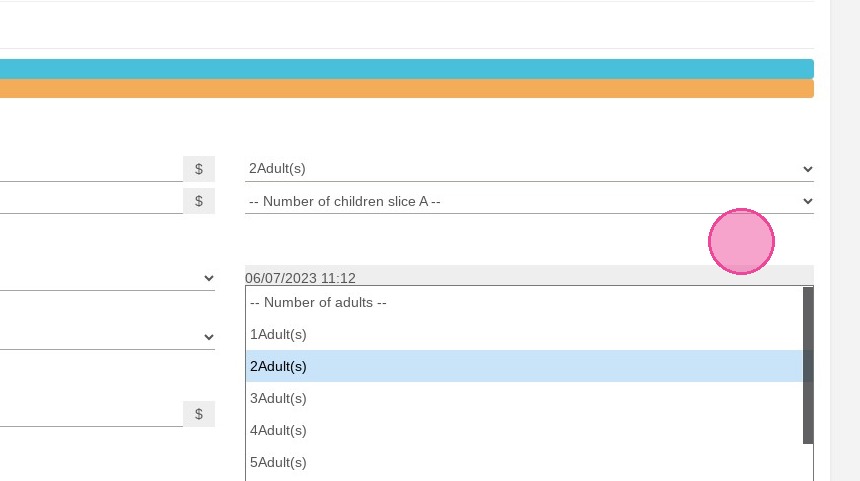
Select the offer and schedule: Choose the specific activity, specify the number of guests (adults/children), and select an available date and time slot.
-
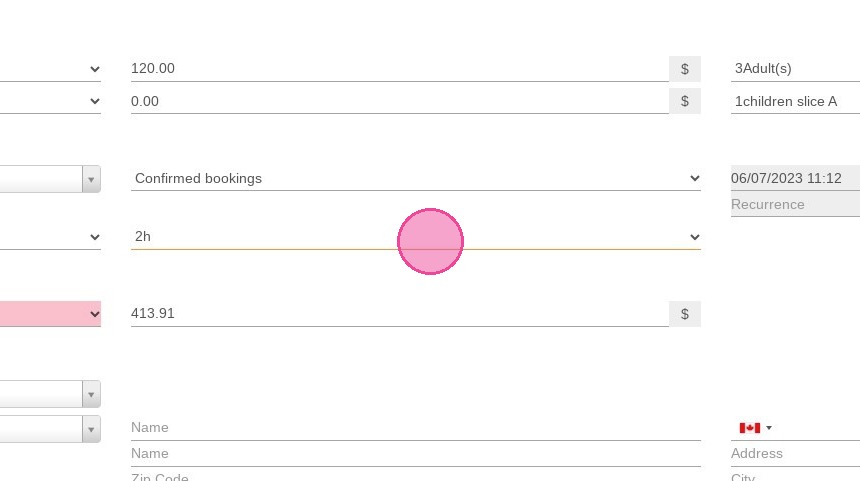
Adjust pricing and add options: Manually adjust the baseline price if necessary and attach any extra options or add-ons to the customer's cart.
-
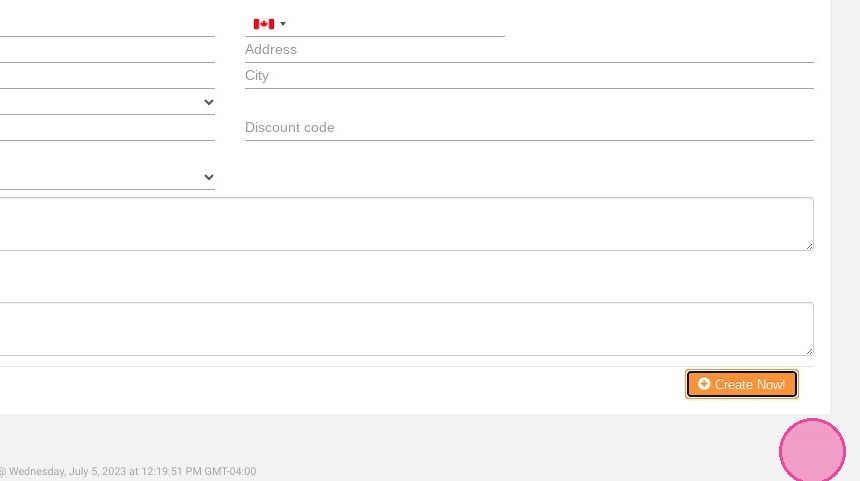
Enter customer information: Fill in the mandatory client details to ensure the reservation is correctly assigned to the right guest profile.
-
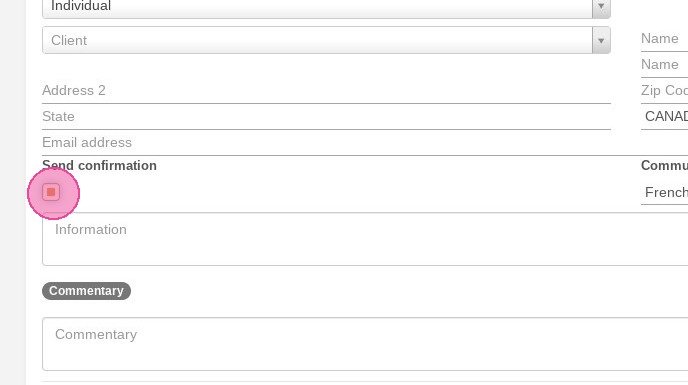
Finalize and send confirmation: Check the "Send confirmation" box to trigger an automated email to your client, then click "Create Now!" to save the booking.
Why follow this guide? Following this workflow helps your front-desk team process manual bookings quickly and accurately, minimizing the risk of costly overbookings or scheduling errors. It streamlines your daily administrative tasks and guarantees that your clients automatically receive professional, timely communication regarding their upcoming activities.
Quick Reservation
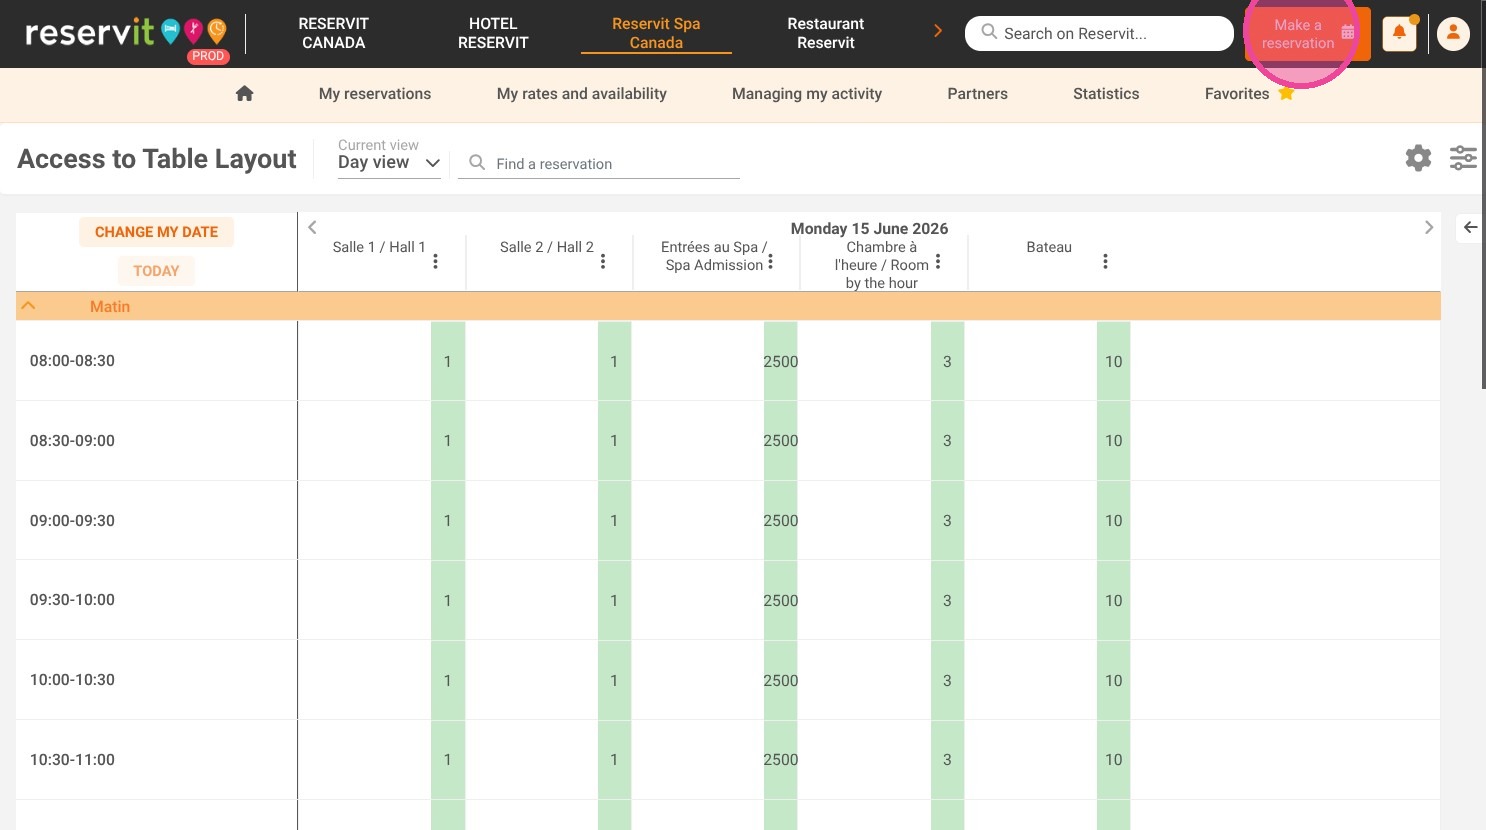
1. Click "Make a reservation"
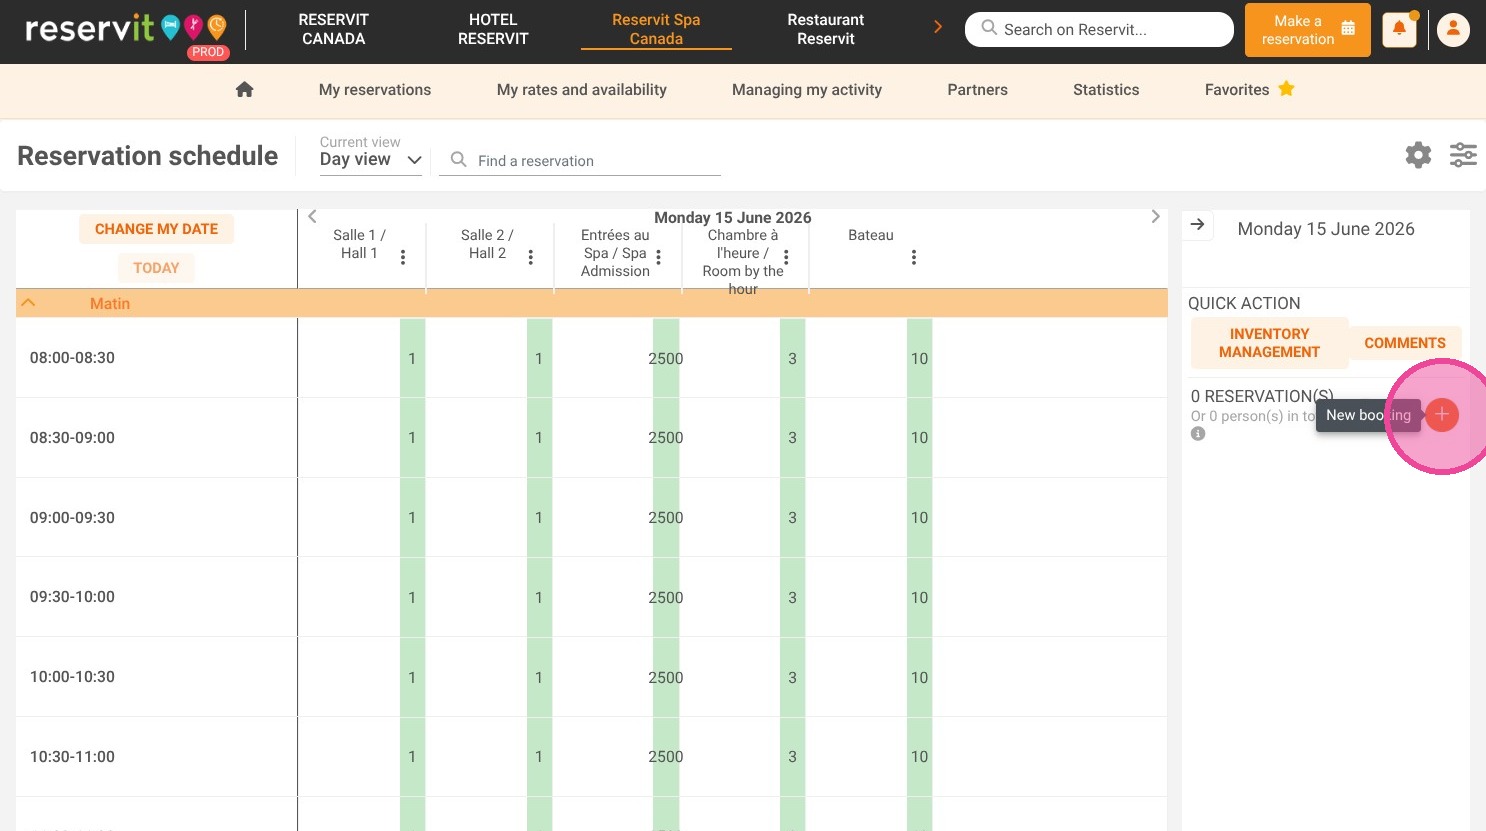
2. Click on the "+", you can also click directly into de the calendar
3. Fill out the various fields provided.
Advanced Reservation
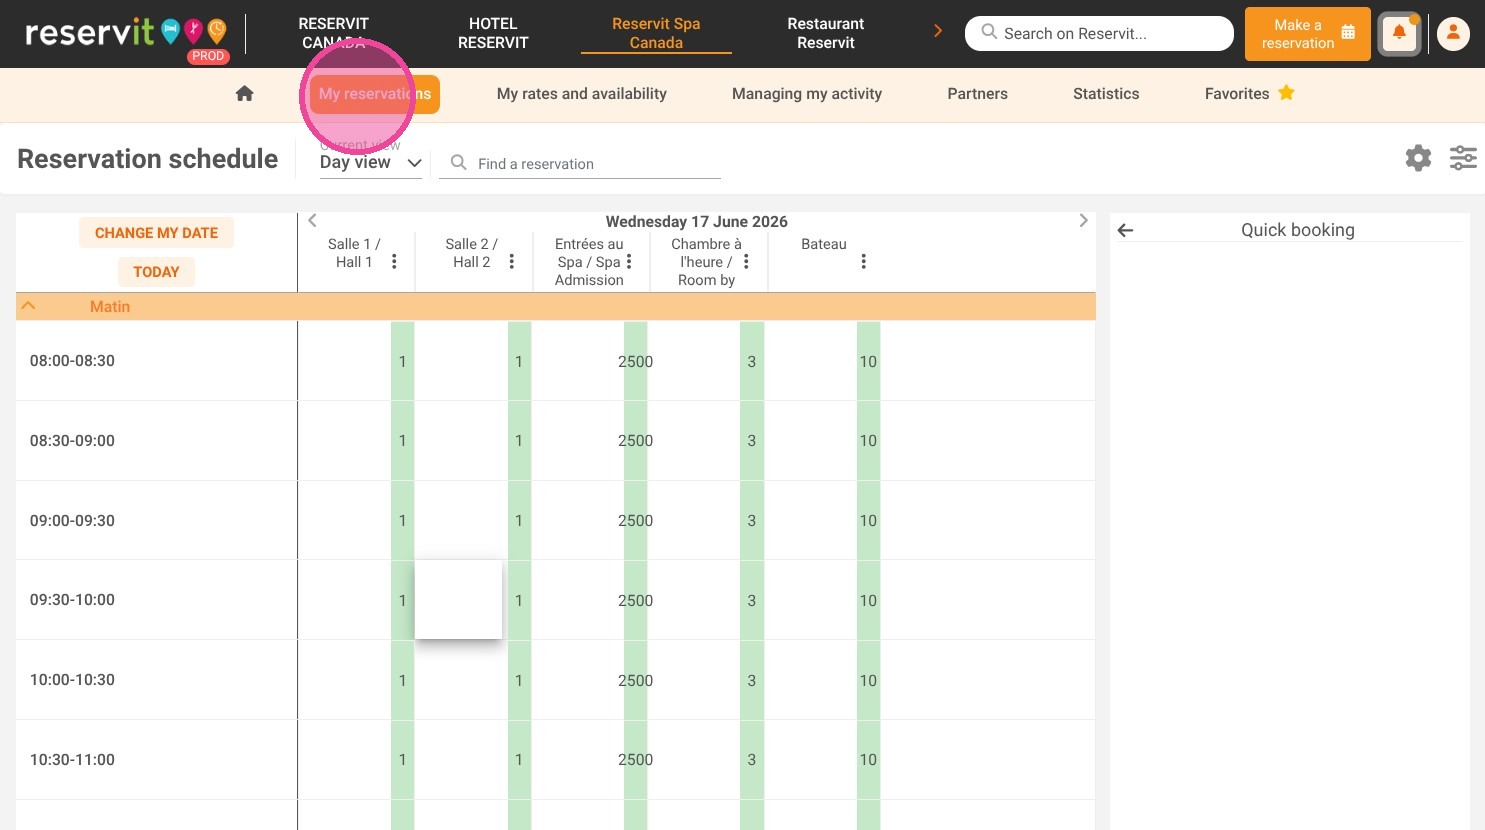
4. Click "My reservations" then "Reservation taking"
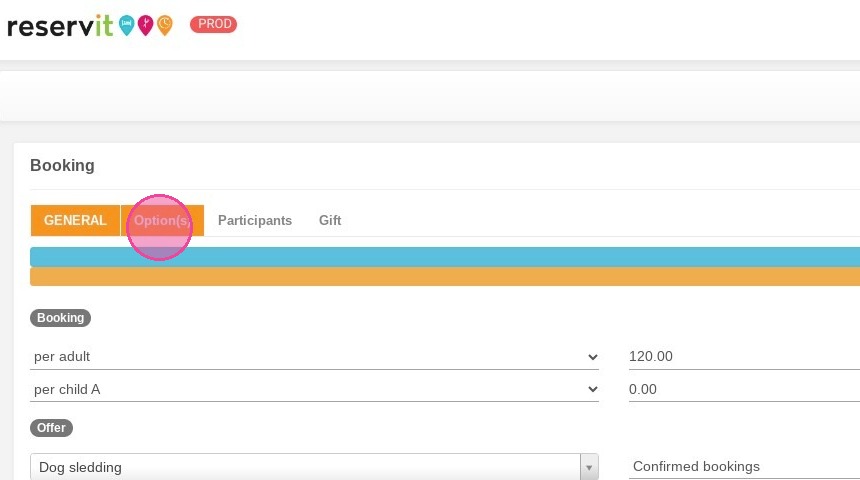
5. Then, you can fill booking information like the concerned offer.
6. Choose the number of adults and childrens.
7. Select the schedule for the offer.
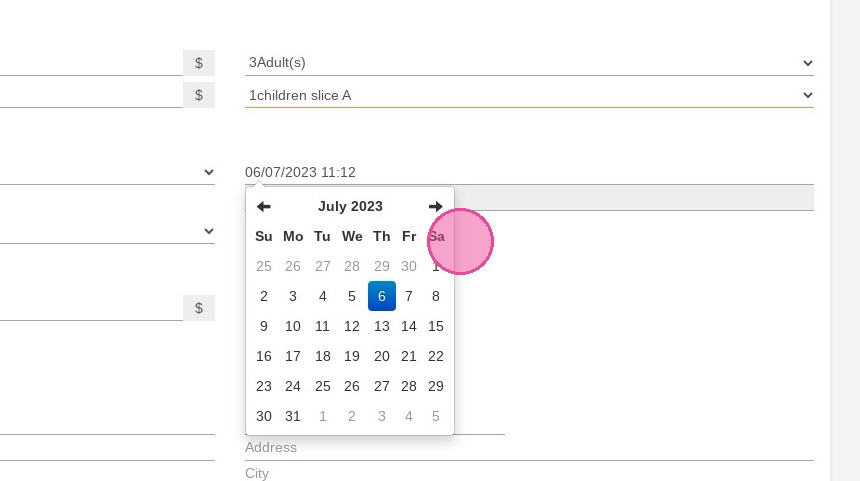
8. Select the date.
Alert: If you have administrator account, be sure to choose an available timing for the timing to avoid overbooking.
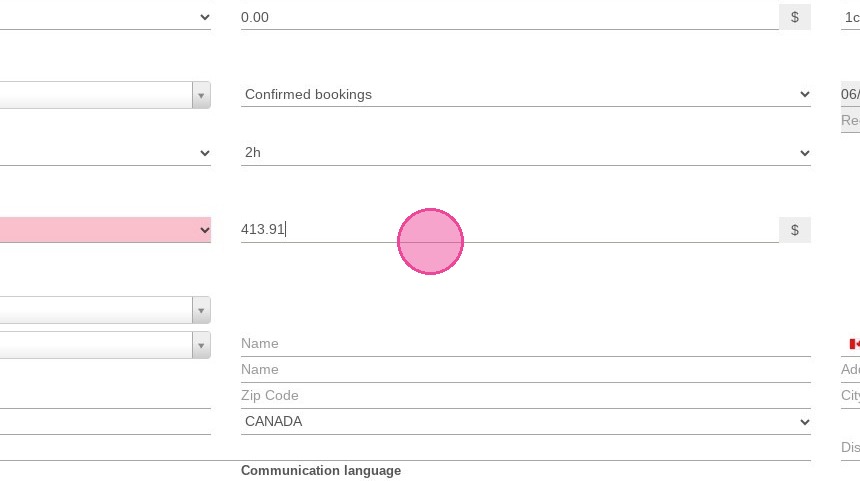
9. Adujst price if necessary.
10. You can add option(s) by clicking on "Option(s)" section.
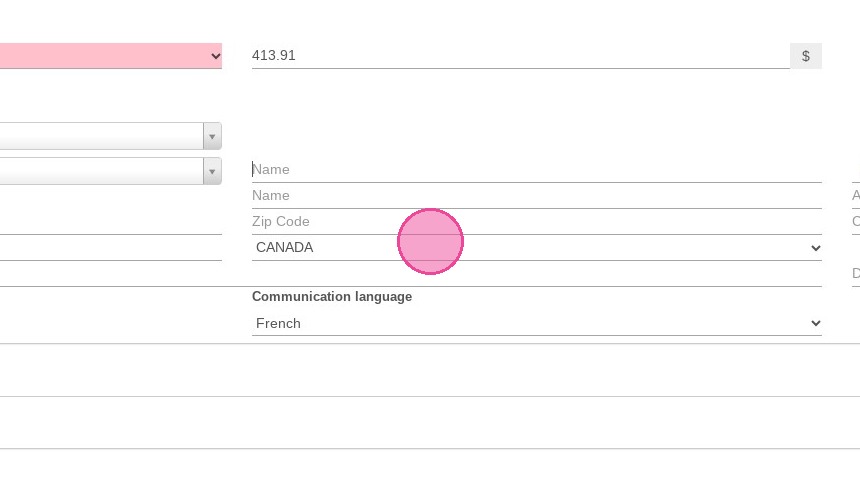
11. Then, fill the customer's information
12. Do not forget to click on "Send confirmation" if you wish that your customer receives the booking email.
13. Click "Create Now!" to save the reservation.