Article summary: This step-by-step guide explains how to effectively manage your team and allocate staff within the Reservit Activities platform. You will learn how to create detailed employee profiles, seamlessly assign staff members to specific services, and accurately track their scheduled absences. Mastering these team management features ensures your daily operations run smoothly and your human resources are always perfectly aligned with your bookings.
The 4 key steps to manage your team and staff:
-
Access team management: Navigate to your dashboard, click on "Managing my activity," open the "Resources" menu, and select "Team management" to add a new staff member or edit an existing one.
-
Create employee profiles: Fill in the staff member's required information, configure their personal login credentials, and set their default presence status.
-
Assign staff to services: Link the employee profile directly to the specific services or activities they are qualified to handle, and save your changes.
-
Track schedules and absences: Reopen the saved employee profile to access the newly generated "Absences" tab, where you can easily input multiple dates of scheduled unavailability.
Why follow this guide? Following this guide streamlines your daily employee scheduling and eliminates operational conflicts by keeping accurate track of staff availability and absences. It saves your administrative team valuable time and ensures you always have the right personnel ready for your scheduled activities.
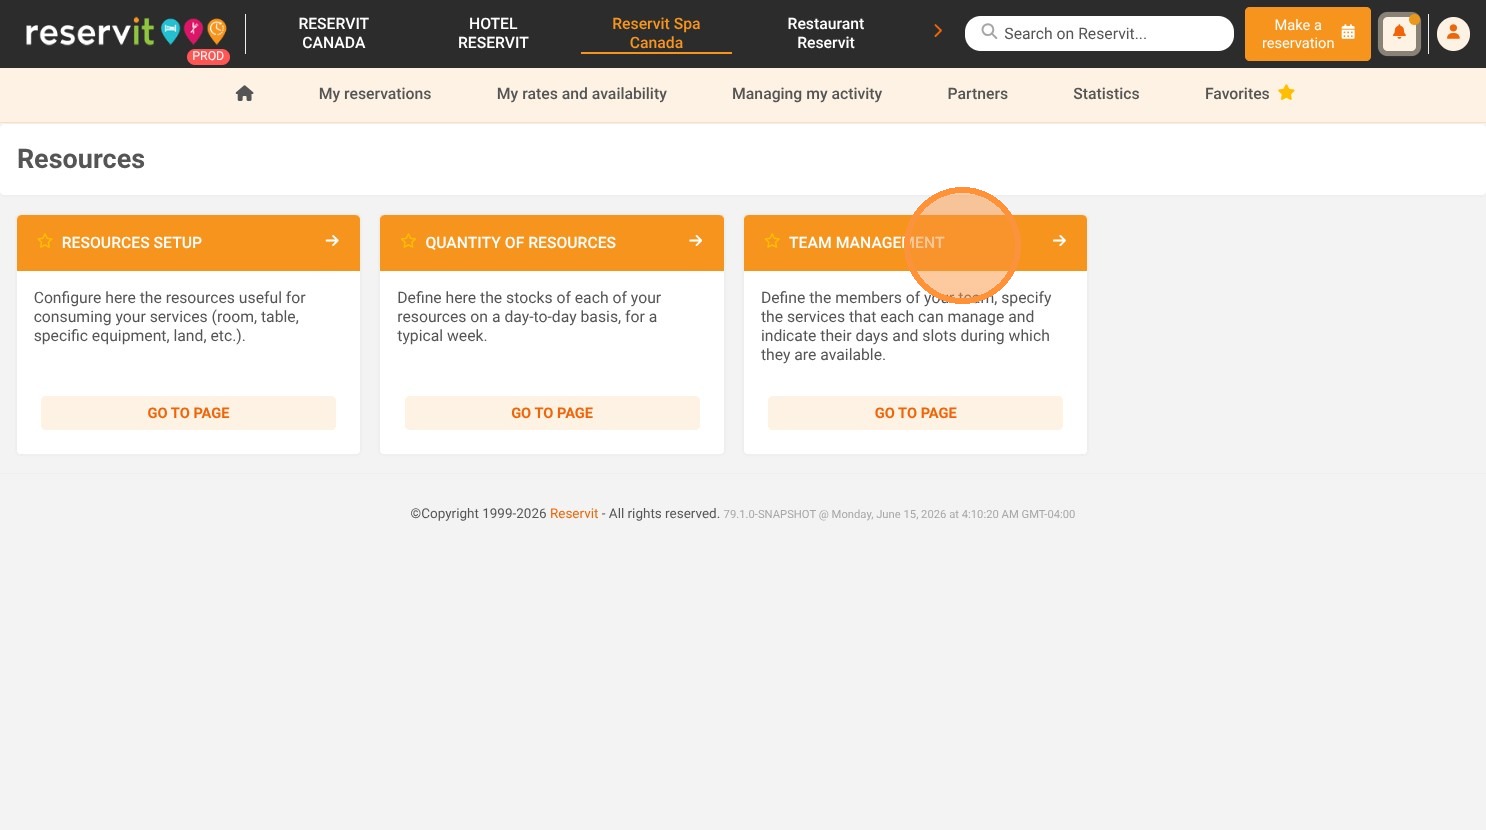
1. Select "Managing my activity," then choose "Resources," and finally click "Team management."


2. To manage and enter your staff information, you can click on the person or on "add a staff member"
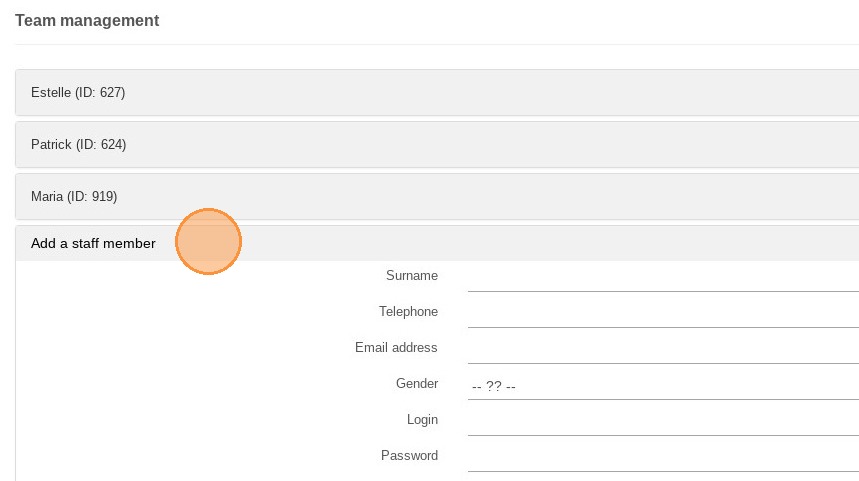
3. Then, you can fill in the person's information and even create a login and password
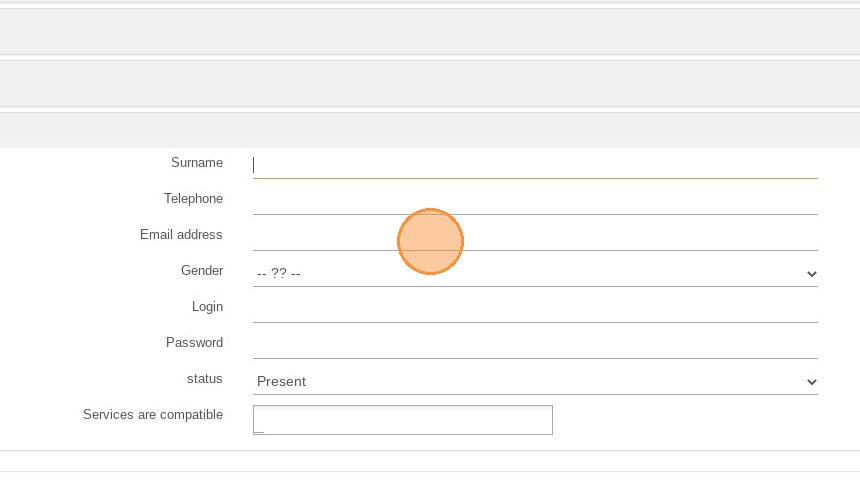
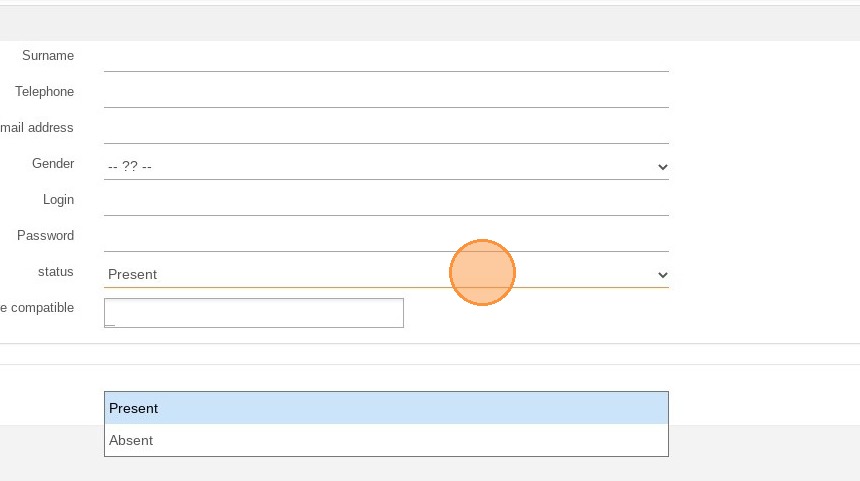
4. You will be able to choose the current status of the person, if they are present or absent
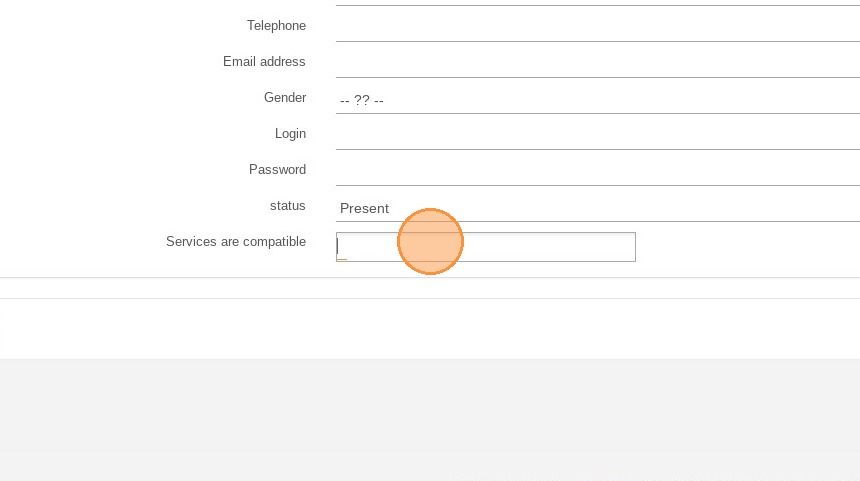
5. You can link the person to the compatible service, once the service is created.
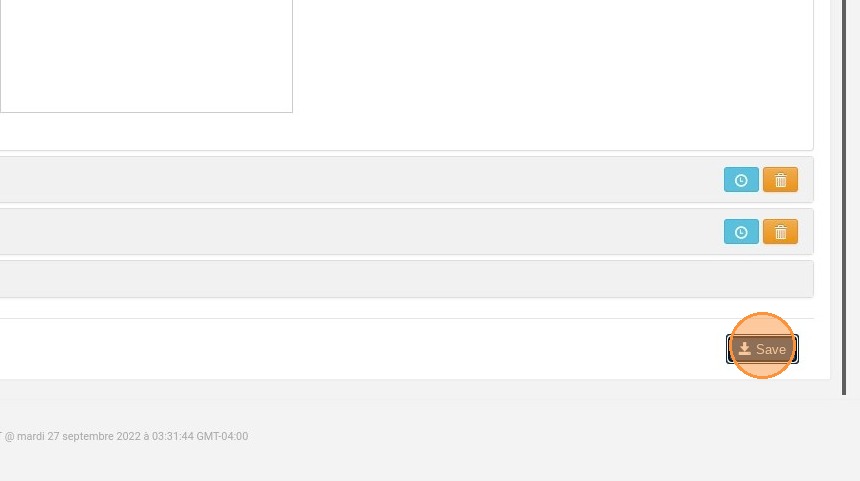
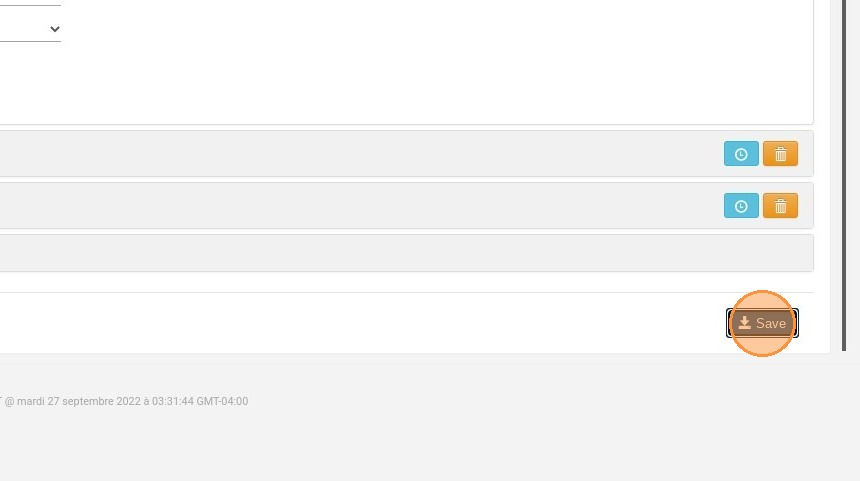
6. Then, click on "save"
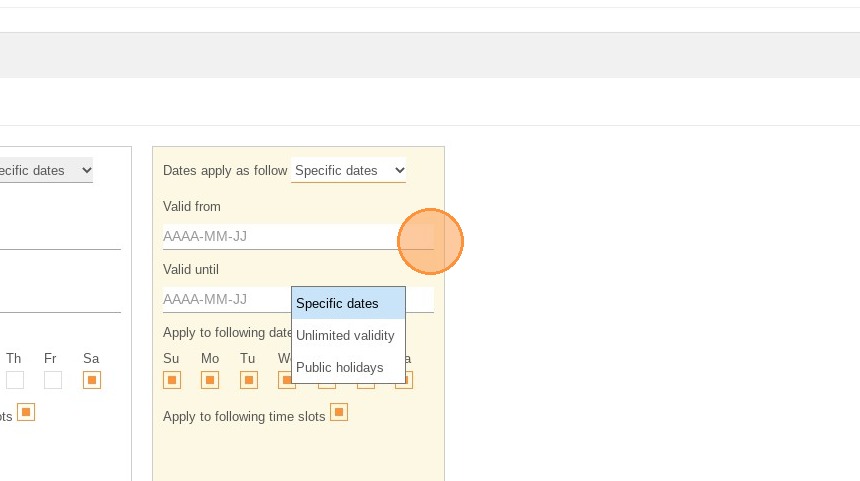
7. Once the staff has been saved, go back to their file. The "Absences" tab will appear.
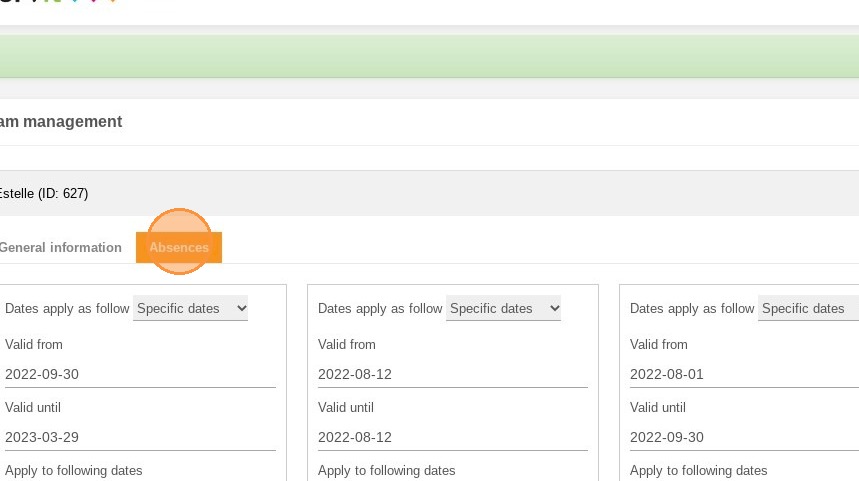
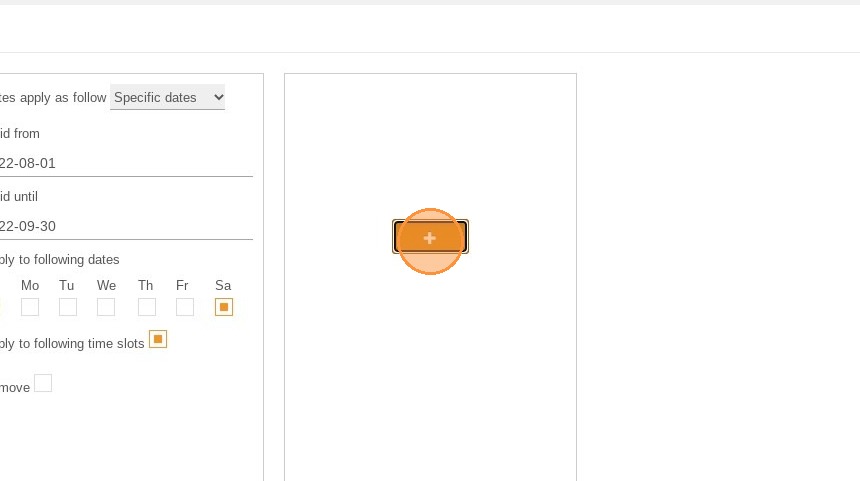
8. This tab allows you to enter the dates of unavailability for this member.
9. You can add several periods of absences by clicking on this button.
10. Don't forget to save your changes.