Article Summary: Discover how to set up partner access or a customized "Espace Pro" within your Reservit booking engine. This detailed tutorial will teach you how to create custom booking pages, allowing you to offer negotiated rates and exclusive offers to your collaborators and business partners. By mastering this distribution feature, you can build loyalty within your professional network while easily isolating the associated sales statistics.
The 5 key steps to create and configure a partner:
-
Profile creation: Go to the management menu to add a new partner and define their general information (contact details, validity period, status).
-
Access settings: Define the communication language and set up secure access (via a direct link or Espace Pro credentials with email).
-
Payment management: Determine the partner's currency, the display of sales prices, and whether or not a credit card is required as a guarantee.
-
Booking conditions: Assign specific general terms and conditions of sale and cancellation to the offers for this partnership.
-
Generation and sharing: Save the complete configuration to generate direct booking links or send the Espace Pro login instructions.
Why follow this guide? Following this guide allows you to optimize your B2B strategy by automating the distribution of your negotiated rates in a completely secure way. This will help you avoid manual entry errors and save valuable time in the daily management of your commercial agreements.
Tip: Partner access or "Groups & Companies Access" gives you the ability to design custom booking pages for your collaborators and business partners who have negotiated agreements.
Thanks to these dedicated pages, you can:
-
Identify and easily isolate bookings from this partner within your statistics.
-
Offer them exclusive offers and room types that are inaccessible to the general public.
-
Grant them access to standard public offers.
-
Allow bookings to be made without requiring a credit card for a guarantee.
Partner Creation
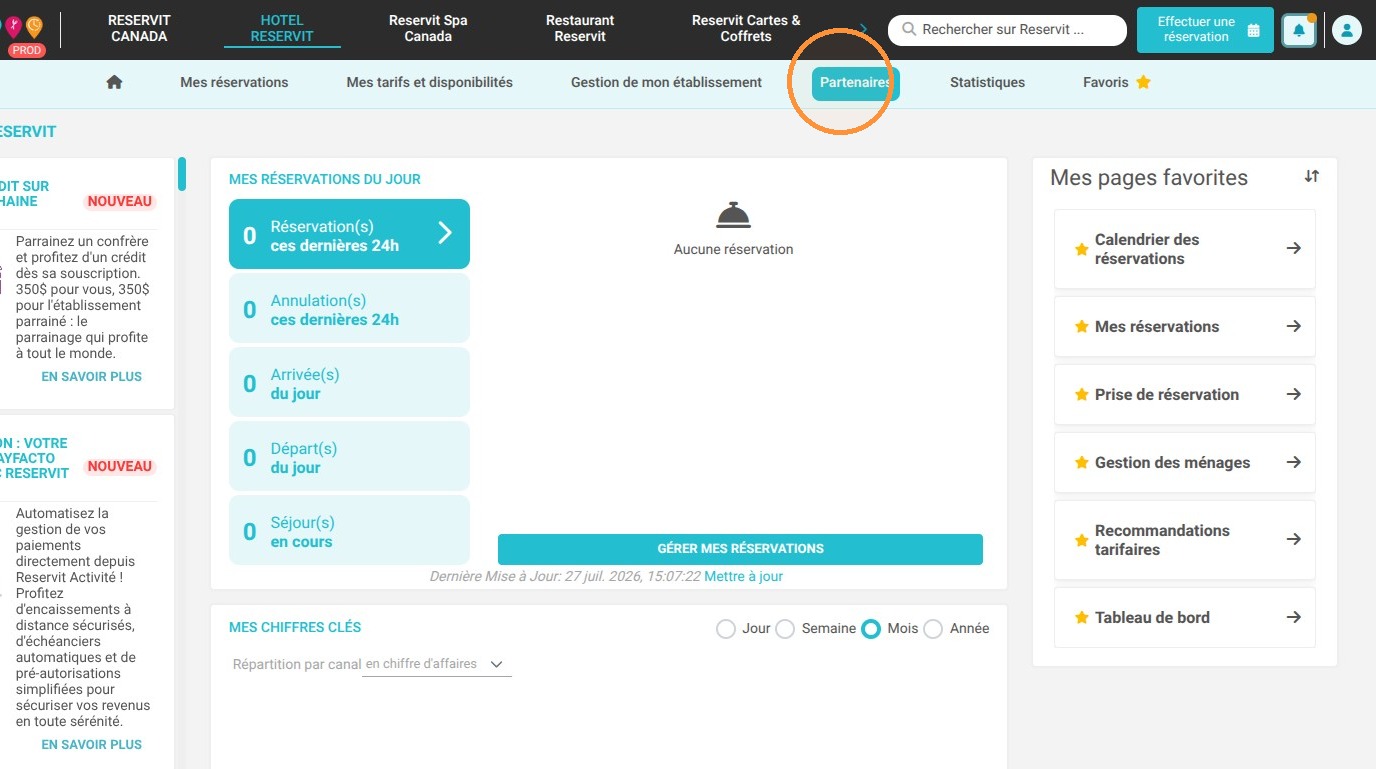
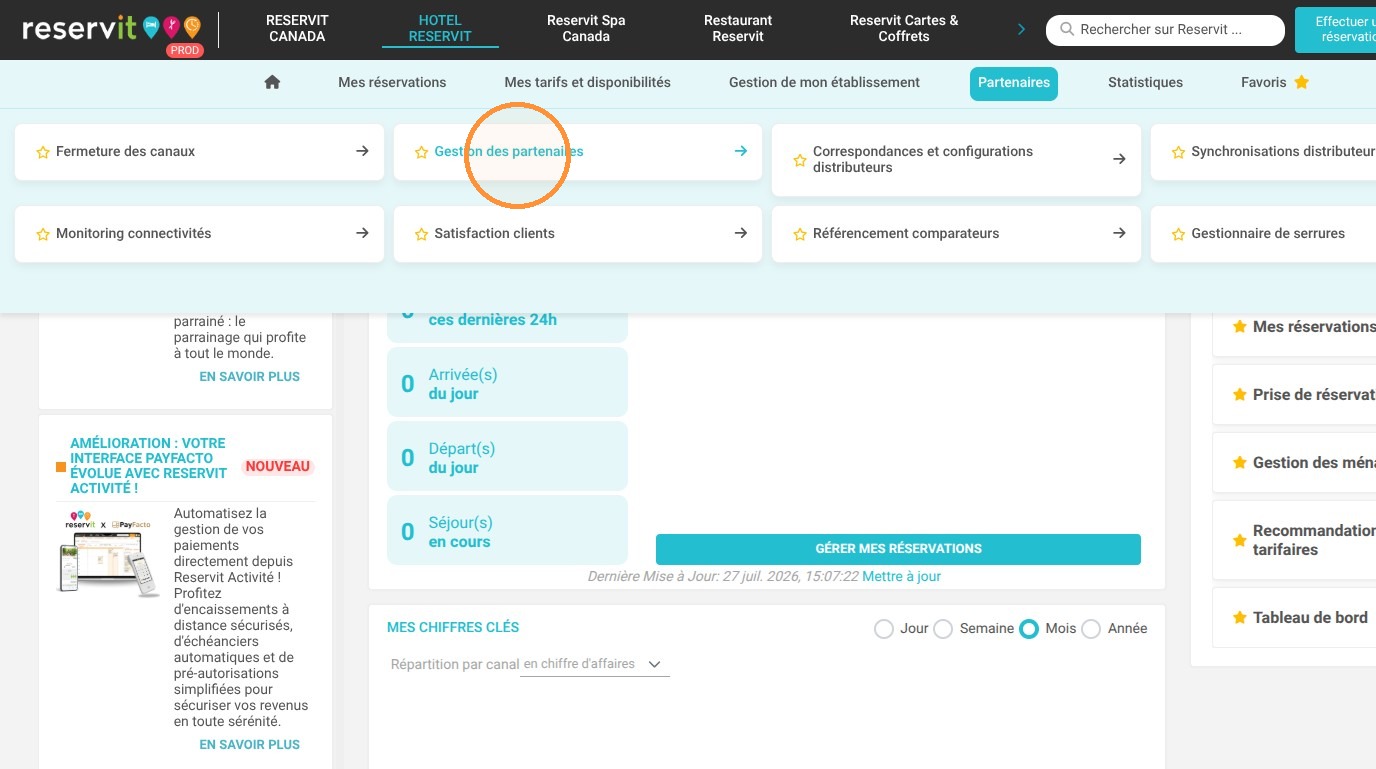
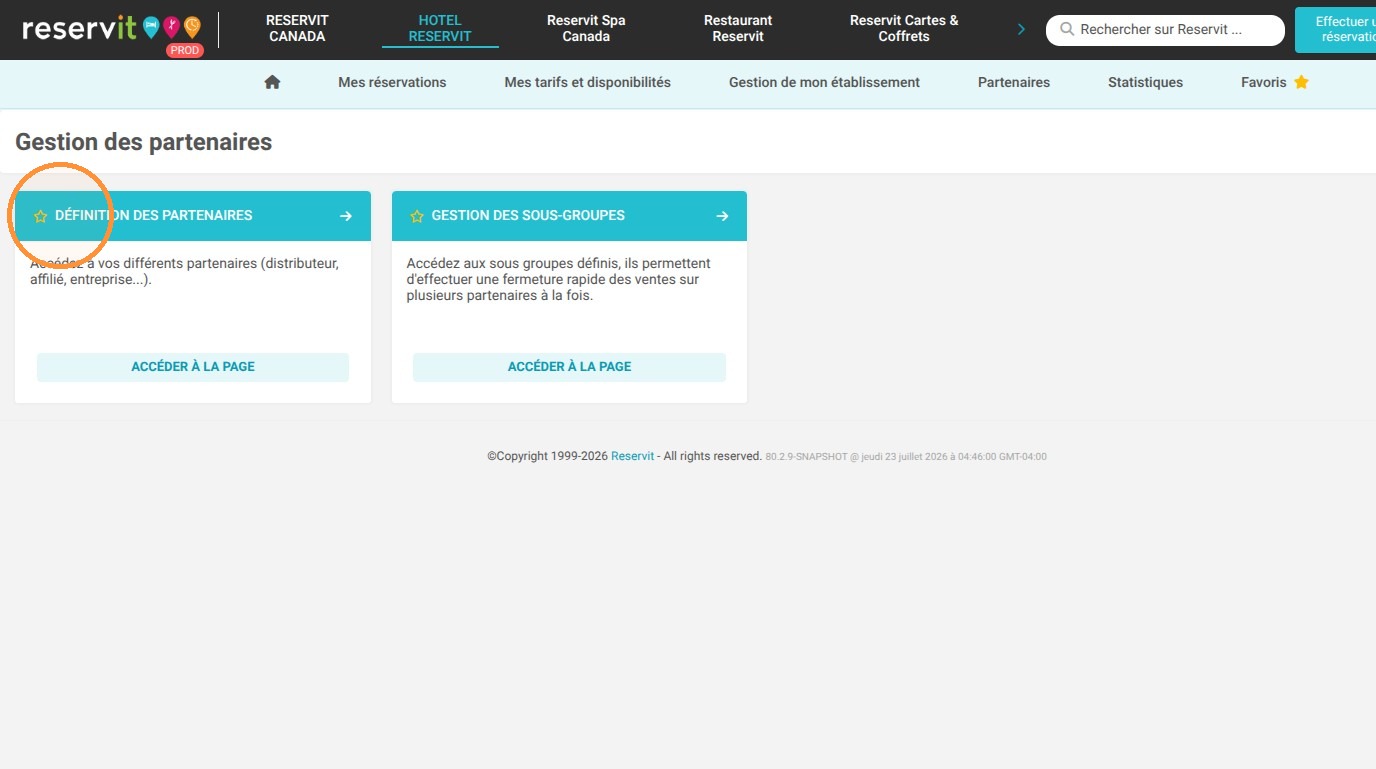
1. Go to "Partners", then "Partner Management" and finally "Partner Definition".
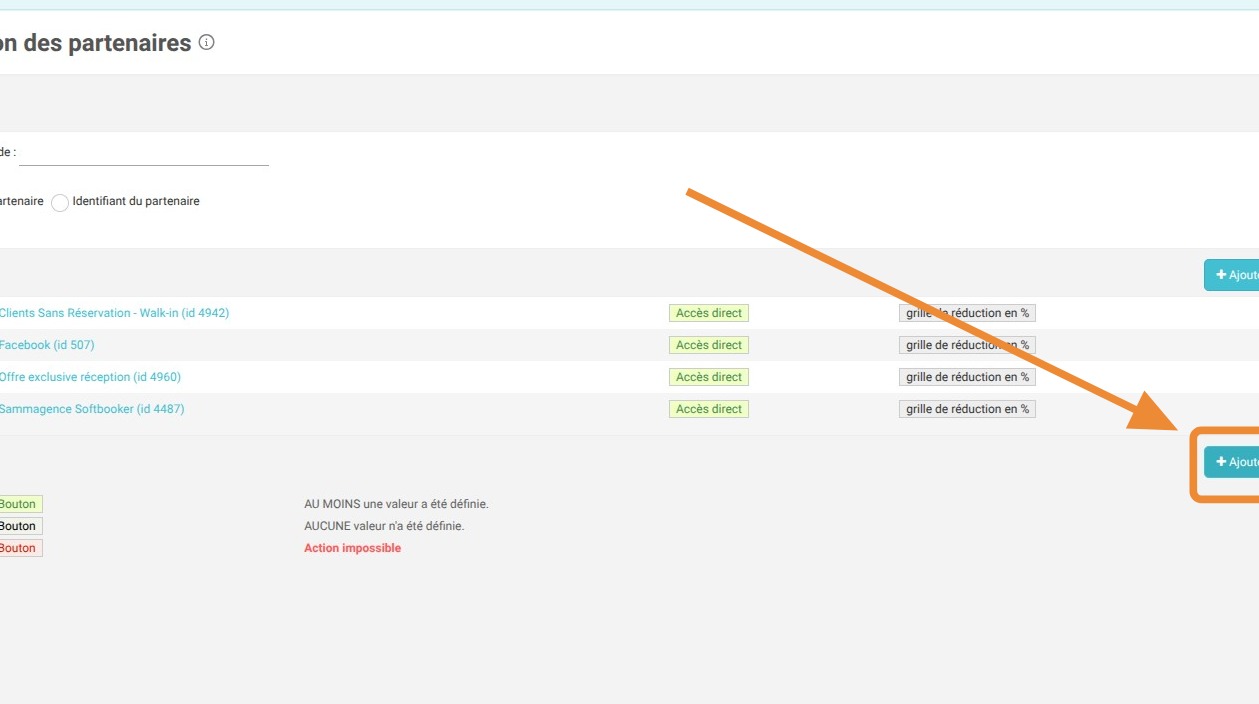
2. Click on "Add" to create a new partner.
Note: You will not be able to save the partner without first completing all the required fields.
General Information Section
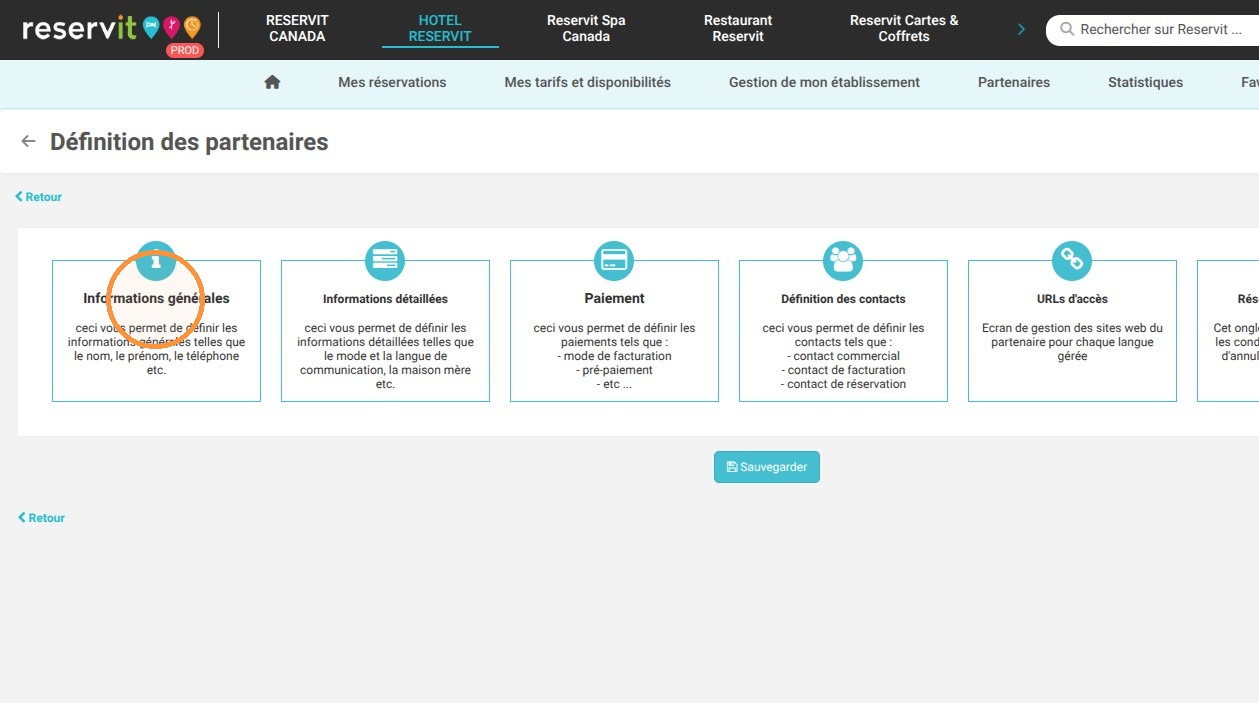
3. Click on "General information"
4. Name (required): Your partner's name.
-
Address, Address line 2, and Address line 3: Your partner's address.
-
Zip Code: Your partner's zip code.
-
State/Province: Your partner's state or province.
-
City: Your partner's city.
-
Country (required): Your partner's country.
-
Validity date (required): Until what date will you work with this partner.
-
Phone 1 (required): Your partner's phone number.
-
Phone 2: A second phone number for your partner.
-
Fax: A fax number for your partner.
-
Status (required):
-
Open: Your partner can access their pages.
-
Closed: They can no longer access them.
-
-
Can this partner benefit from special rates? We recommend selecting YES here, as the majority of partner offers are special offers.
-
Does this partner always get the same offers as my site? For this field, you can decide if your partner will have the same offers as your website.
-
Can be closed? This field allows you to authorize the temporary closure of your partner just like any distribution channel from the "Channel Closure" page in Reservit.
-
Can this partner benefit from the reference rate? We recommend selecting YES.
Alert: Click on validate once the "General Information" section configuration is complete.
Detailed Information Section
5. Click on "Detailed information".
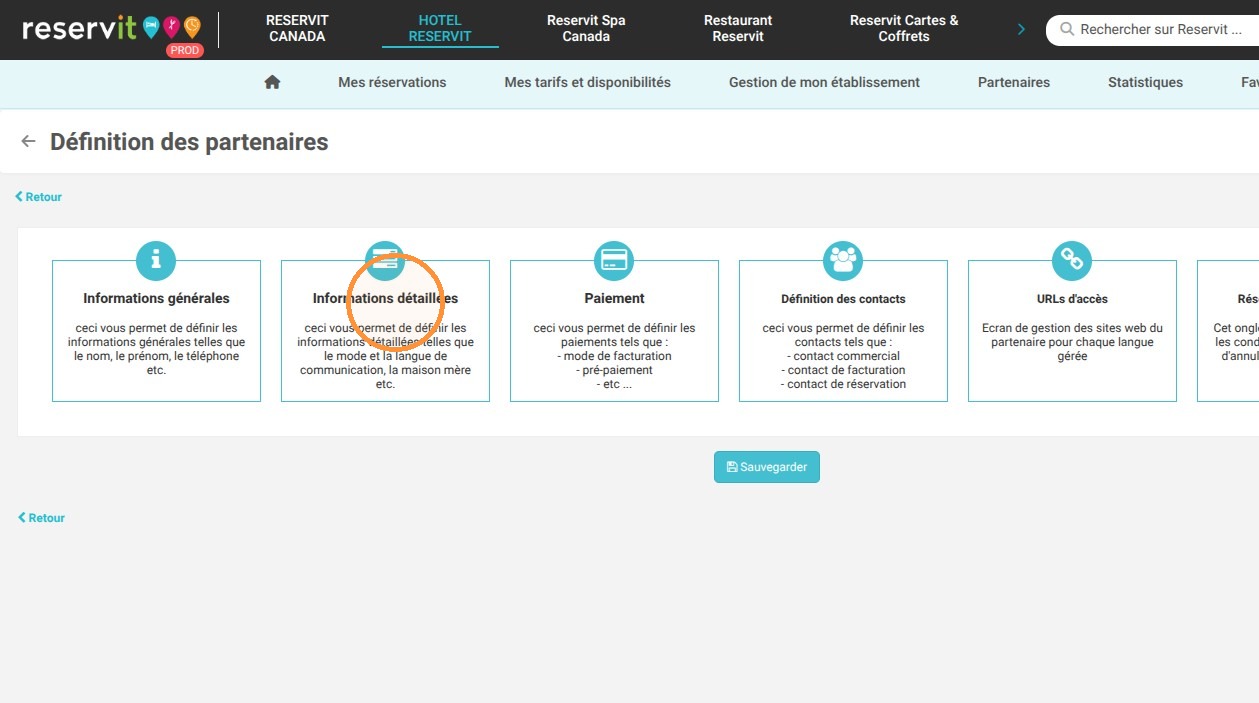
6. Communication language: Choose the language in which your partner will receive their booking confirmations and view their booking pages.
-
Username: If you want your partner to have an Espace Pro, enter their username here.
-
Email to receive the link allowing you to activate the account and enter the password: If you want your partner to have an Espace Pro, enter the email address here where they will automatically receive an email to create their password.
-
Secure Partner Access:
-
Yes - Your partner will access their dedicated offers only via a login and password.
-
No - Your partner will access their dedicated offers only via a dedicated booking link.
-
(Skip the other fields if you see them and go to:)
-
Display the partner on the central planner? Select yes to view this partner in your planning calendar.
-
Central planner thumbnail name: Enter the name it will display in your planning calendar here.
-
Ability to modify bookings? We recommend leaving this field as No.
-
Does this partner manage options? Allows your partner to receive the options you might configure in Reservit.
-
Does this partner manage city taxes? This field is dedicated to French Reservit users. You can leave it as "Yes".
You can then ignore the other fields.
Alert: Click on validate once the "Detailed Information" section configuration is complete.
Payment Section
7. Click "Payment"
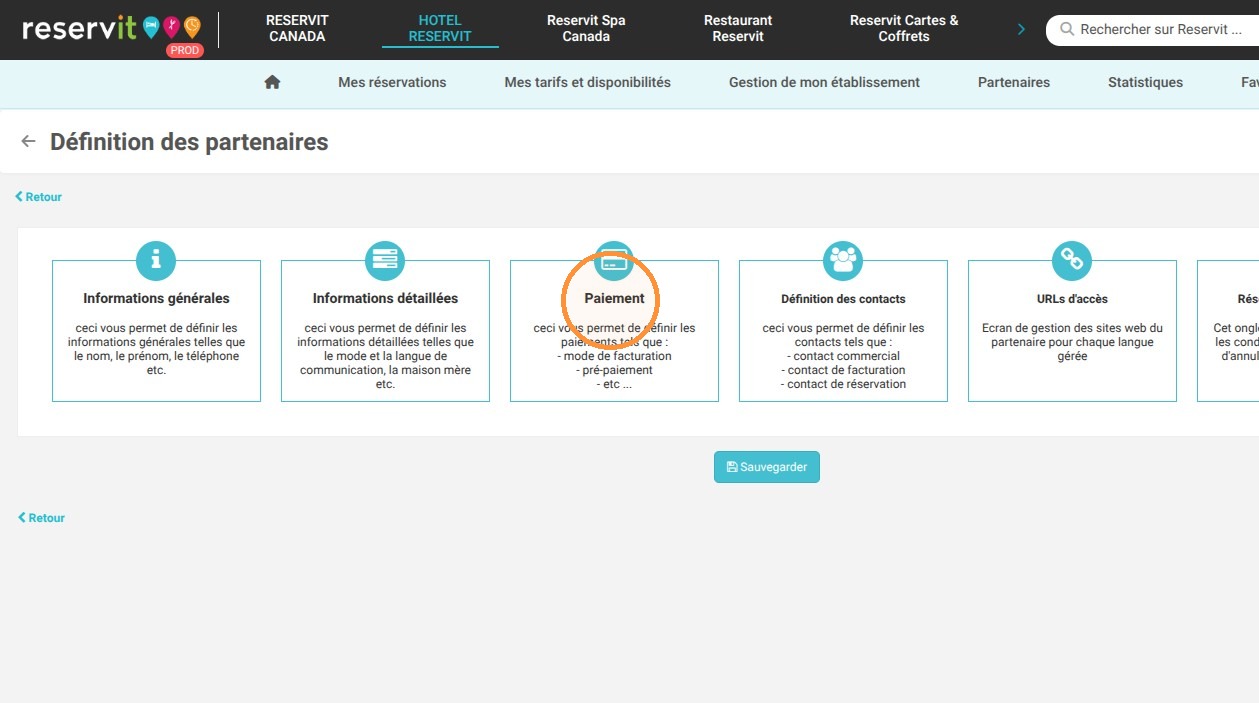
8. Most fields in this section can be ignored. The most important ones to configure are the following:
-
Display sales prices on confirmations? Choose whether or not to display the booking price on the booking confirmations.
-
Partner currency: Choose the default currency used by the partner.
-
Credit card required: Does your partner need to use a credit card as a guarantee to confirm their booking?
-
Does the partner authorize the hotel to cancel bookings? We recommend leaving this field as No because the partner is responsible for the bookings they send you.
Alert: Click on validate once the "Payment" section configuration is complete.
Contact Definition Section
9. Click "Contact Definition"
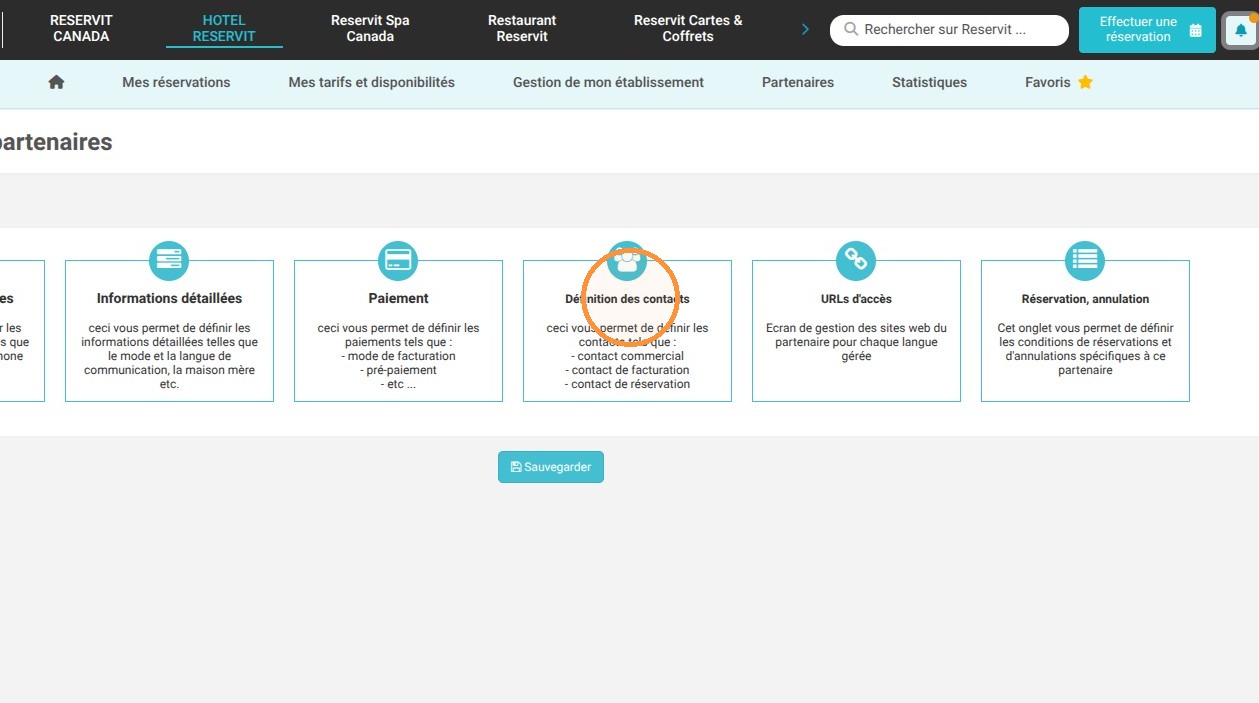
10. Unless this partner has dozens of different contacts, you can ignore this section.
Alert: Even if the fields are ignored, it is important to click on validate once you are done with the "Contact Definition" section.
Booking, Cancellation Section
11. Click "Booking, cancellation"
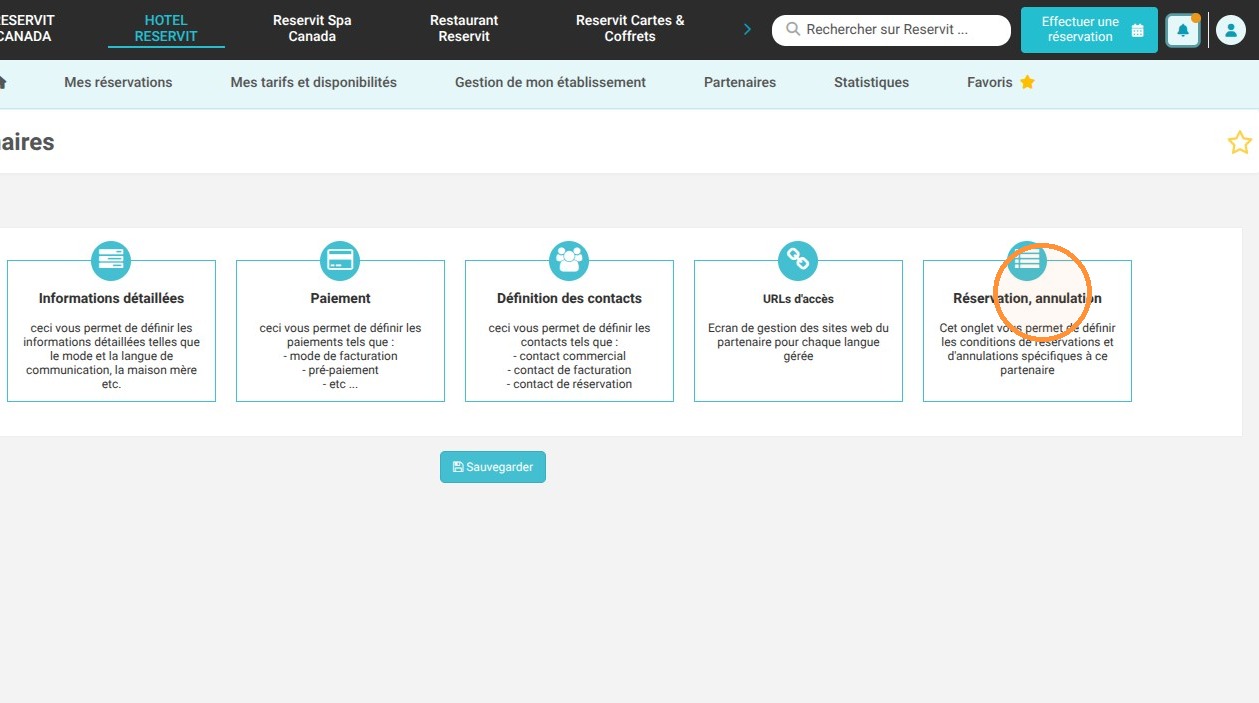
12. Choose here whether to assign specific general terms and conditions to all offers sold through this partnership and click "Save".
Alert: Now click on "Save" for the entire profile, as all the required fields for your partner have now been created and completed.
Direct Booking Links Without Espace Pro
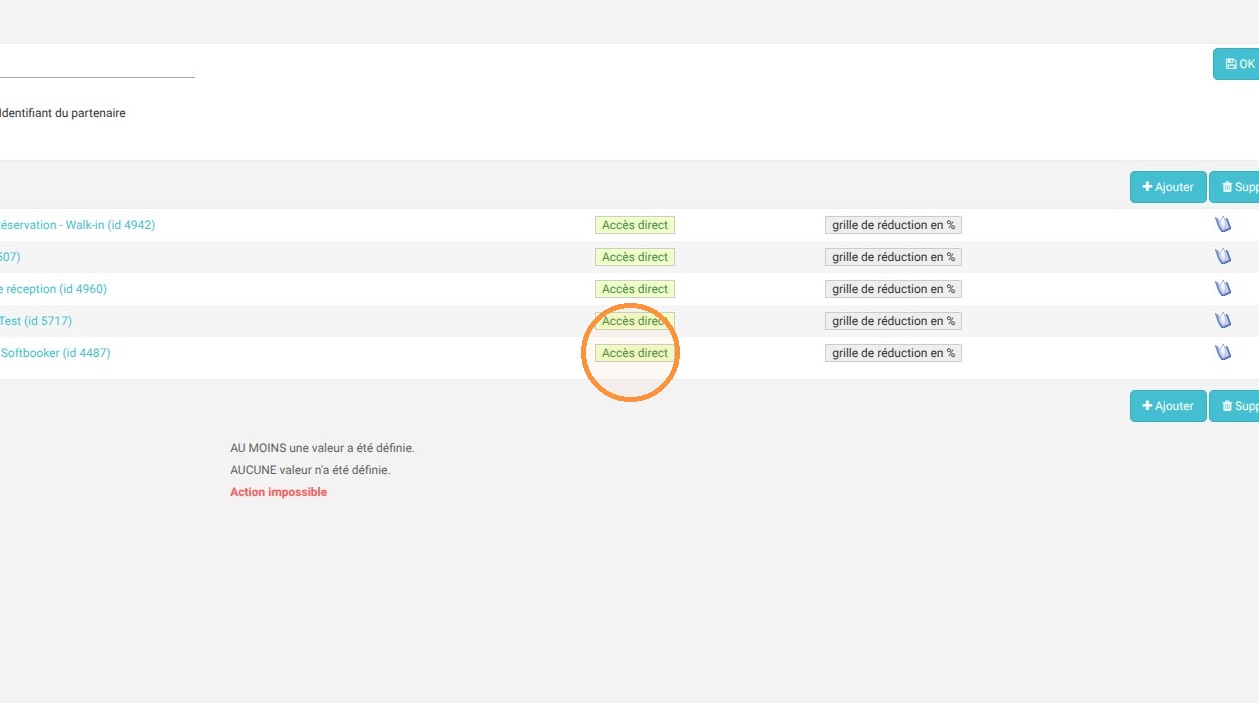
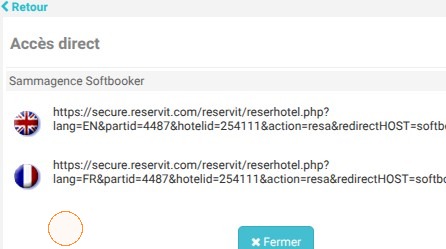
13. Within your partner list, you will see the "Direct Access" button. This button allows you to generate the booking links to send to your partner.
Access to Your Partner's Offers and Units via Espace Pro
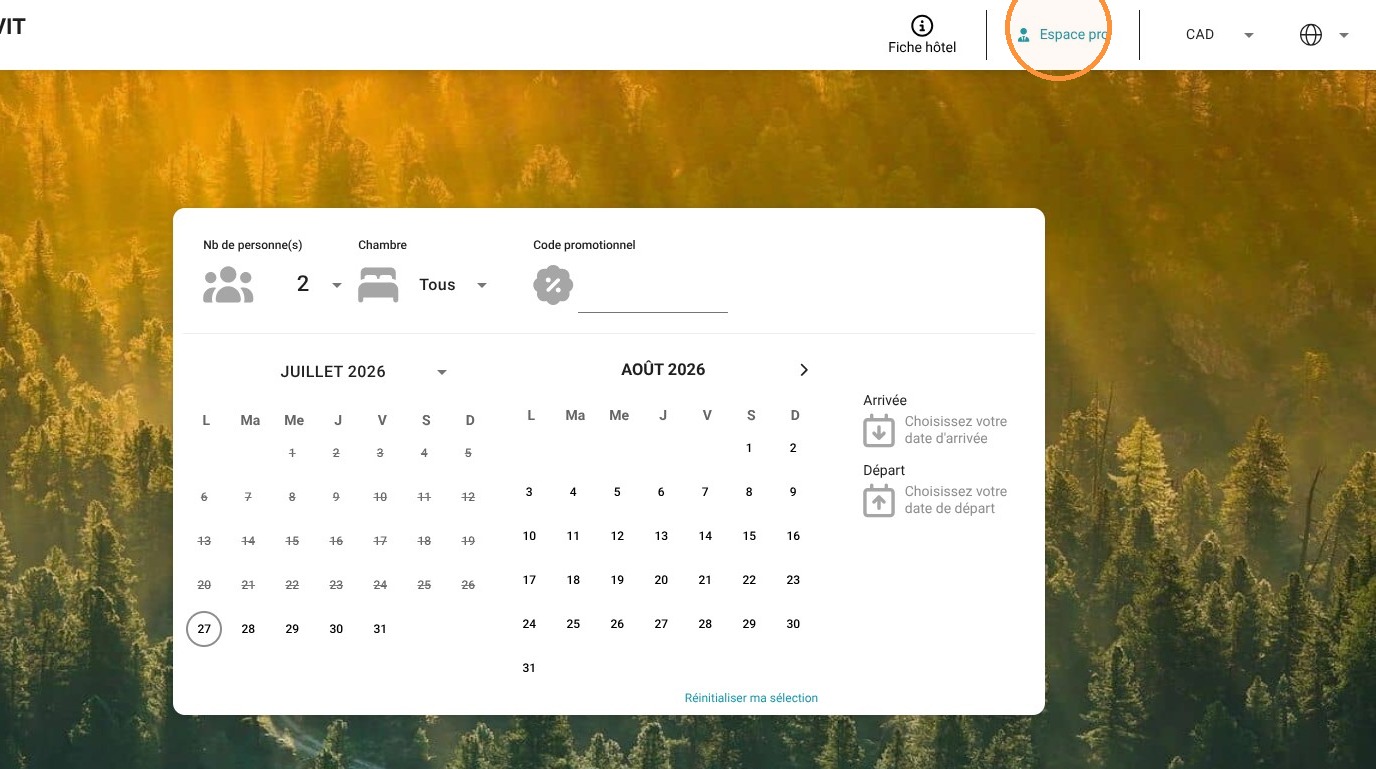
14. If your partner accesses their offers with a login and password, once their password is created, they can go to your booking engine and click on "Espace pro" to enter their login information.