

Article summary: This comprehensive tutorial provides step-by-step instructions on how to properly create and configure a new bookable service within the Reservit Activities platform. You will learn how to define service durations, manage online visibility, link essential operational resources, and set specific arrival times for your customers. Mastering this setup process empowers you to easily expand your online catalog and attract more bookings with perfectly structured activity offers.
The 5 key steps to create a new service:
-
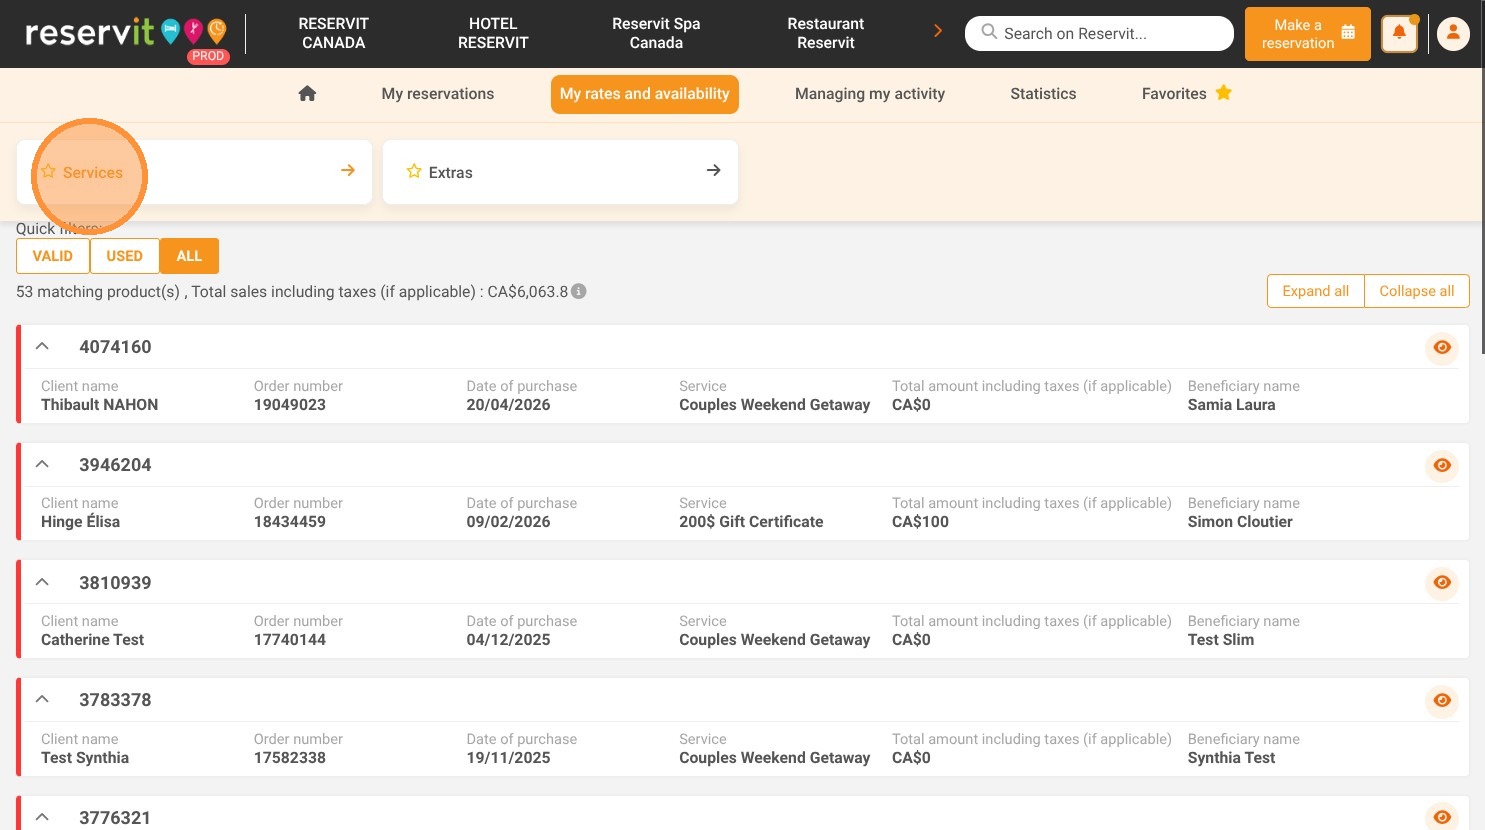
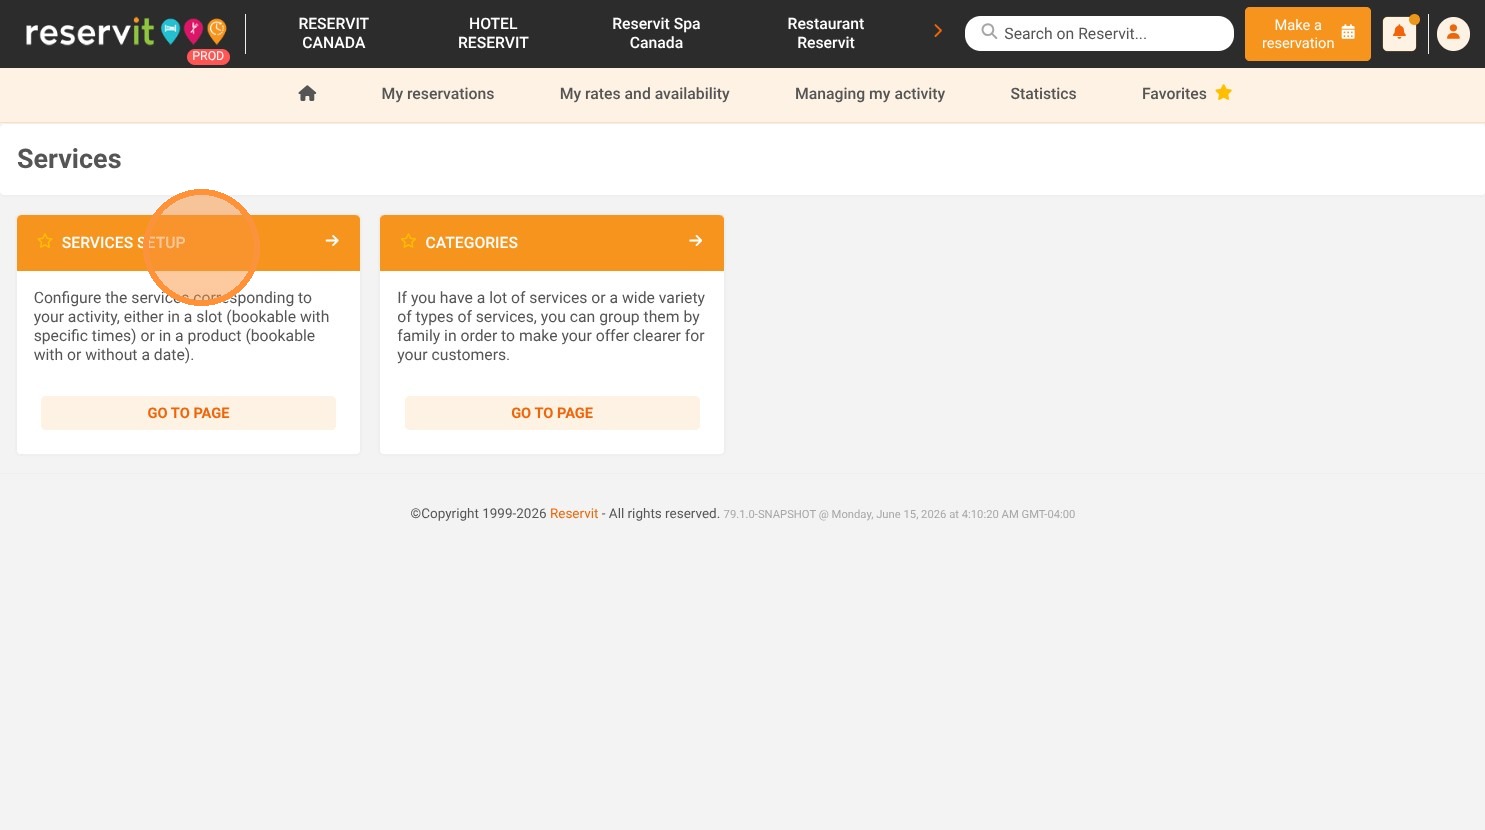
Access the service setup: Navigate to "My rates and availability" on your dashboard, open the "Services" menu, and click "Services Setup" to add a new time slot.
-
Define basic service details: Enter the name and description of your new offer (in multiple languages if needed) and configure the guest quantity settings.
-
Configure durations and visibility: Set both the actual operational duration and the "duration shown online," then change the status to "Open" to make the service visible to clients.
-
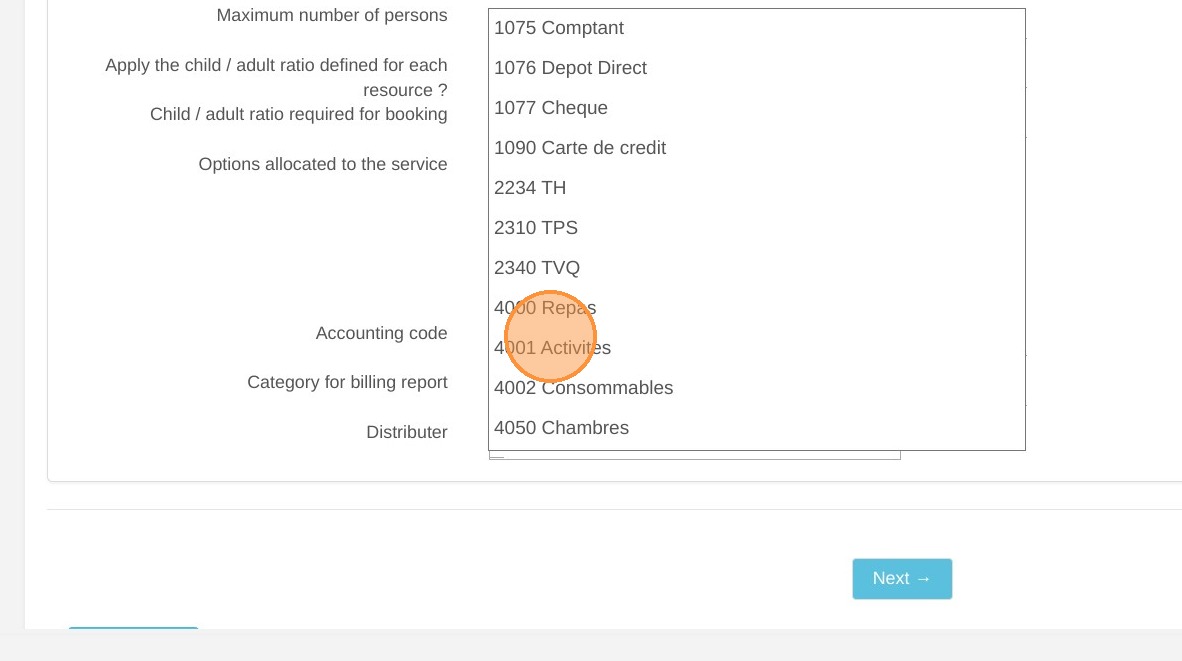
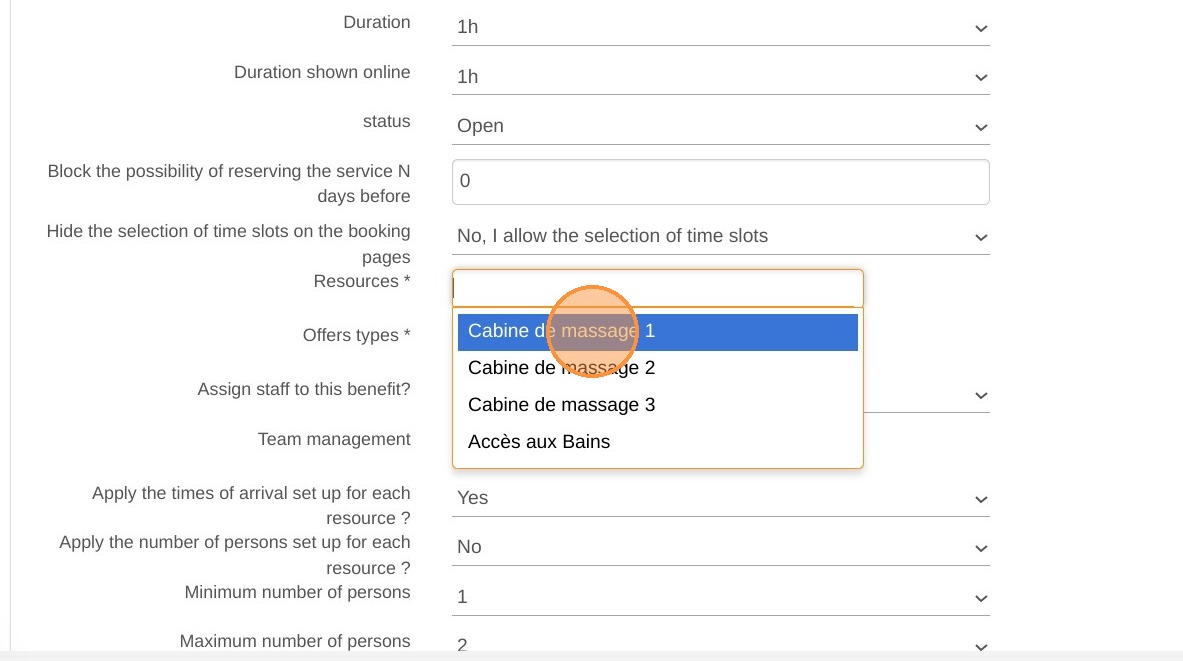
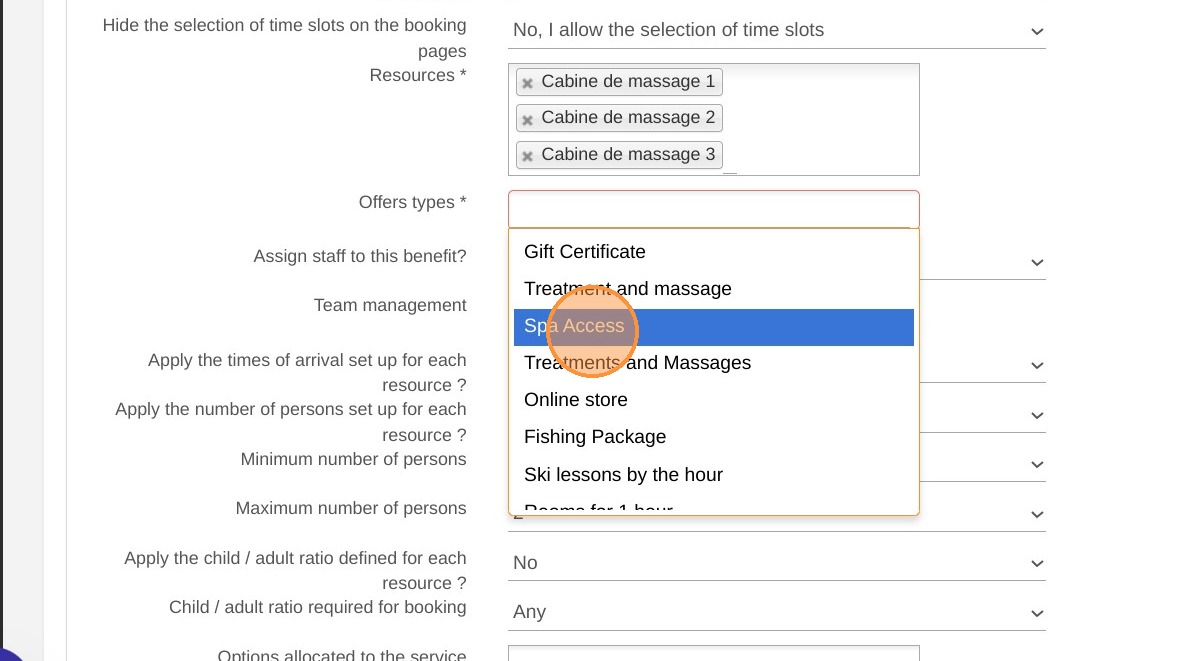
Link resources and categories: Apply the correct accounting code for accurate billing, associate the necessary physical resources, and assign the service to its appropriate category.
-
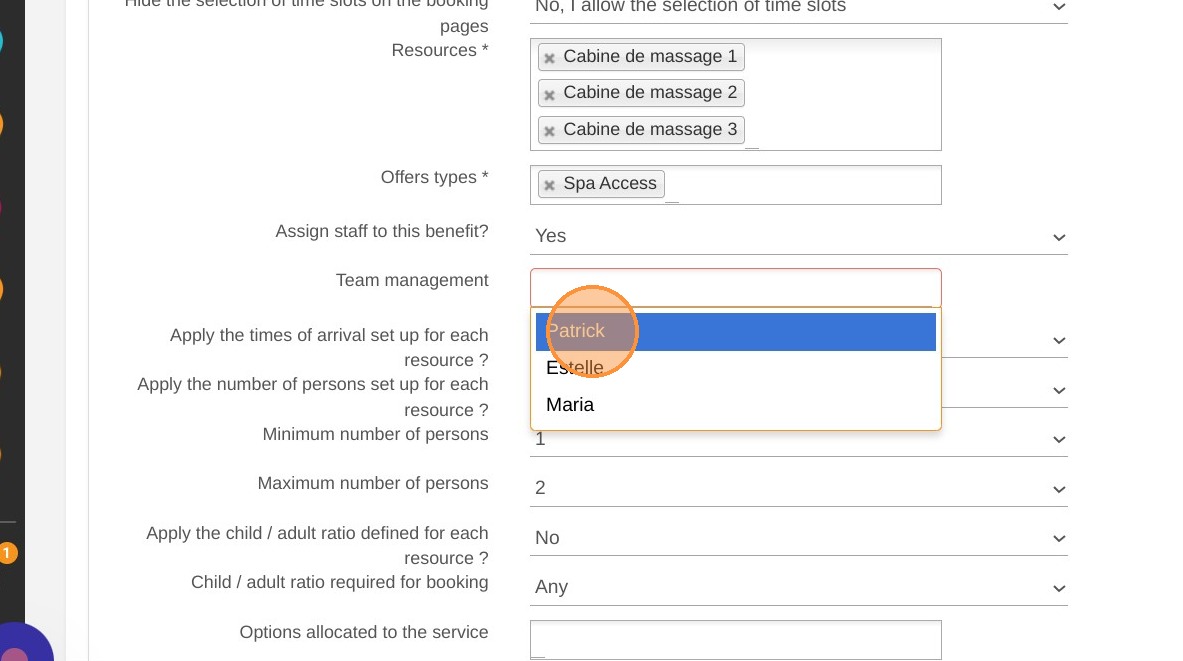
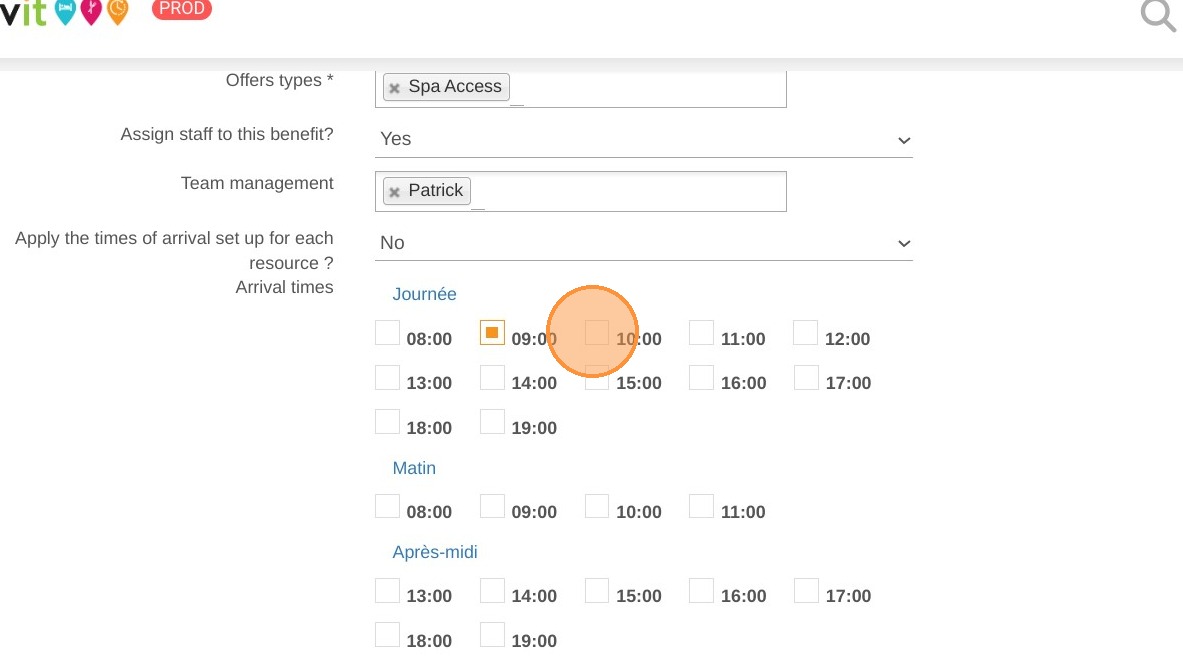
Assign staff and schedules: Optionally allocate the service to specific team members, select the permitted arrival times, and save your setup to publish your new offer.
Why follow this guide? Following this complete setup workflow ensures your new services are accurately configured from day one, preventing double-bookings or missing resource allocations. It streamlines your catalog management and guarantees your customers experience a clear, professional, and error-free booking process online.
1. Click "My rates and availability" then "Services" and "Services Setup"

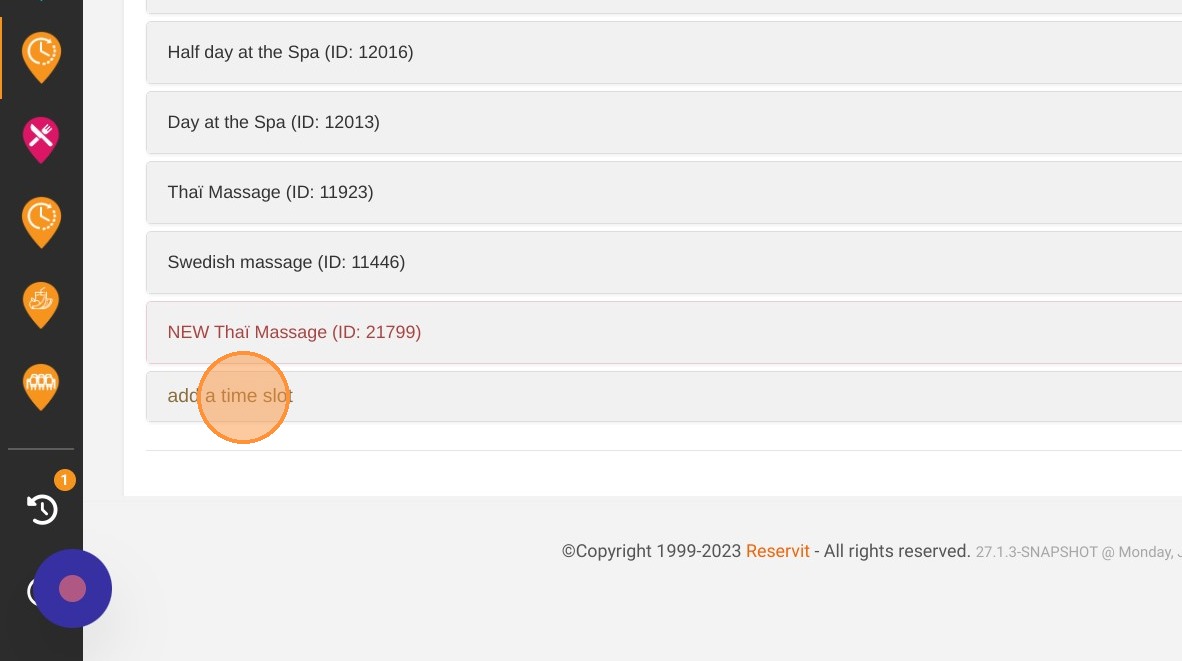
2. Click "add a time slot"
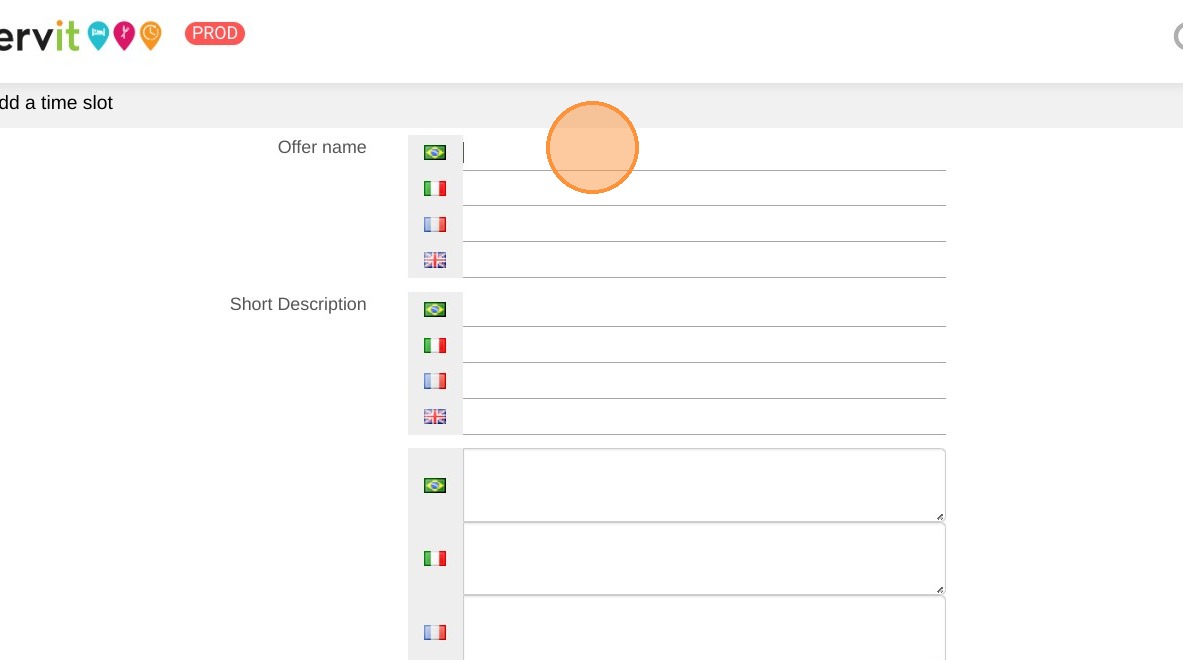
3. Add name and description in both English and French.
4. Select "Ask" for the "Number of persons".
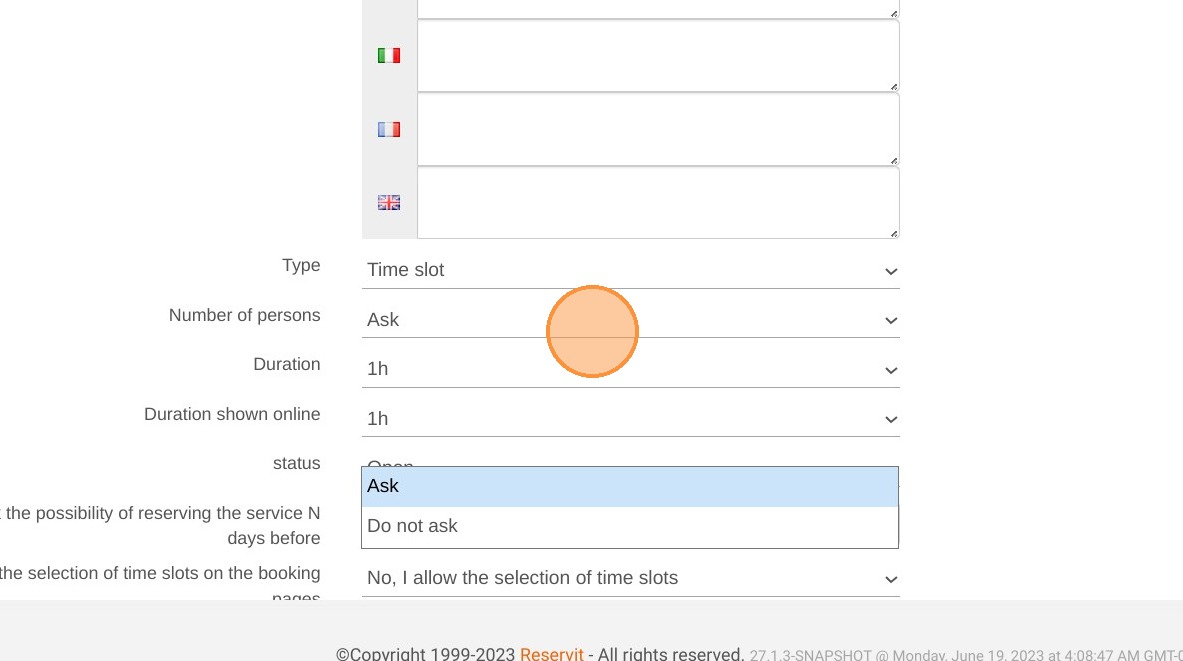
5. Select the duration of the service in "Duration".
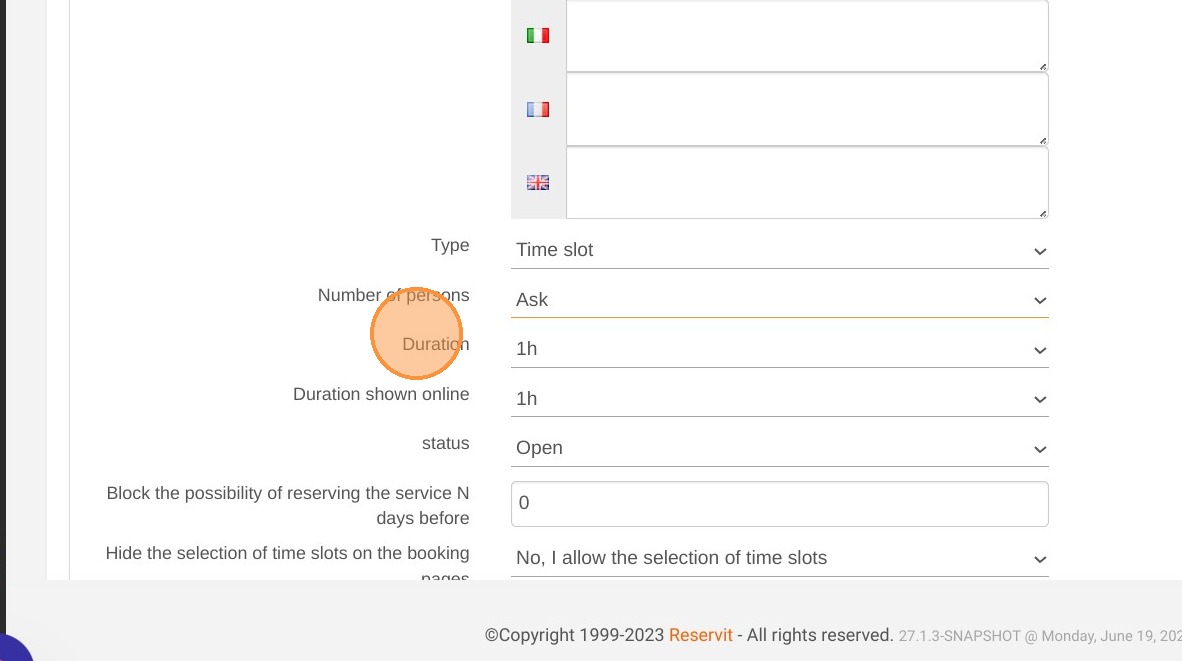
6. Select the duration you want to show your clients in "Duration shown online".
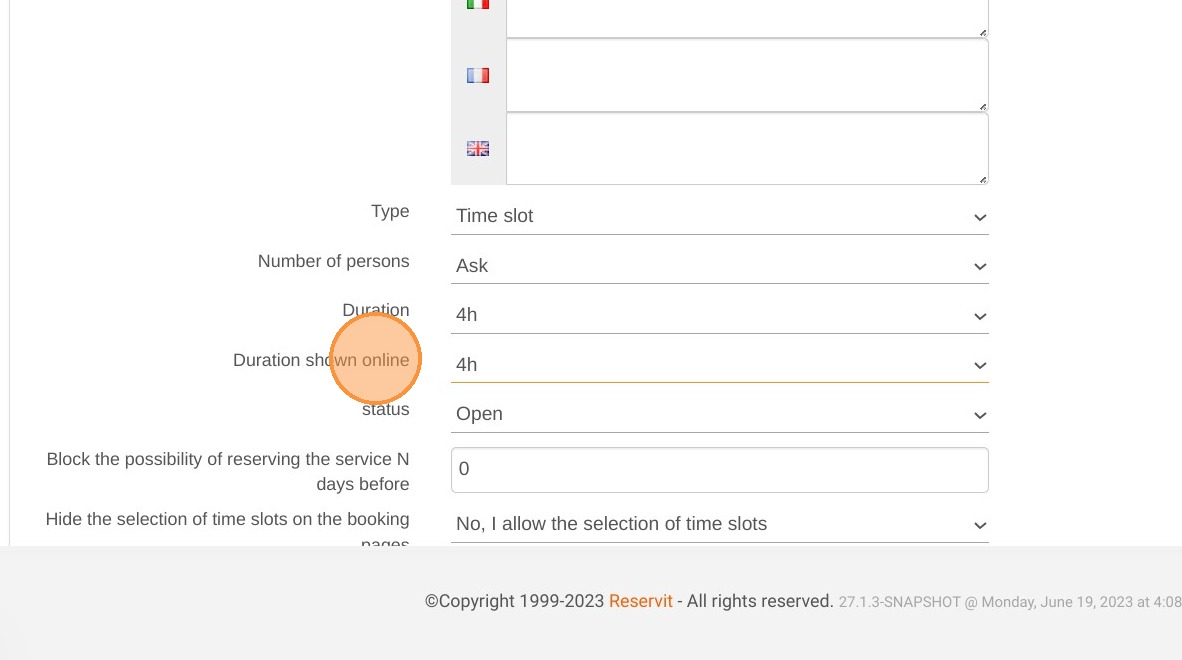
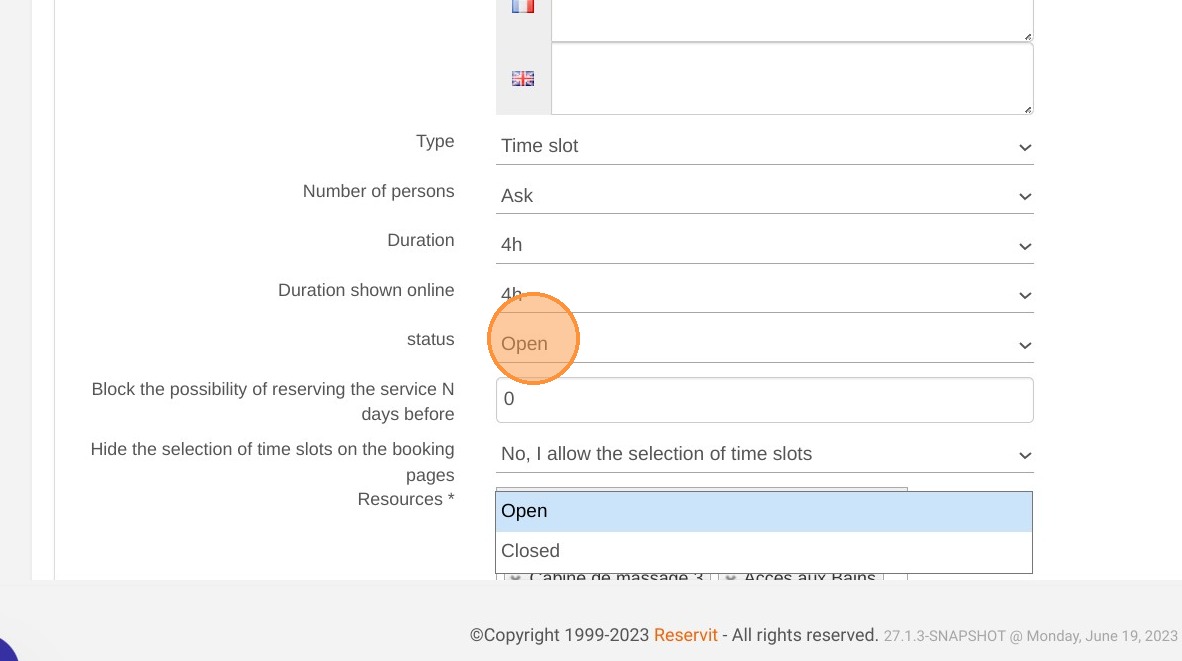
7. Choose whether or not to display this service online. Select "Open" to display the service.
8. Choose which accounting code to apply. Accounting codes can be created in Setups > Taxes and Billing > Tax Management.
9. Select the resource(s) used for this service.
10. Associate this service to one of your categories.
11. Optional: Allocate the service to specific staff.
12. Choose arrival times
13. Don't forget to save your setup.