Article Summary: This tutorial explains how to effectively edit and configure your automated post-stay emails within Reservit Accommodation. You will learn how to schedule the exact delivery time, personalize the content using dynamic tags, and manage recipient settings for your after-departure messages. Customizing these automated follow-up emails allows you to easily gather valuable guest feedback and encourage direct repeat bookings.
The 5 key steps to edit your post-stay emails:
-
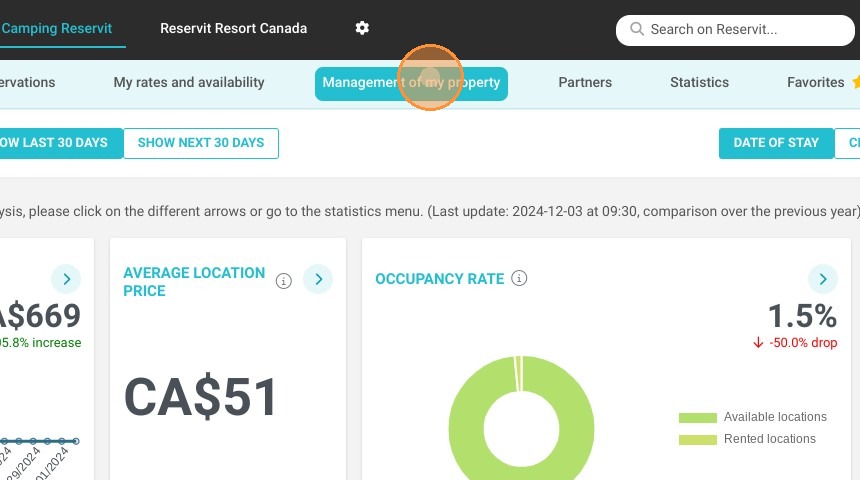
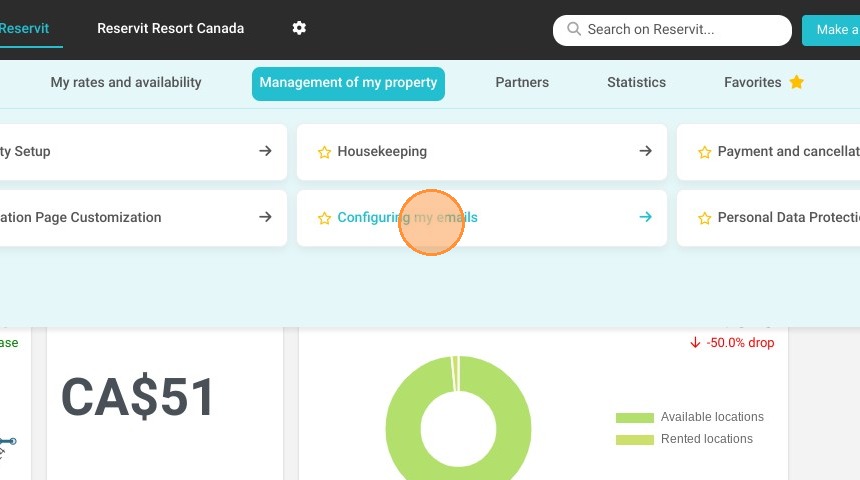
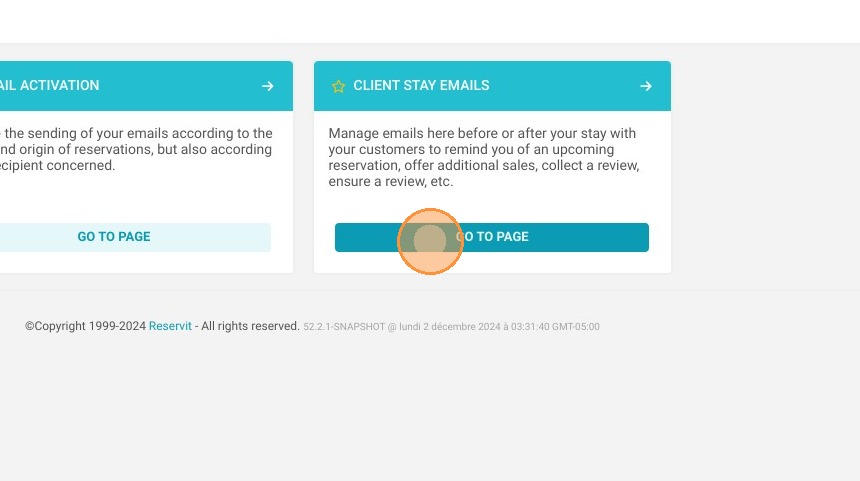
Access Email Settings: Navigate to the "Management of my property" menu, select "Configuring my emails," and click on "Client Stay Emails."
-
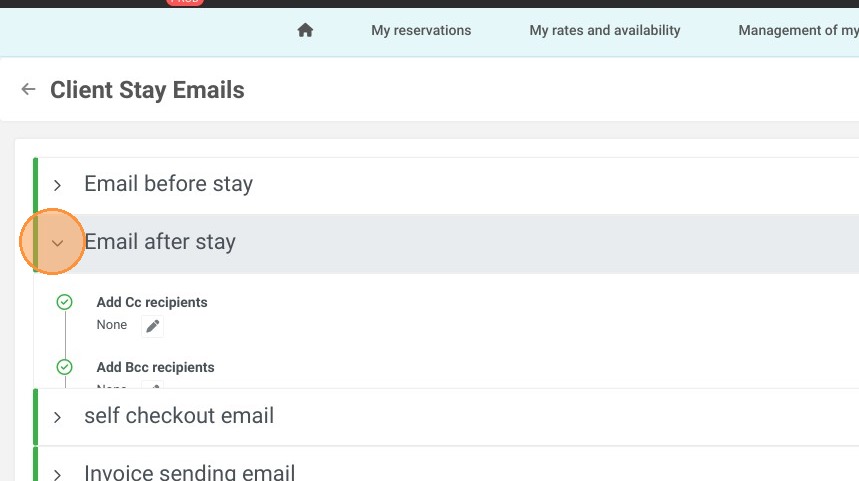
Schedule the Delivery: Select "Email after stay," then define exactly how many days after departure and at what specific time the message should be triggered.
-
Configure Recipients and Subject: Add any necessary CC or BCC addresses for your internal tracking, and personalize your email subject line using dynamic guest tags.
-
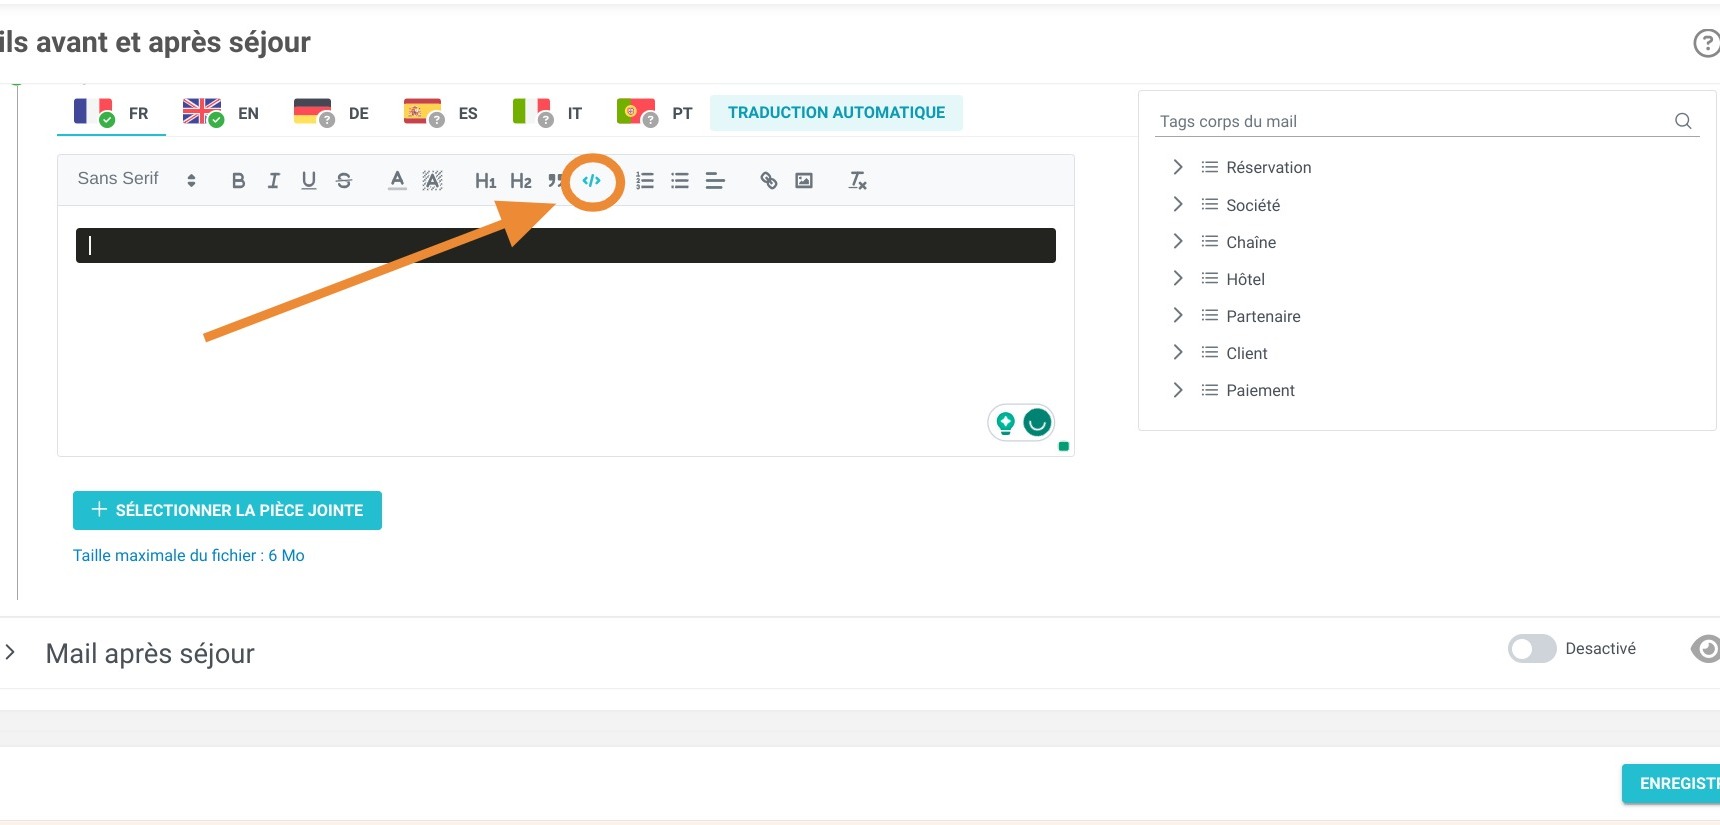
Customize the Content: Use the text editor or HTML import feature to format your message, add images, insert dynamic tags (like the guest's name), and attach relevant documents.
-
Preview and Enable: Click the eye icon to preview your finalized layout, toggle the email delivery status to active, and click "Save" to automate your campaign.
Why follow this guide? Automating and personalizing your post-stay emails helps you effortlessly maintain guest engagement and drive brand loyalty without added daily workload. This guide saves you valuable administrative time by showing you exactly how to configure these templates, completely eliminating the need for manual, individual after-departure outreach.
Alert: If you're not comfortable with e-mail editing involving the use of tags, we offer the Reservit Premium service. We can then configure your e-mail for you.
1. Click "Management of my property" then "Configuring my emails" and ''Client Stay Emails''
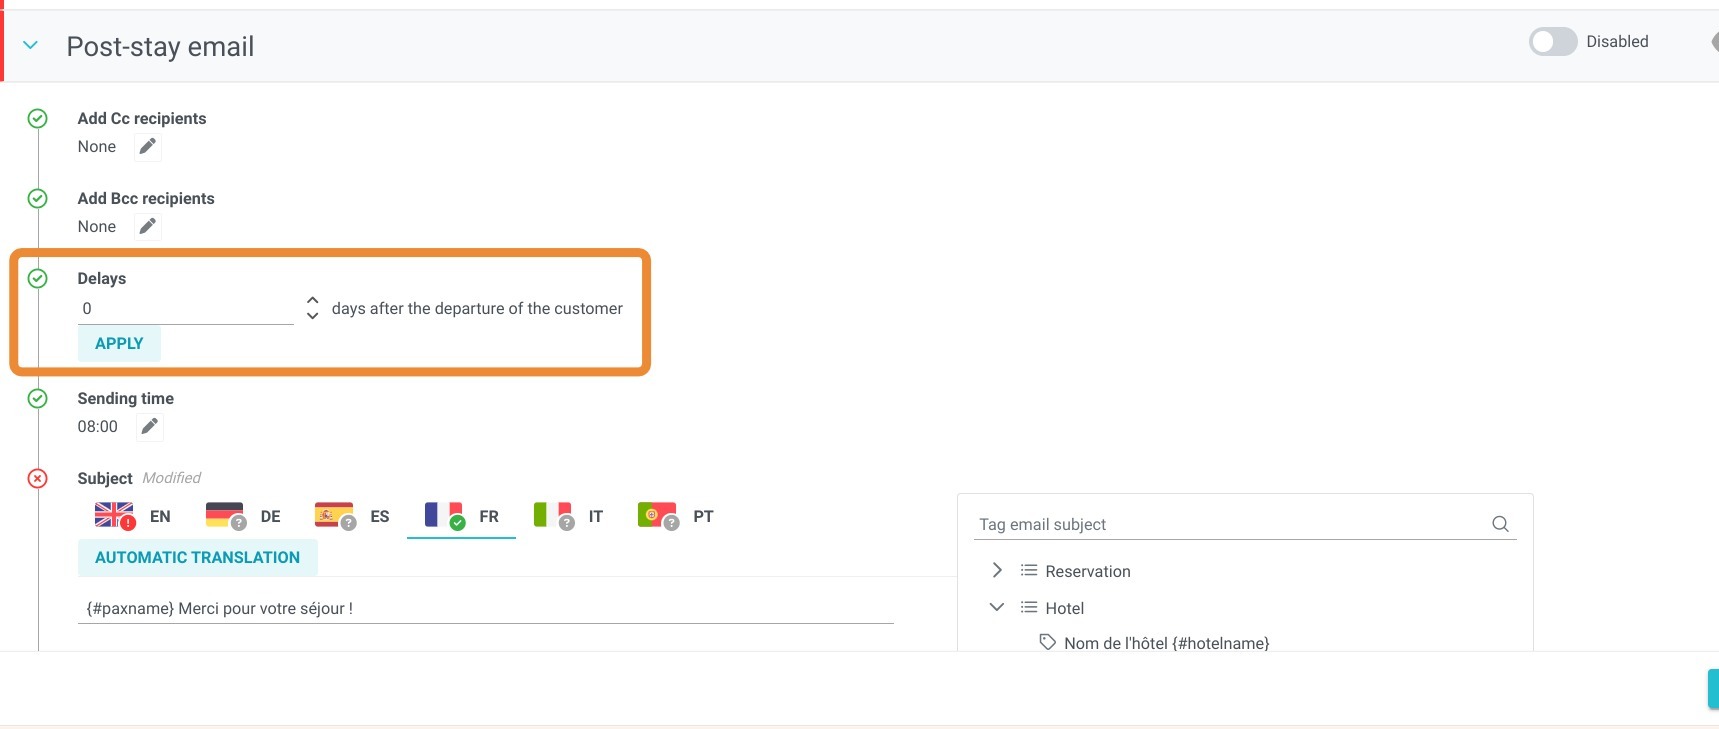
2. Select ''Email after stay''
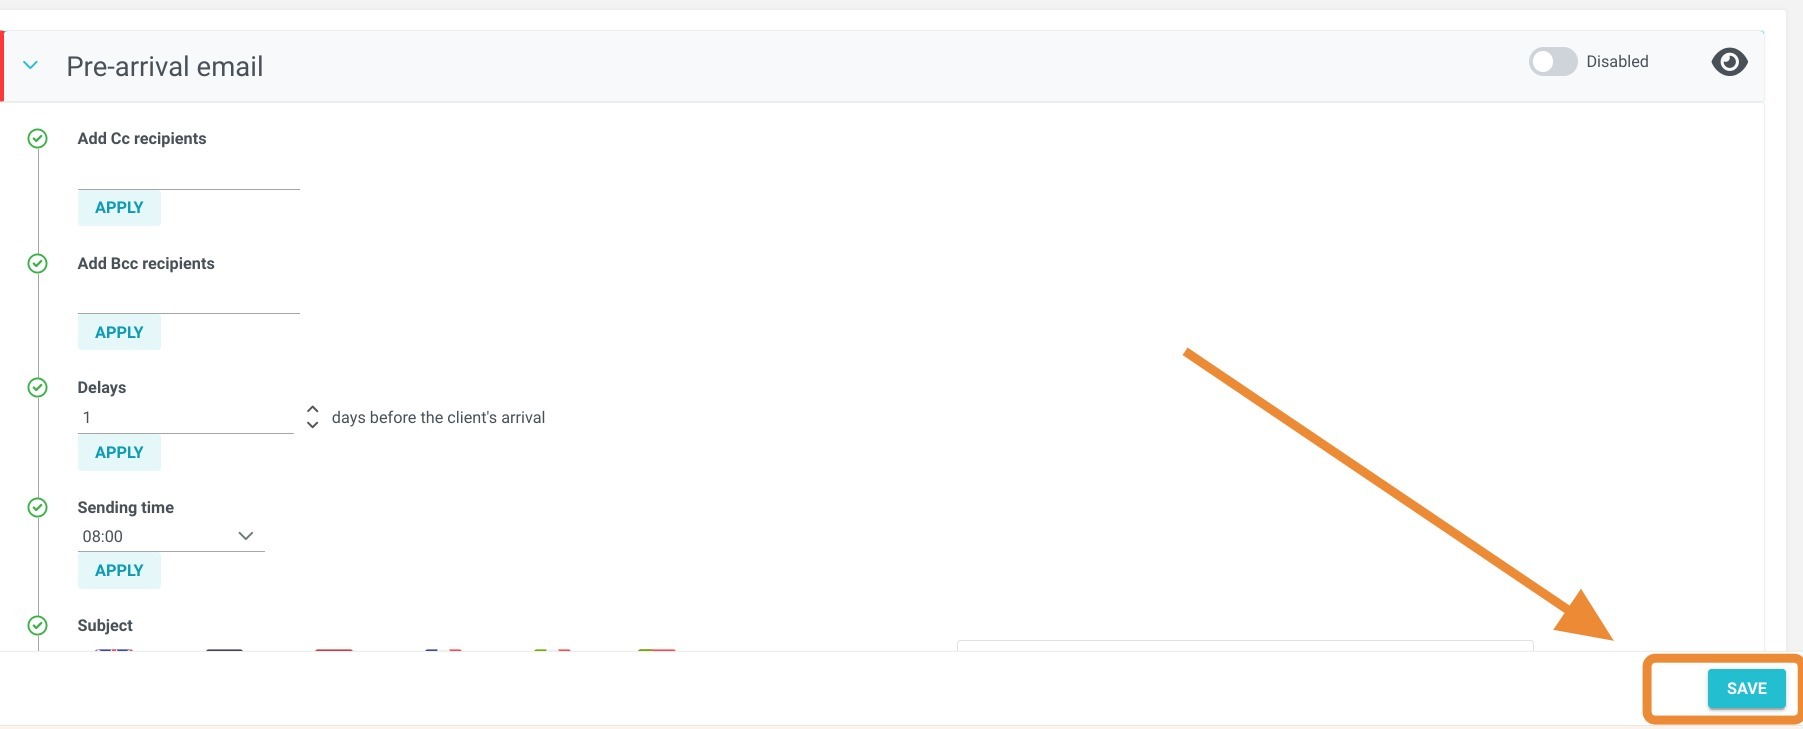
3. 'Add Cc recipients in'' enables you to copy the customer's post-stay email to the email address of your choice. Please note that the client can see this address when they receive the email.
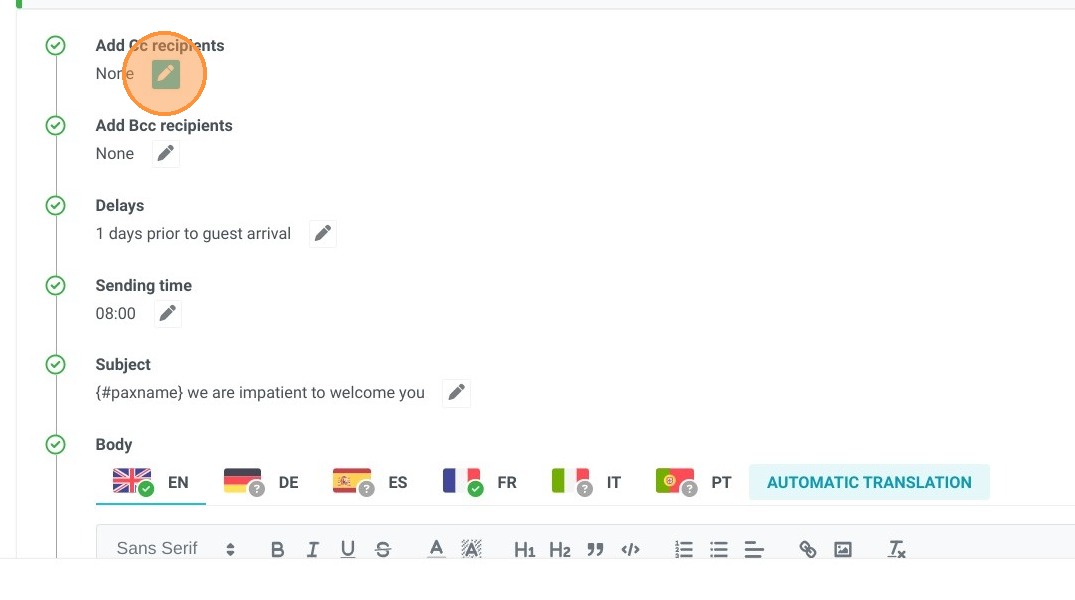
4. ''Add Bcc recipients'' lets you copy one or more e-mail addresses of your choice into the customer's post-stay email. This address will not be visible to the client upon receipt of the e-mail.
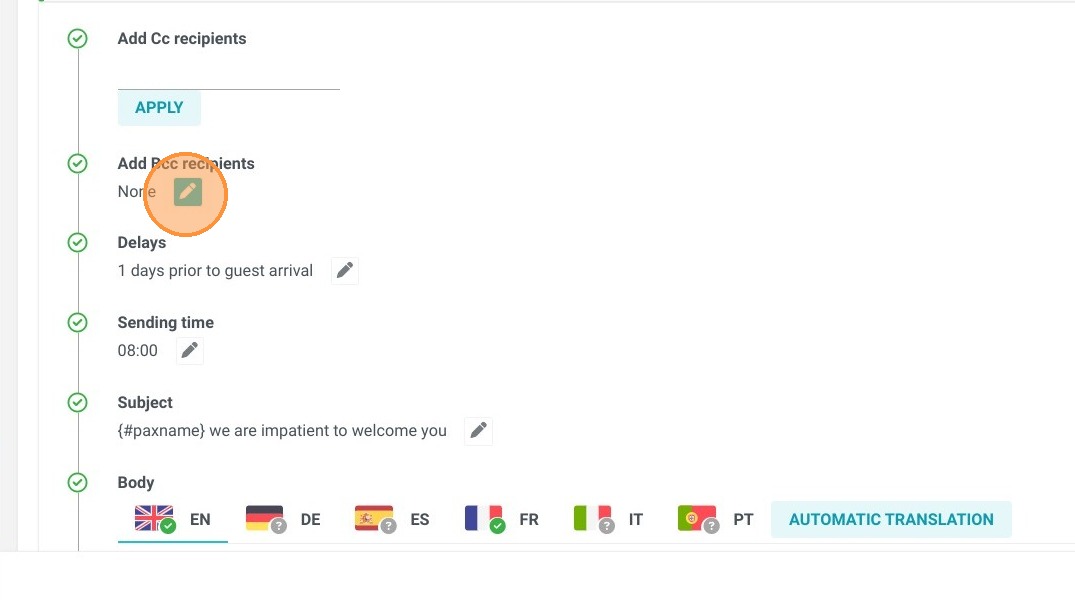
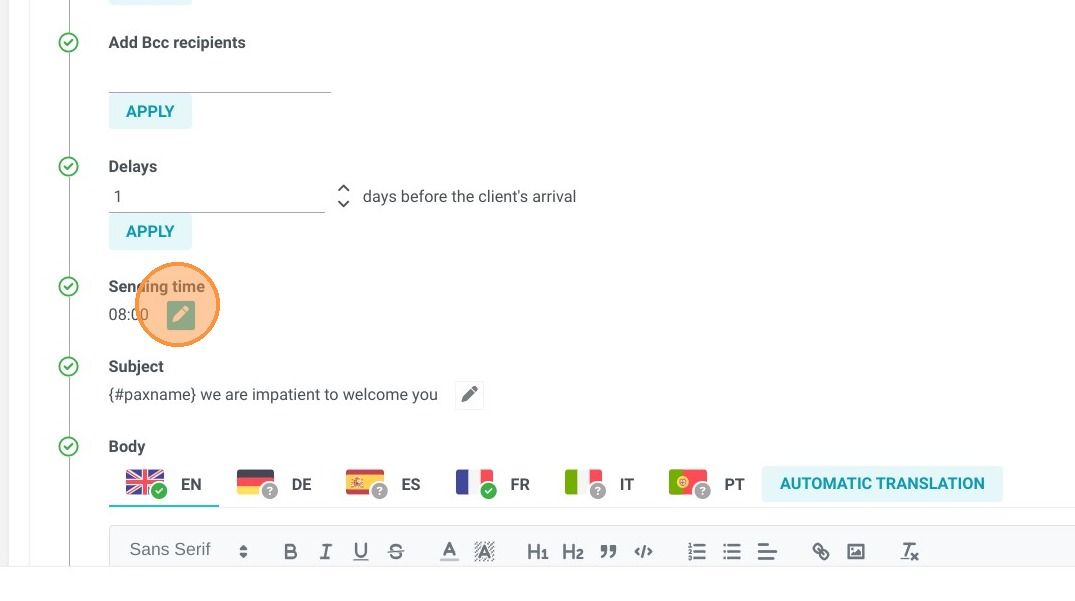
5. Choose the number of days after the customer's departure to send the e-mail. If you want the e-mail to be sent on the day the customer leaves, enter 0.
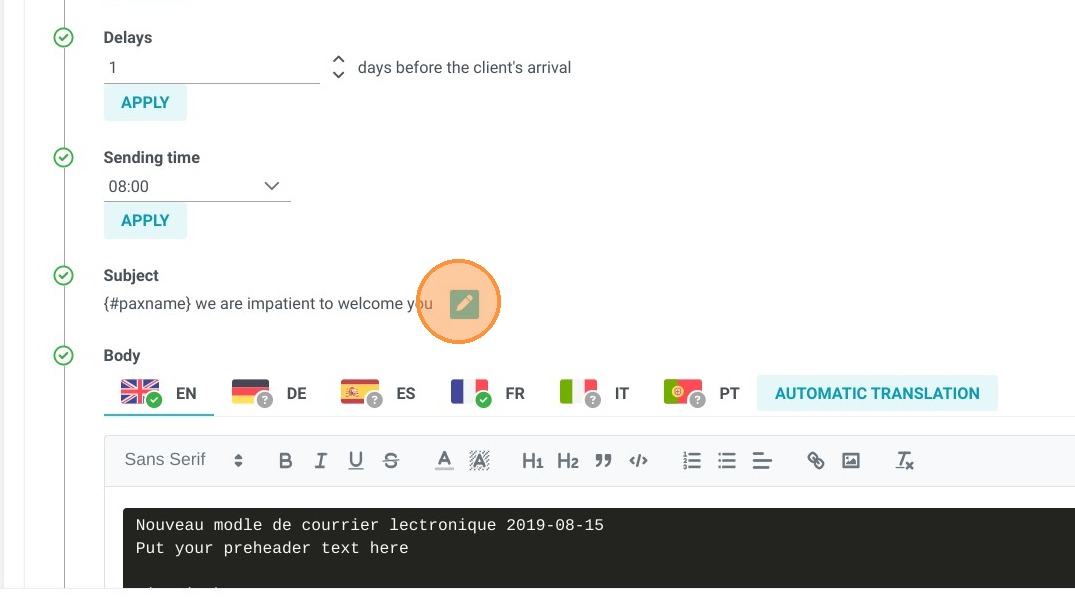
6. Select the time that you want the email sent. The time chosen will be the geographical location of your establishment.
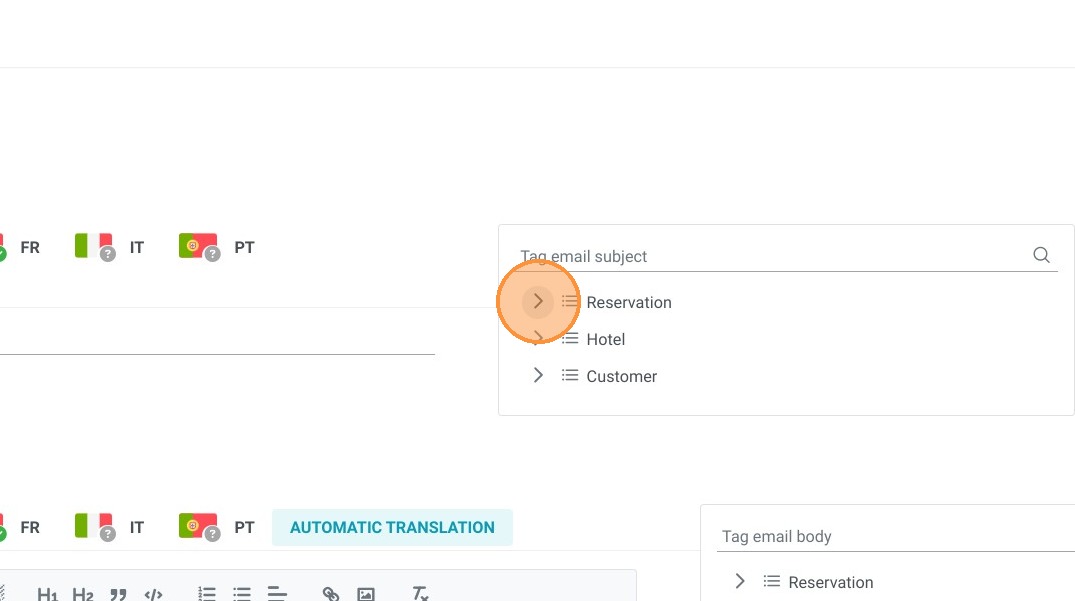
7. The "Subject" field lets you personalize the subject of the email. For example, if you want to set the name of the client who made the booking, you can choose the tag 'paxname'. The customer's name will then be automatically personalized.
8. Several tags are available for the "Subject" area. Our recommendation is a maximum of two.
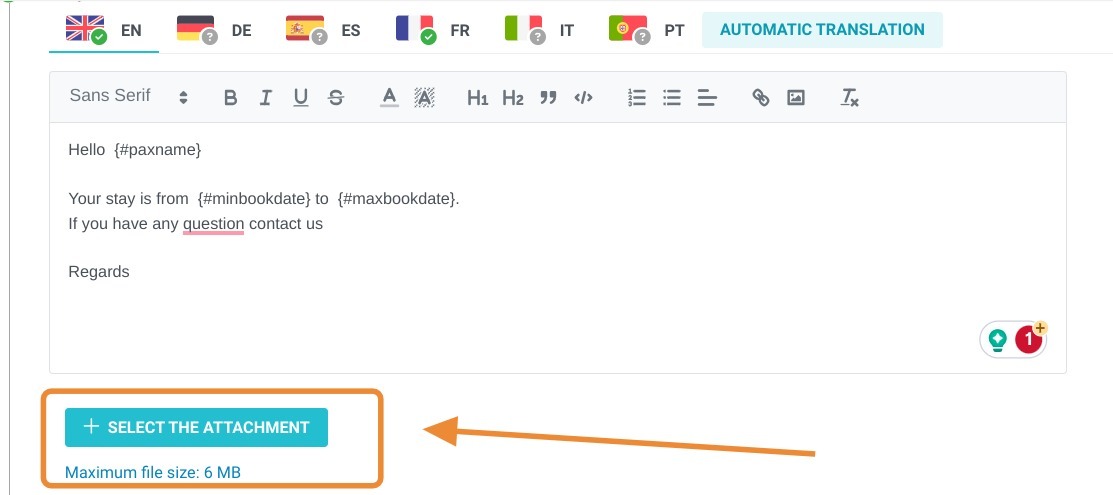
9. You can then write your e-mail using the various tags offered to make your e-mails personalized. You can also easily add images and links. Your text can also be formatted according to the fonts available (it is not possible to add fonts).
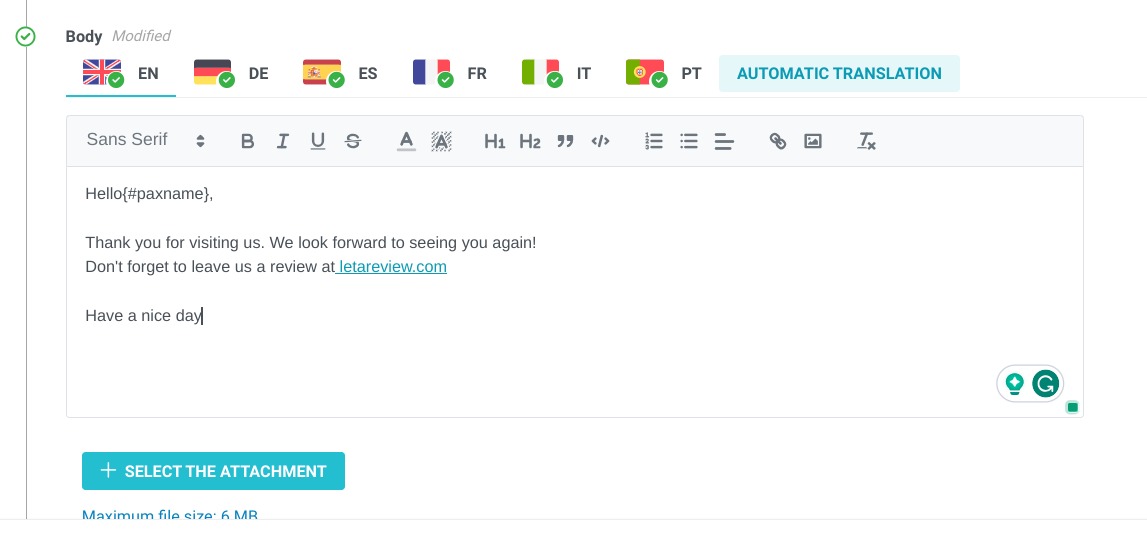
Tip: Tip! You can add an attachment to your e-mail.
10. Once the e-mail has been created and customized, you can preview it by clicking on the eye.

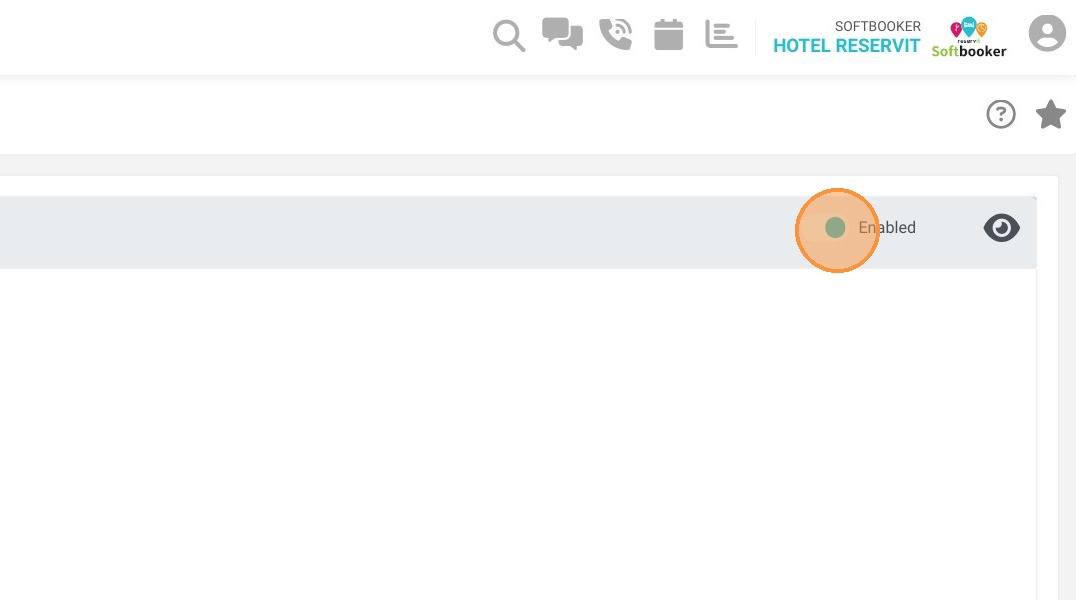
11. You can then use the radio button to quickly enable or disable e-mail delivery.

12. Finally, don't forget to save your changes by clicking on "SAVE".
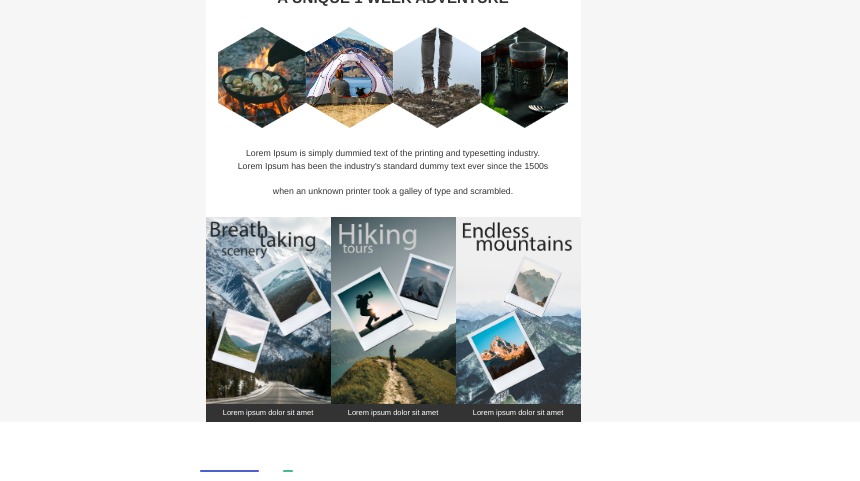
13. If you'd like an e-mail with a lot of visuals and a lot of personalization, that's perfectly possible. You'll need to import your e-mail in HTML format.