

Article summary: This step-by-step guide explains how to efficiently process a customer refund directly through the payment terminal in Reservit Activities. You will learn how to create a credit note and initiate a seamless reimbursement for transactions originally processed via Stripe. Mastering this feature ensures accurate accounting and a professional, hassle-free resolution for your clients.
The 4 key steps to process a customer refund:
-
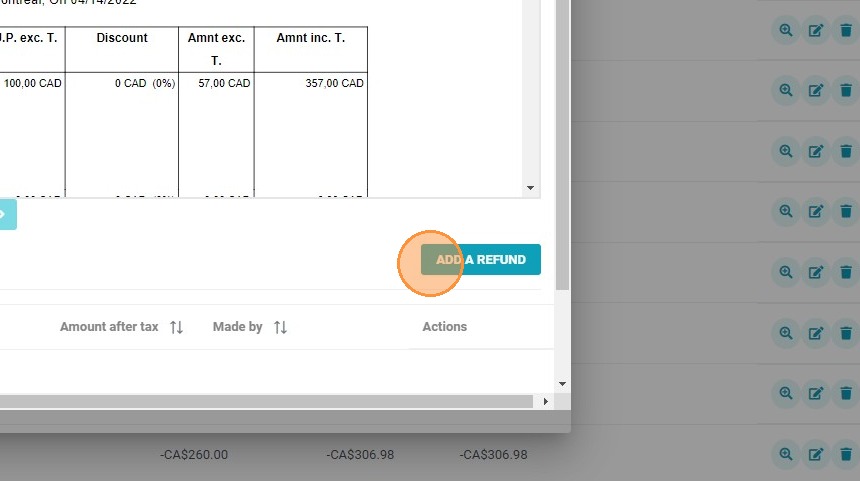
Create a credit note: Access the specific booking and click on "ADD A REFUND" to initiate the reimbursement for a partial or full amount.
-
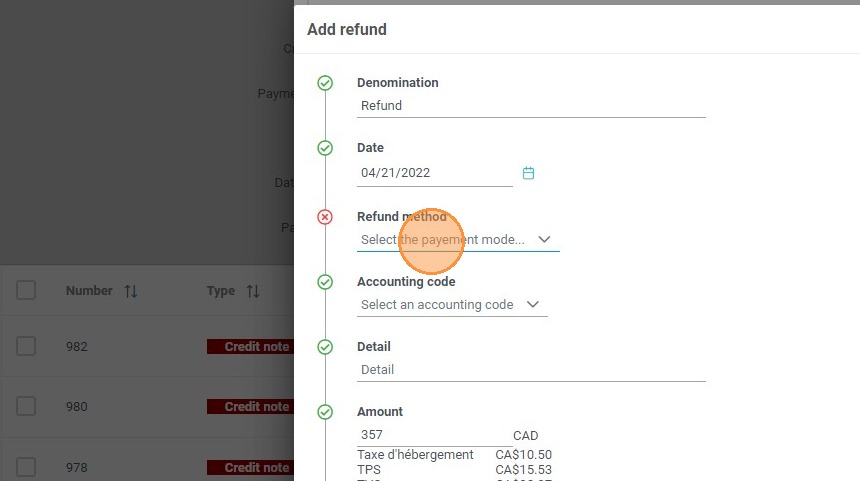
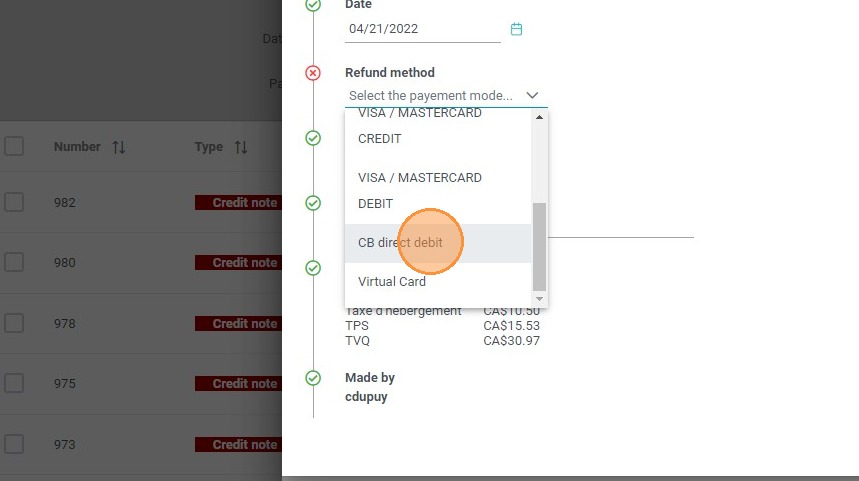
Select the payment method: Choose "CB direct debit" as your designated payment mode for the transaction.
-
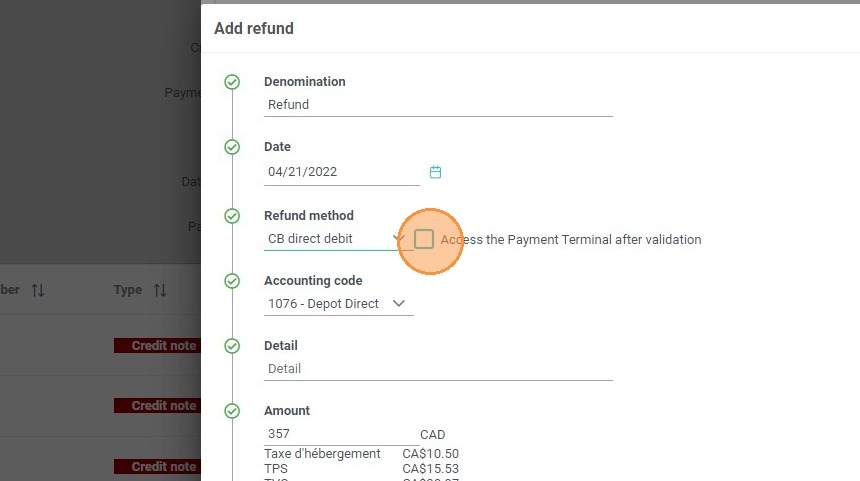
Access the payment terminal: Launch the integrated Stripe terminal directly from your dashboard to handle the transaction securely.
-
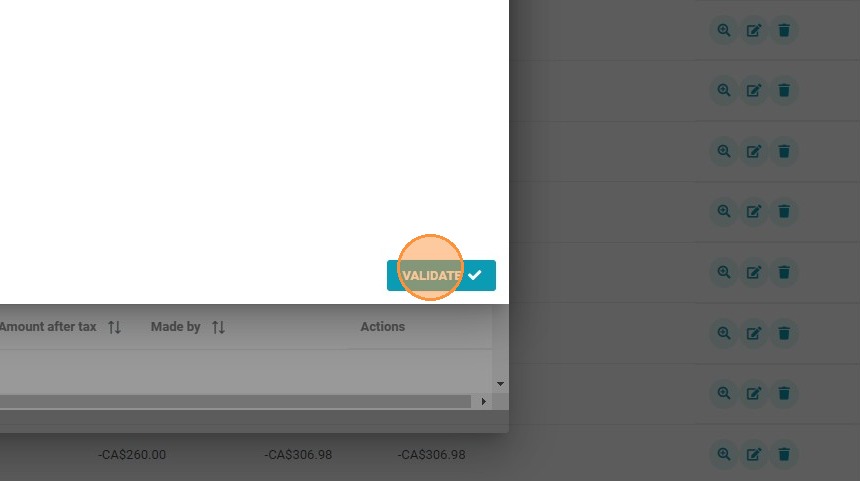
Validate and confirm: Review the pre-filled refund information in the terminal and click "VALIDATE" to finalize the process and automatically update the associated invoice.
Why follow this guide? Following this integrated workflow allows you to process customer refunds securely and accurately without ever leaving your Reservit dashboard. It automatically syncs your invoice updates and eliminates manual accounting errors, saving your team valuable time when managing cancellations or booking adjustments.
Alert: Refunds can only be made if the payment was originally taken via Reservit and Stripe.
1. If you need to refund a portion of the amount paid for a booking, you can create a credit note. Once created, click on "ADD A REFUND".
2. Select the payment mode.
3. Choose "CB direct debit".
4. Access the payment terminal.
5. Click on "VALIDATE".
6. You will be redirected to the terminal to confirm the refund. By default, the terminal suggests a refund, with all the information already filled in. Once confirmed, the invoice account will be updated accordingly.