Article Summary: This practical guide explains how to seamlessly transfer billing lines between different invoice accounts within the Reservit PMS system. You will learn how to select specific charges, move them to an existing or newly created billing profile, and verify the successful transaction. Mastering this process ensures your billing remains accurate, highly flexible, and perfectly tailored to your guests' invoicing requests.
The 4 key steps to transfer invoice lines:
-
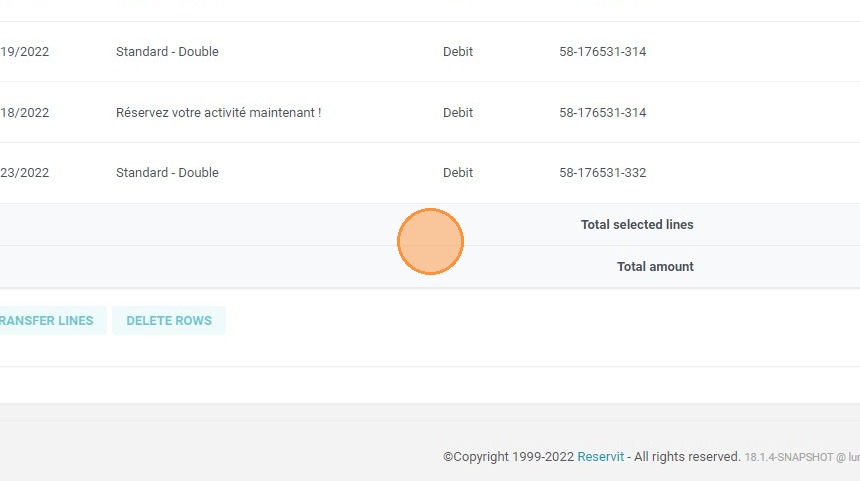
Select the Source Account: Navigate to "My reservations", then "Billing", and select "Invoice Accounts" to open the profile containing the charges you wish to move.
-
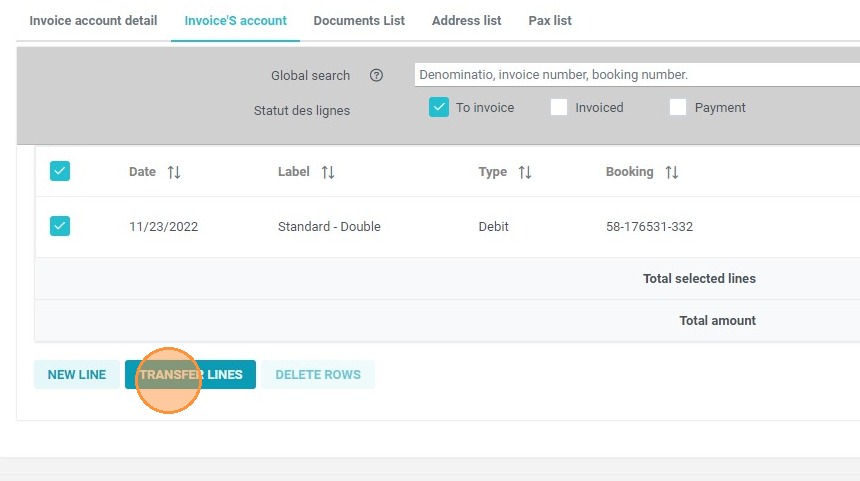
Choose Lines to Transfer: Select the specific account lines you need to relocate and click the "Transfer lines" button.
-
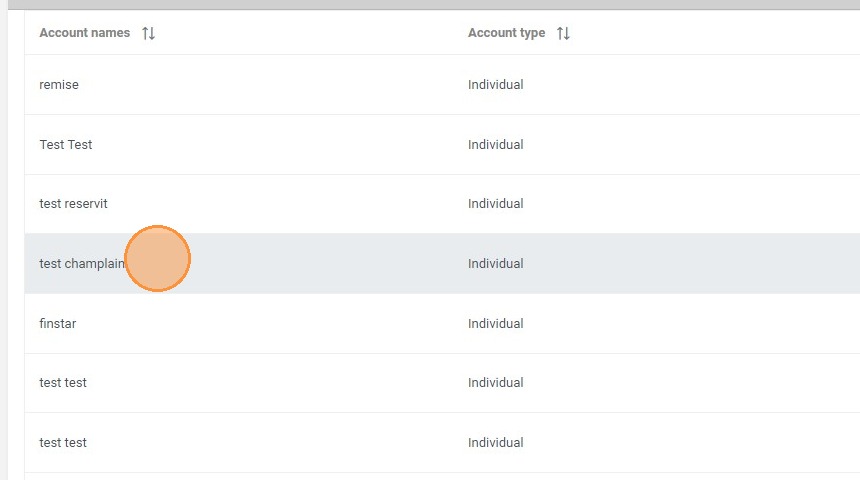
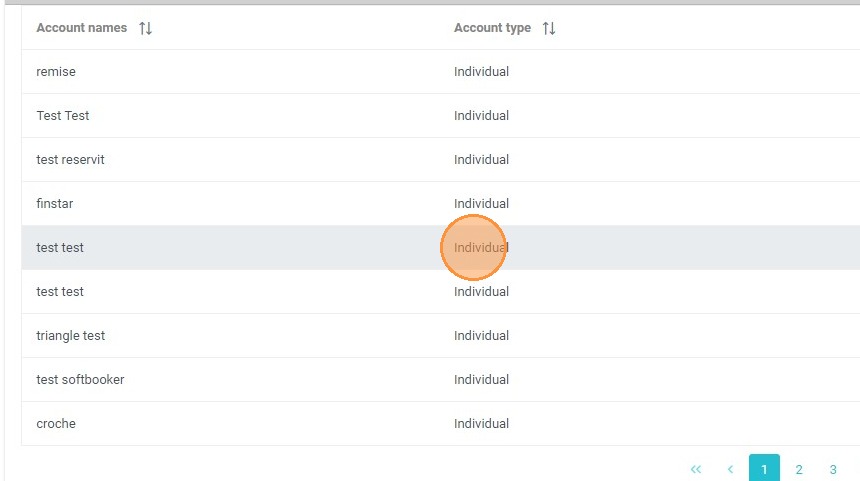
Determine the Destination: Choose whether to transfer the selected items to an existing invoice account or create a brand-new account directly from the prompt.
-
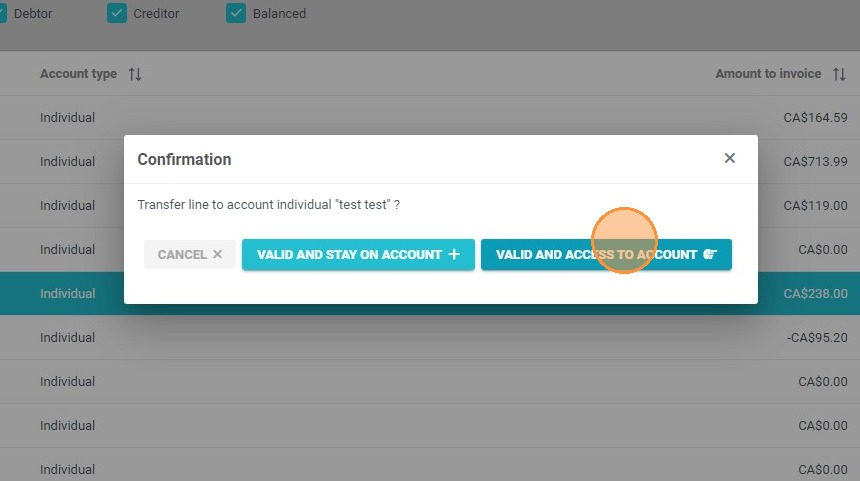
Validate and Verify: Click "Valid and access to account" to complete the move and confirm that the charges now appear correctly on the new billing profile.
Why follow this guide? Following this tutorial will save you time and prevent accounting errors when guests request split bills or last-minute charge corrections. It optimizes your daily billing operations, ensuring that all invoices are perfectly accurate and organized before final payment processing.
1. In "My reservations'' > ''Billing'' > ''Invoice Accounts'', select the account.
2. Select the account lines you need to transfer and click on "Transfer lines".
3. Select an existing account or created a new one. Validate and either stay on this account or be redirected to the other account.
4. Click "VALID AND ACCESS TO ACCOUNT"
5. You will see the line appear on the new account.