Article Summary: This detailed tutorial explains how to set up Closed to Arrival restrictions (or blocked check-in days) directly from your Reservit Property workspace. You will learn how to restrict guest arrivals on specific dates using an interactive yearly view, allowing you to adapt your availability to your operational constraints. It is the ideal tool for optimizing your reservation management and streamlining your front desk's daily workflow.
The 5 key steps to apply Closed to Arrival days:
-
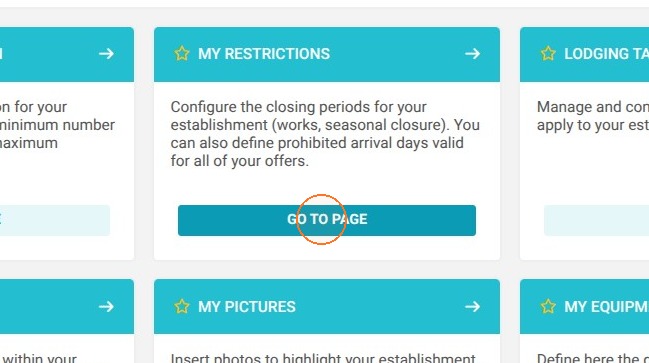
Access restrictions: From the main menu "Management of my property," click on "Property setup," then select the "My restrictions" tab.
-
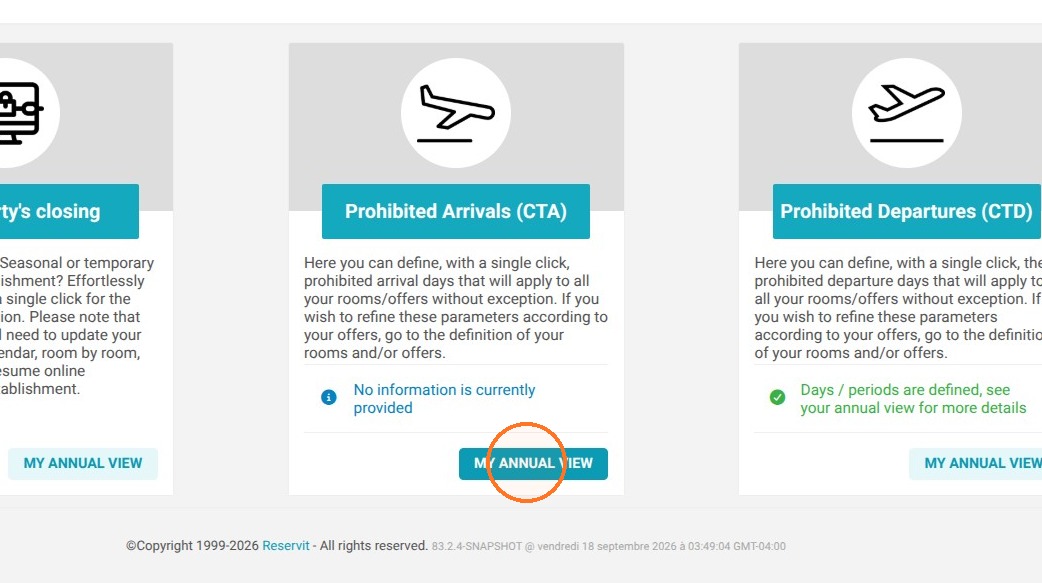
Open the yearly view: Locate the section dedicated to "Prohibited arrivals" and click the "Annual view" button to display your calendar.
-
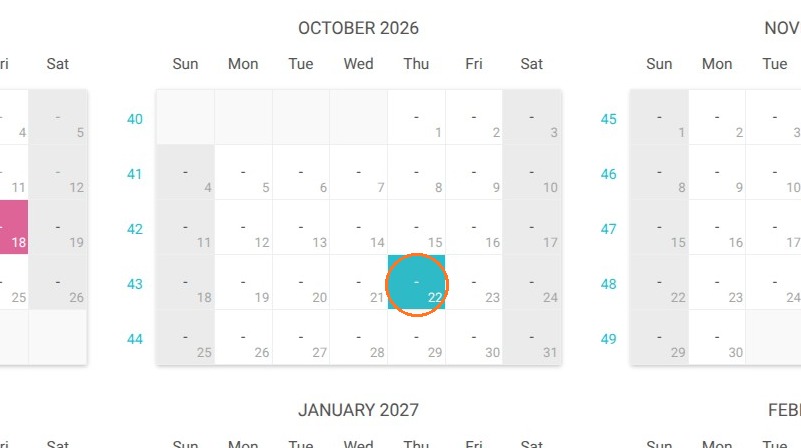
Select dates: Simply click on the days in the calendar for which you want to block new guest arrivals.
-
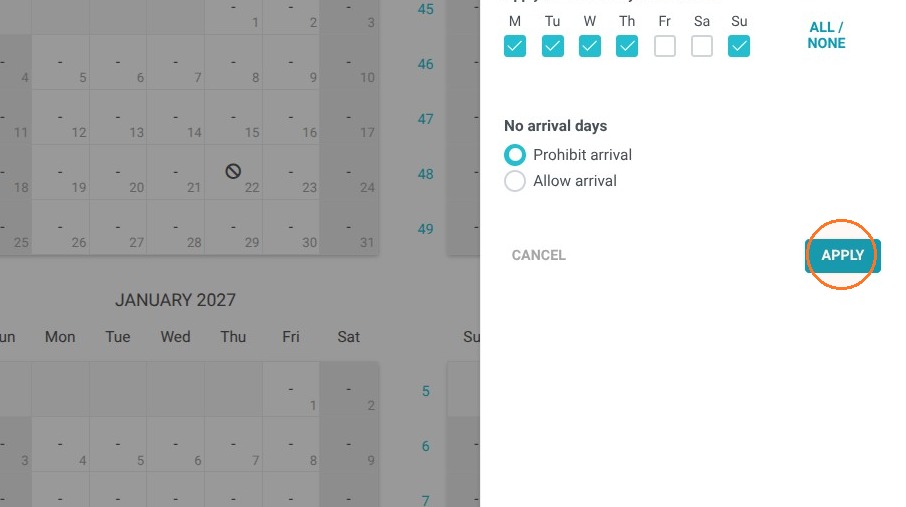
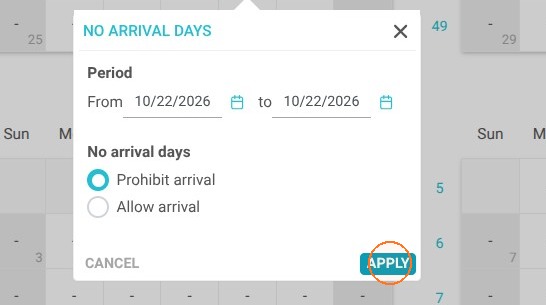
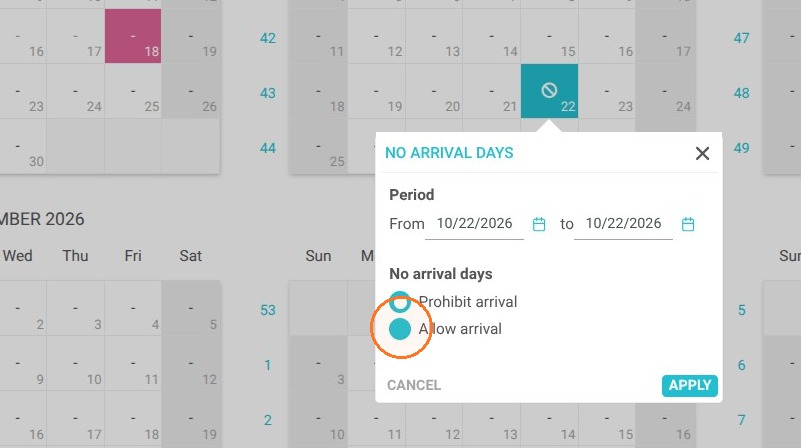
Apply changes: Click the "APPLY" button to confirm your choices (note that in case of an error, a simple click on the date allows you to reopen the day to arrivals).
-
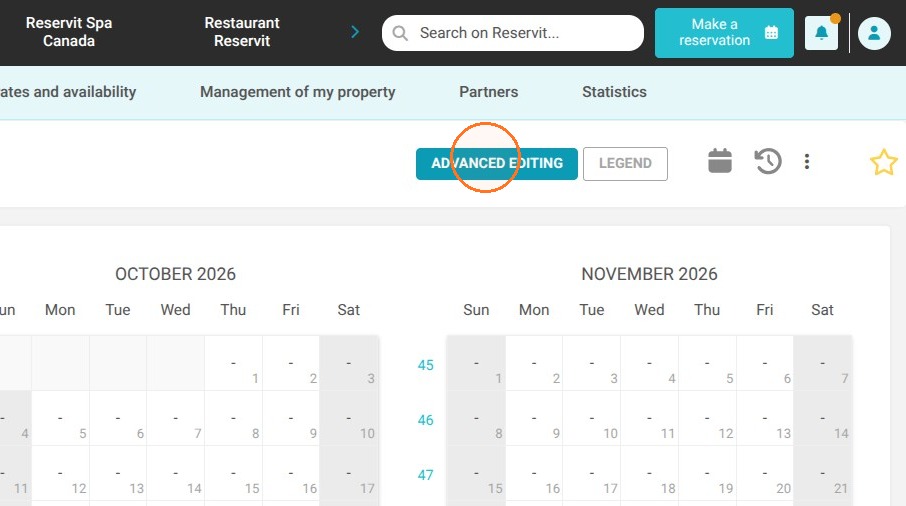
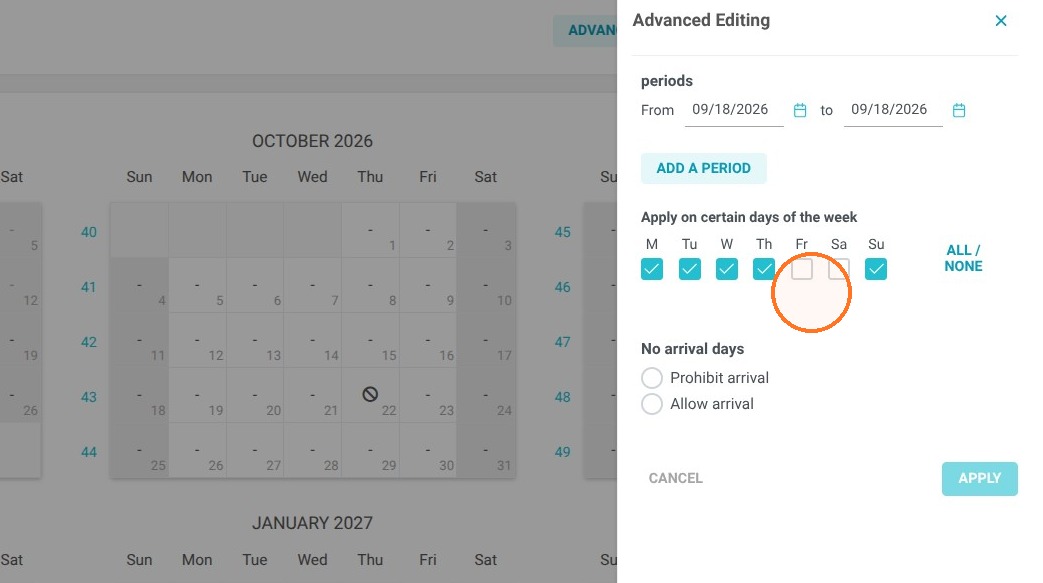
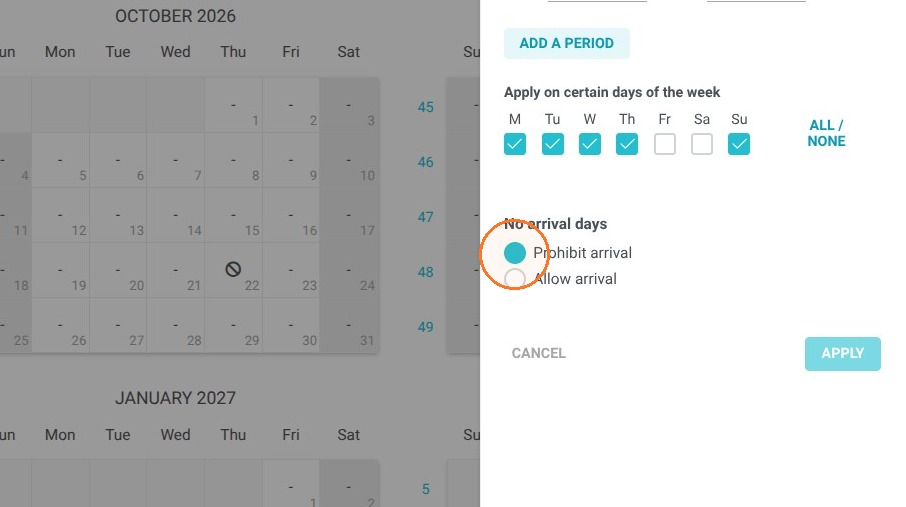
Manage multiple periods: To apply these restrictions over extended date ranges, use the "ADVANCED EDIT" option.
Why follow this guide? Following this guide allows you to precisely control your guest flow by automatically blocking check-ins on days when your front desk is closed or understaffed. This setup secures your internal organization, prevents booking errors, and helps you avoid potential disputes related to guest reception.
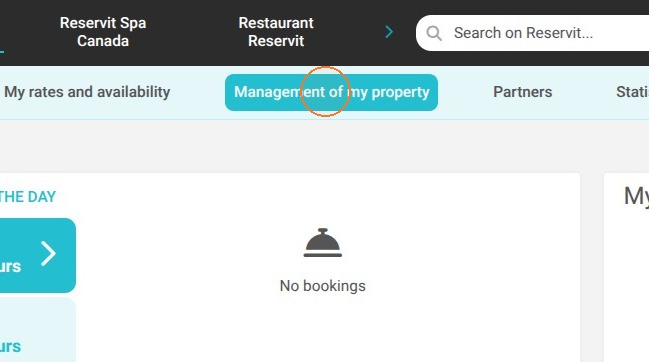
1. Click "Management of my property"
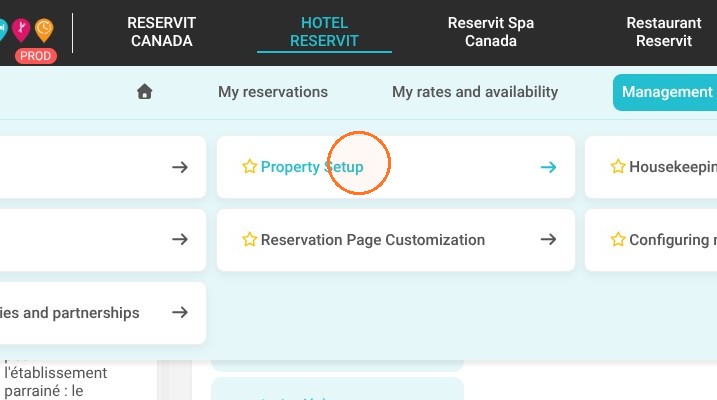
2. Click "Property Setup"
3. Click "My restrictions"
4. Choose the '' Prohibited Arrivals'' tab then click on '' My annual view''
5. Next, select the dates to which you want to apply closed to arrival days.
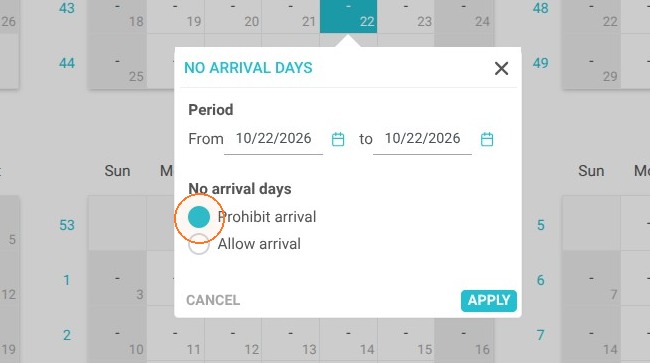
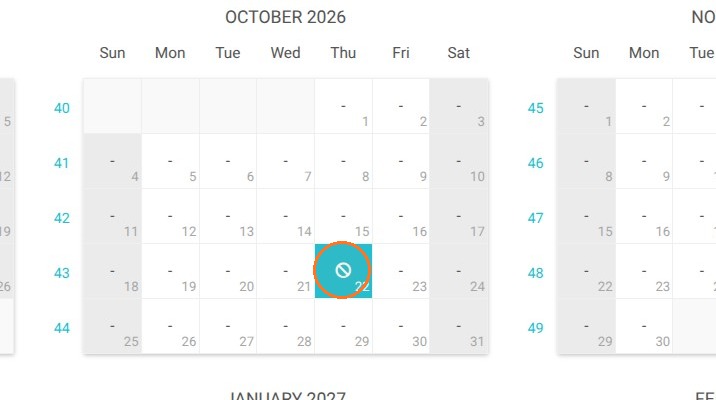
6. Once the arrival day is saved, it will appear like this in the calendar.
7. If you make a mistake, you can quickly reopen this day to arrivals by clicking on it.
8. If you want to apply more closed to arrival periods or dates, you can do so using the 'ADVANCED EDIT' button.