Article Summary: This step-by-step tutorial explains how to accurately bill an activity and manage customer payments using Reservit Activities. You will learn how to add extra service lines, apply manual payments, and generate a finalized invoice to share with your guests. Mastering this invoicing workflow ensures your financial records remain accurate while providing a professional, seamless checkout experience for your customers.
The 5 key steps to bill an activity:
-
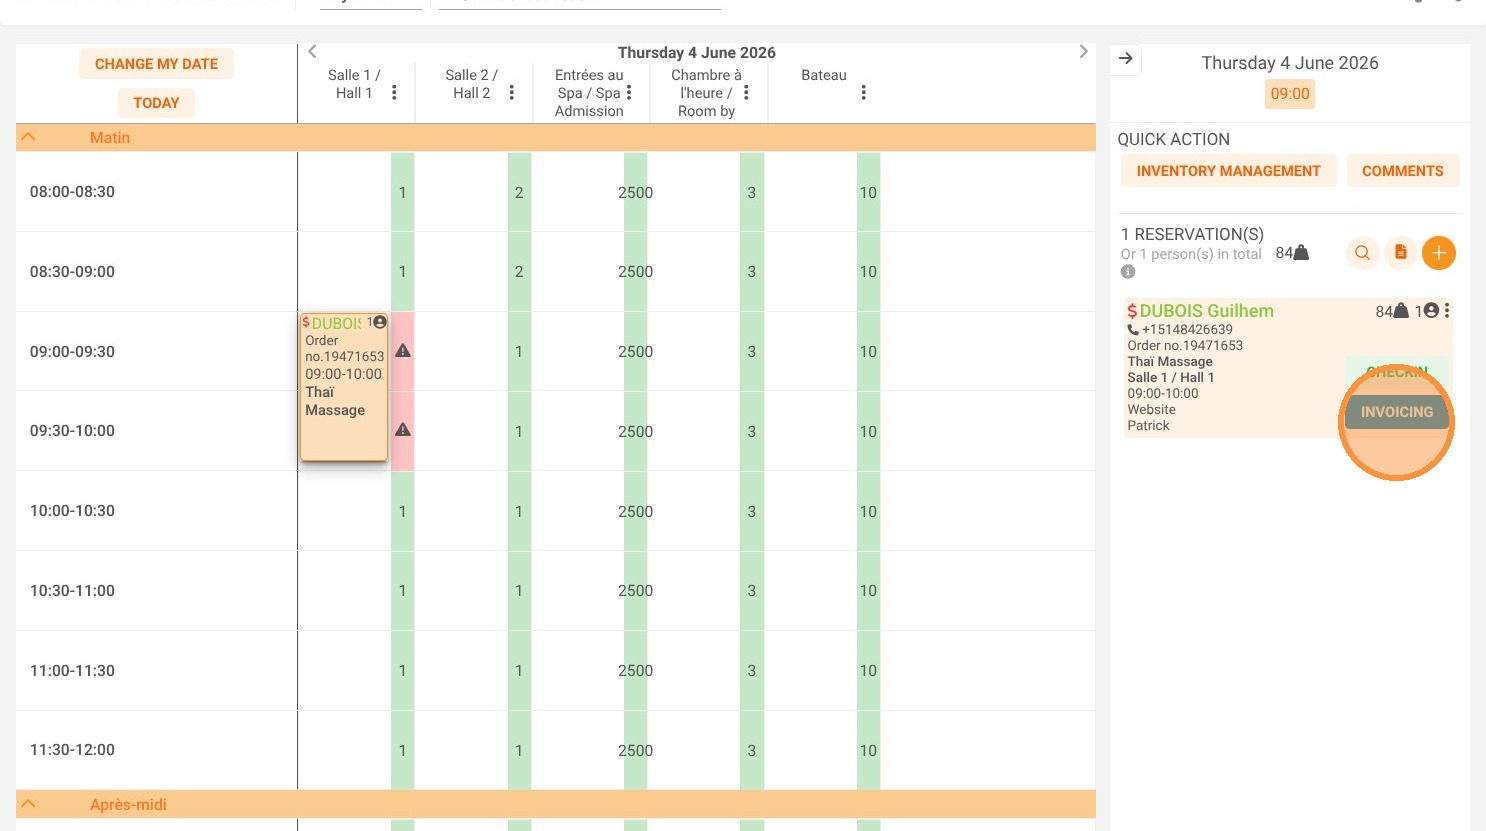
Access the invoicing portal: Search for the specific customer reservation and click on "INVOICING" to open their billing dashboard.
-
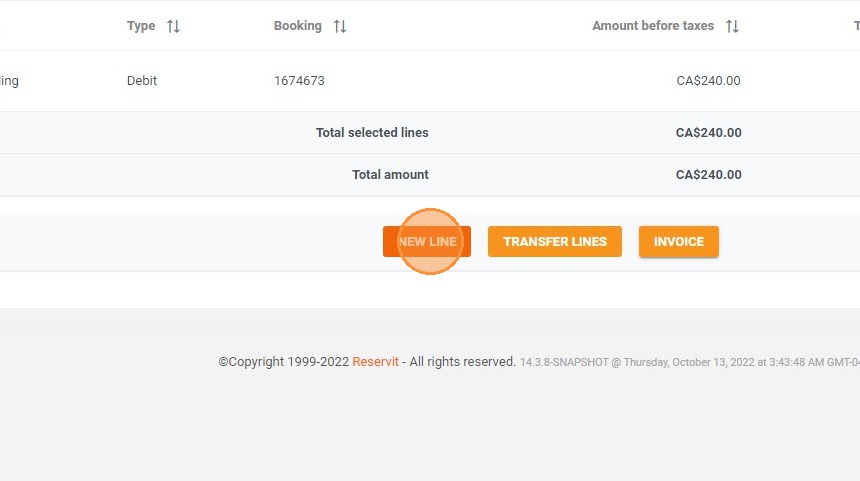
Update account lines: Review the current charges and click "New line" to add any additional services or custom products to the customer's account.
-
Draft the proforma invoice: Click the "INVOICE" button to create a draft document, allowing you to review the total balance before making it official.
-
Record payments: Click "ADD PAYMENT" to manually register a transaction (note that payments processed via Stripe at the time of booking will automatically appear here).
-
Finalize and distribute: Click "INVOICE" again to generate the final official document, which you can then print, download as a PDF, or email directly to your customer.
Why follow this guide? Standardizing your invoicing process eliminates accounting errors and ensures every customer receives an accurate, professional receipt for their activities. By mastering this billing workflow, you save valuable administrative time and maintain clean financial records without having to constantly recreate canceled invoices.
1. Search for the reservation and click on "INVOICING"
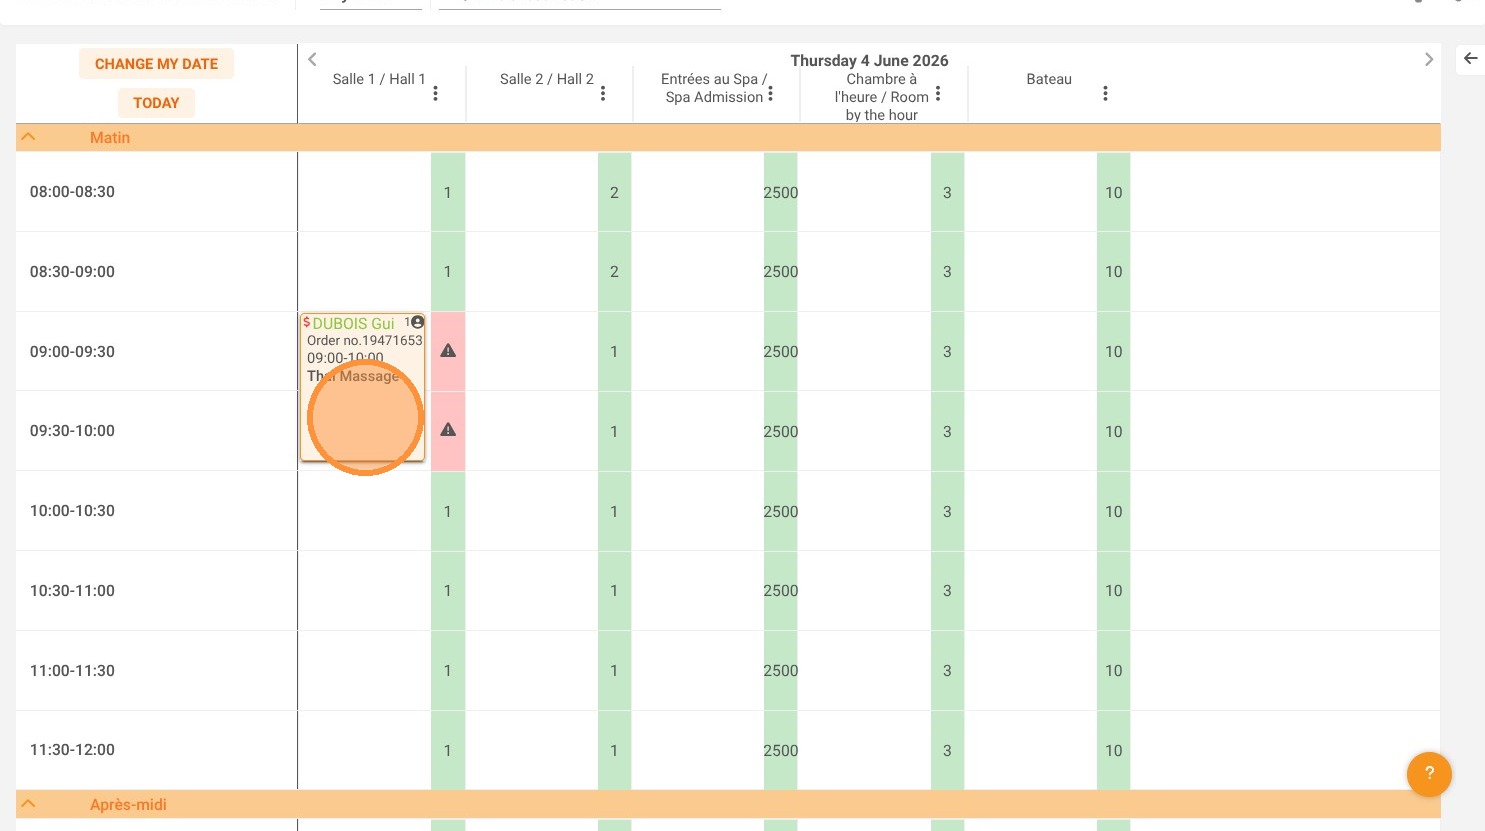
2. You will find the corresponding account lines. To add an additional one, click on New line.
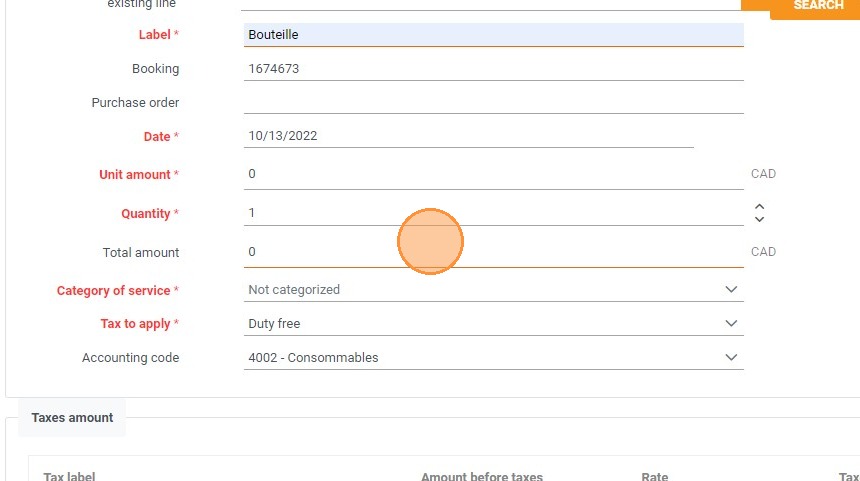
3. You can select an existing service or create a new one.
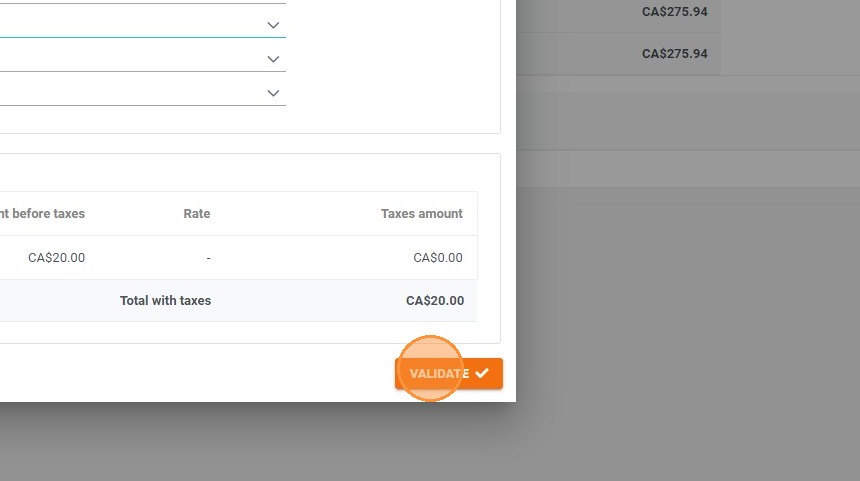
4. Click "VALIDATE" to add it.
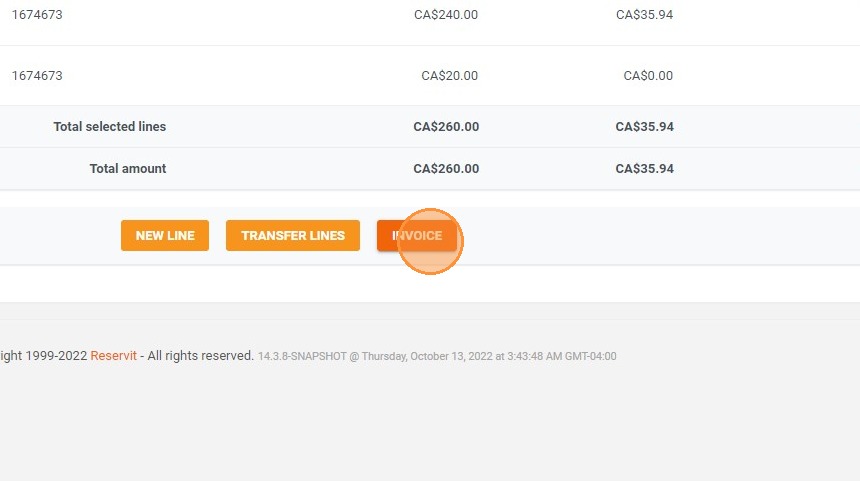
5. To create your invoice, click on "INVOICE".
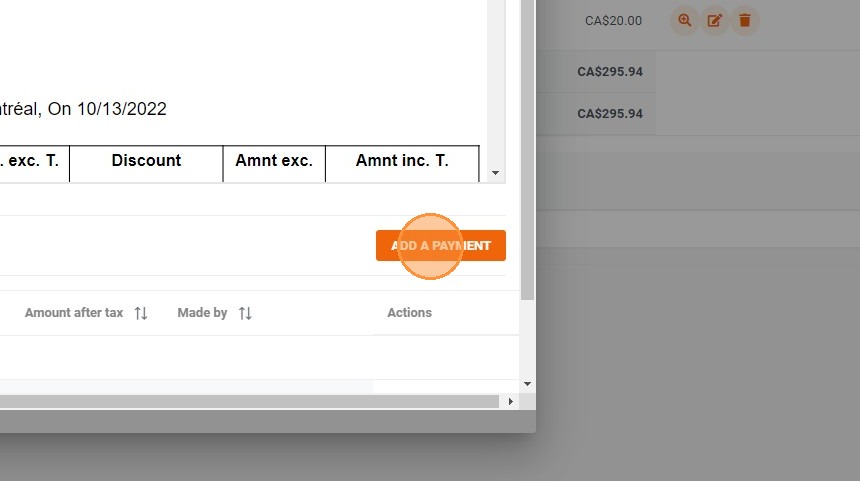
6. You will then see the Proforma invoice (the draft of your final document). Click on "ADD PAYMENT" to notify a payment manually. If the payment is taken at booking with Stripe, the payment line will already be filled in automatically.
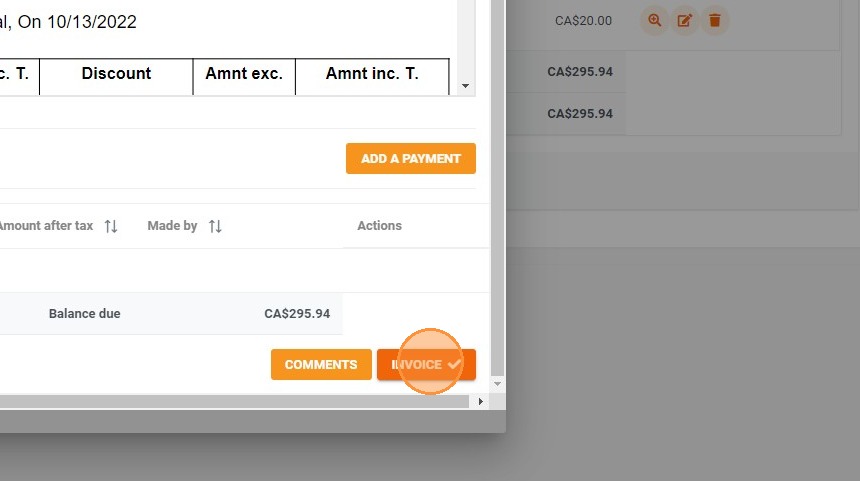
7. Once all changes have been made, click on "INVOICE" to generate the final invoice.
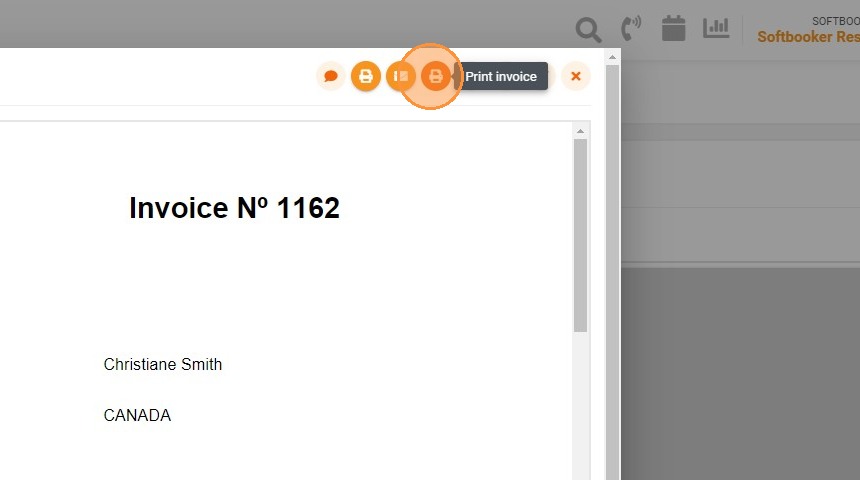
8. You can print the invoice.
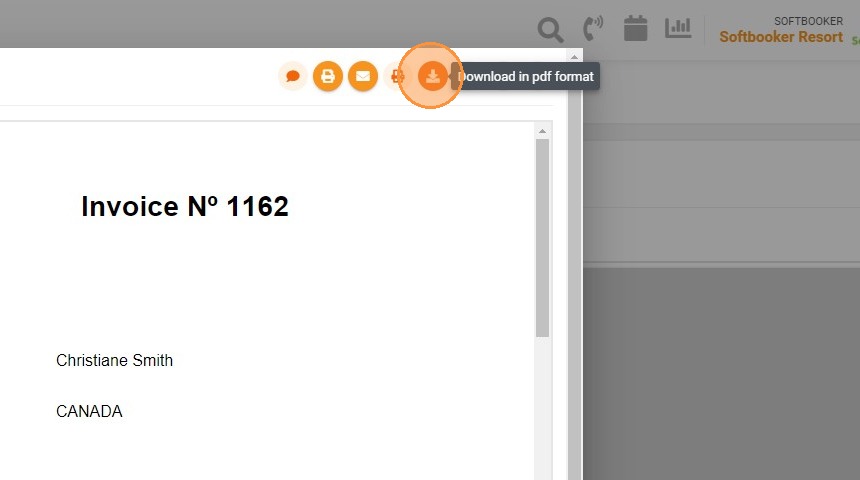
9. You can download the invoice in PDF.
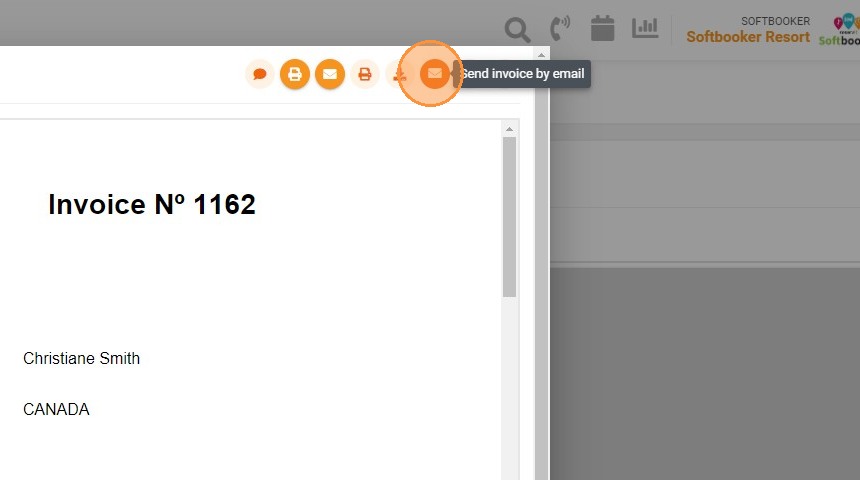
10. You can send the invoice to your customer by email.
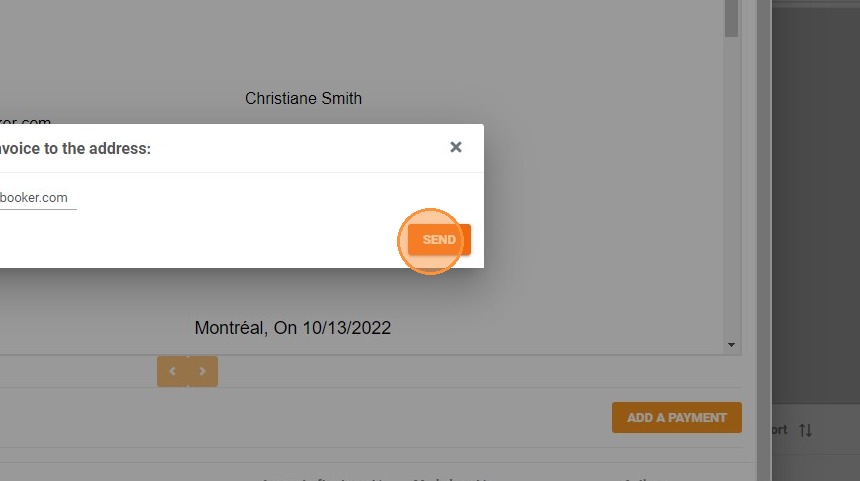
11. Click on send to validate the email.
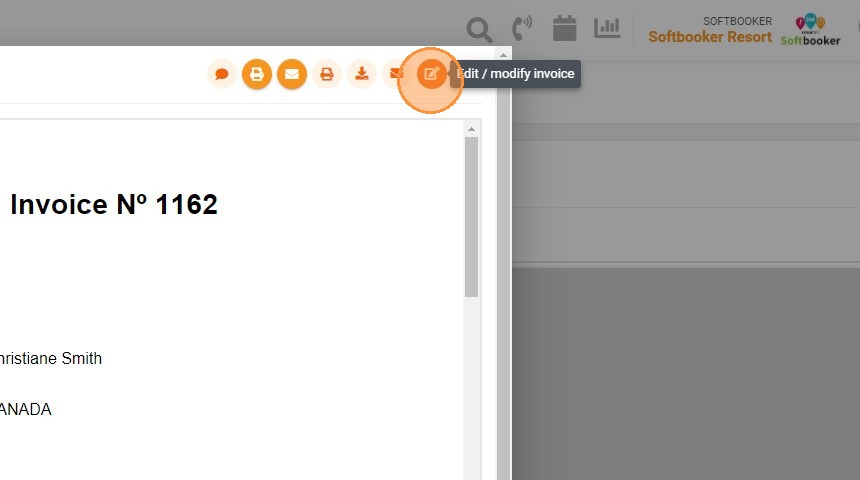
12. You can edit the invoice to change certain elements such as the account or payment lines. You will not be able to change the customer's name once the invoice is generated, you will have to cancel it and recreate it.