Article summary: This step-by-step guide explains how to create, configure, and manage custom events within your Reservit Multi-Properties system. You will learn how to set event dates, assign visibility to specific properties or geographical areas, and track these occurrences directly on your management calendar. Mastering this feature allows you to accurately align your pricing strategies and availability with local happenings, maximizing your revenue potential across your entire portfolio.
The 5 key steps to manage custom events:
-
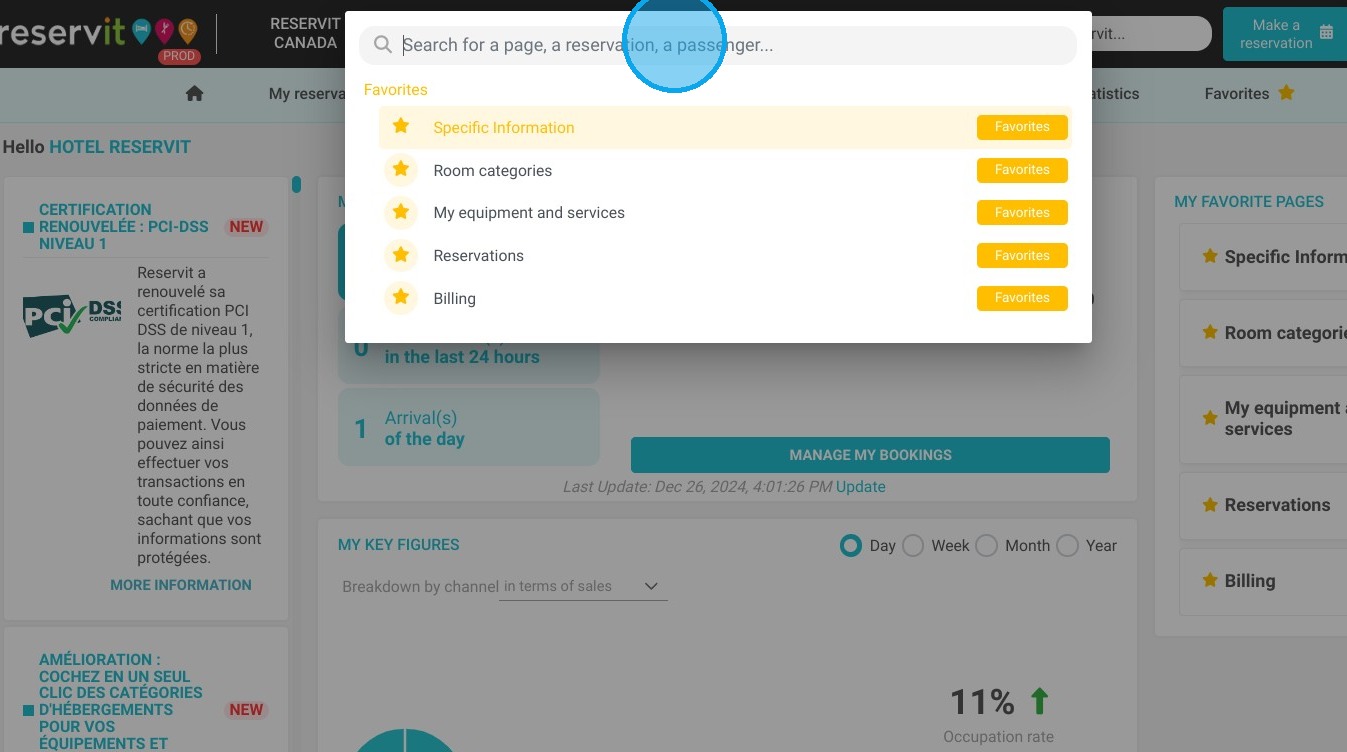
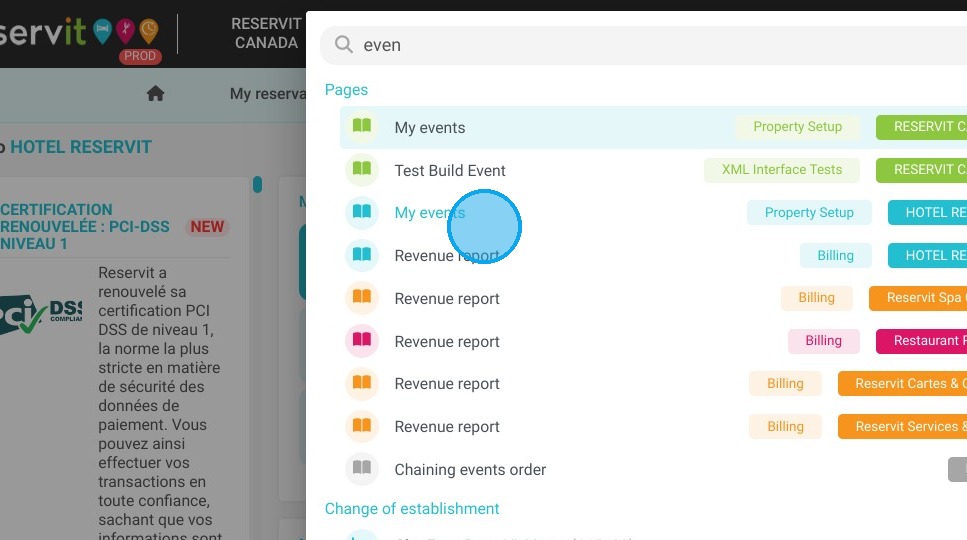
Access event management: Use the search bar to find "My events" or access the event dashboard directly from your management calendar.
-
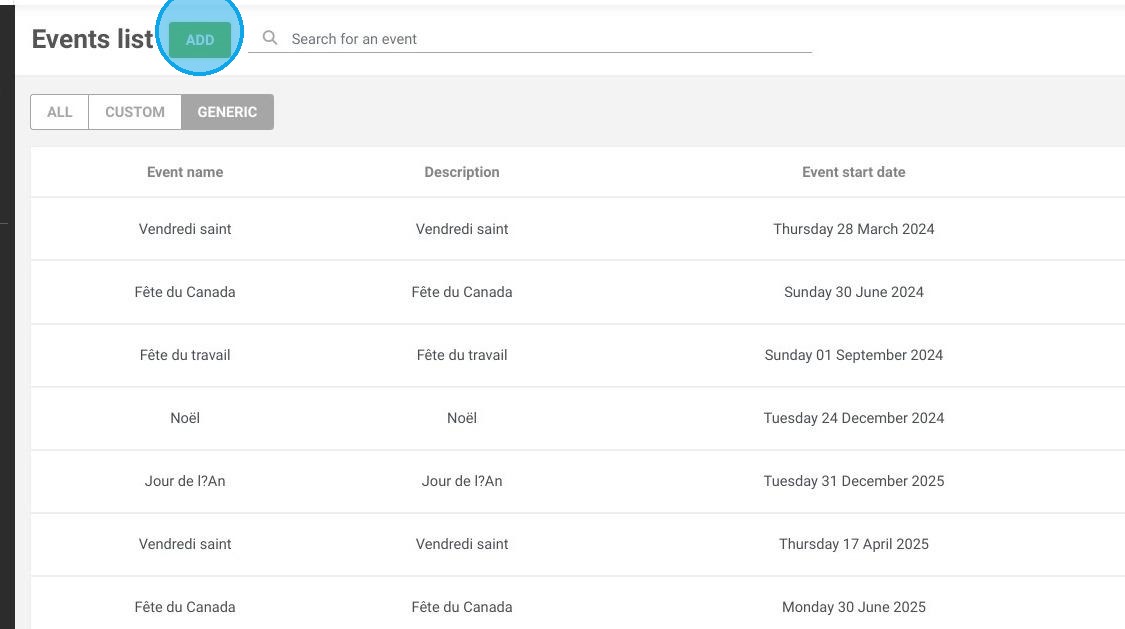
Add event details: Click "ADD" to create a new custom event, then input the specific name, start dates, end dates, and precise times.
-
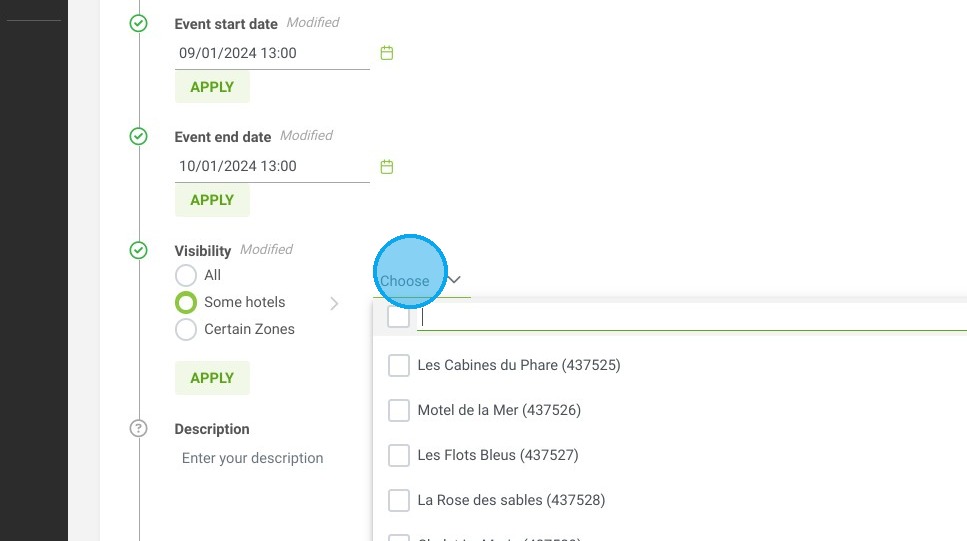
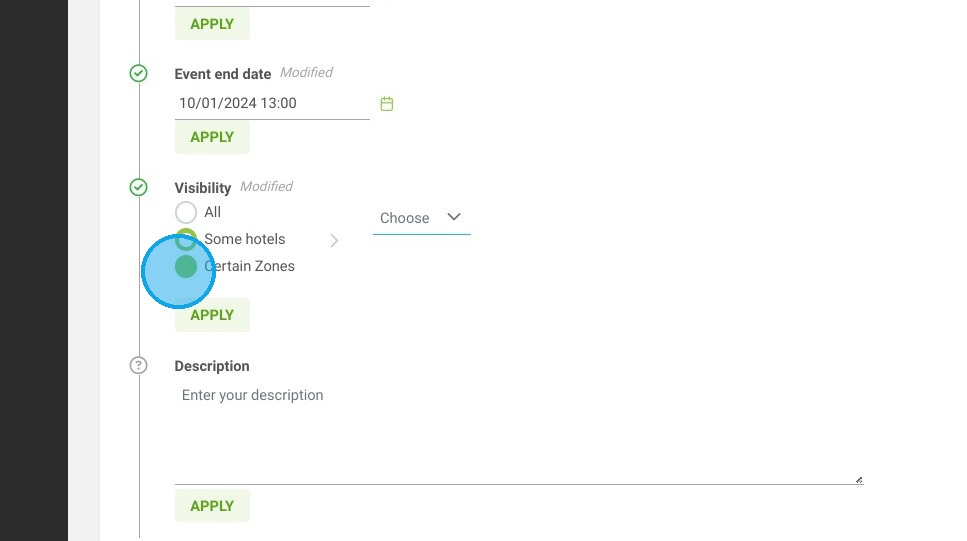
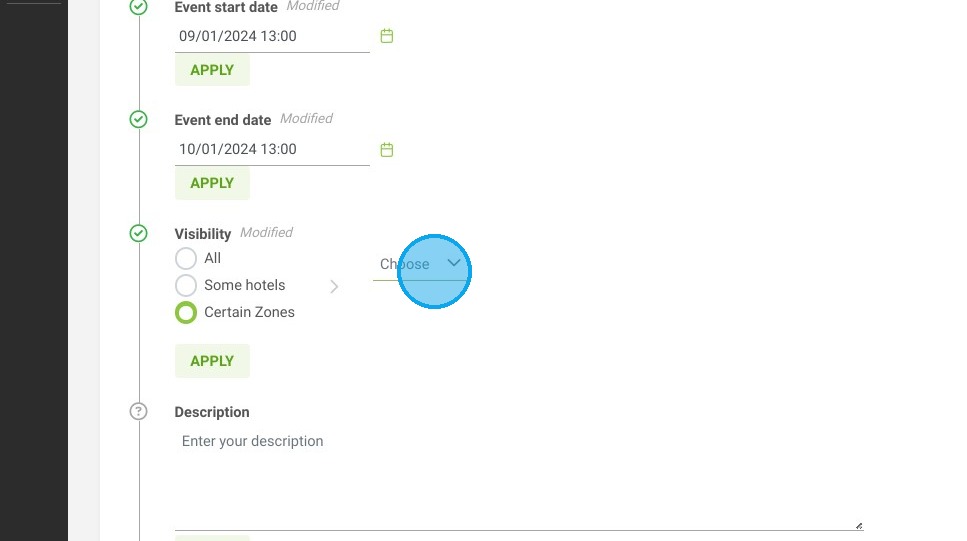
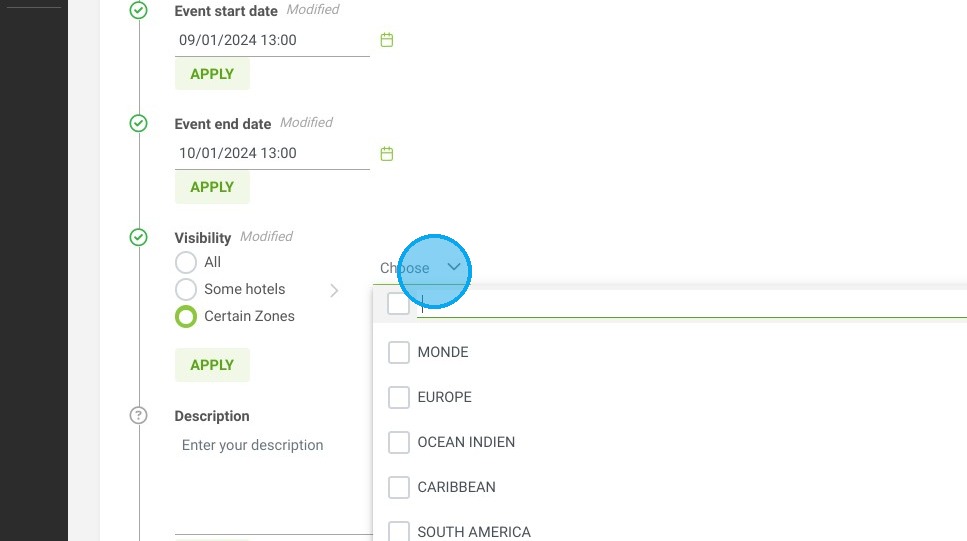
Configure event visibility: Use the visibility field to assign the event strictly to the relevant establishments or specific geographical areas.
-
Save and track: Add an optional description for more context, then click "SAVE" to finalize and display the event on your property management calendar.
-
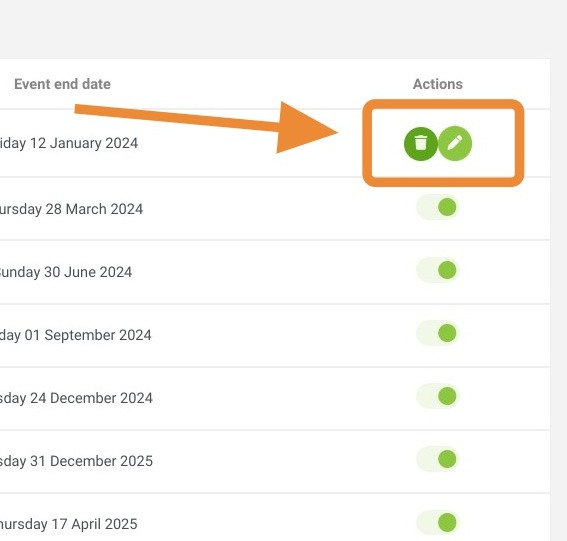
Modify or delete: Easily update or remove existing events at any time by clicking the pencil or trash can icons within the event management menu.
Why follow this guide? Centralizing your custom events ensures your property managers never miss high-demand periods, optimizing your rate strategies without manual tracking errors. It saves your team valuable administrative time by allowing you to update event visibility across multiple properties simultaneously from a single, unified dashboard.
1. Click the "Search for a page, a reservation, a passenger..." field.
2. Type "My events"
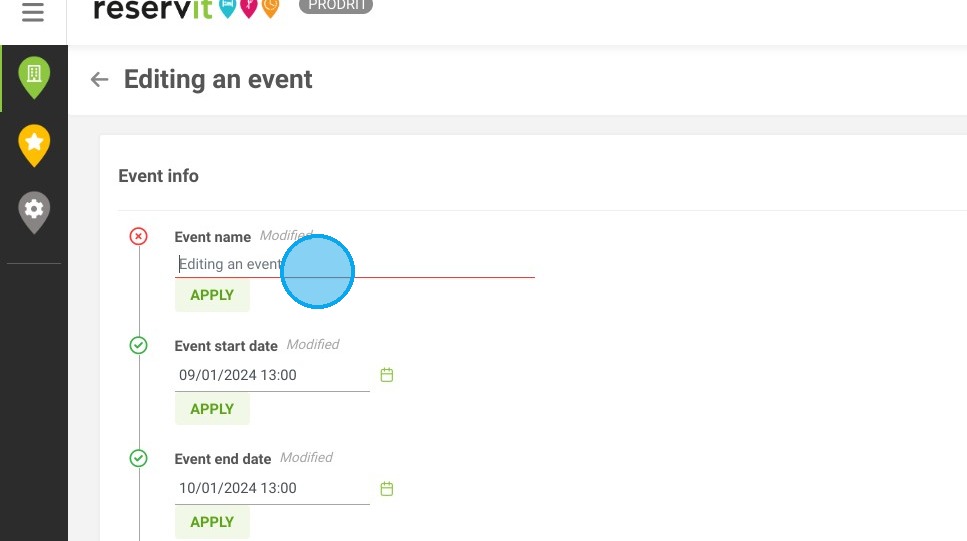
3. To add a custom event, click on "ADD"
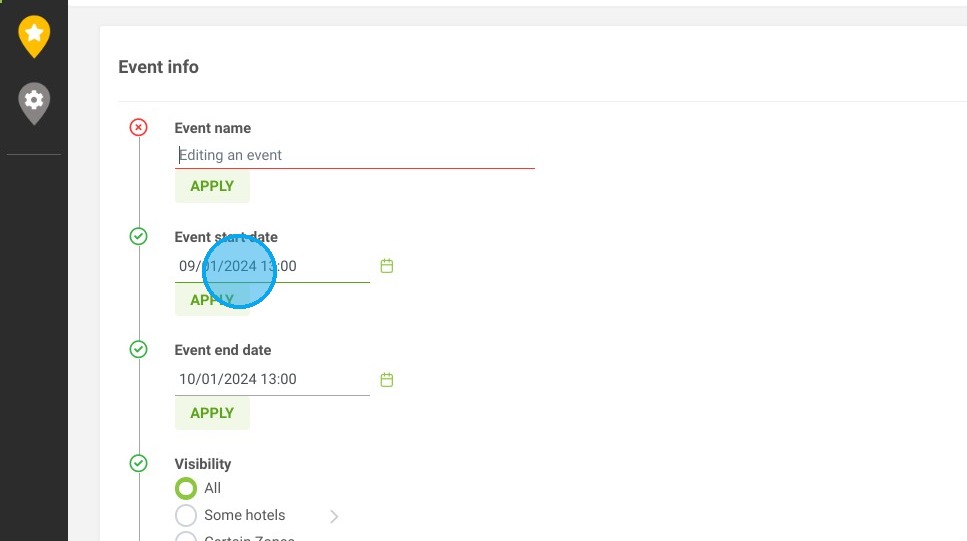
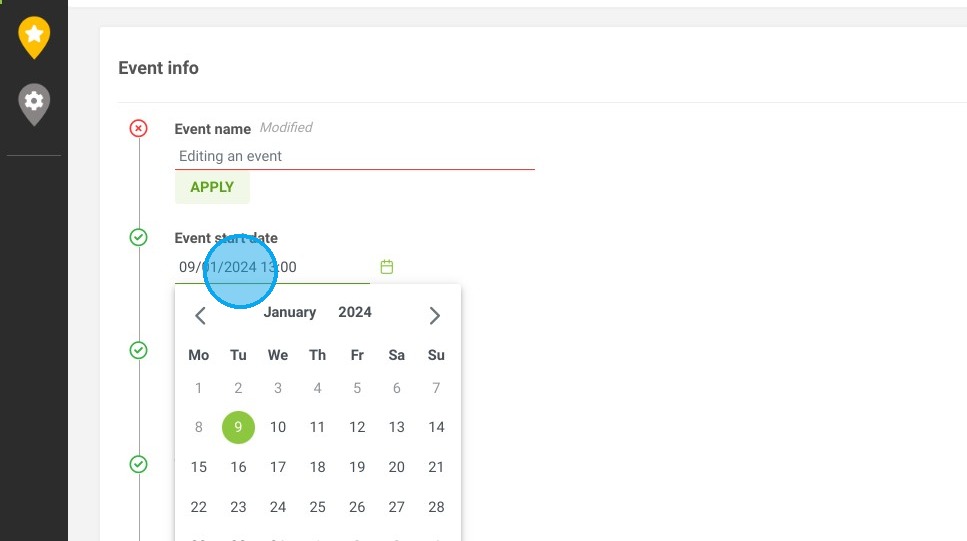
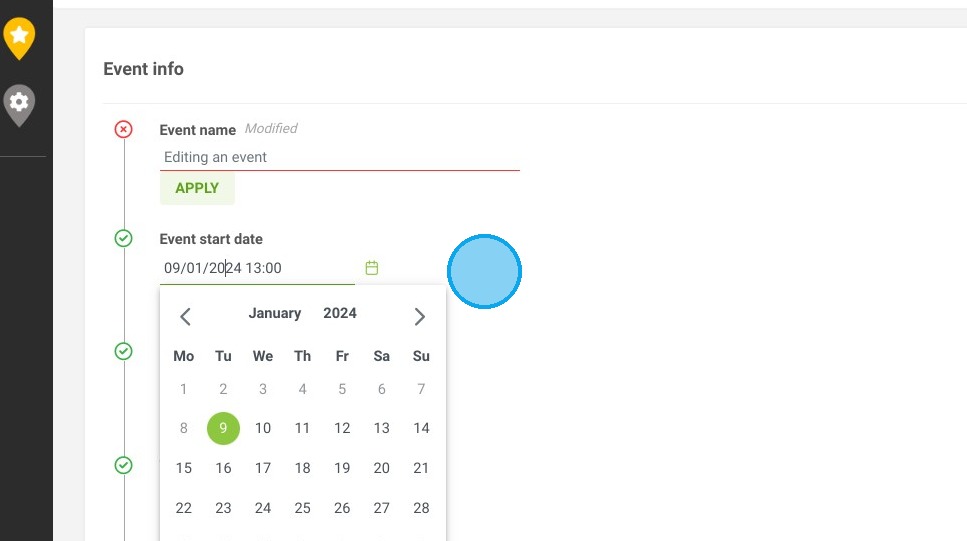
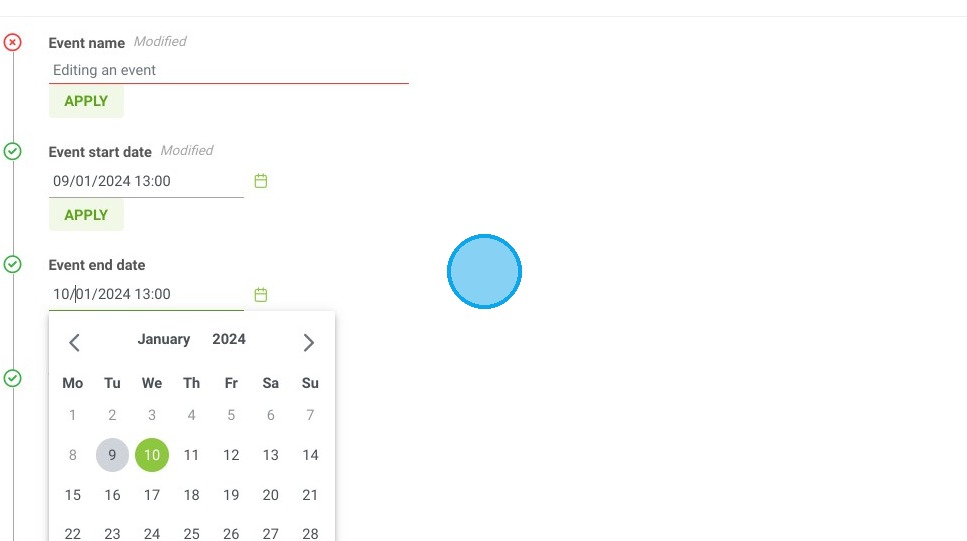
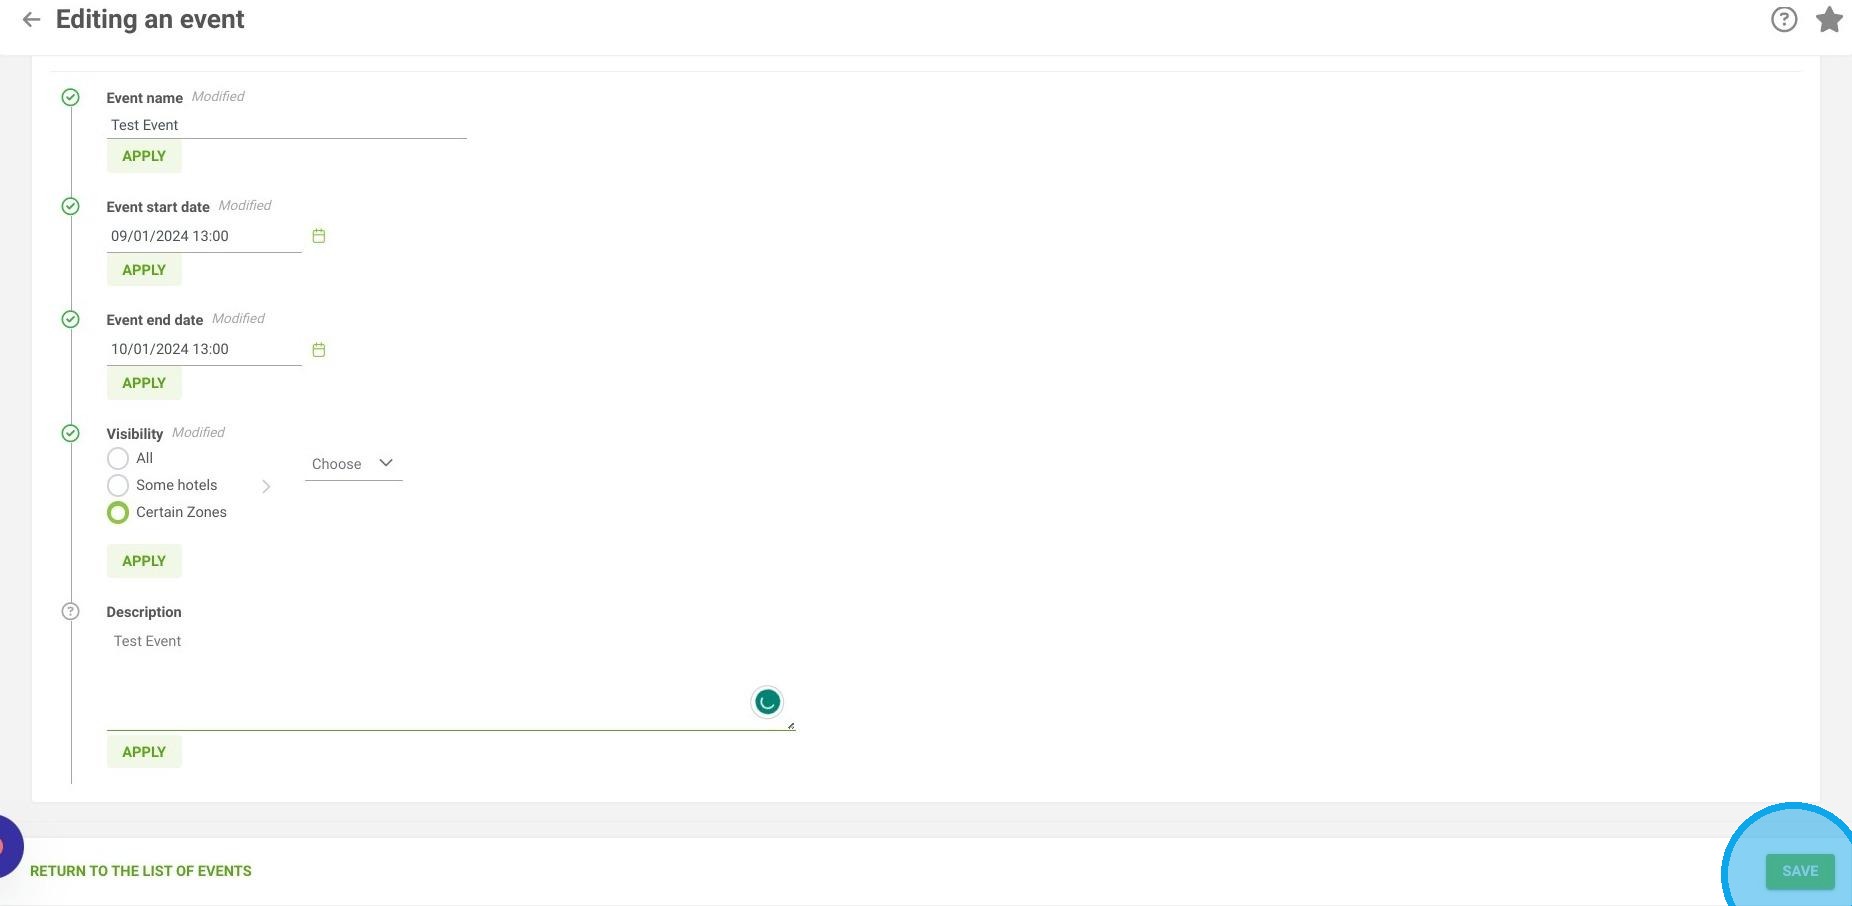
4. You can enter the name of your event, as well as the start and end dates and times.

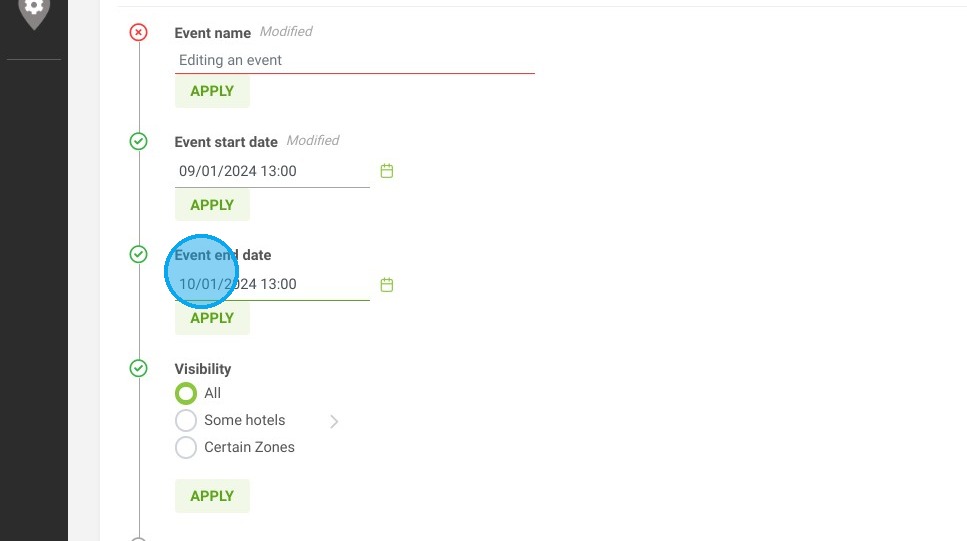
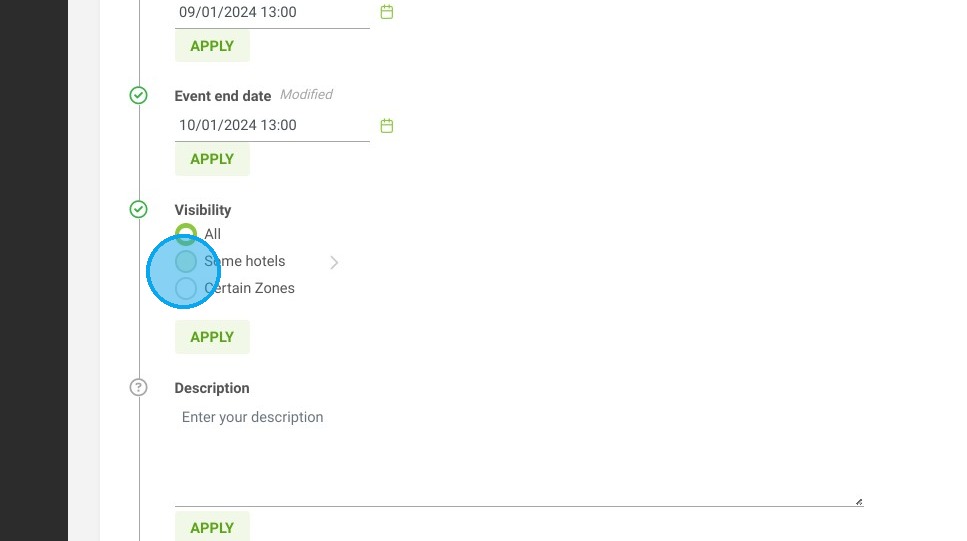
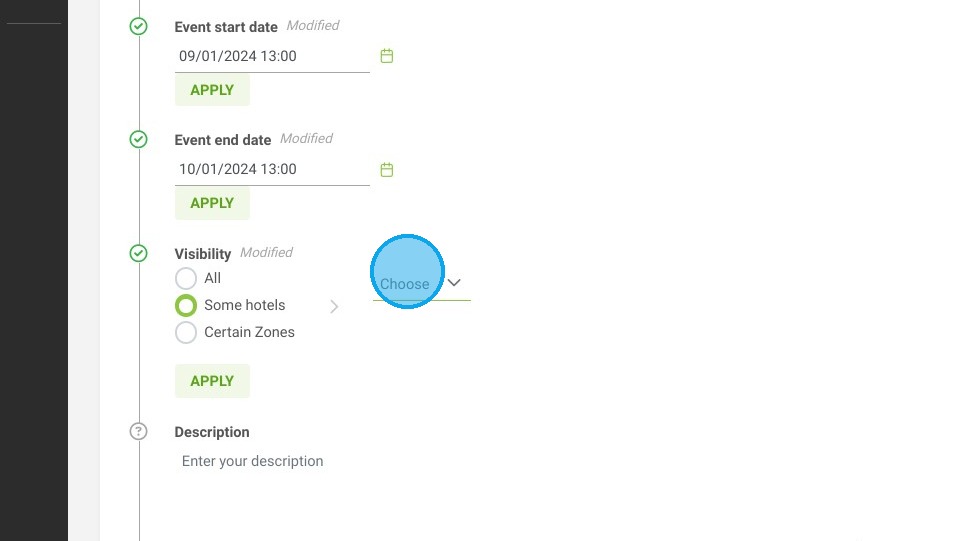
5. The visibility field allows you to assign this event to certain establishment(s) or geographical area(s) only.
Click here.
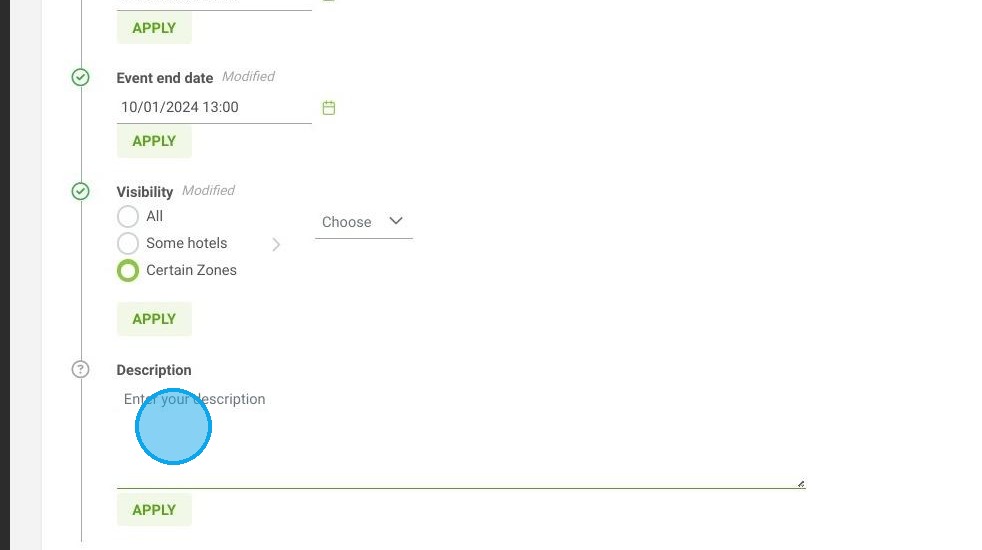
6. The "Description" field will allow you to find more details about your event.
7. Click on "SAVE" to finalize.
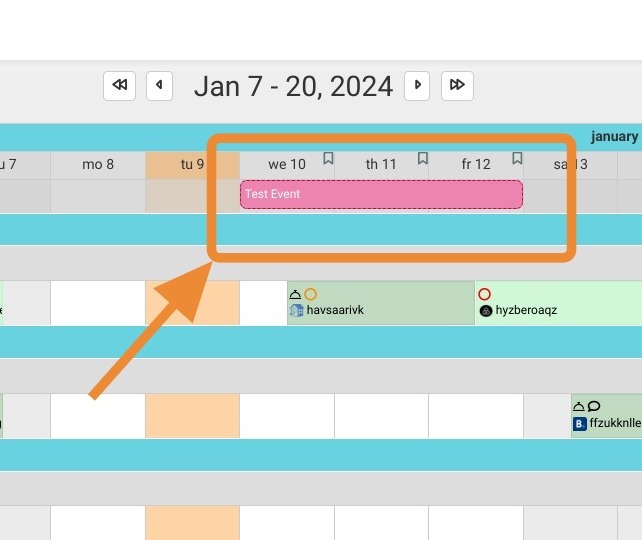
8. Your event will now be visible in your management calendar.
Tip: Tip! You can access your event management from your management calendar.

9. To delete or modify an event, click on the trash can or pencil in the event management.