
Article Summary: This step-by-step tutorial guides you through the process of filtering and personalizing your schedule view within Reservit Activities. You will learn how to create custom calendar displays, isolate specific resources, and filter daily operations to match your business workflows. Setting up tailored layouts allows you to navigate bookings effortlessly, improve operational visibility, and manage remaining inventory with greater accuracy.
The 5 key steps to personalize your schedule view:
-
Create a new custom view: Access the view management settings from the dashboard to initiate and name a brand-new layout.
-
Select display data and time slots: Choose the exact reservation metrics, operational data, and specific hours you want visible on your timeline.
-
Validate and save your layout: Confirm your configuration selections to generate and launch your new tailored schedule interface.
-
Apply advanced dashboard filters: Use the right-side panel icon to instantly isolate your screen view by specific resources, active bookings, or remaining inventory.
-
Bookmark and toggle between favorite views: Set your most-used configurations as bookmarks and use the quick-navigation arrows to seamlessly switch views during daily operations.
Why follow this guide? Personalizing your booking calendar minimizes visual clutter, helping your front-desk team prevent scheduling oversights and drastically reducing the time spent tracking daily activities. It optimizes your administrative workflow by keeping your most critical operational data directly at your fingertips.
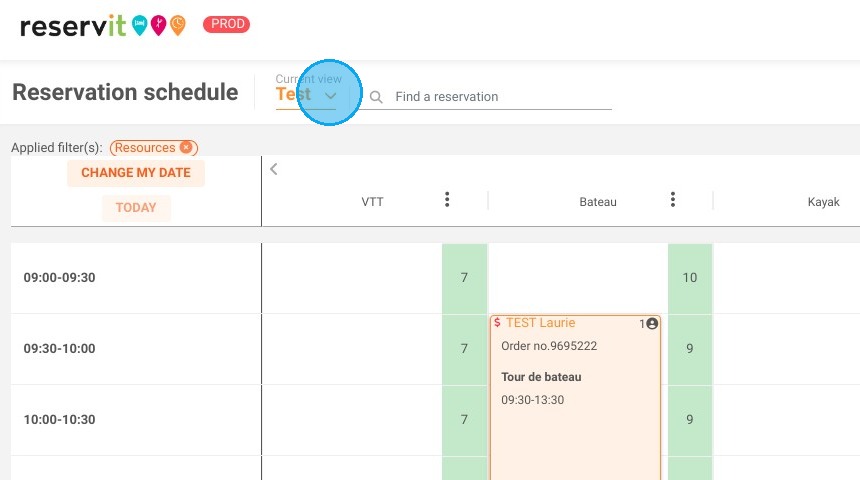
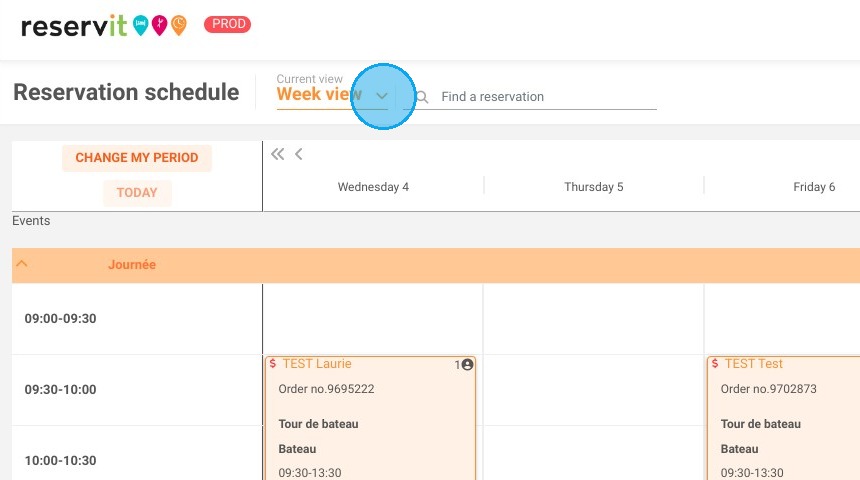
1. Expand the view management menu - some views already exist by default, but new ones can be created
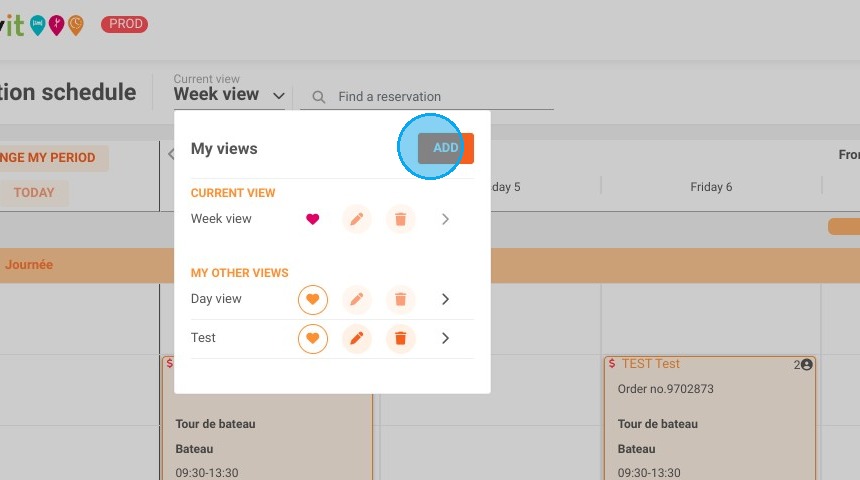
2. Name view and choose display
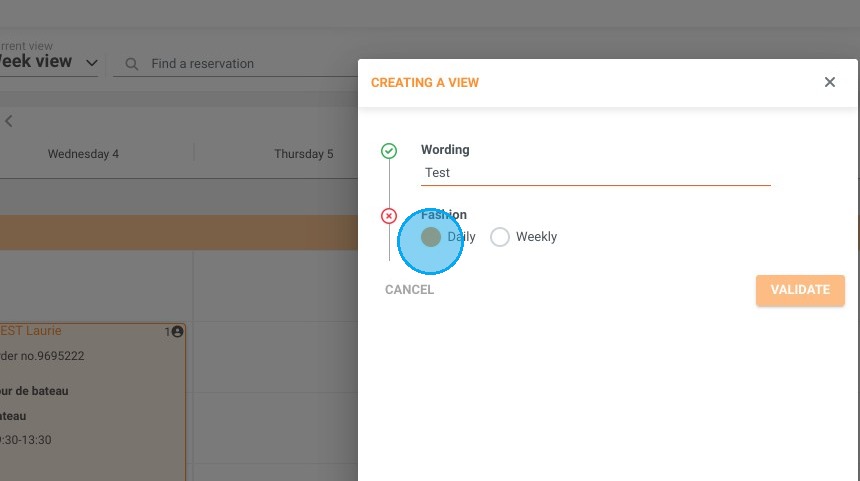
3. Choose the data to be displayed on the schedule
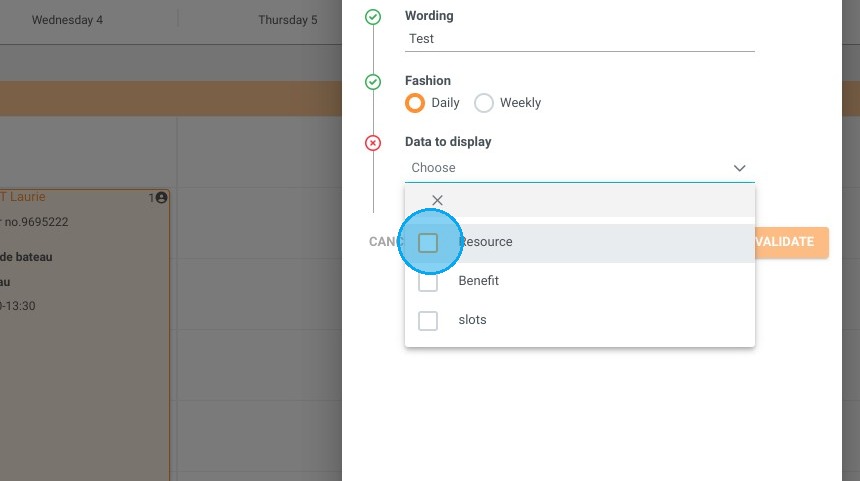
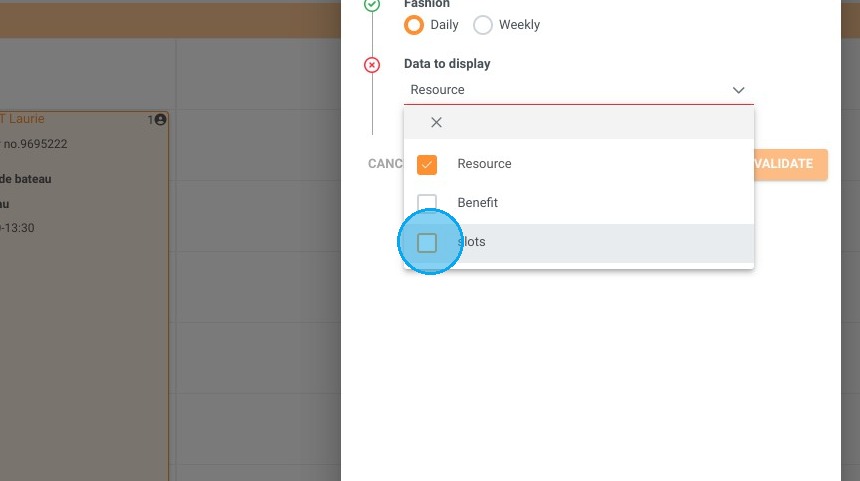
4. Select the slots to be displayed
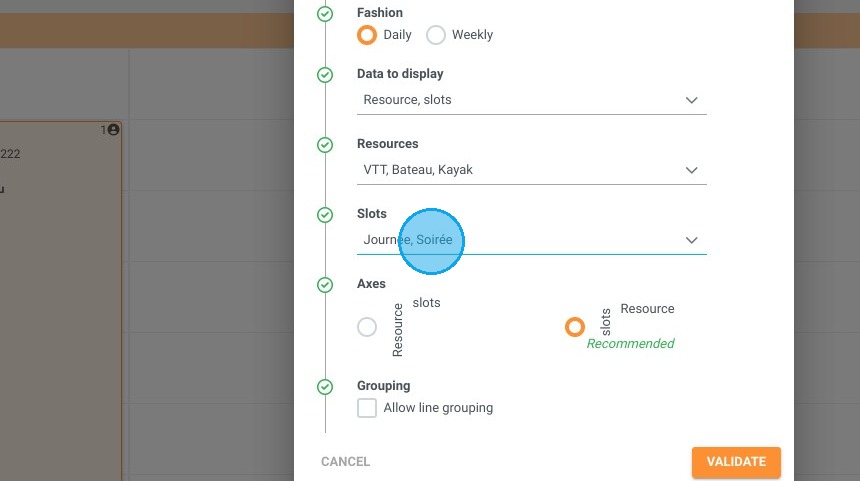
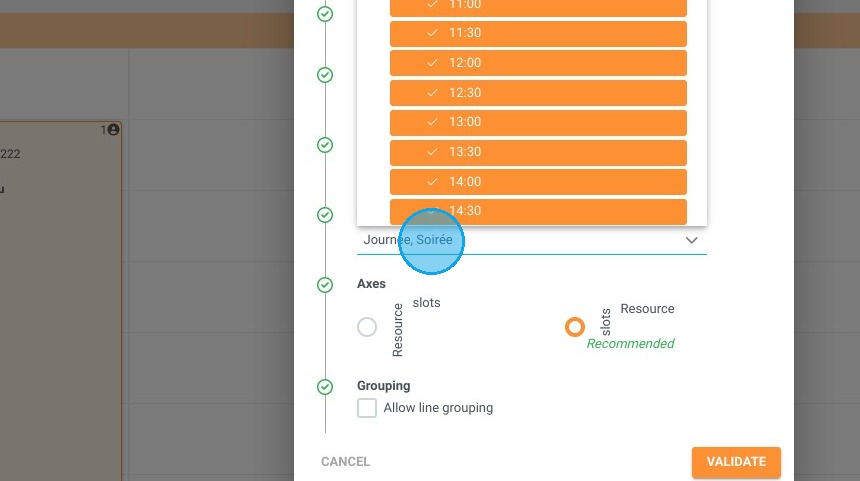
5. Validate
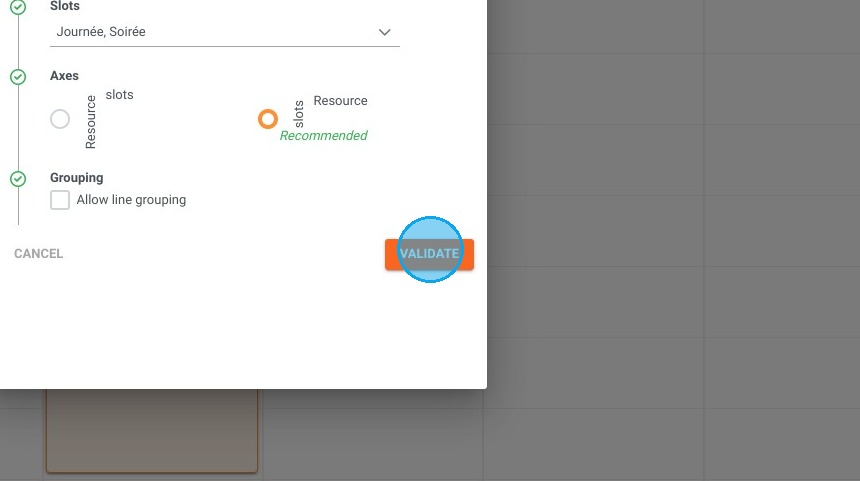
6. The new schedule view is created and appears. It is possible to filter by clicking on the corresponding icon on the right
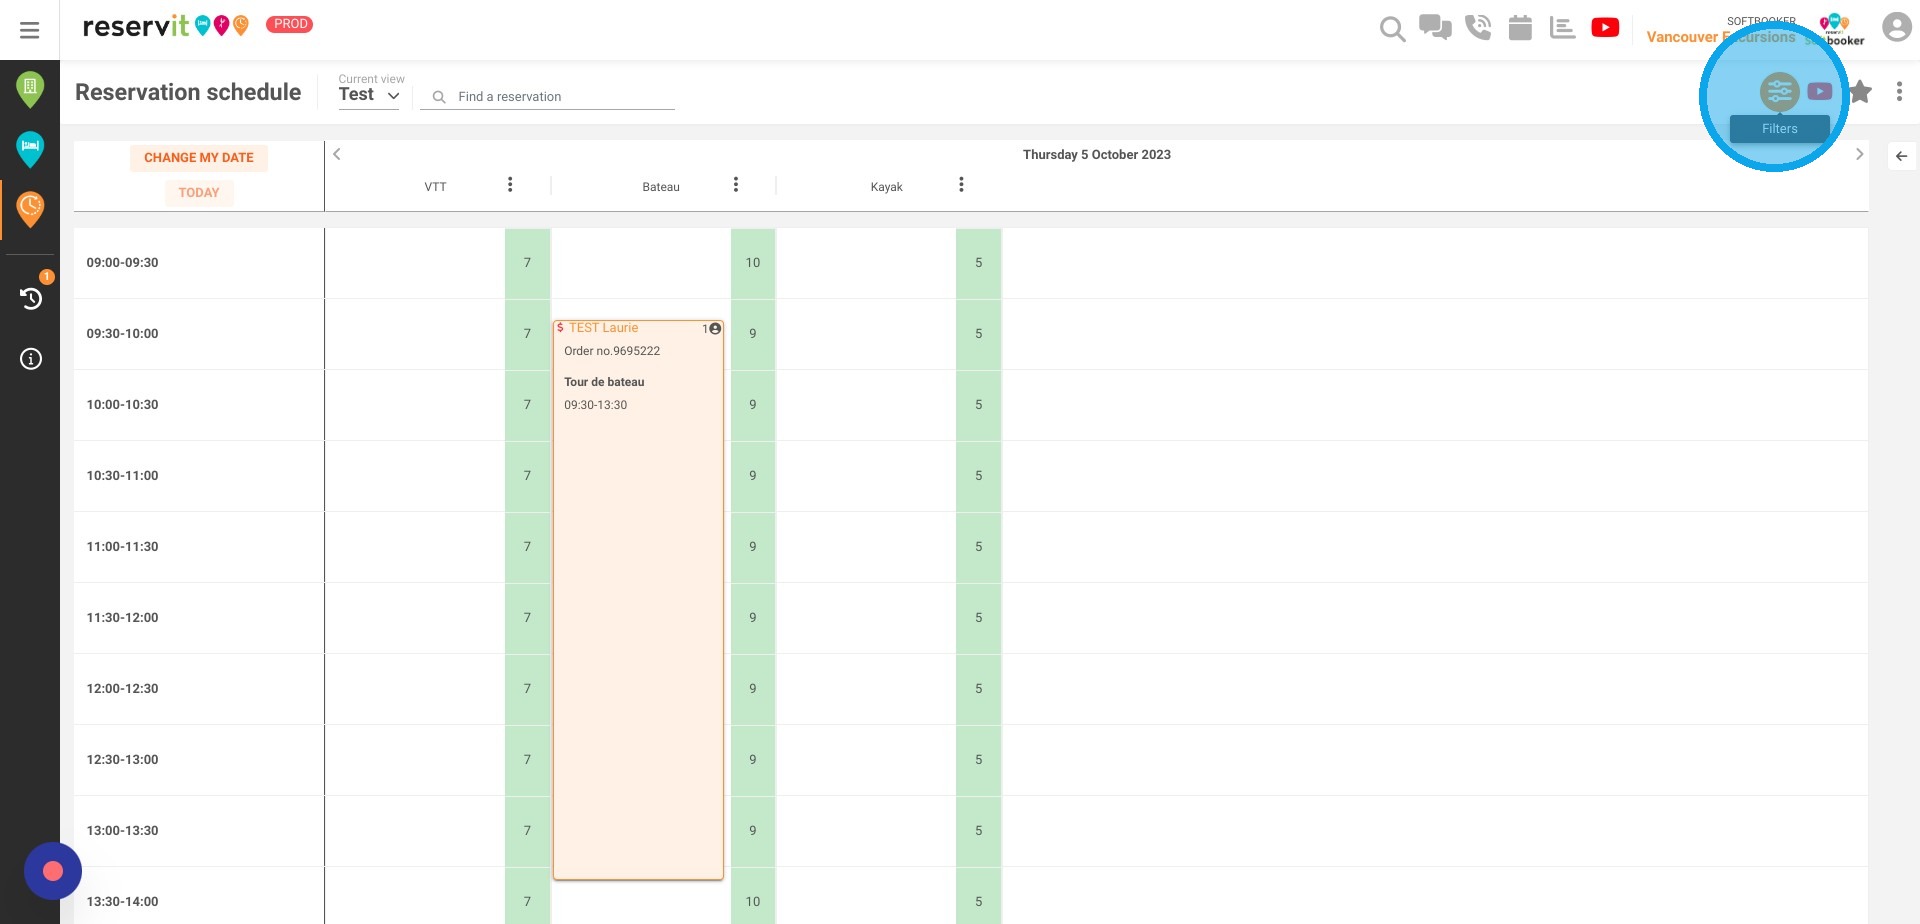
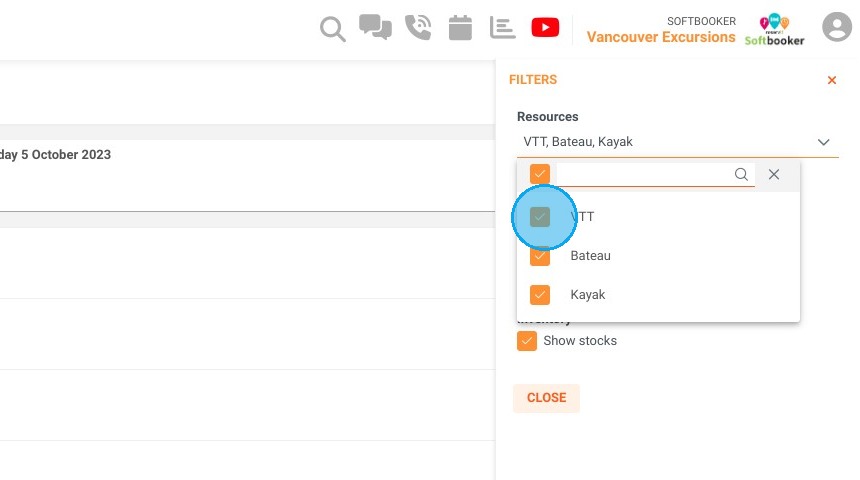
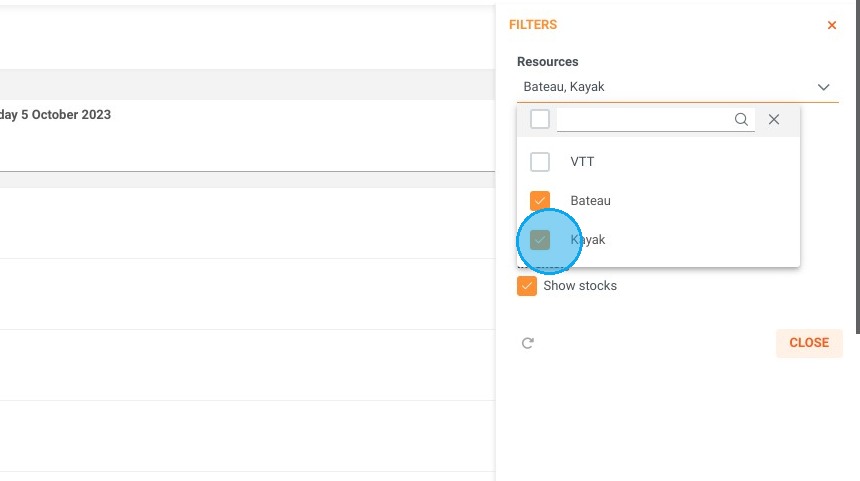
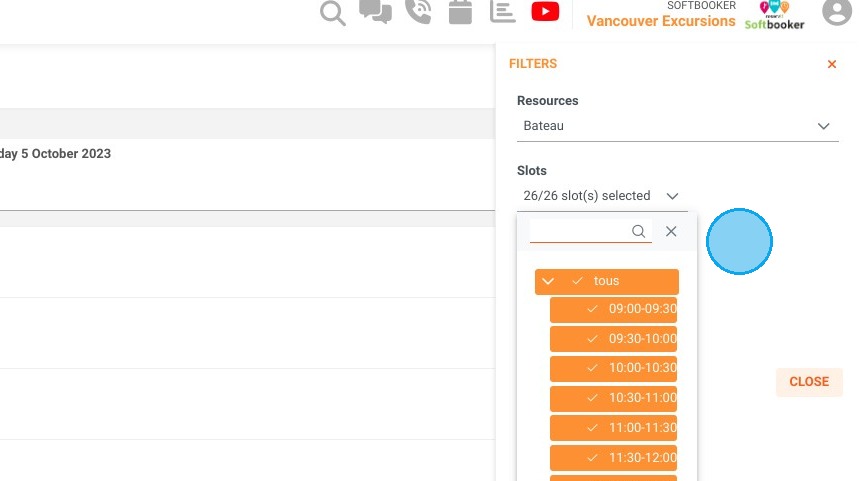
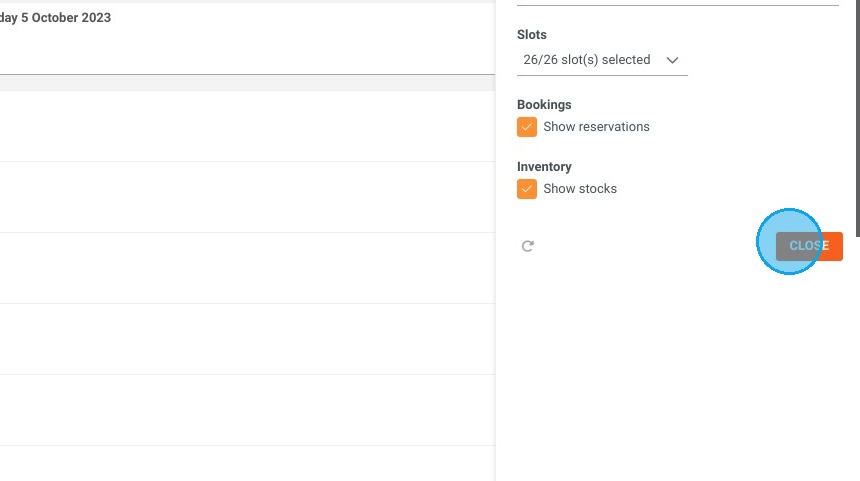
7. It is possible to filter by resource, by slot, and to show or hide reservations and remaining inventory
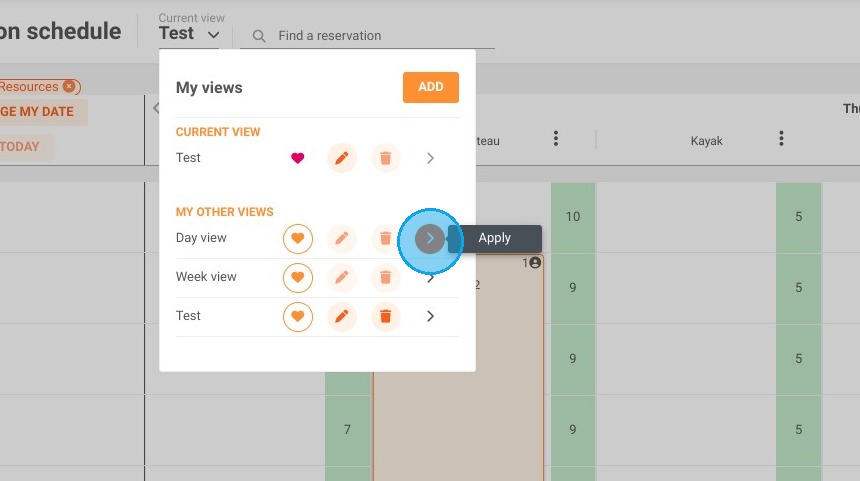
8. Returning to view management, you can select the view of your choice and bookmark it
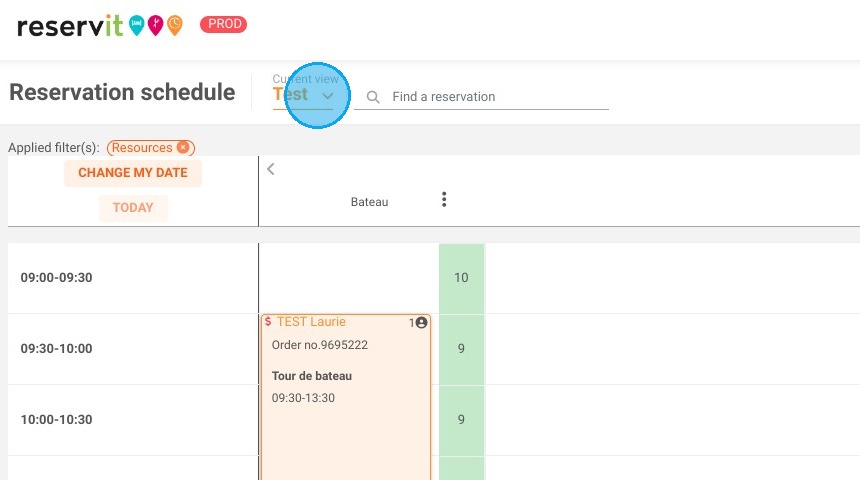
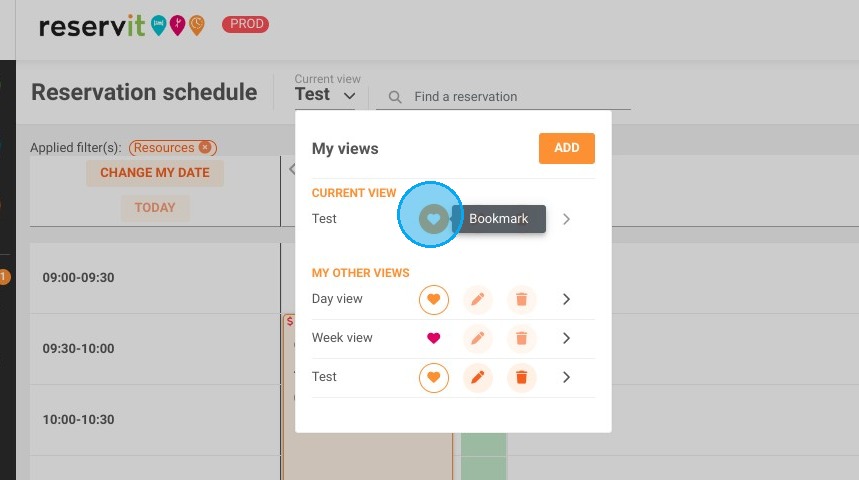
9. You can also change them by clicking on the arrow