Article summary: This comprehensive tutorial explains how to effectively use the booking planning feature within Reservit Activities. You will learn how to navigate your calendar, customize schedule views, and effortlessly manage your daily reservations from creation to check-out. By mastering this tool, you will optimize your daily operations and gain total visibility over your activity bookings.
The 6 key steps to manage your booking planning:
-
Customize your schedule view: Configure your calendar display and select the specific reservation details you want visible on your planning at a glance.
-
Search and navigate dates: Quickly find specific bookings using reference numbers or jump between different days and periods using the calendar shortcuts.
-
Create and edit reservations: Seamlessly add new bookings or modify/cancel existing ones using simple tools, including a convenient drag-and-drop feature.
-
Manage your inventory: Update and adjust your resource availability and stock in bulk across multiple periods and selected days of the week.
-
Handle check-ins and check-outs: Easily process guest arrivals and departures directly from your planning dashboard.
-
Process invoicing: Send completed reservations directly to invoicing with a single click to streamline your daily billing operations.
Why follow this guide? Following this guide will save you valuable time on daily administrative tasks and minimize booking errors by centralizing your schedule, inventory, and guest management into one optimized workflow.
View the reservations of the day
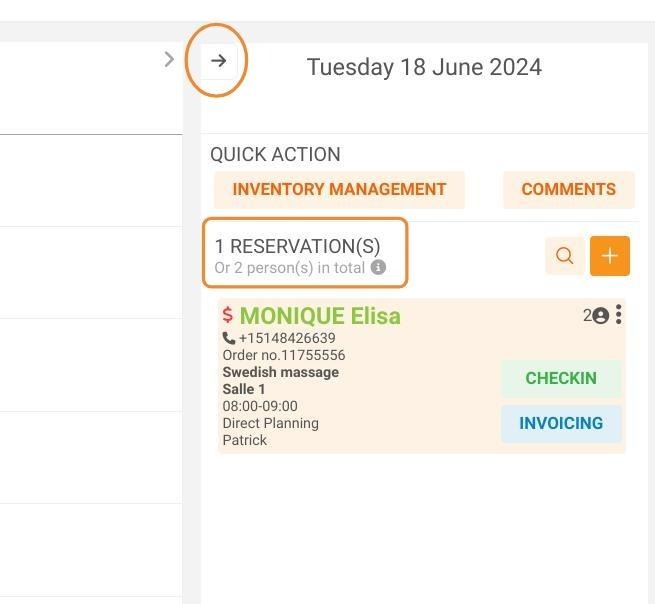
1. The day's reservations are displayed on the right side; you can retract the window.
Customize your schedule view.
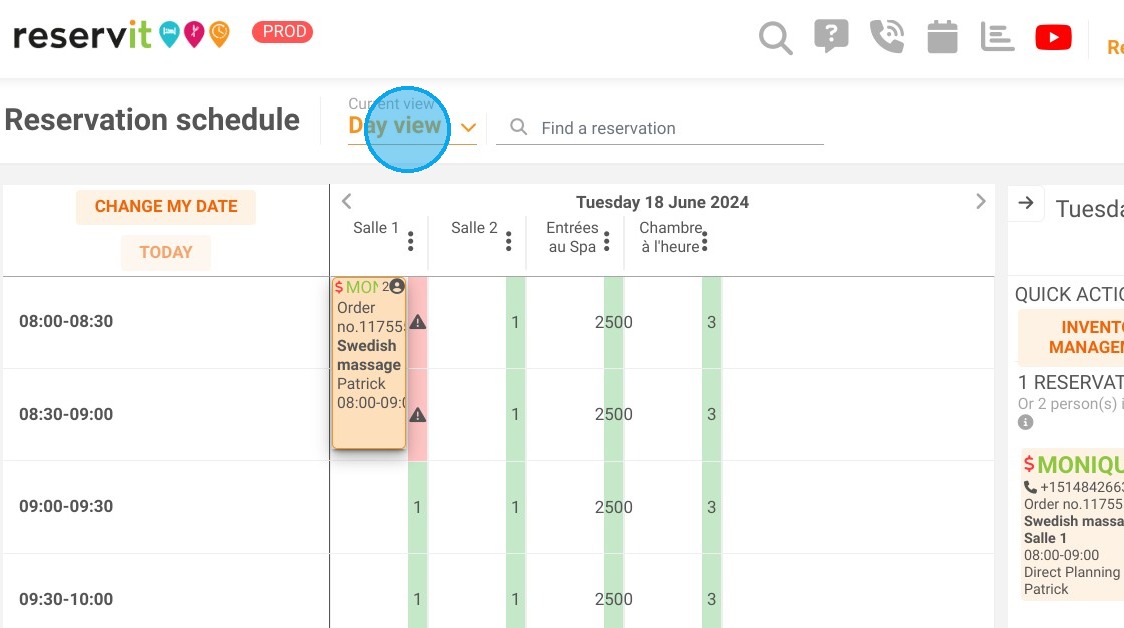
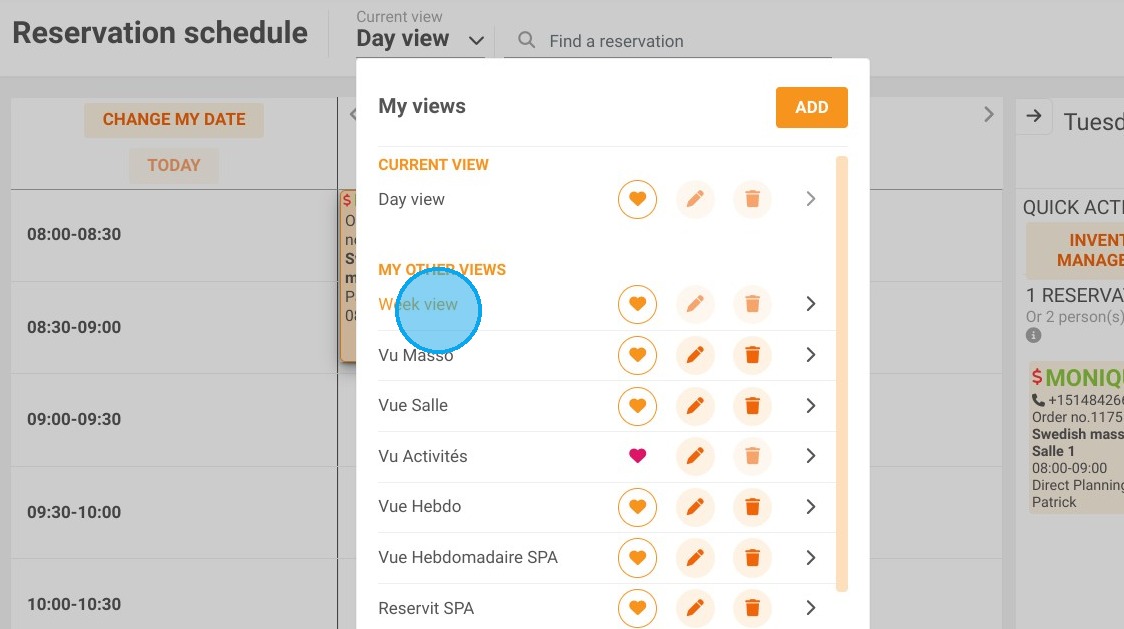
2. It is possible to choose your view.
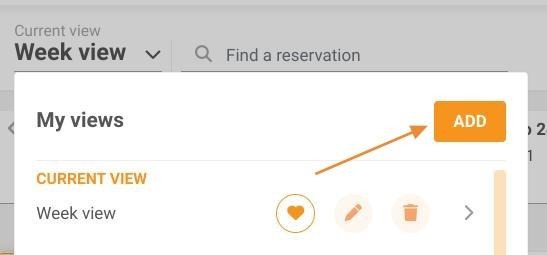
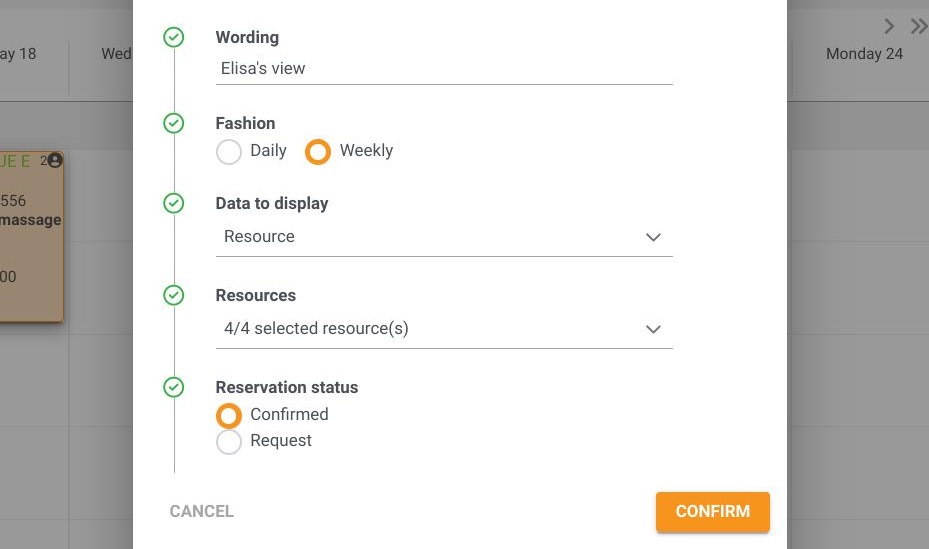
3. But of course, you can customize them in advance. Click on Add.
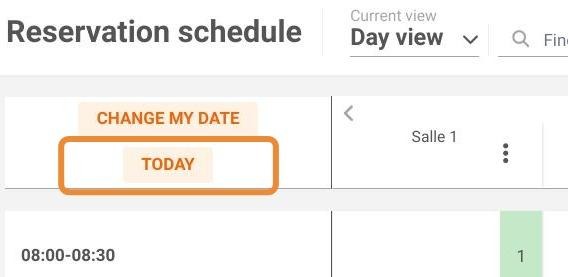
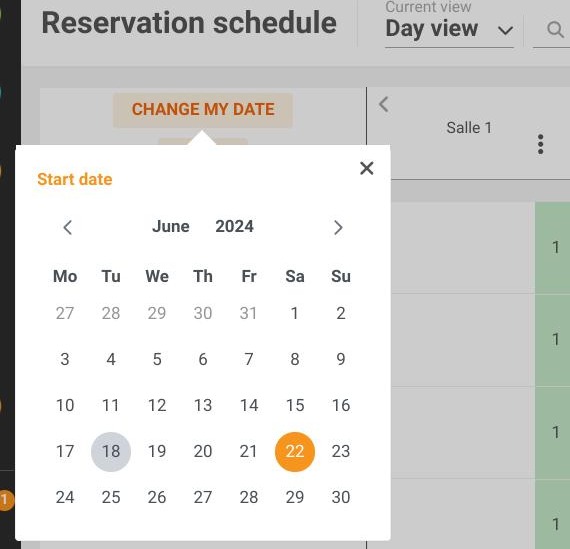
Display your view using the shortcut for today or change your period
4. If you are on another date, you can click on "Today" to bring you directly to today's shortcut or you can search your dates in the calendar.
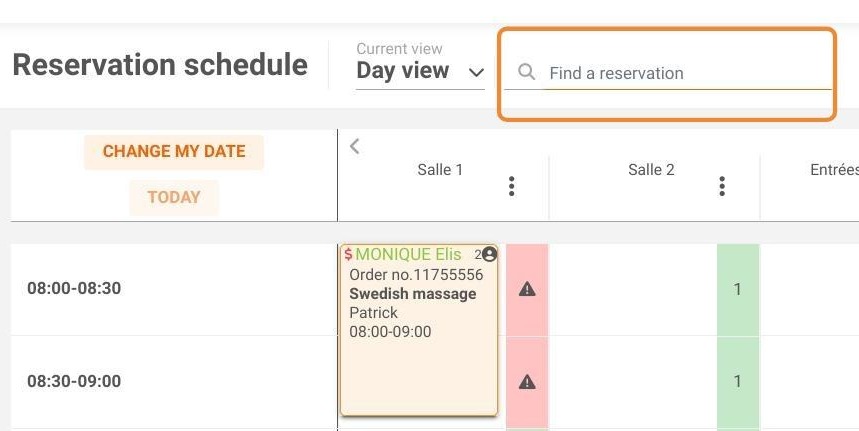
Search your reservations directly on the planning
5. A shortcut allows you to quickly search for a reservation if you know its reference number.
Display the information of your reservation and manage those that you find relevant in your calendar
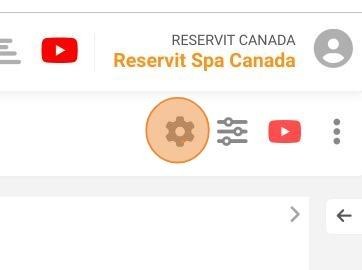
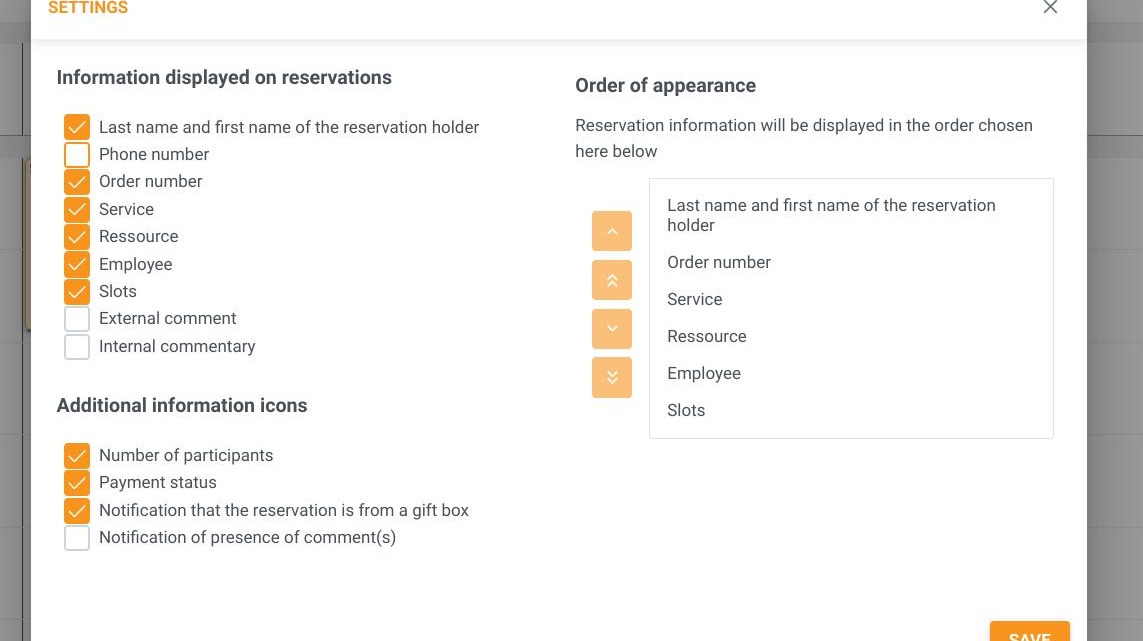
6. The information displayed on the reservation can be configured by clicking on the "Configure my schedule" icon.
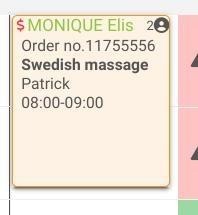
7. Here are the details you want to see right away in the display of your reservation on the planning.
Take a reservation
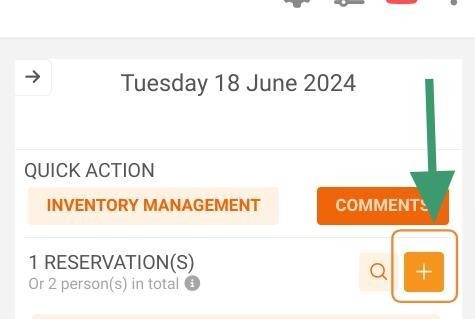
8. Click on the "+", you will be redirected to a reservation shortcut.
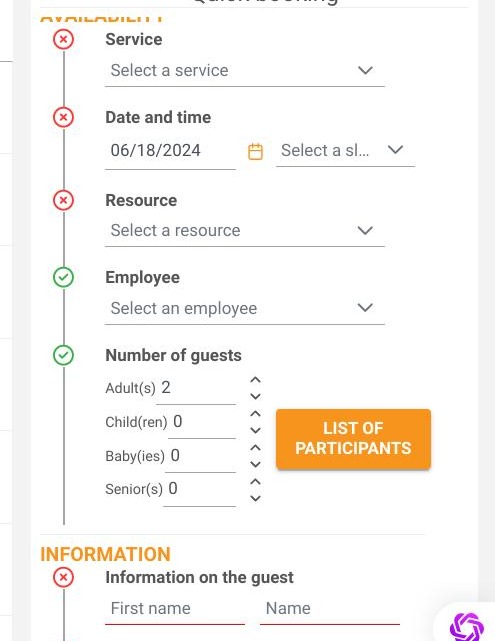
9. Fill in the reservation details and confirm.
Cancel or modify a reservation
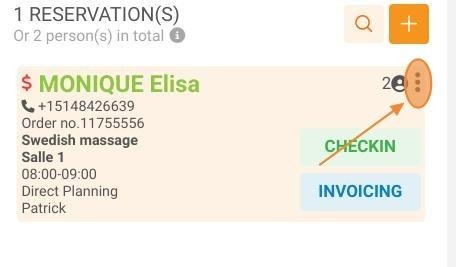
10. You can cancel the reservation by clicking on the three small dots on the right.
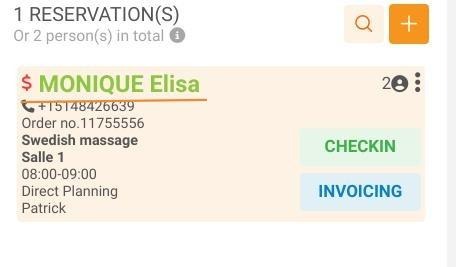
11. Or click on the name of the reservation to modify it. You can then adjust all the previously entered data.
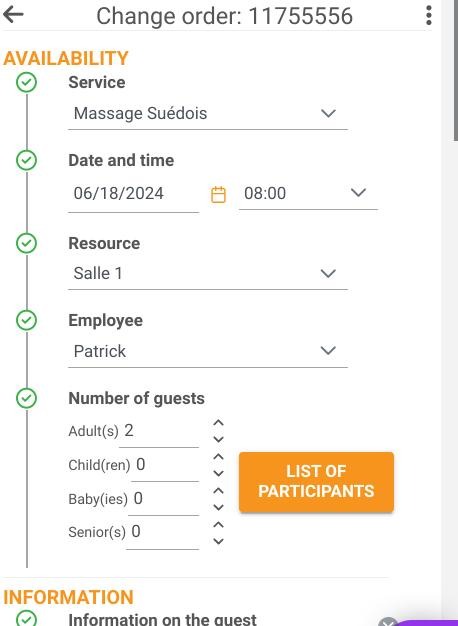
Tip: You can also modify your reservation with the drag and drop. You need to hover your mouse over the reservation and then drag it to the time slot or resource of your choice.
Add daily comments
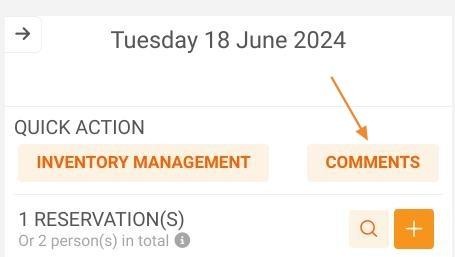
12. The "COMMENTS" field allows you to enter a note for the day.
Manage your inventory or stock in bulk across the periods and days of your choice
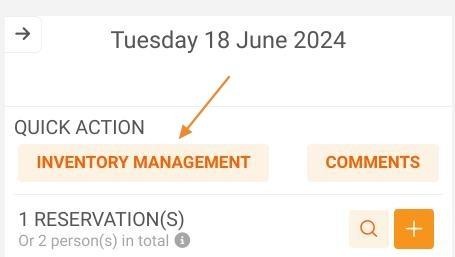
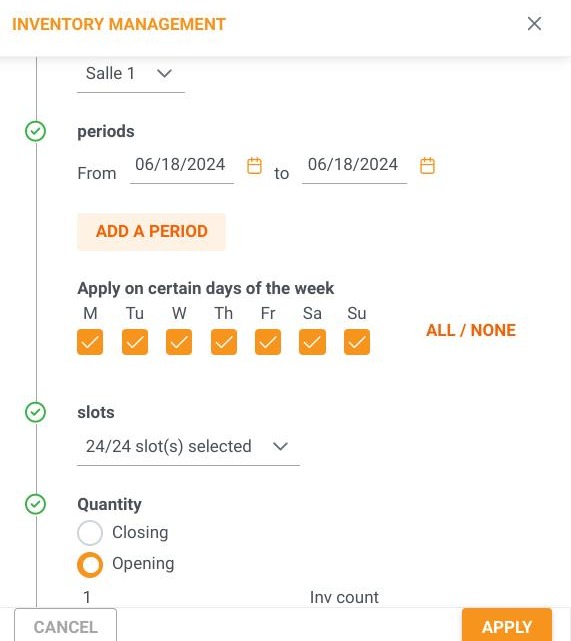
13. The inventory management field allows you to open, close, quantify one or many resources over a period of your choice, and during the days of the week you choose.
Access the modification of your service.
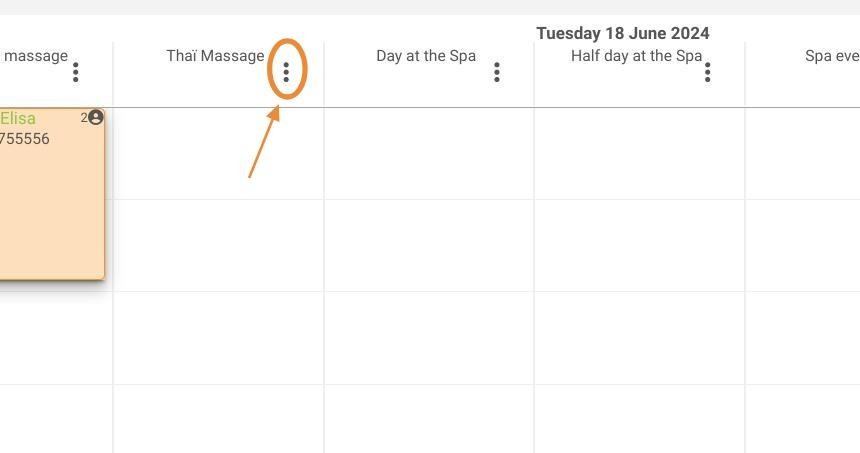
14. By clicking on each column, you can access the configuration of the service.
Customize the hourly view or the view of your resources on the calendar display
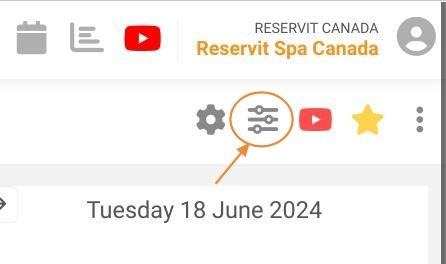
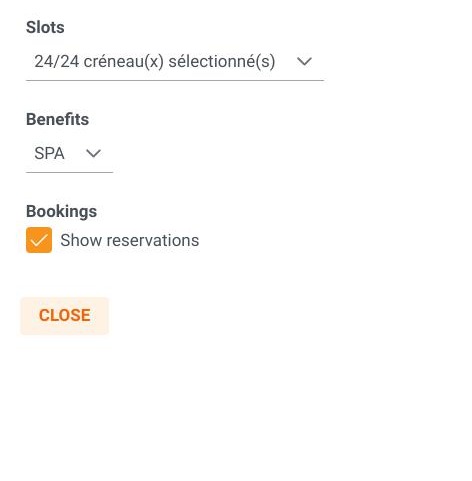
15. On the right side of the page, the filters allow you to adjust the display of your planning.
Alert: For these last two functionalities, you will need to request support to enable billing and/or departure and arrival management.
Check-in / check-out
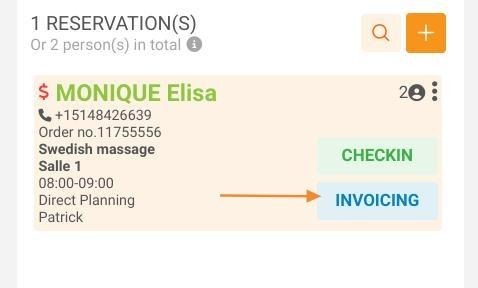
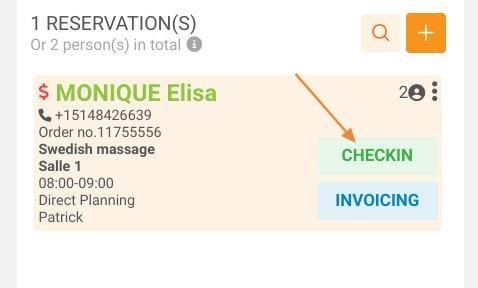
16. Click on "checkin"
Send your reservation to invoicing.
17. Click on "invoicing".