

Article summary: By default, your booking page first shows your activities. This tutorial explains how to show a calendar first instead: guests choose the number of participants and the date, then only see the activities available on that day.
The 3 key steps:
-
Turn on the setting: set Displaying the calendar in the first step to Yes.
-
Check the first step: participants and calendar, then the See our offers button.
-
Check the second step: the activities available on the chosen date.
Why follow this guide? Guests who already have a date in mind immediately see what they can book that day, without opening each activity one by one.
Turn on the calendar as the first step
1. Go to Managing my activity > Property Setup > Property information, Customization of the booking page section.
2. Set Displaying the calendar in the first step to Yes, then click Edit at the bottom of the page to save.

This setting only appears if your property uses the new Front Office, time slot booking and calendar synchronization. If it does not appear, contact support.
What your guests see
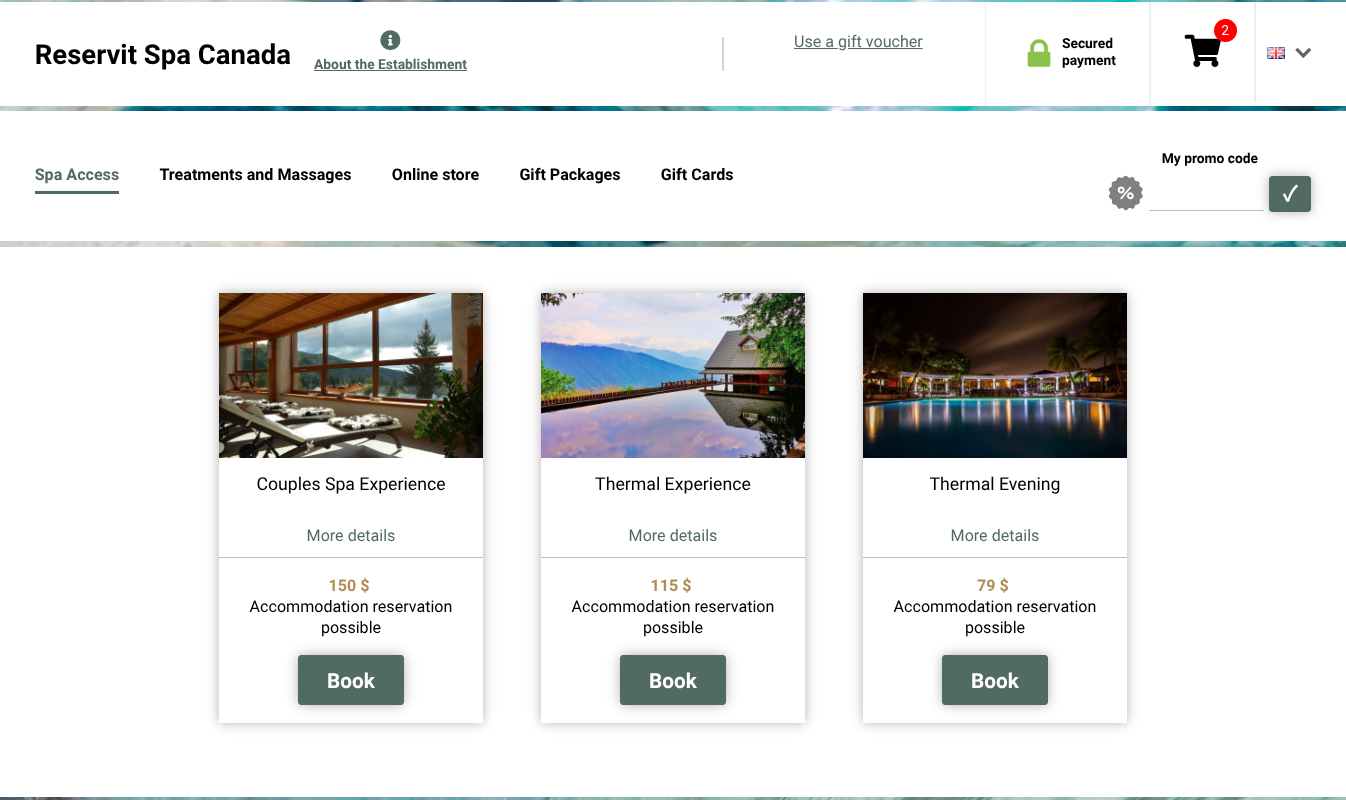
Without the setting, the page opens on the list of your activities.
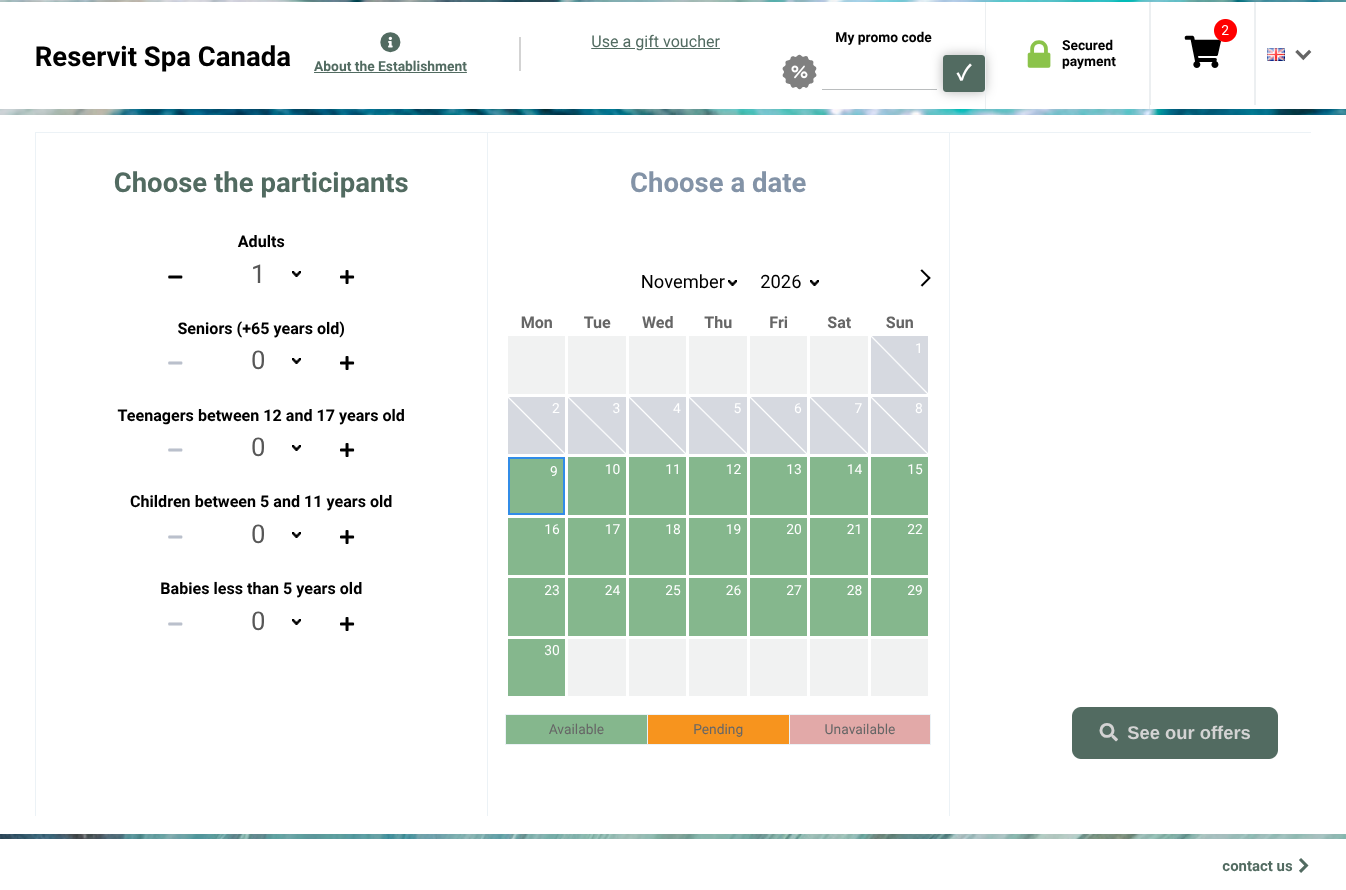
With the setting, the page opens on two blocks: Choose the participants and Choose a date. Green days are Available, orange days Pending, red days Unavailable. Guests choose their participants and a day, then click See our offers.
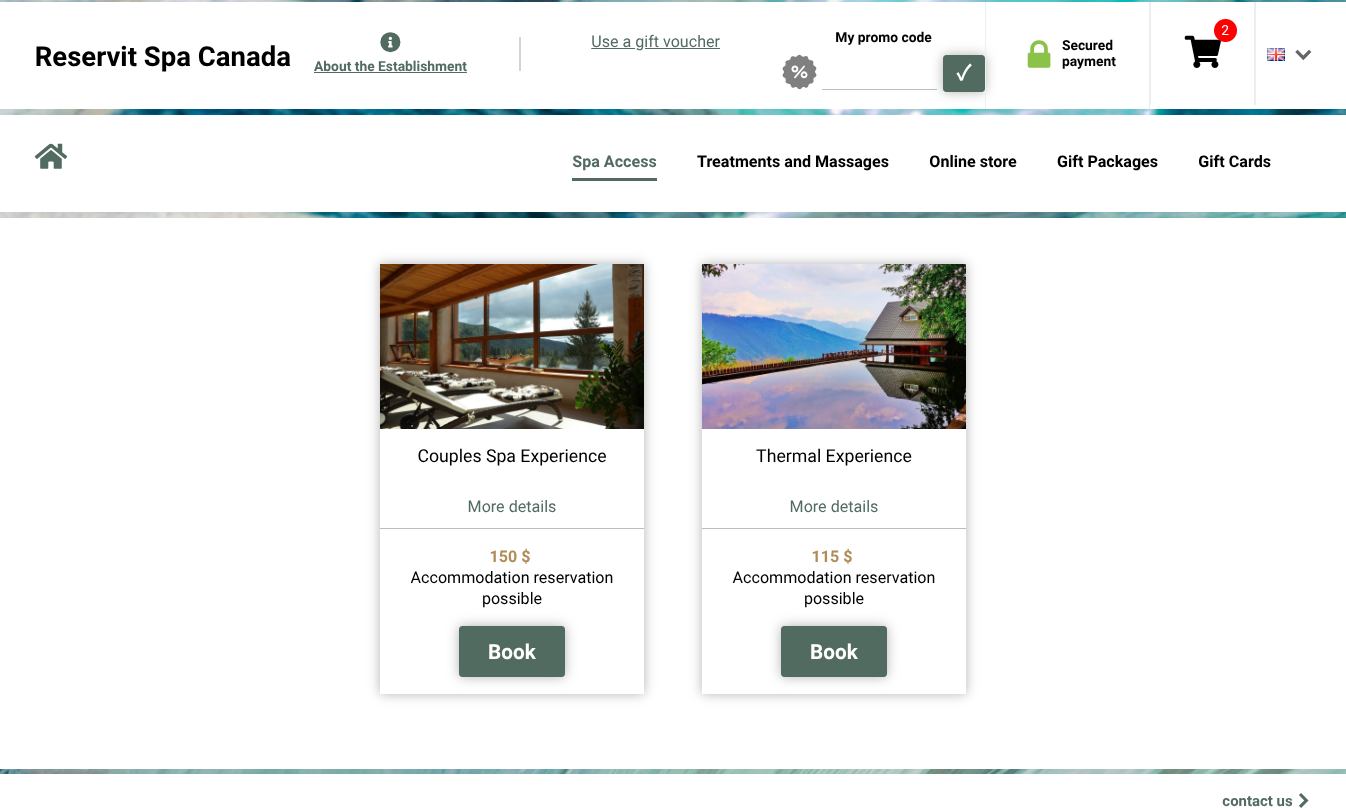
Only the activities available on the chosen date are shown. When guests click Book, the date is already selected and they only have to choose their time. The house icon takes them back to the calendar.
To go back to the standard display, set Displaying the calendar in the first step back to No and save: the change is immediate.