

Article Summary: This guide explains how to set up a service option whose availability depends on specific periods on your calendar. You will learn how to use the "Variable Price" feature in your Reservit back-office to restrict the display of an add-on service to certain dates only. The main benefit is the ability to automate your seasonal offerings without the risk of out-of-season bookings.
The 6 key steps to configure a limited availability option:
-
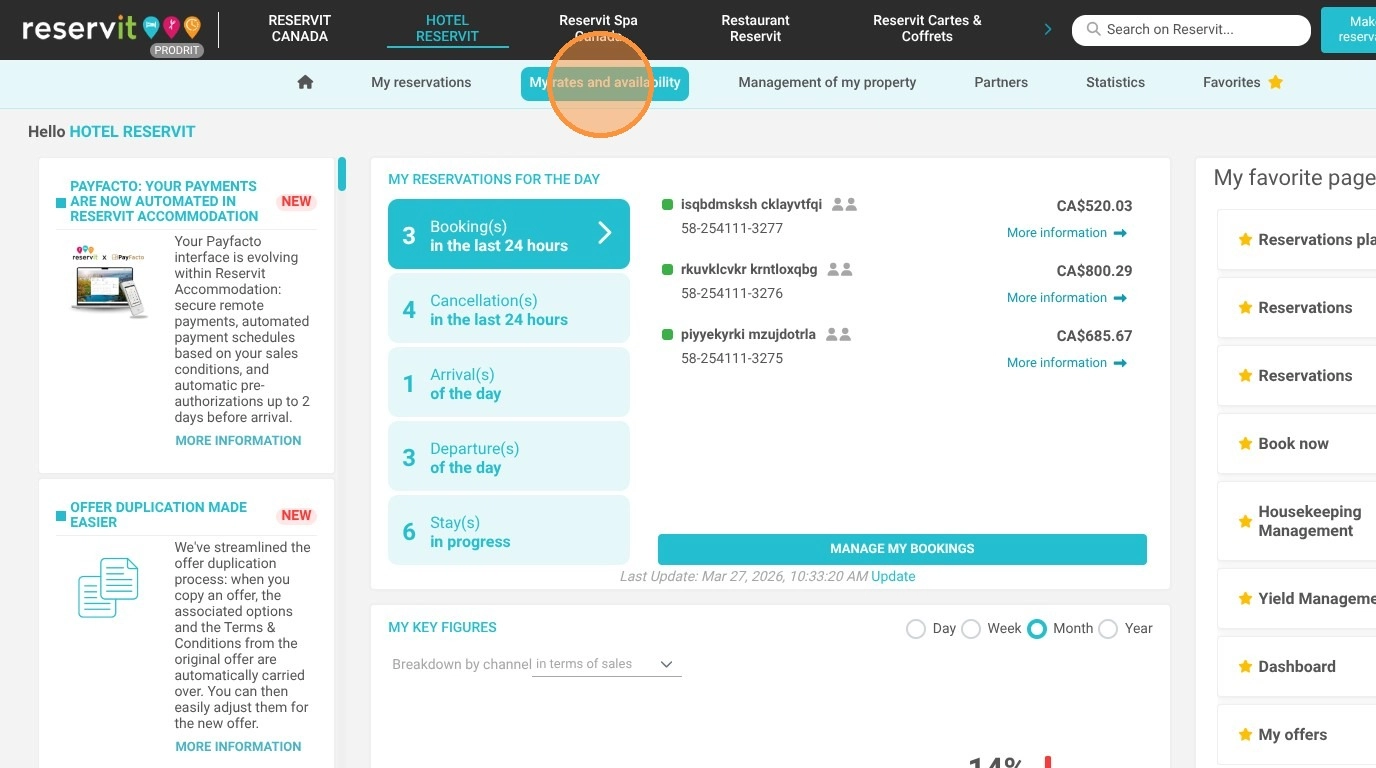
Menu access: Go to "Option management" under the "My rates and availability" tab.
-
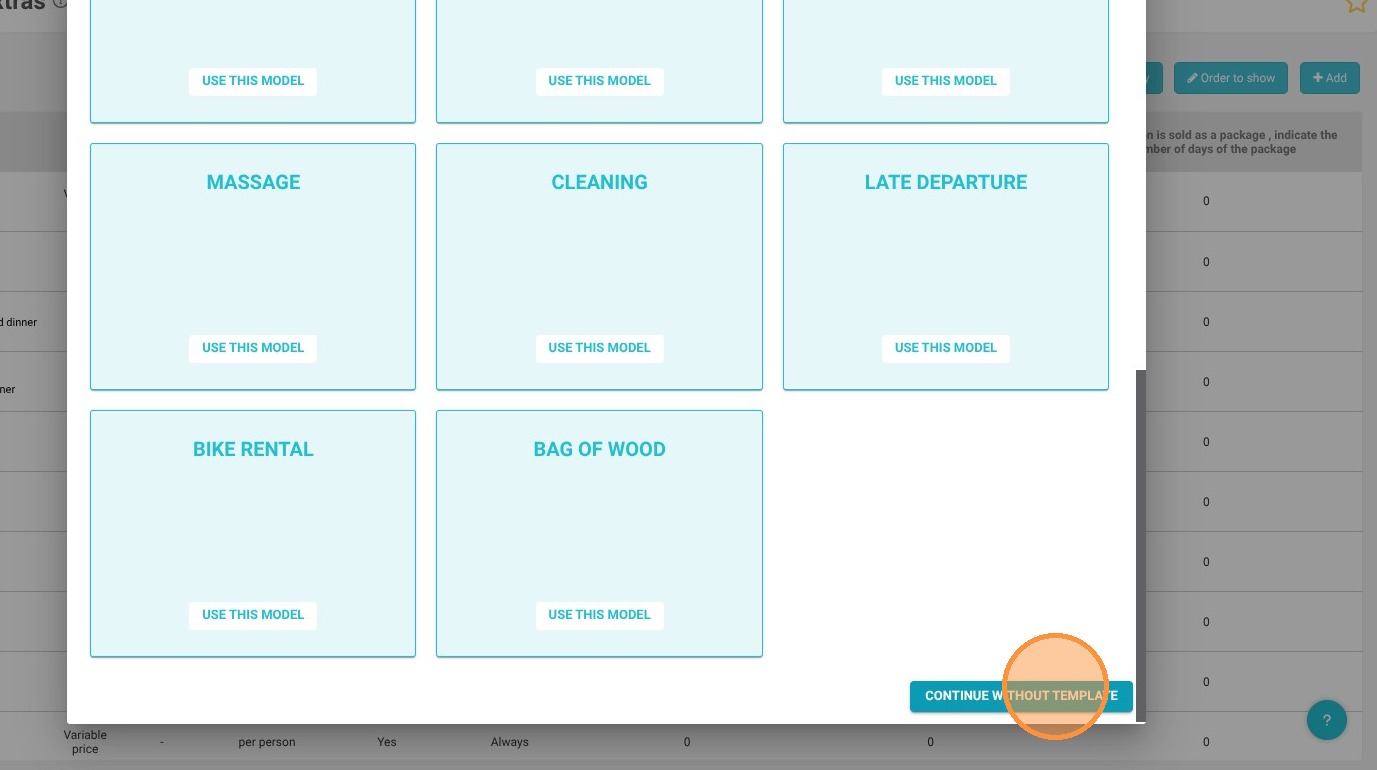
Option creation: Add a new option and choose to continue without a template for full customization.
-
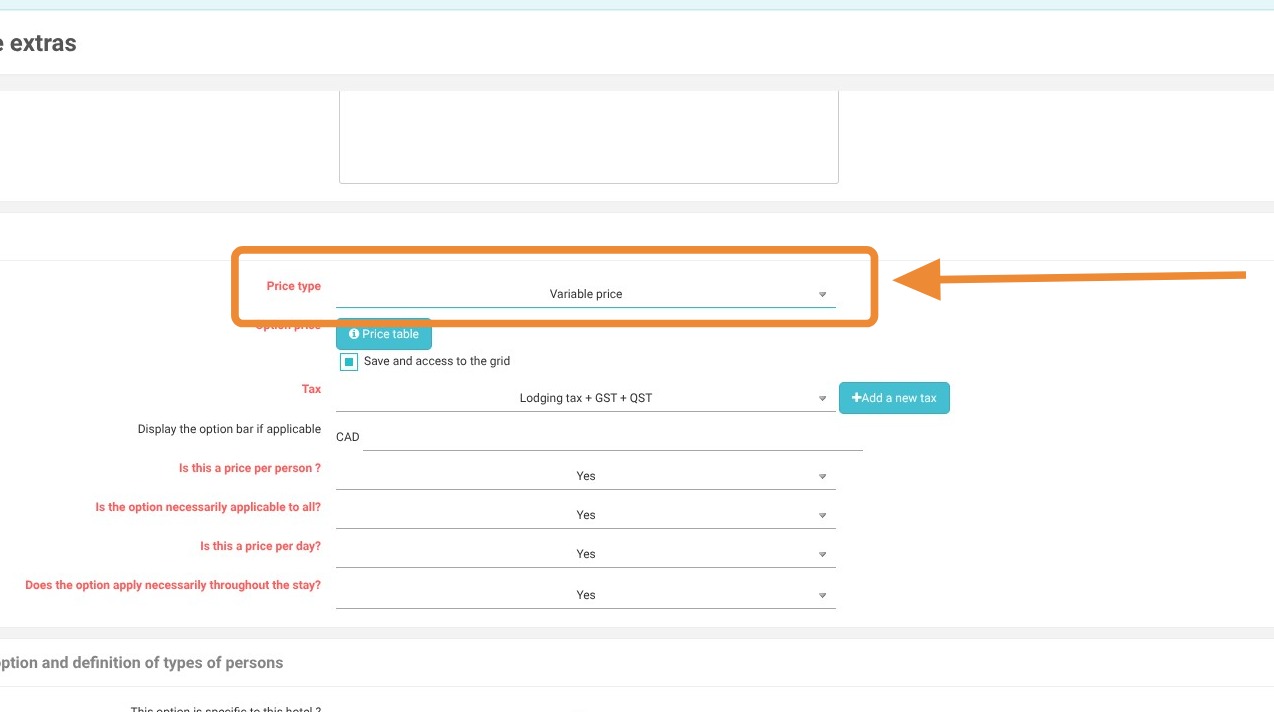
Price setup: Select the "Variable Price" type to display the "Price Grid" button.
-
Rate entry: Enter your service price in the grid to enable date-based configuration.
-
Period selection: Manually apply or use advanced editing to select the dates when the option should be sold.
-
Validation: Save your changes so the option is only offered to customers on the priced dates.
Why follow this guide? Mastering date-based option management allows you to autonomously offer seasonal services (e.g., swimming pool access, picnic baskets, ski rentals). This prevents manual booking errors and optimizes your revenue by offering the right service at the exact right time.
Tip! For a non-included option to be available only during certain periods, Reservit will rely on its rate to determine its availability.
We will therefore create an option with a variable price. This way, the option will only be available when its price is configured.
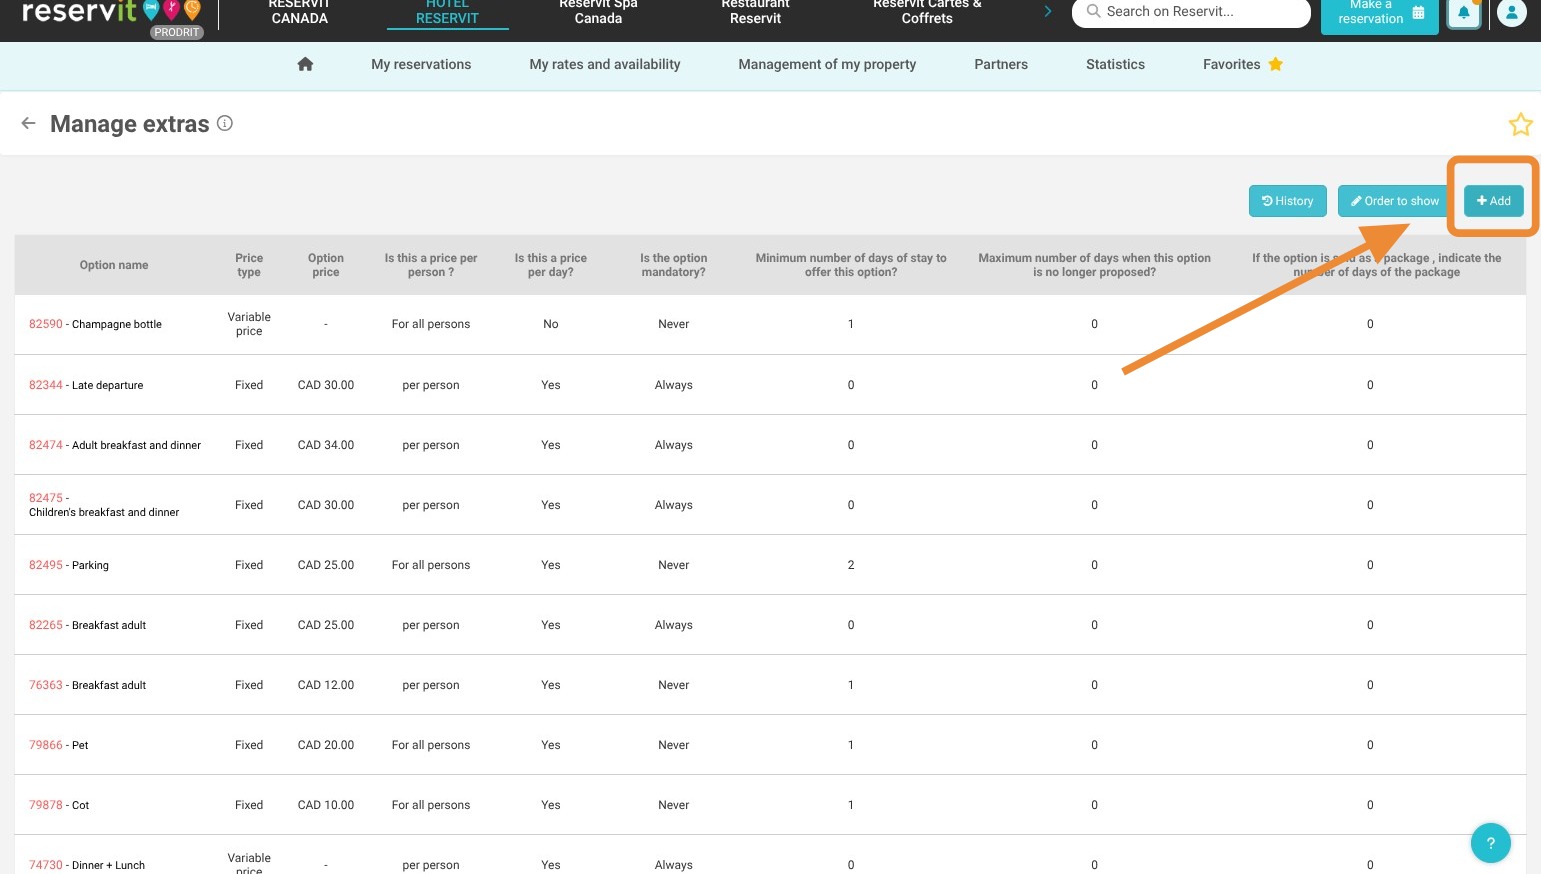
1. Go to "My rates and availability", then "Manage extras"
2. Click on "Add" to create your extra
3. Scroll down and choose "Continue without template"
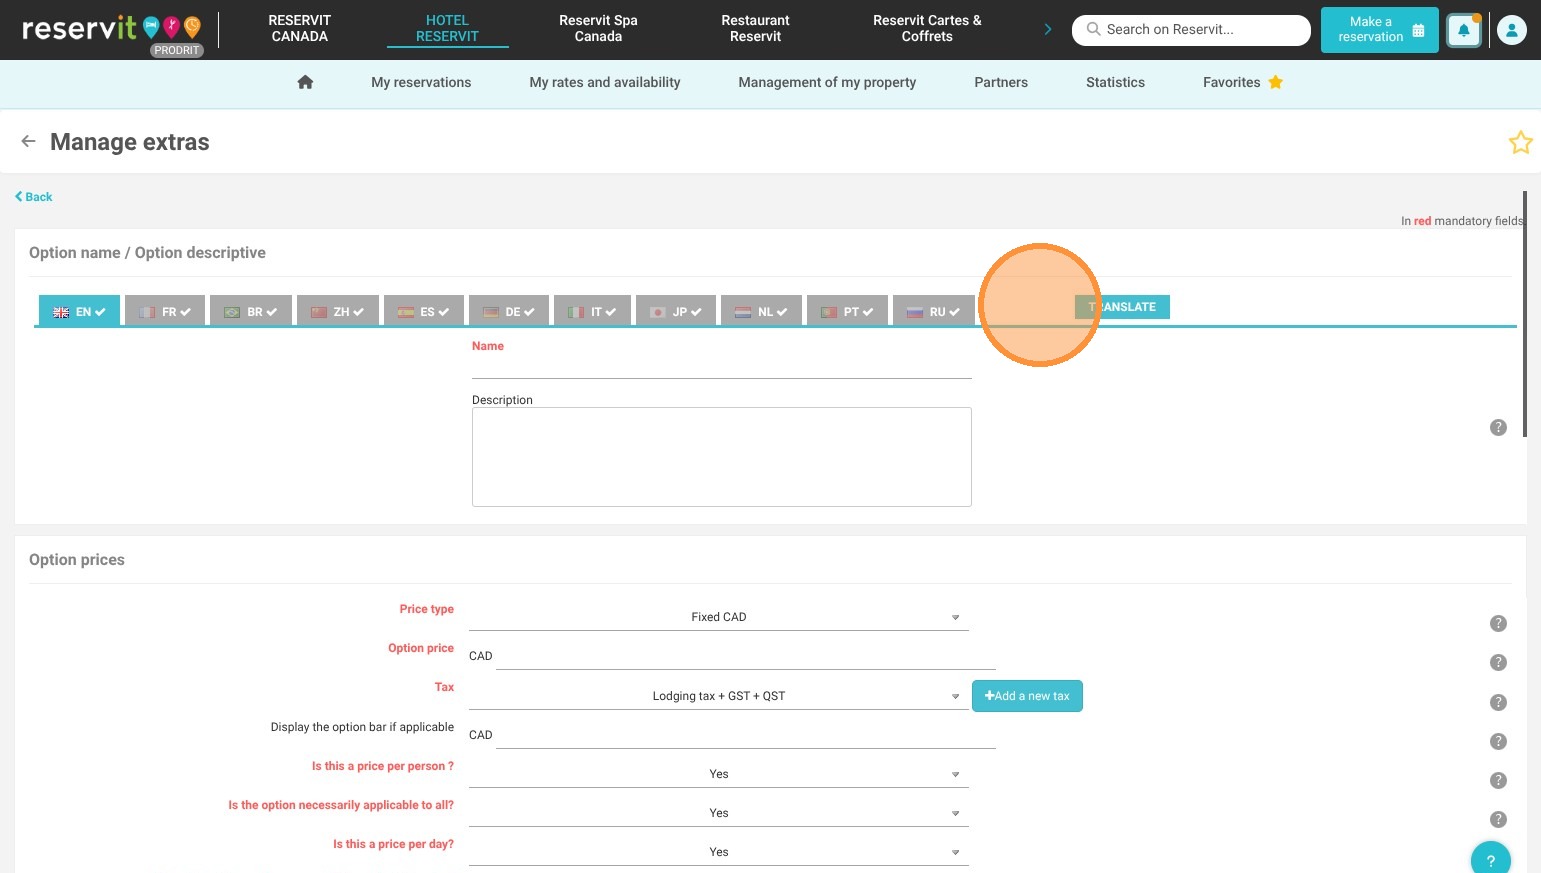
4. Fill in the different configuration fields for your option.
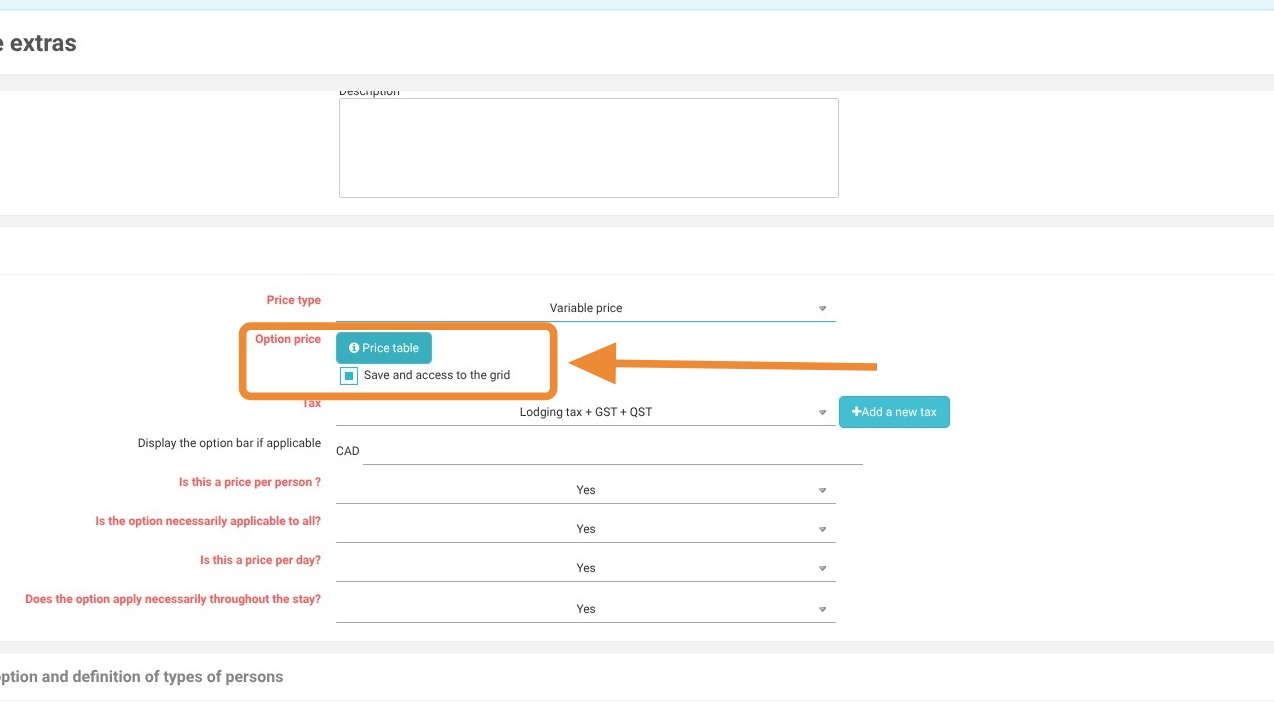
5. In the price type, choose "Variable Price". A "Price Table" button will appear.
6. Click on "Price Table"
7. A new screen appears. Start by entering the first price for your option and click "OK"
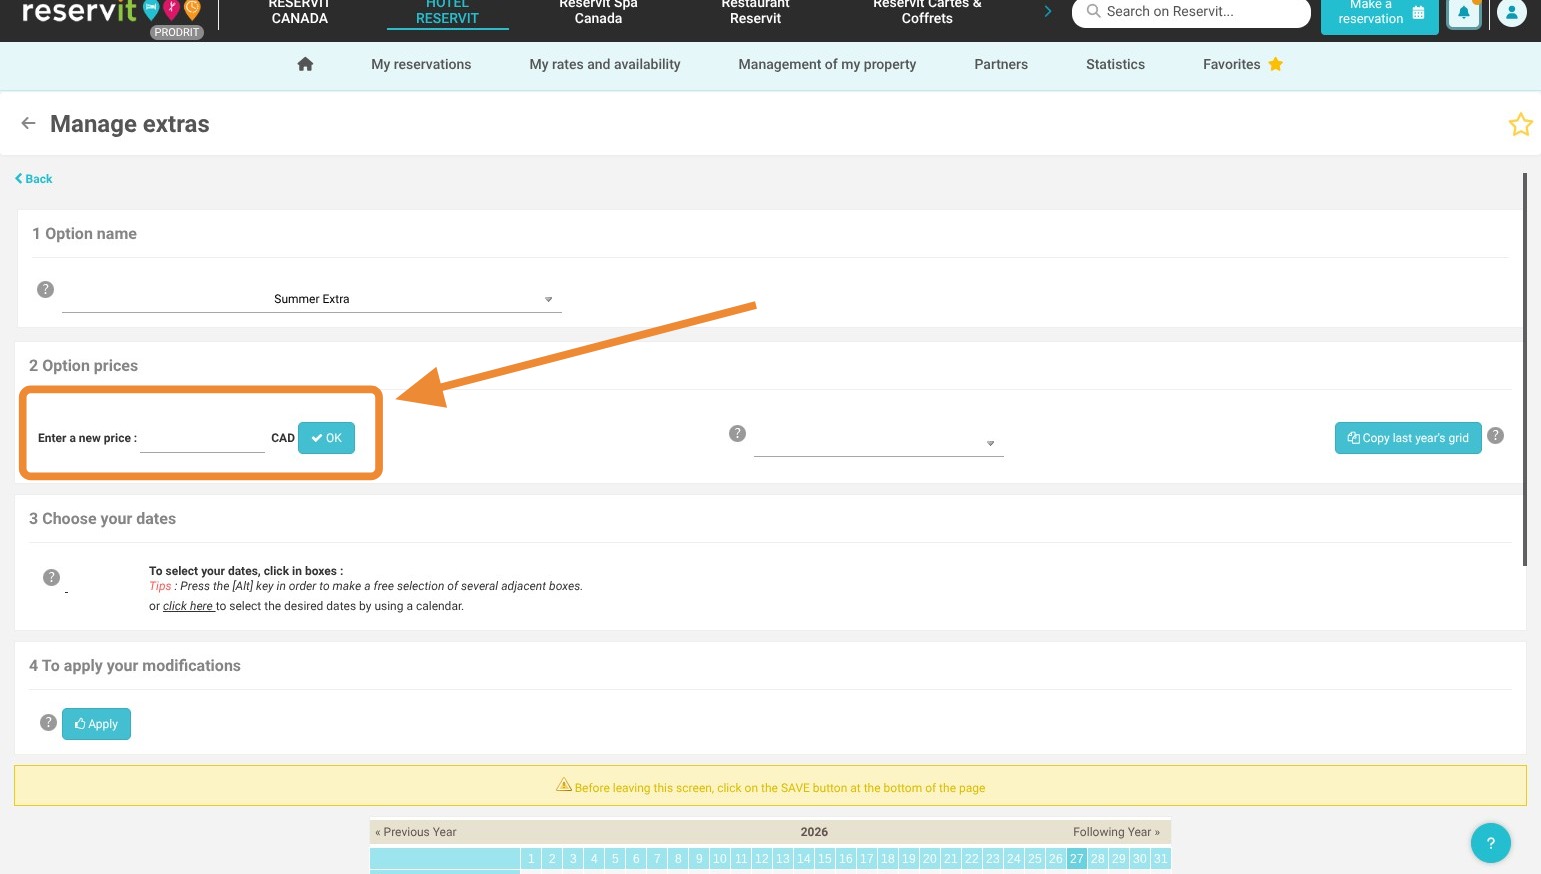
8. Click on the calendar dates where you want to apply the price. You can also quickly fill out a whole month by clicking on the month's name.
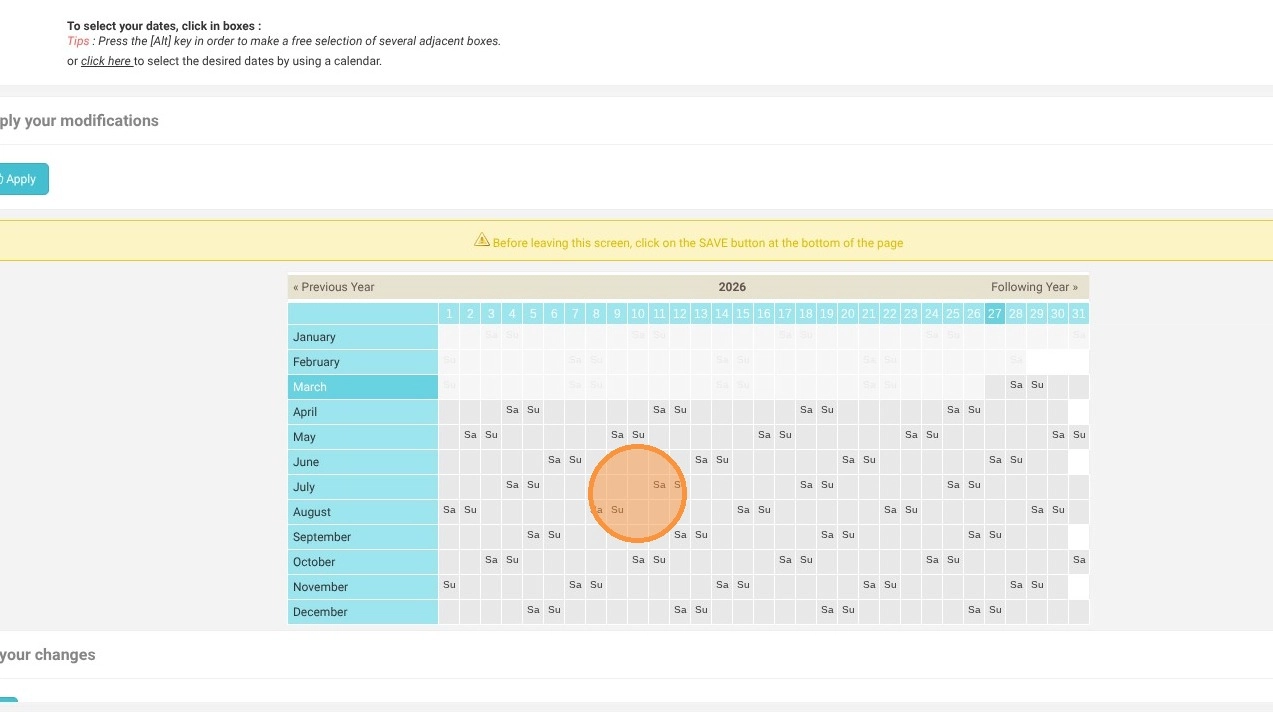
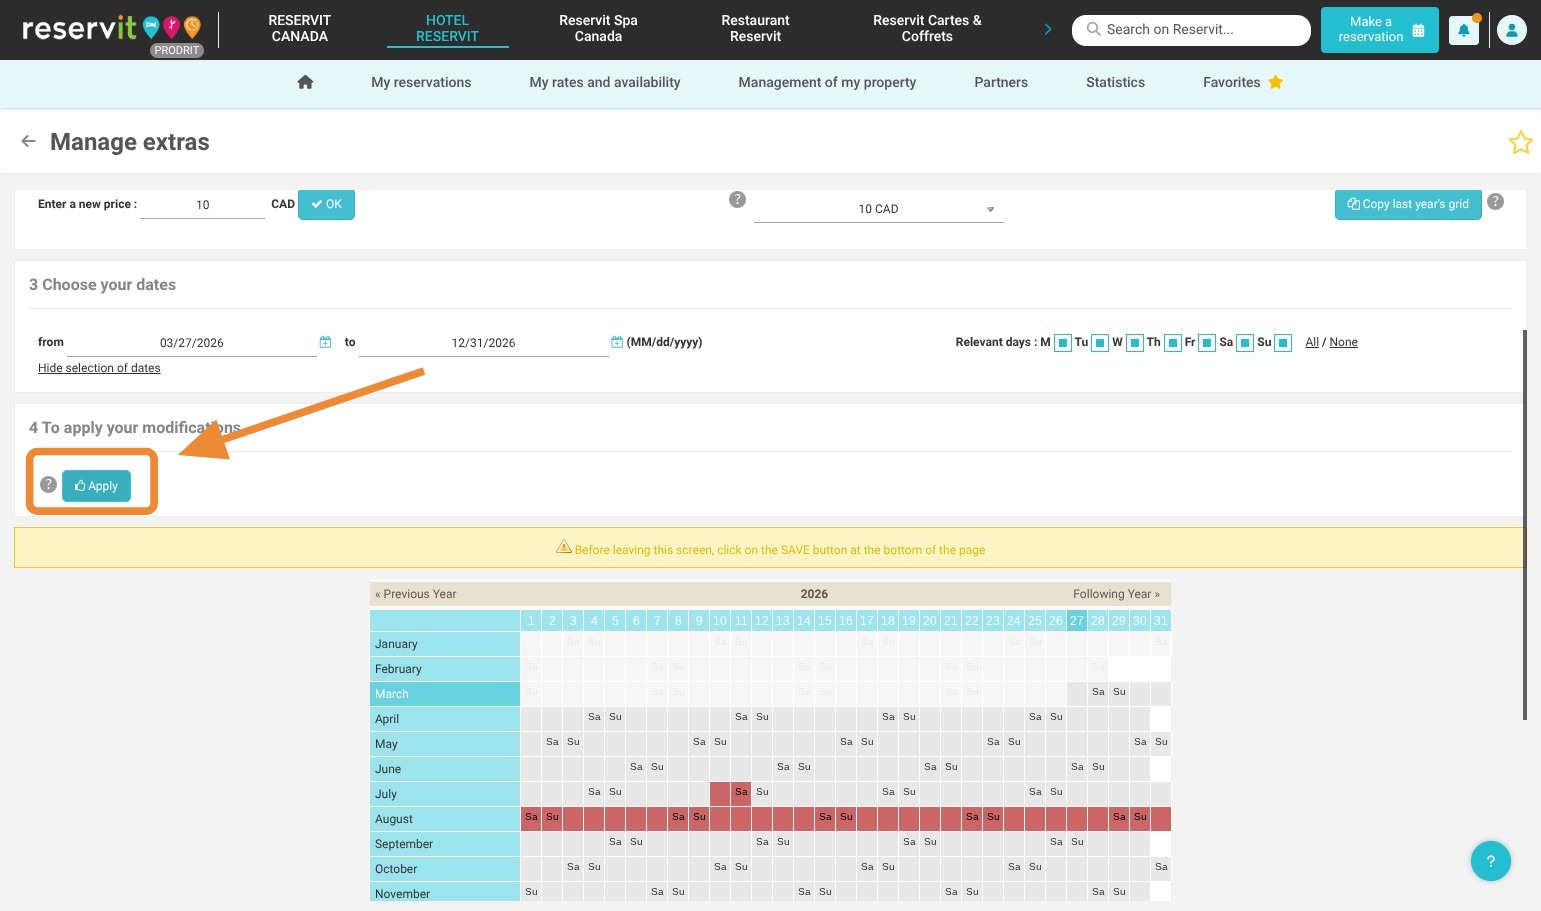
9. If you have specific periods, for example, every weekend, click on advanced editing. Select the periods of your choice.
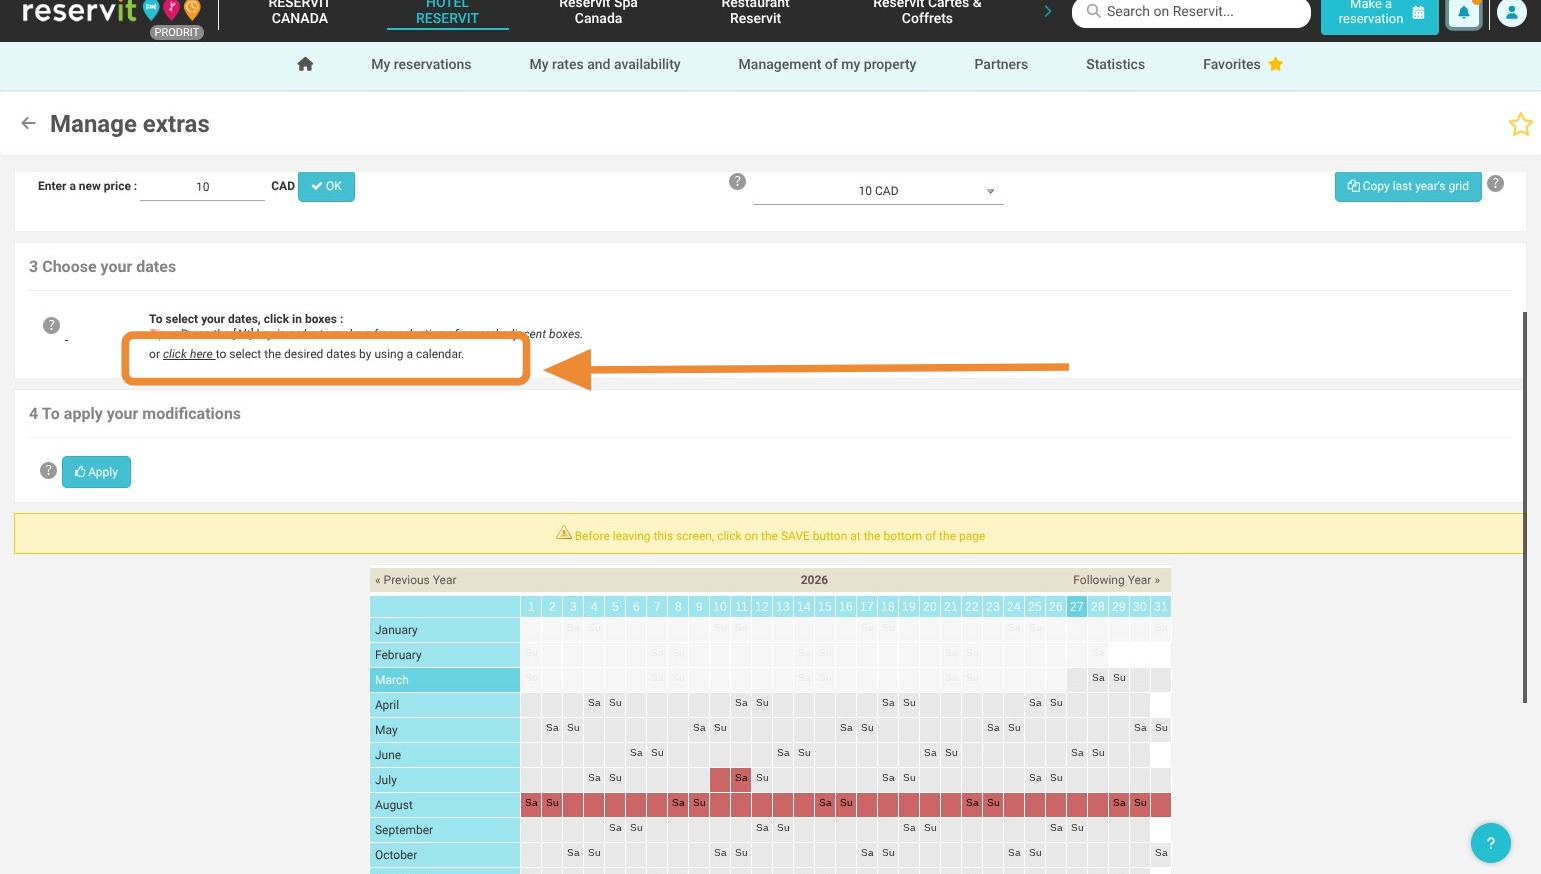
10. Click "Apply" to confirm. The colors will appear on the calendar.
Tip: Tip! If your price varies depending on the dates, repeat the process by entering a new price in the option rate and click "OK".
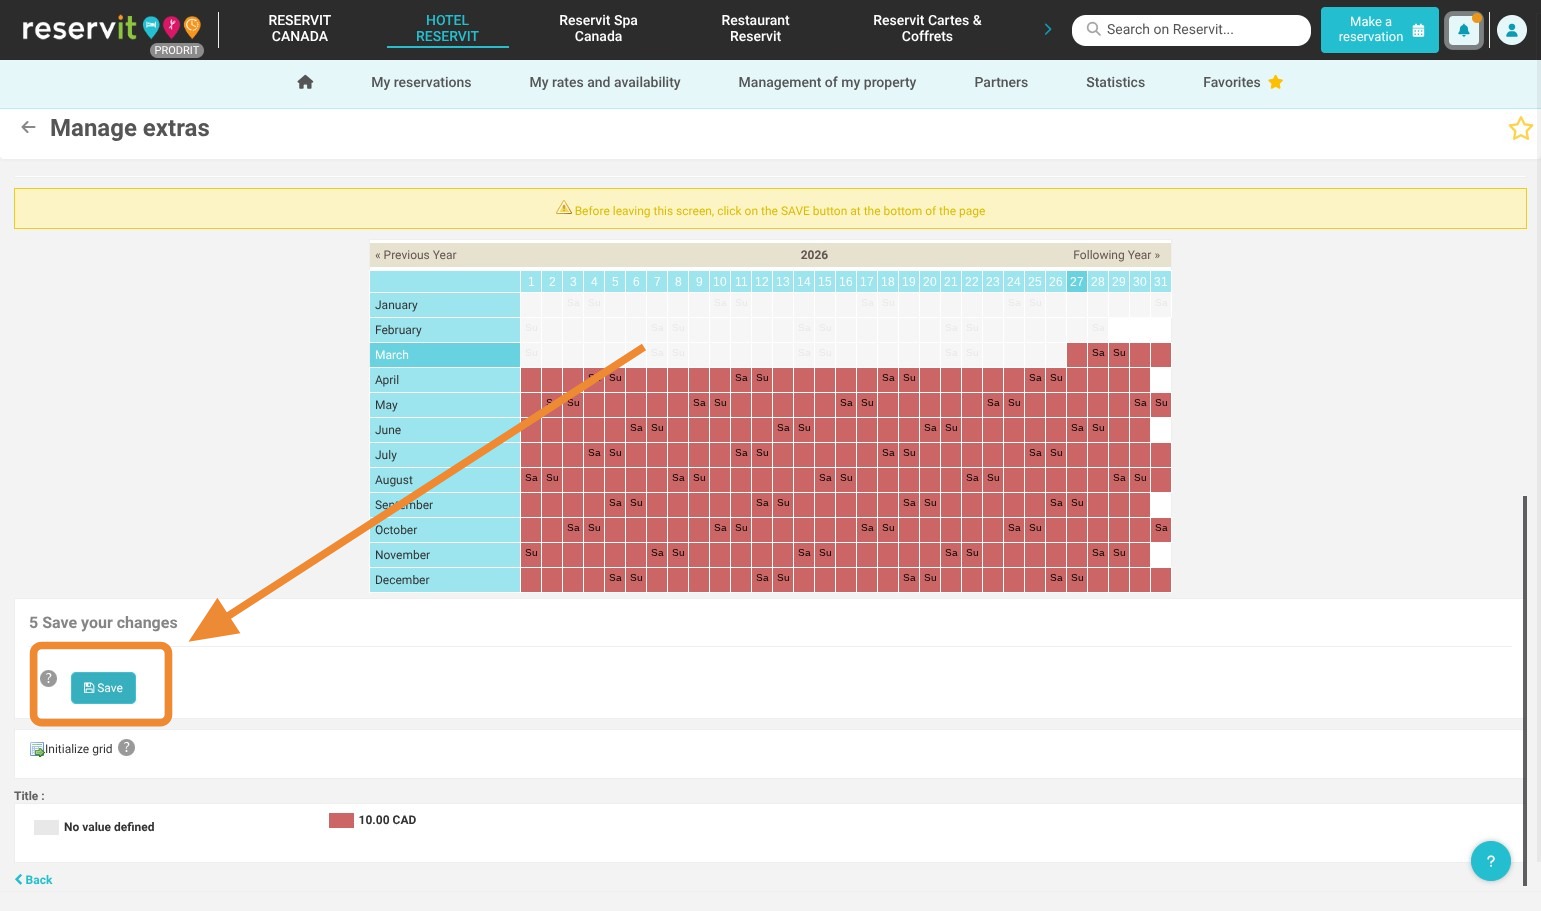
11. Once all rates are entered, click "Save"
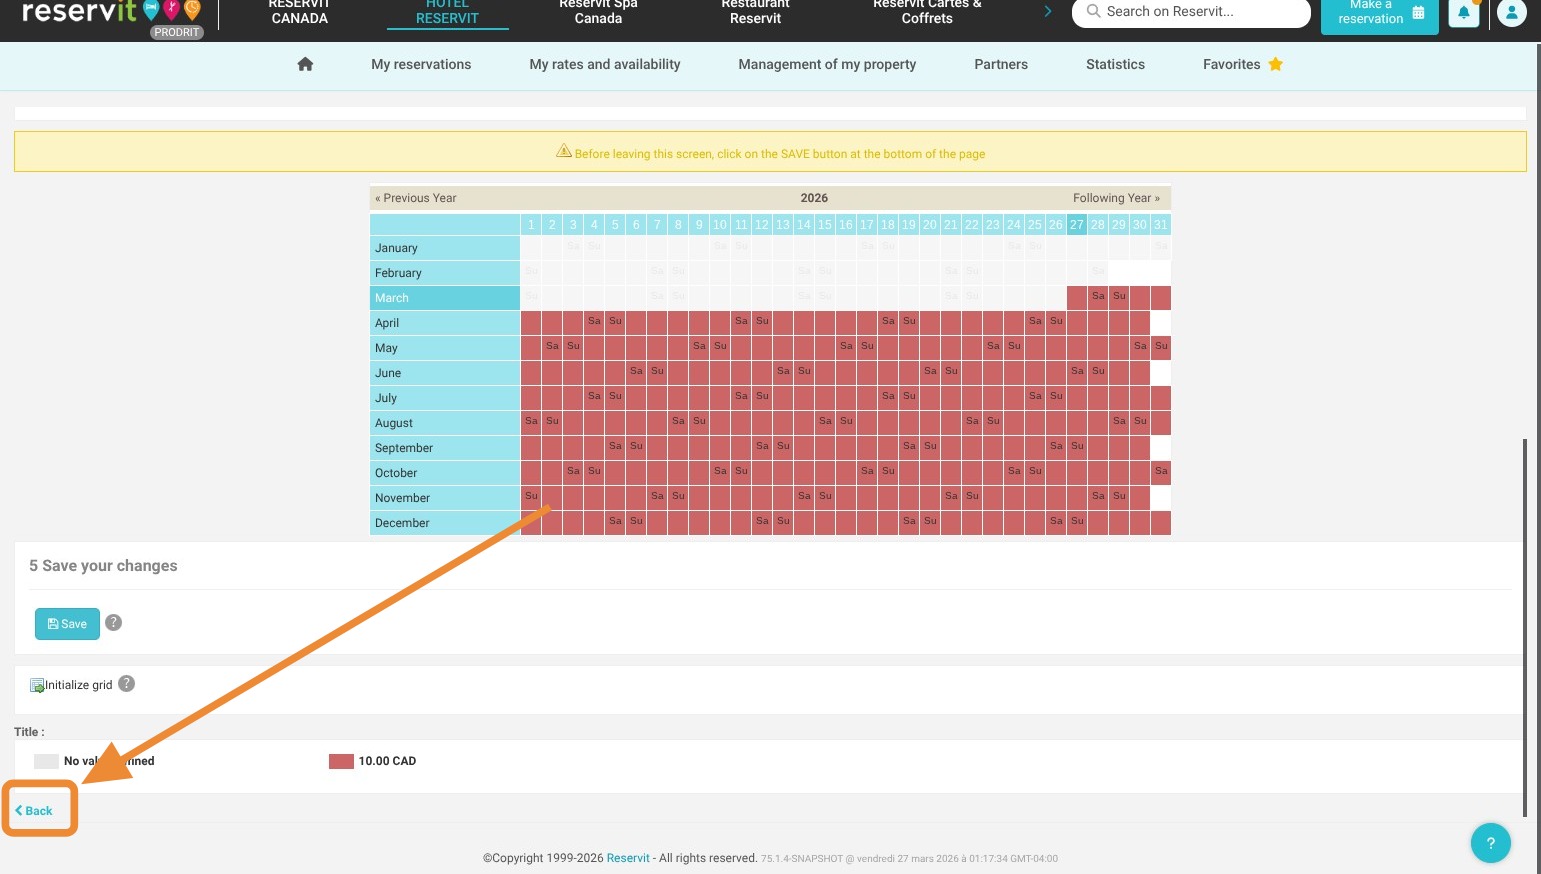
12. And click "Back". Your option is now only available on dates containing a rate.
13. Impact on visibility depending on the type of stay: This setup directly controls the option's visibility on the booking engine:
-
For a one-night booking: If no price is defined in the grid for this specific date, the option will not be presented to the customer.
-
For a multi-night booking: The system will ignore days without a price. The option will be displayed if at least one price is defined during the stay period, and the calculated amount will depend on whether the pricing applies per day (average of priced days) or per stay (rate based on the arrival day or the first defined day).