Article summary: This guide provides step-by-step instructions on how to accurately bill and invoice gift cards or certificates using the Reservit Gifts & Certificates module. You will learn how to access billing details, manage account lines, manually record payments, and generate a final invoice. Mastering this process ensures precise financial tracking and allows you to seamlessly share professional PDF receipts with your buyers.
The 5 key steps to bill a gift card and generate an invoice:
-
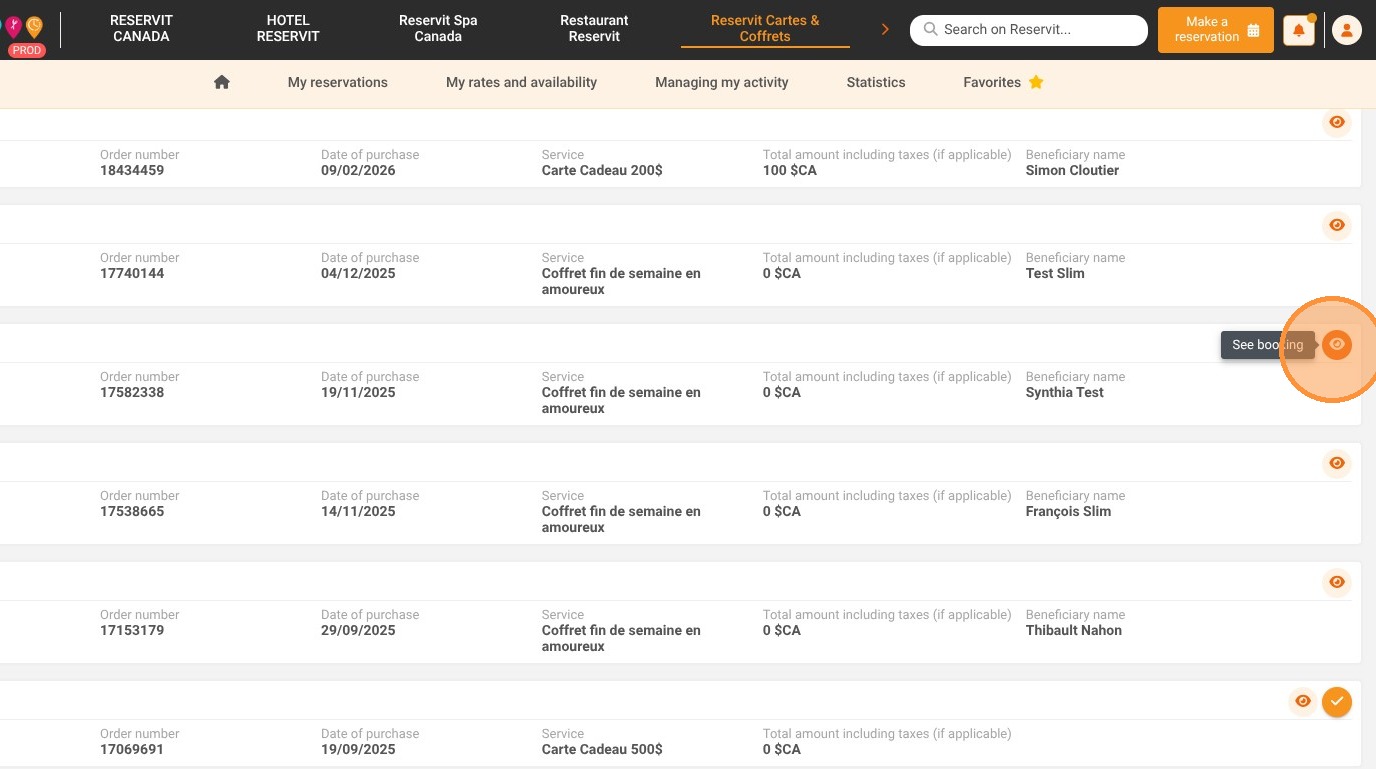
Access the billing section: Locate the specific reservation using the search tools, click the eye icon to view the booking details, and select "Access to billing."
-
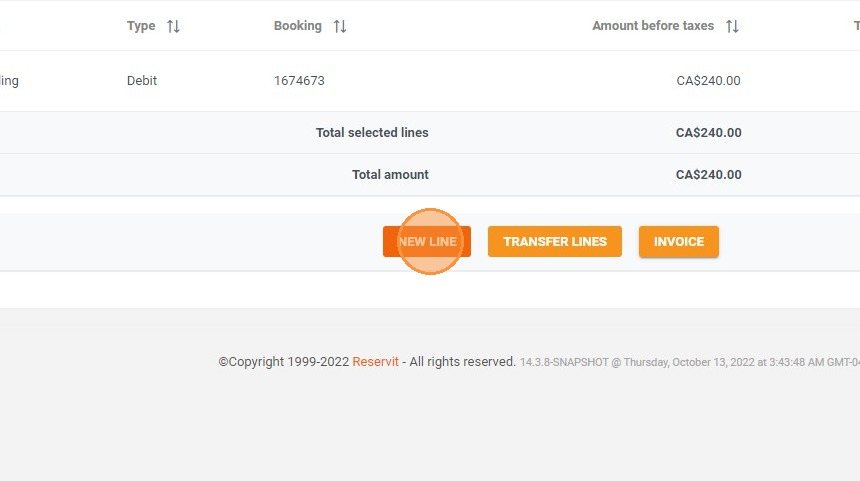
Manage account lines: Review the existing charges or click "New line" to add an additional service or item, then validate your entry.
-
Draft the proforma invoice: Click "INVOICE" to generate a preliminary draft. Here, you can click "ADD PAYMENT" to manually log a transaction if it wasn't automatically processed via Stripe.
-
Generate the final document: Once all modifications and payments are accurate, click "INVOICE" again to issue the official, finalized invoice.
-
Export and share: Choose to print the document, download it as a PDF, or email it directly to your customer. (Note: Customer names cannot be changed once generated; you must cancel and recreate the invoice to edit them).
Why follow this guide? Following this standardized billing procedure ensures your accounting remains perfectly accurate and prevents costly invoicing errors. It streamlines the post-purchase process, saving your staff valuable administrative time while delivering prompt, professional documentation to your guests.
1. Locate your reservation using the various search tools provided, then simply click the eye icon to view your booking details.
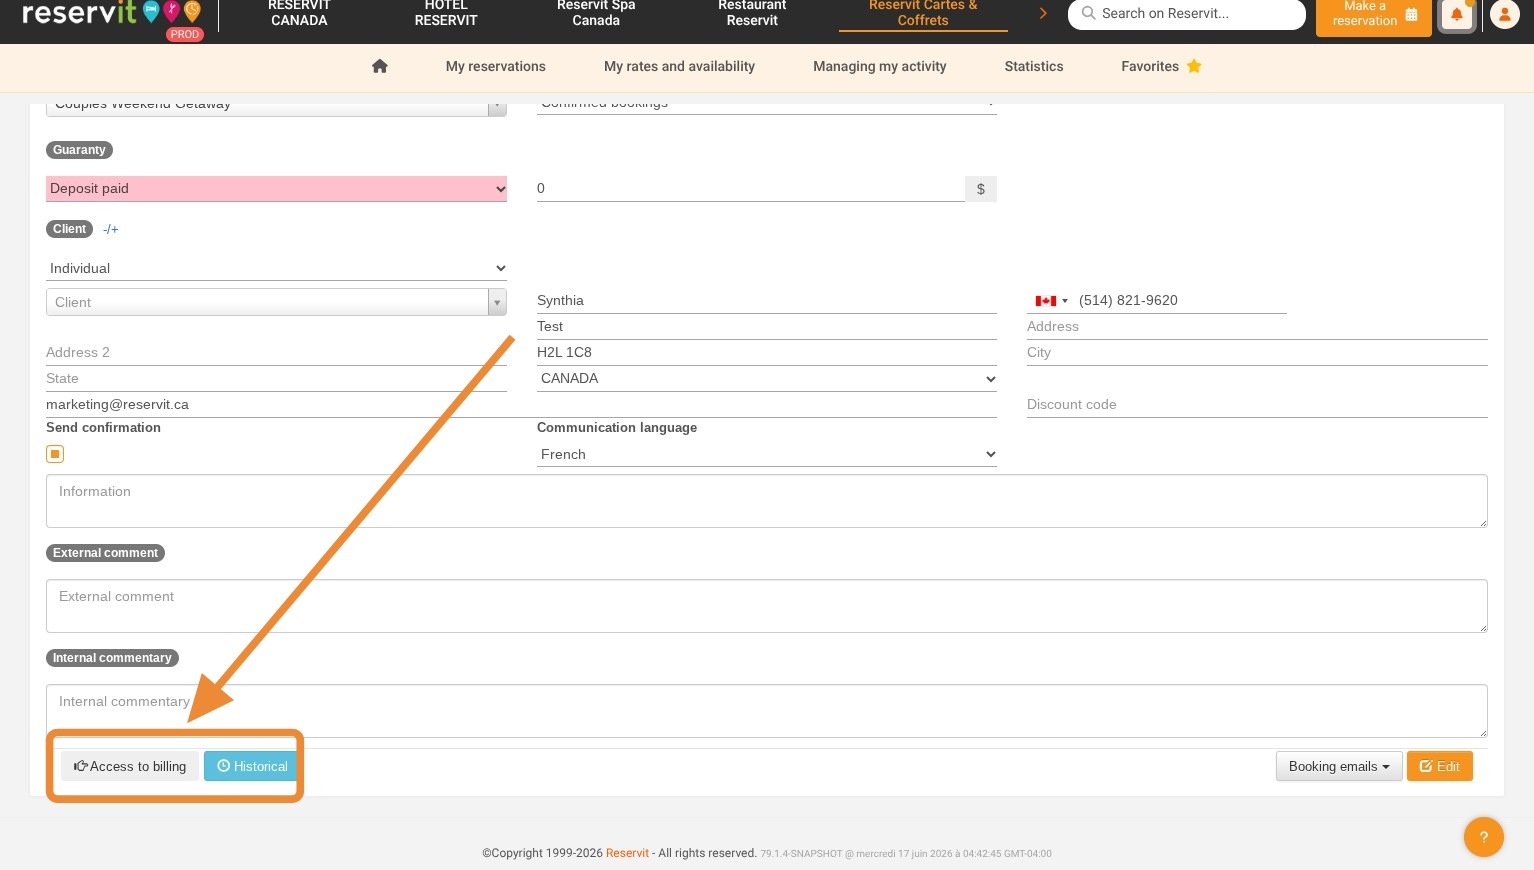
2. Click "Access to billing"
3. You will find the corresponding account lines. To add an additional one, click on New line.
4. You can select an existing service or create a new one.
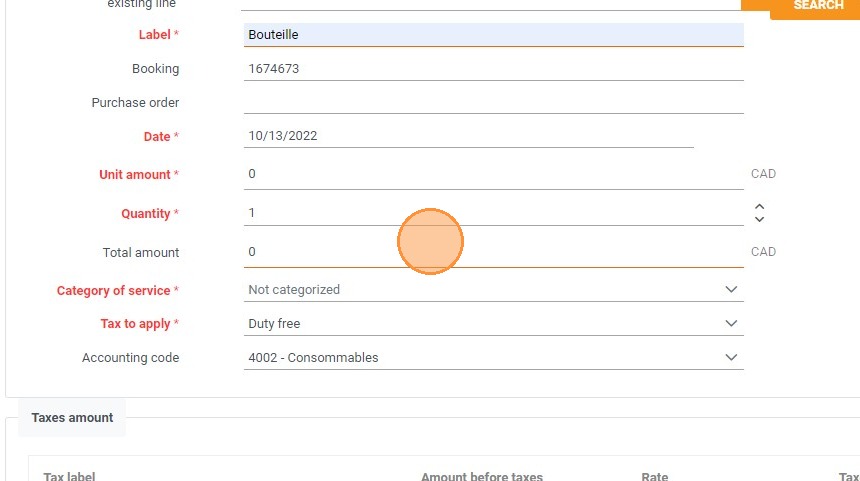
5. Click "VALIDATE" to add it.

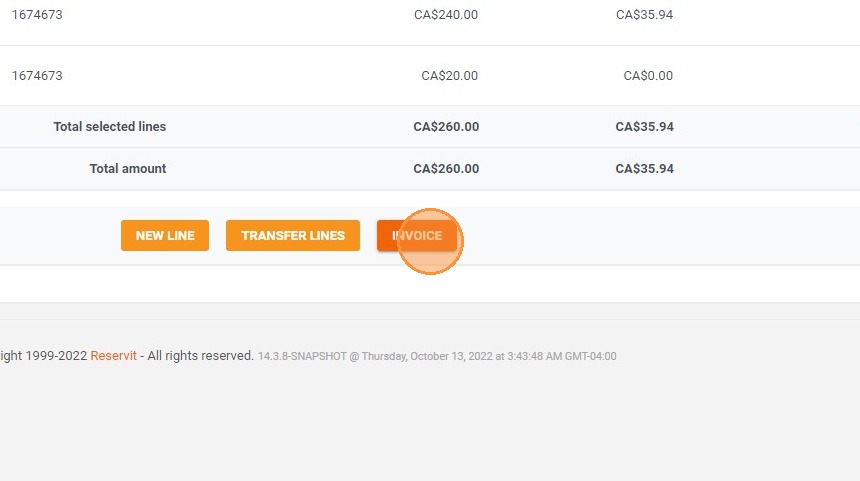
6. To create your invoice, click on "INVOICE".
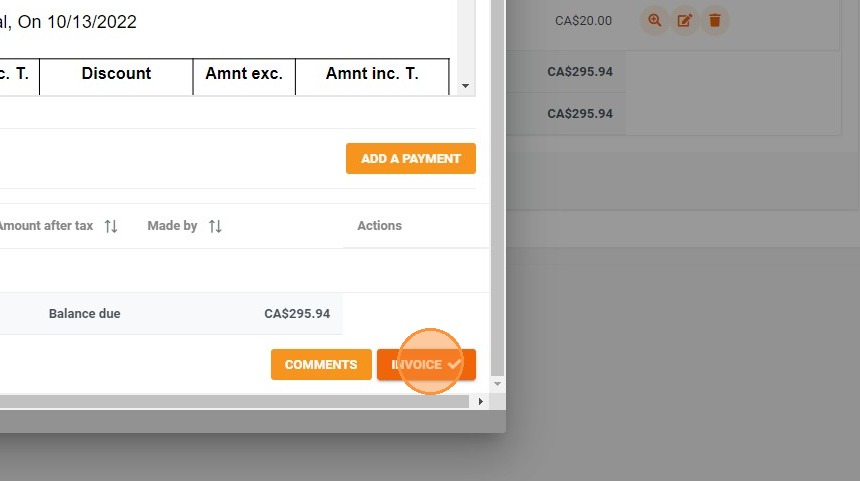
7. You will then see the Proforma invoice (the draft of your final document). Click on "ADD PAYMENT" to notify a payment manually. If the payment is taken at booking with Stripe, the payment line will already be filled in automatically.

8. Once all changes have been made, click on "INVOICE" to generate the final invoice.
9. You can print the invoice.
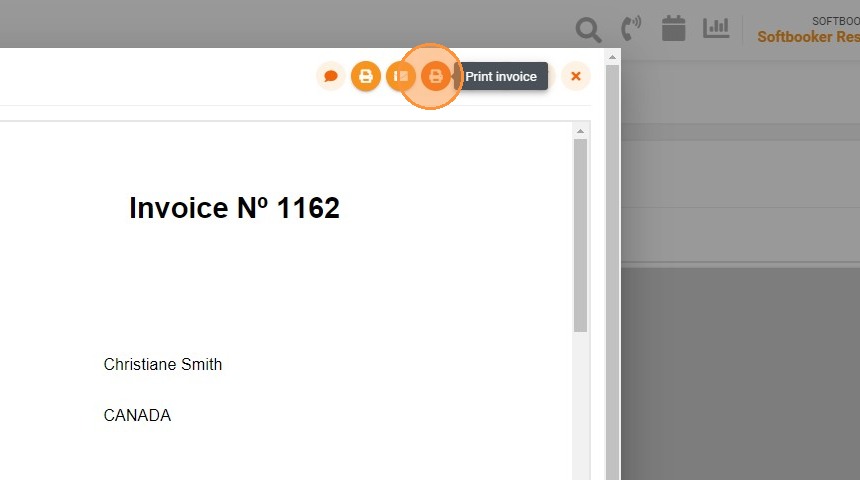
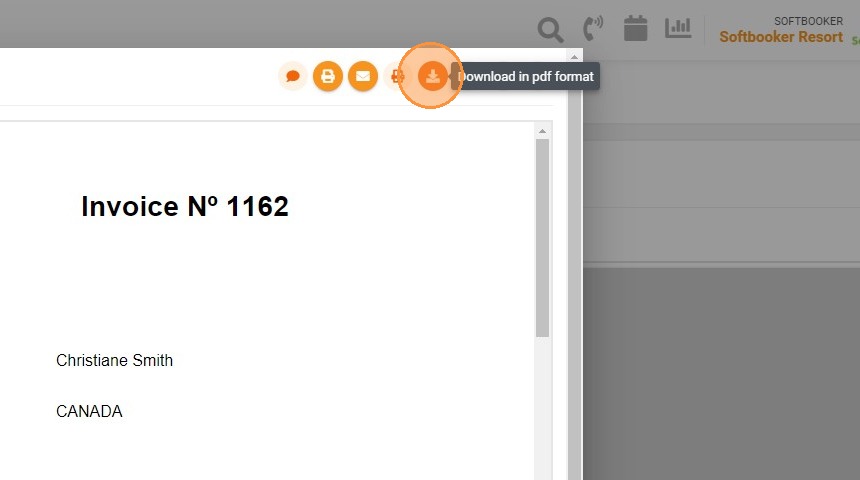
10. You can download the invoice in PDF.
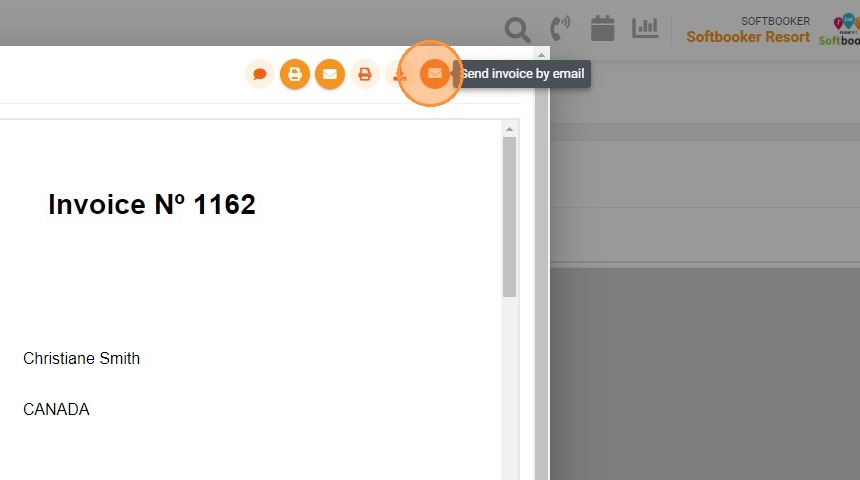
11. You can send the invoice to your customer by email.
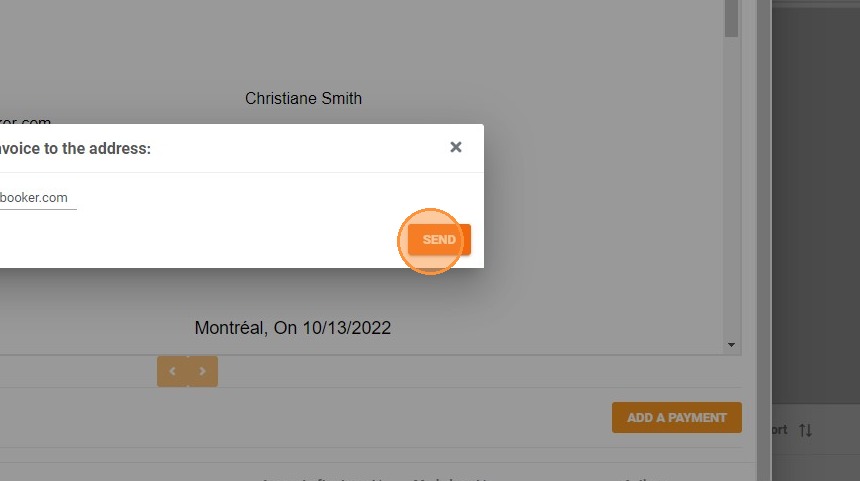
12. Click on send to validate the email.
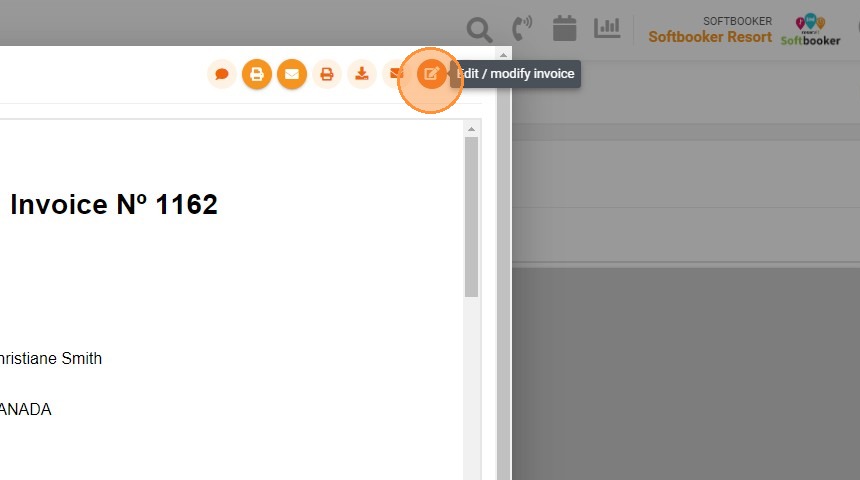
13. You can edit the invoice to change certain elements such as the account or payment lines. You will not be able to change the customer's name once the invoice is generated, you will have to cancel it and recreate it.