

Article summary: This step-by-step guide explains how to properly refund a payment using the integrated terminal within Reservit Gifts & Certificates. You will learn the necessary prerequisites for issuing a refund, such as generating a credit note, and how to seamlessly process the transaction back to the customer's credit card via Stripe. Mastering this procedure ensures accurate financial tracking and maintains excellent customer service when handling cancellations or billing adjustments.
The 4 key steps to process a terminal refund:
-
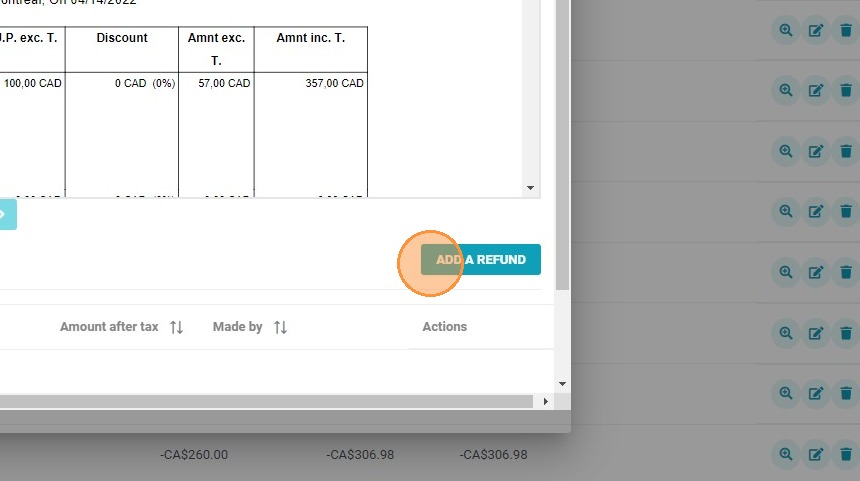
Prepare the billing account: Ensure an invoice has already been generated and create a credit note for the desired amount before clicking on "ADD A REFUND".
-
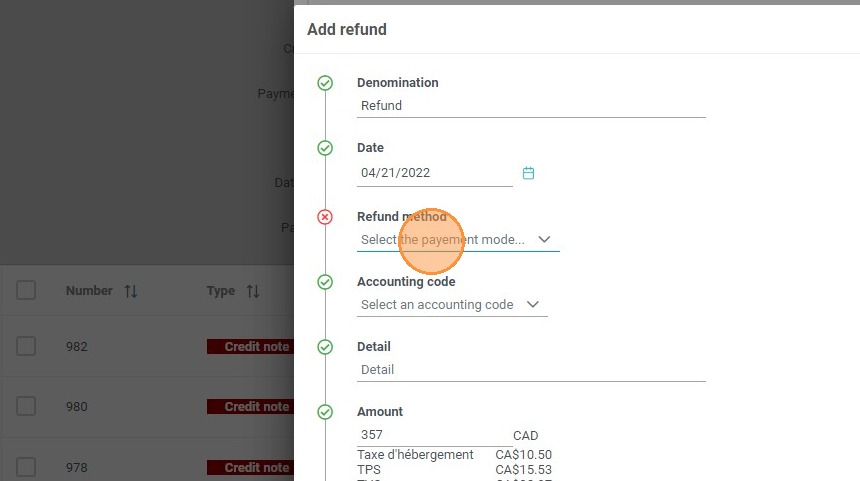
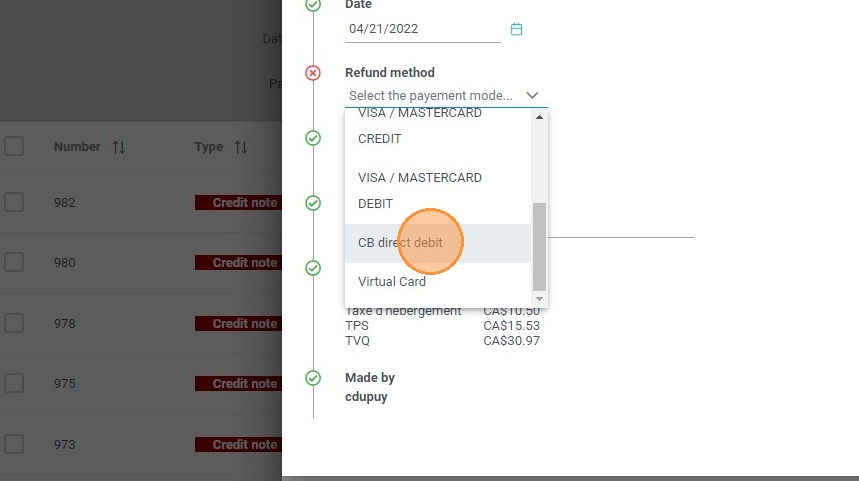
Select the payment mode: Open the payment method dropdown and specifically choose "CB direct debit" for credit card transactions.
-
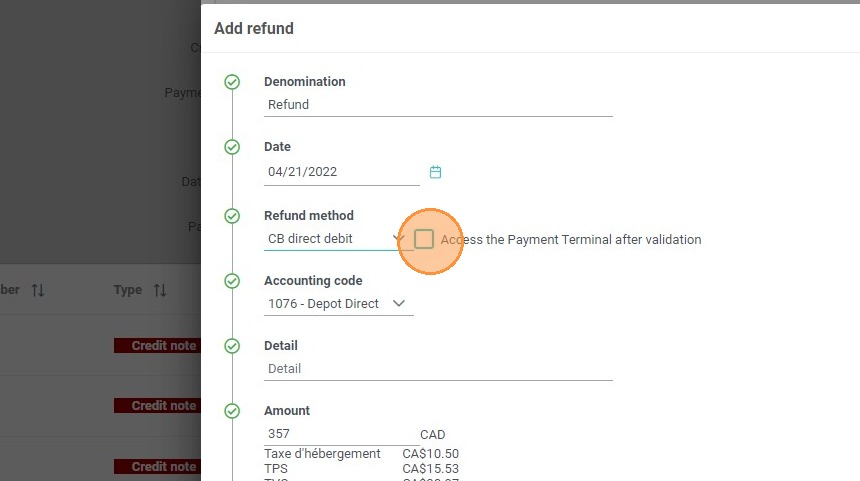
Access the payment gateway: Click on the button to access the payment terminal, which securely bridges your Reservit system with Stripe.
-
Validate and confirm: Click "VALIDATE" to be redirected to the terminal interface, review the pre-filled refund details, and confirm the transaction to automatically update the customer's account balance.
Why follow this guide? Following this precise workflow ensures that your property's accounting stays perfectly synchronized with your Stripe payouts, eliminating the risk of costly manual discrepancies. It streamlines your refund procedures, allowing your staff to confidently and securely process reimbursements while providing a prompt resolution for your guests.
Alert: Refunds are only possible if a payment was successfully processed. You'll need to generate an invoice before you can issue a refund.
1. To refund part of a booking payment, a credit note must first be generated. After that is done, select "ADD A REFUND" to proceed.
2. Select the payment mode.
3. Choose "CB direct debit".
4. Access the payment terminal.
5. Click on "VALIDATE".
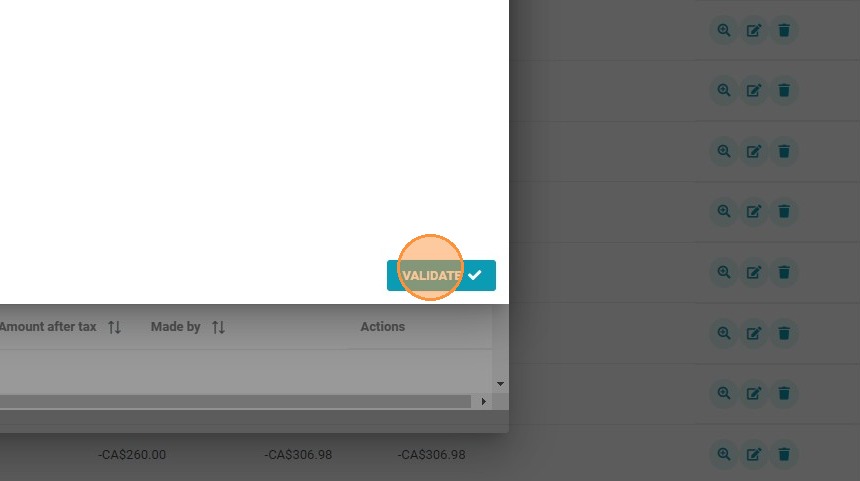
6. You will be redirected to the terminal to confirm the refund. The terminal offers you by default to make a refund, with all the information already filled in. Once confirmed, the invoice account will be udpate accordingly.