

Article Summary: This practical guide provides step-by-step instructions on how to seamlessly generate and email an account statement report within the Reservit PMS. You will learn how to access specific client billing accounts, apply custom date filters, and export a comprehensive PDF summary directly to your inbox. Mastering this reporting feature ensures accurate financial tracking and streamlines the way you share essential billing activity with customers or your accounting team.
The 5 key steps to generate an account statement report:
-
Access Invoice Accounts: Navigate to "My reservations," select "Billing," and click on "Invoice accounts" to locate the specific client profile.
-
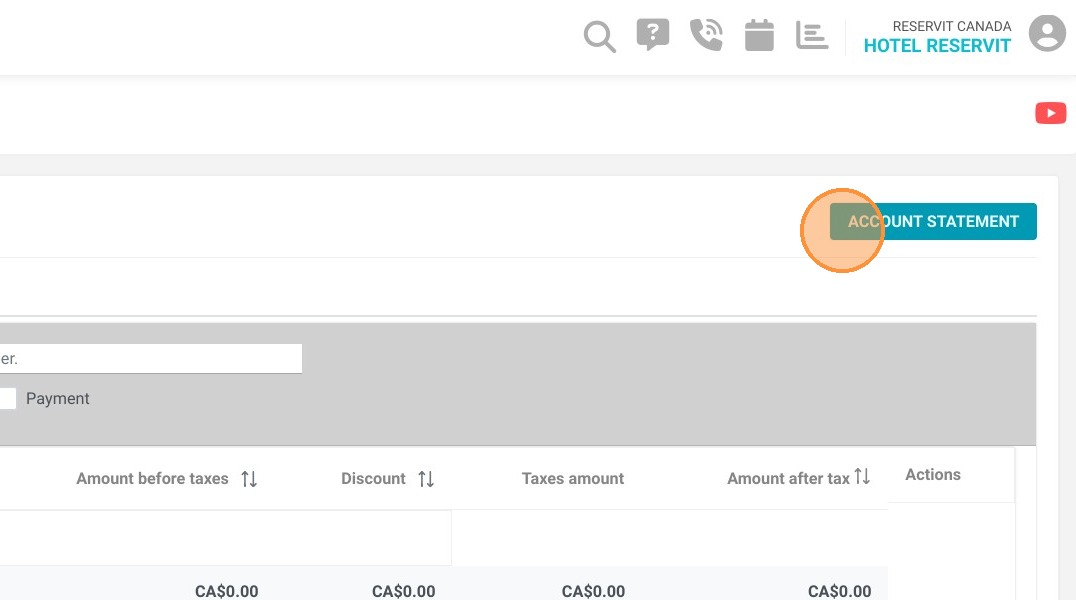
Initiate the Statement: Open your desired billing account and click the "Account statement" button located at the top right of the screen.
-
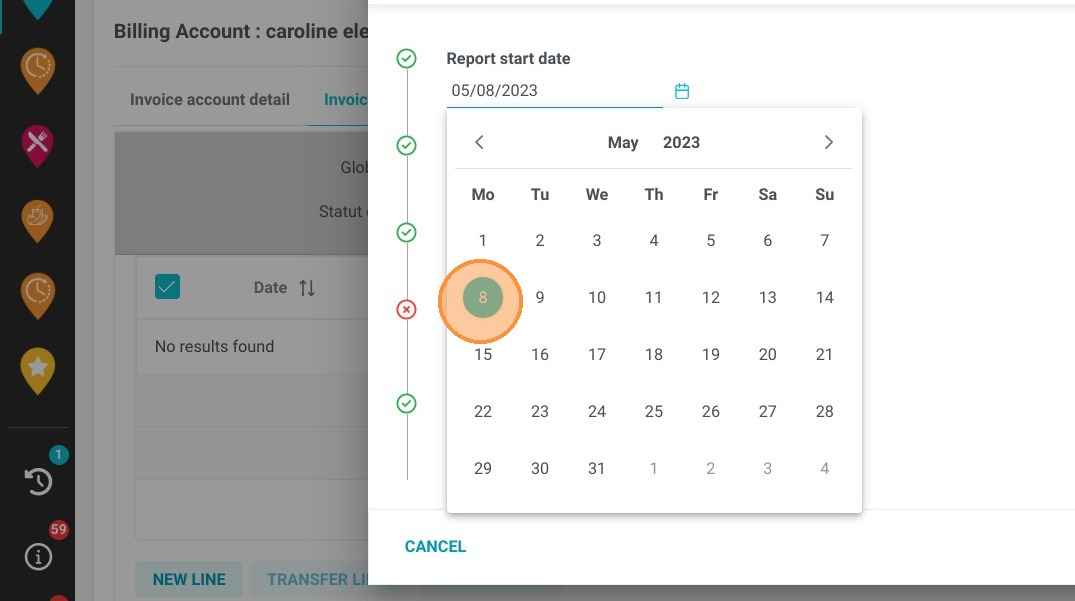
Define the Reporting Period: Select your required date range to track specific activity, or leave the fields blank to automatically generate a complete account history.
-
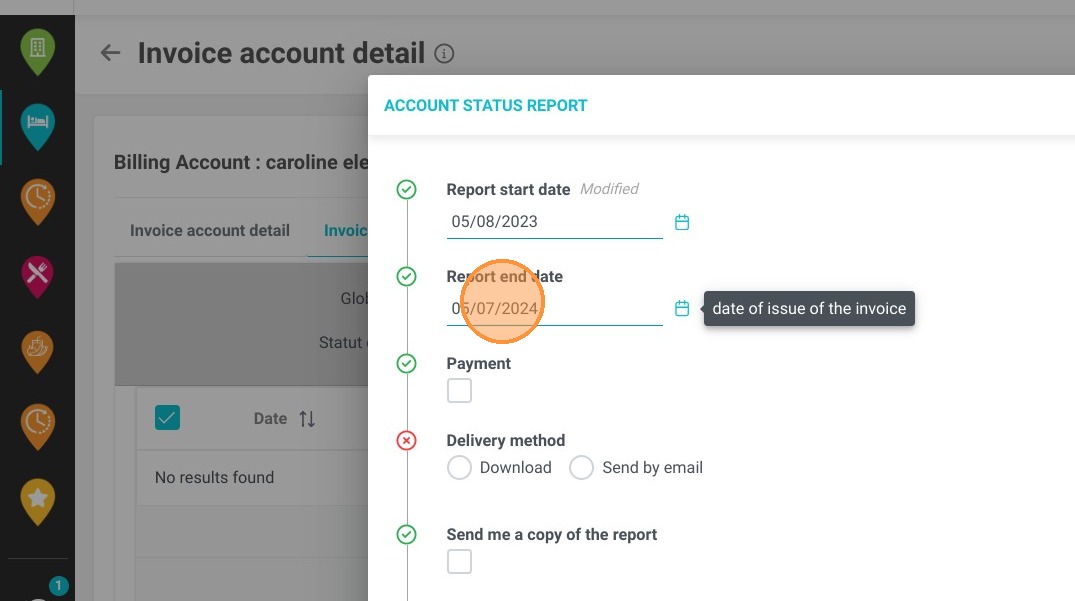
Configure and Email: Choose whether to display payments on the report, then click "Send by e-mail," enter the recipient addresses, and confirm your request.
-
Retrieve the PDF Document: Check your designated email inbox for the system-generated message containing your fully formatted PDF account statement report.
Why follow this guide? Following this tutorial will save your front-desk and accounting staff valuable time by automating the extraction and delivery of comprehensive billing histories. It prevents manual data entry errors and ensures that clients receive accurate, professionally formatted financial records directly without delay.
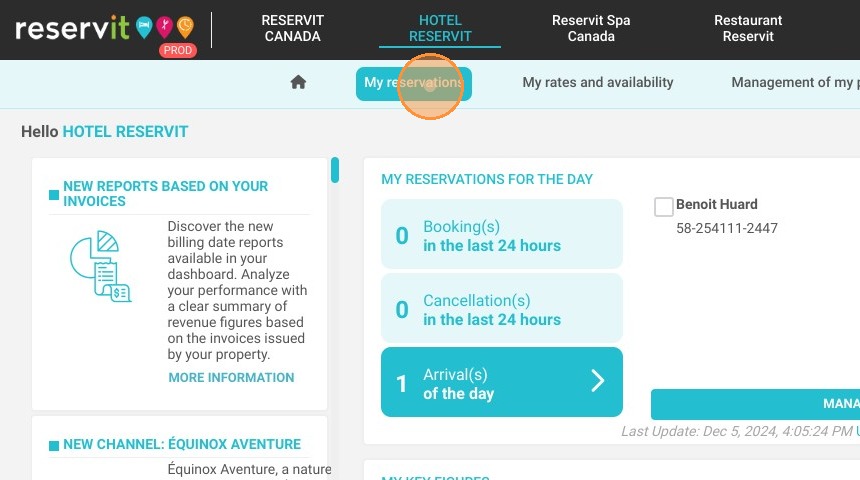
1. Click "My reservations"
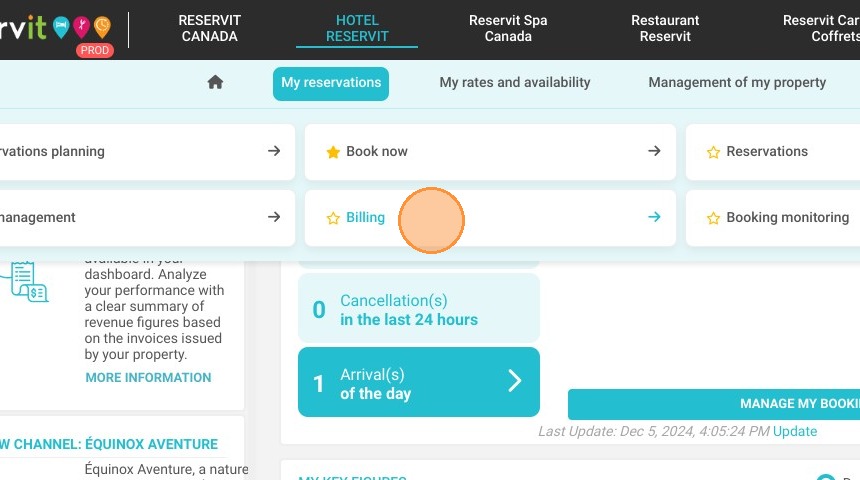
2. Click ''Billing''
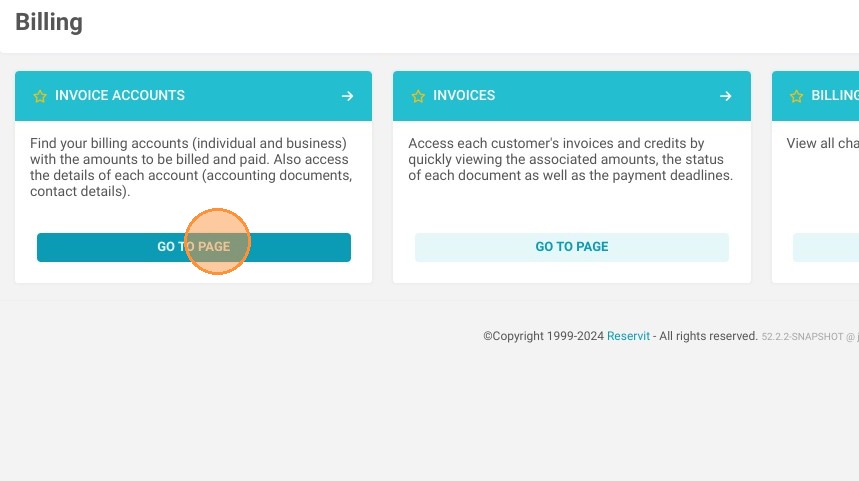
3. Click on the ''Invoice accounts''
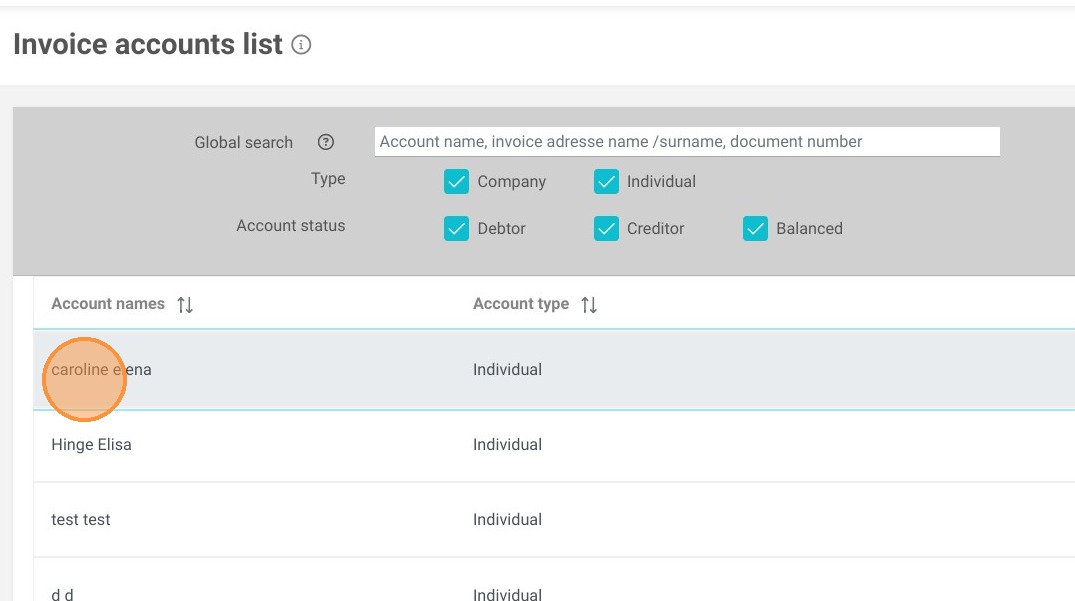
4. Click on your desired Billing Account
5. Click on ''Account statement'' at top right
6. Select the desired dates for the statement report
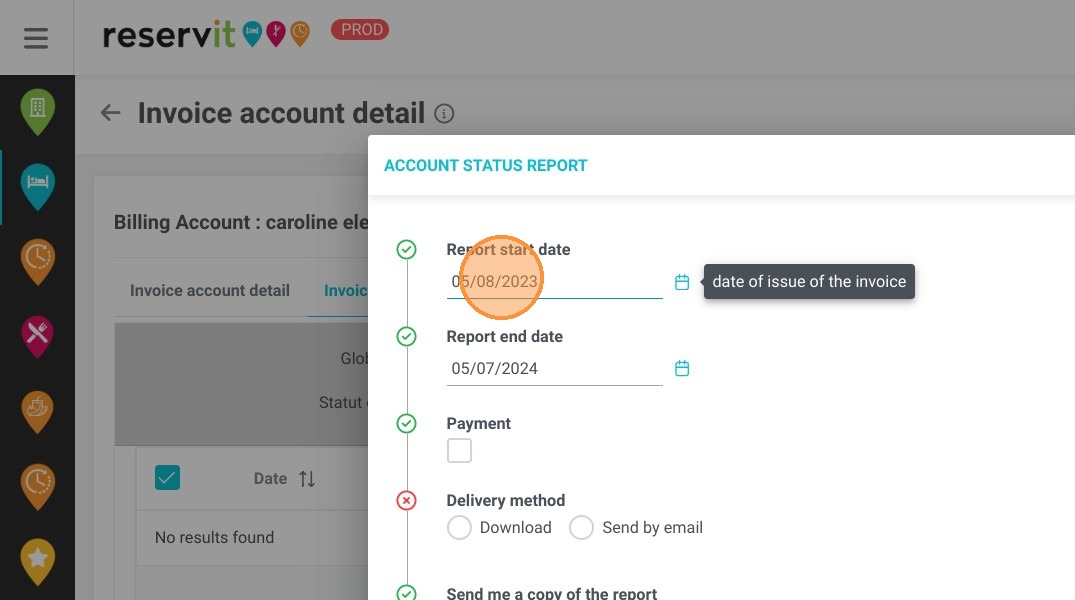
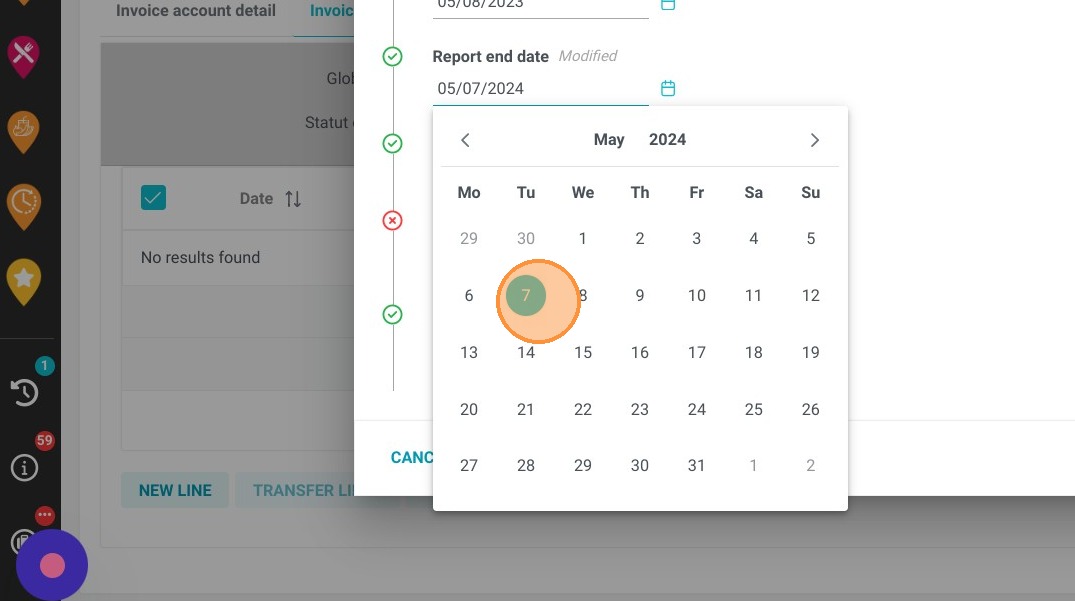
Alert: Notes :
it is not possible to insert an end date prior to the start date
dates are automatically pre-filled on a sliding year basis (the period end
end date is the current date)
Non-mandatory field: if no date is entered in the field
then all account activity since its creation will be presented
in the report.
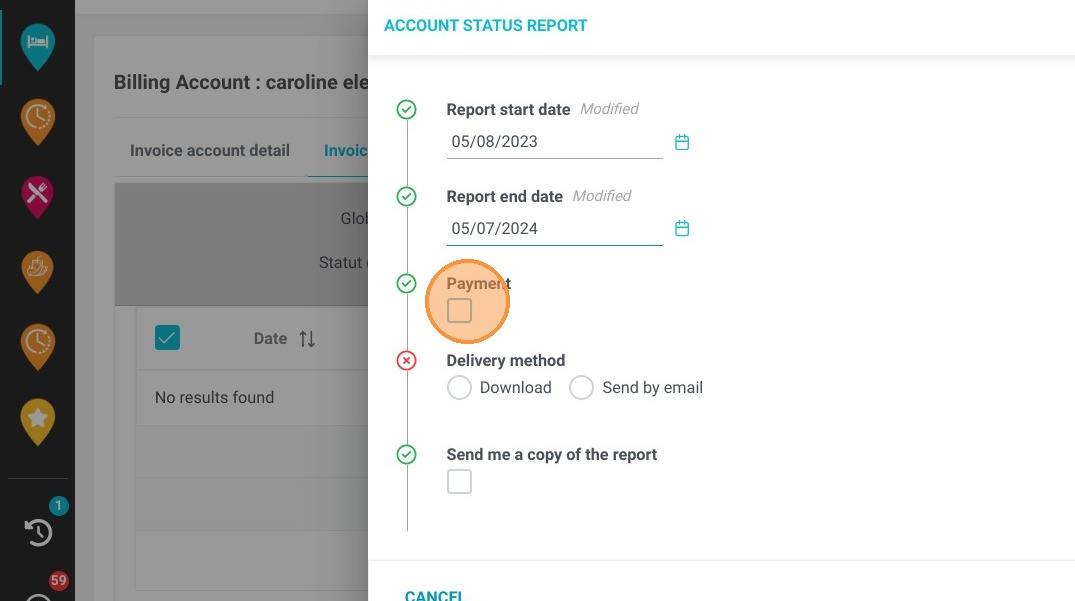
7. You can display payments on the report
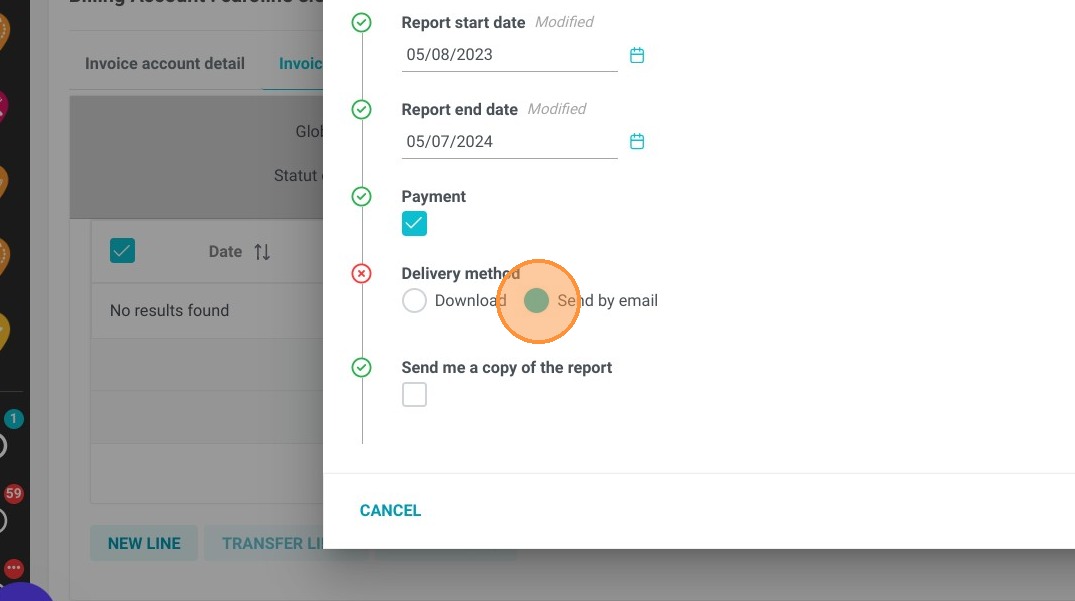
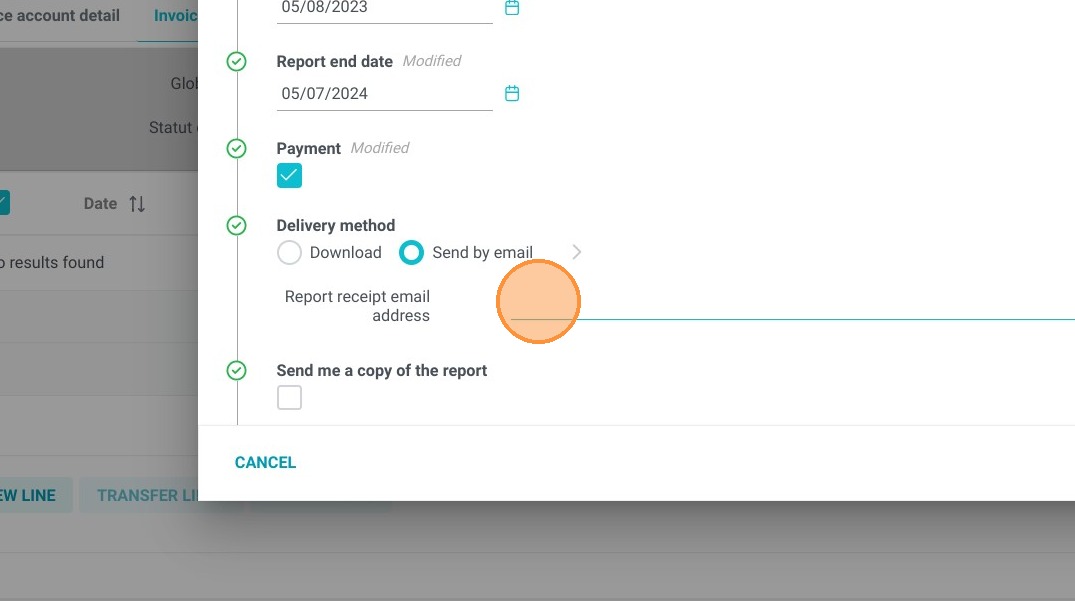
8. Click on “Send by e-mail”, then enter your e-mail address (you can enter several e-mail addresses).
9. Click on "CONFIRM"

10. Go to the e-mail address where you sent your account status report
11. Click on PDF: ''Account statement report''

12. You have your account statement report
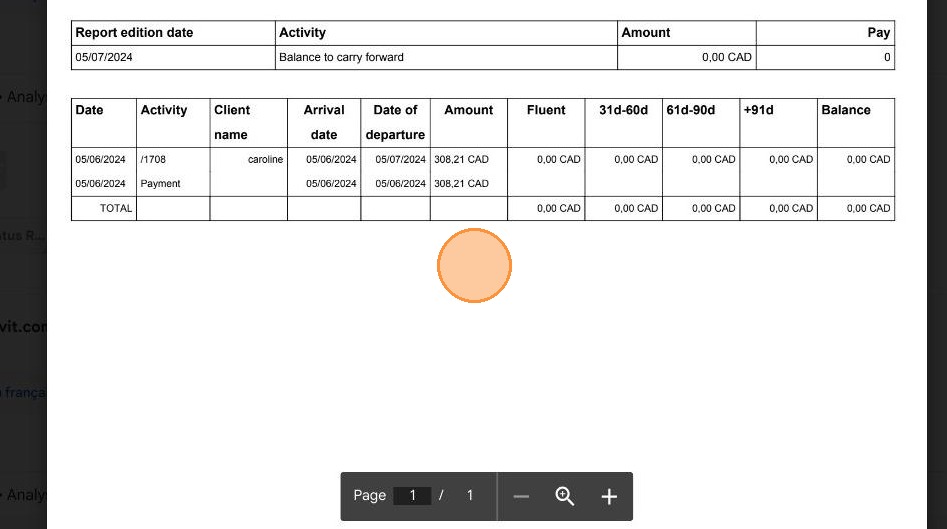
Alert: The e-mail can't be personalized, it's set up as a basic e-mail.
a. Subject: Account status report + Company name
b. Body: “Please find enclosed the account statement report for the period
from X to X.”
c. Attachment: PDF file Statement of account report