Article Summary: This comprehensive guide provides step-by-step instructions on how to access and configure the Payments Report within the Reservit PMS. You will learn how to filter your transaction data by specific time periods, payment methods, and dates to generate a detailed financial summary. Mastering this reporting feature ensures accurate revenue tracking and streamlines your property's daily accounting and reconciliation processes.
The 5 key steps to generate your payments report:
-
Access the Reporting Module: Navigate to the "Statistics" menu, select "Billing," and click on "Payment report" to open your financial dashboard.
-
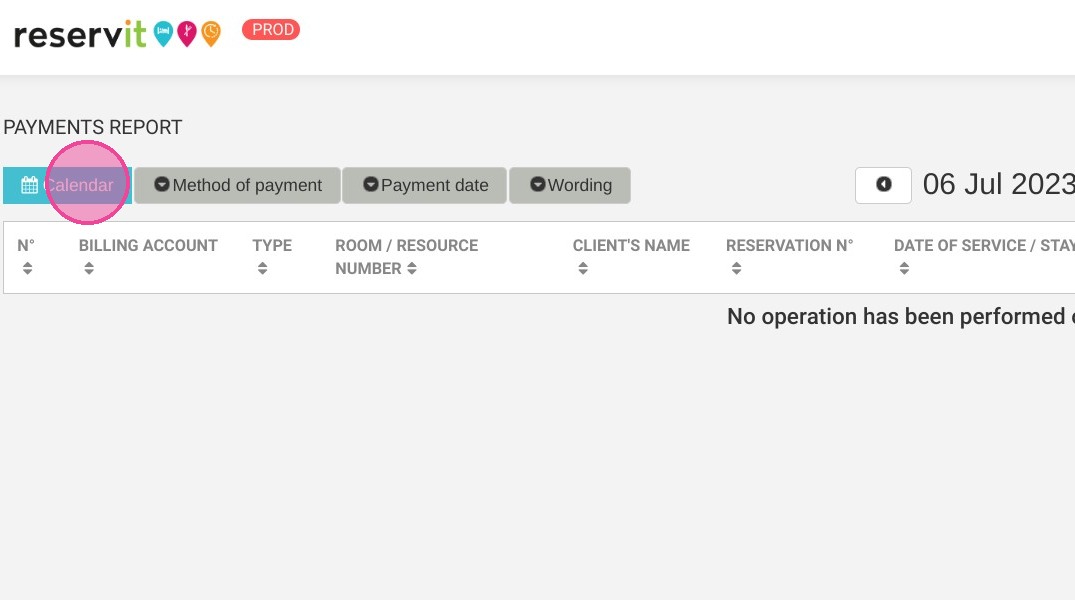
Define the Time Period: Use the "Calendar" tool to specify the exact date range you need to analyze.
-
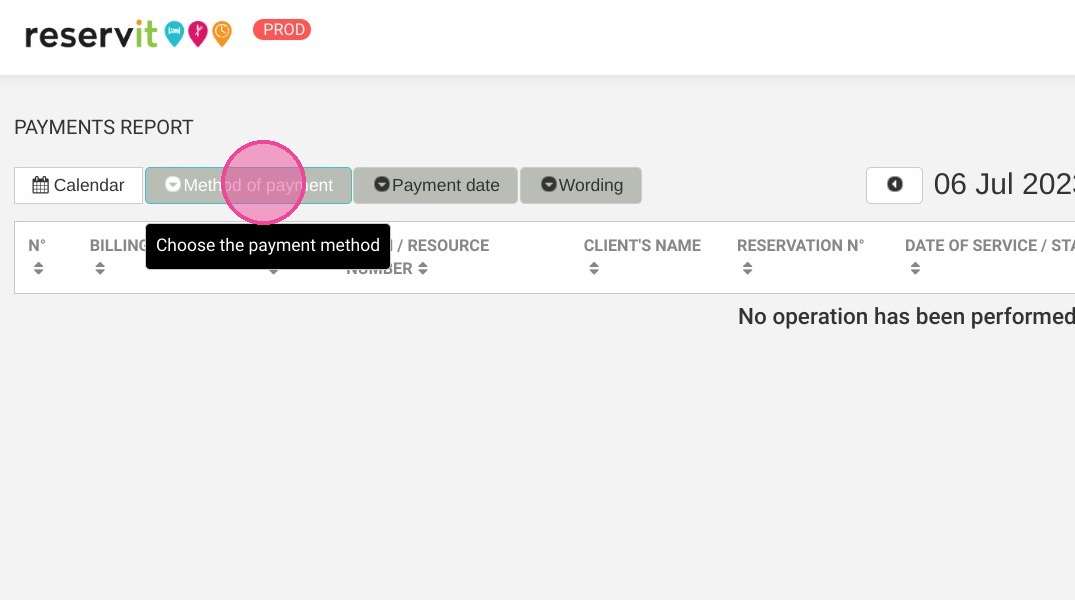
Apply Custom Filters: Narrow down your transaction data by selecting specific payment methods, payment dates, or custom wordings.
-
Review Terminal History: Access the detailed "Payment Terminal History" to view specific transaction records and your generated summary table.
-
Export and Print Data: Utilize the built-in action buttons to easily print the document or export the comprehensive report into a file for your external bookkeeping.
Why follow this guide? Following this tutorial allows you to effortlessly track and reconcile your property's revenue without manual data sorting. It optimizes your financial reporting workflows, preventing accounting errors and saving your staff valuable time during daily shift closures and financial audits.
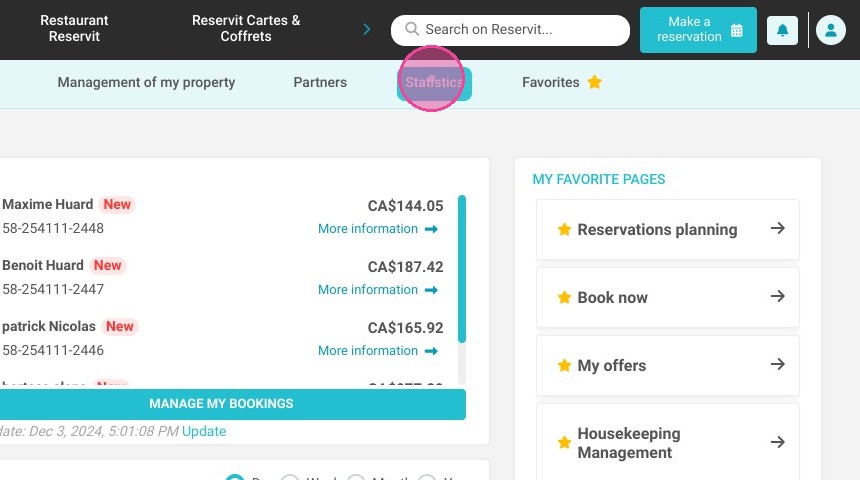
1. Click "Statistics"
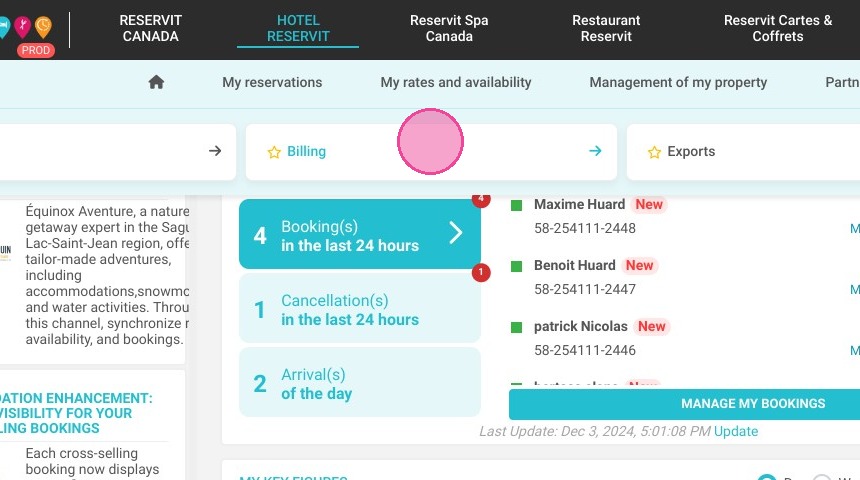
2. Then ''Billing''
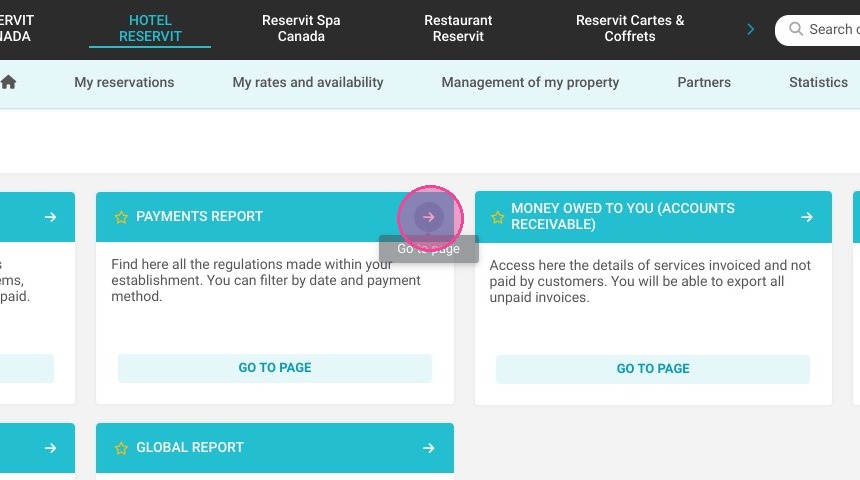
3. and ''Payment report''
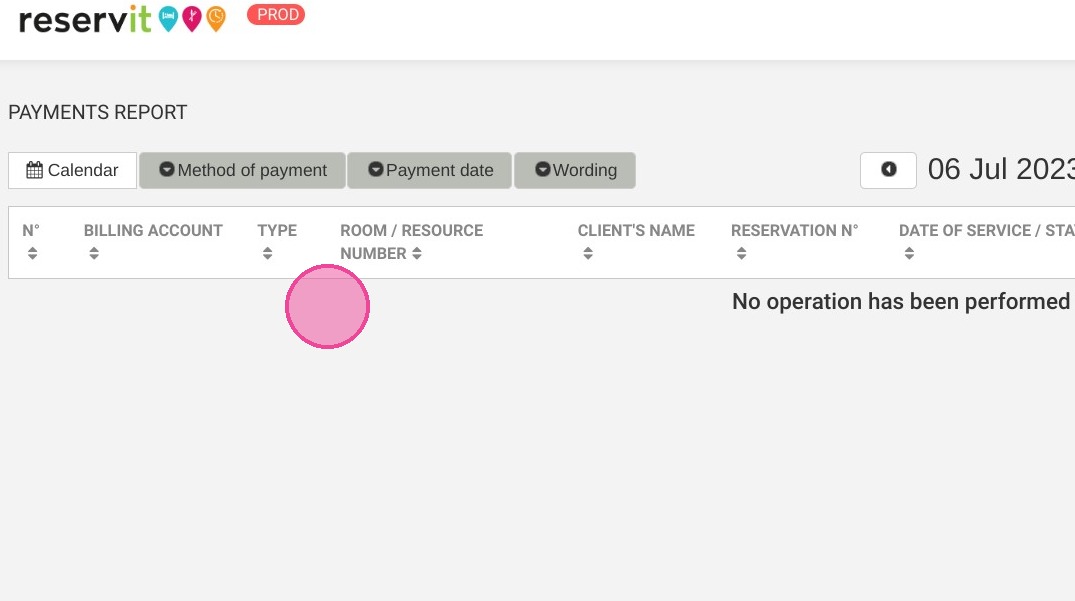
4. In the "Calendar" you can choose you period of time
5. You can select the "Method of payment"
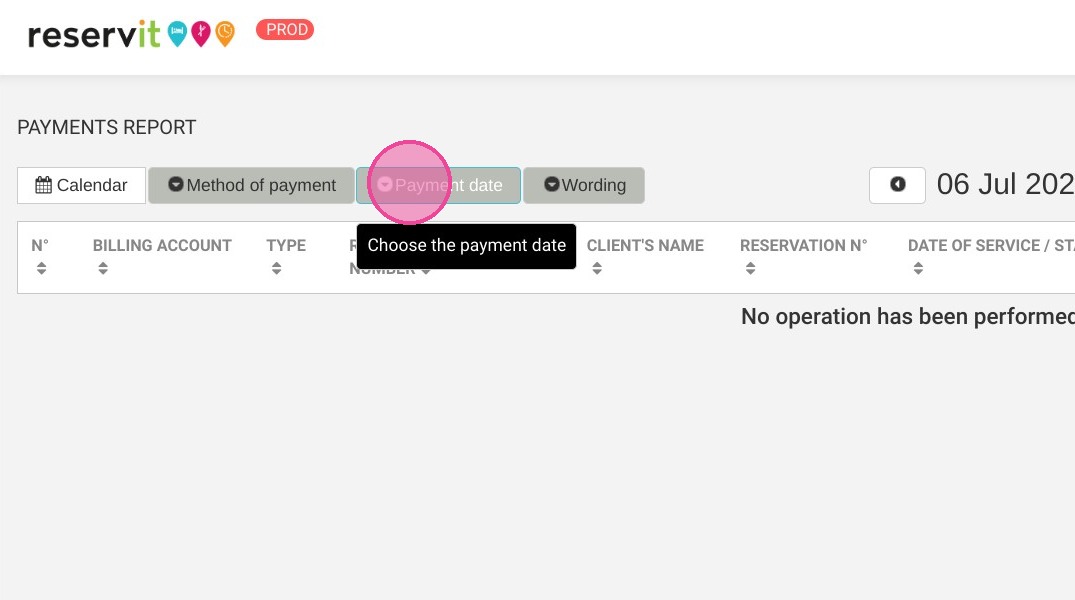
6. You can select the "Payment date"
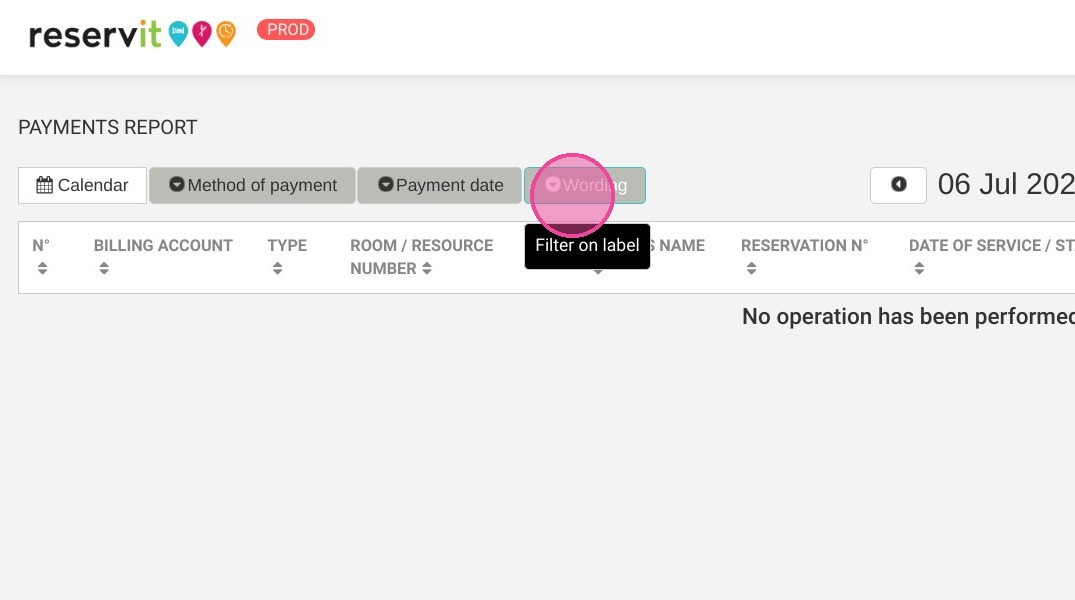
7. You can select the "Wording"
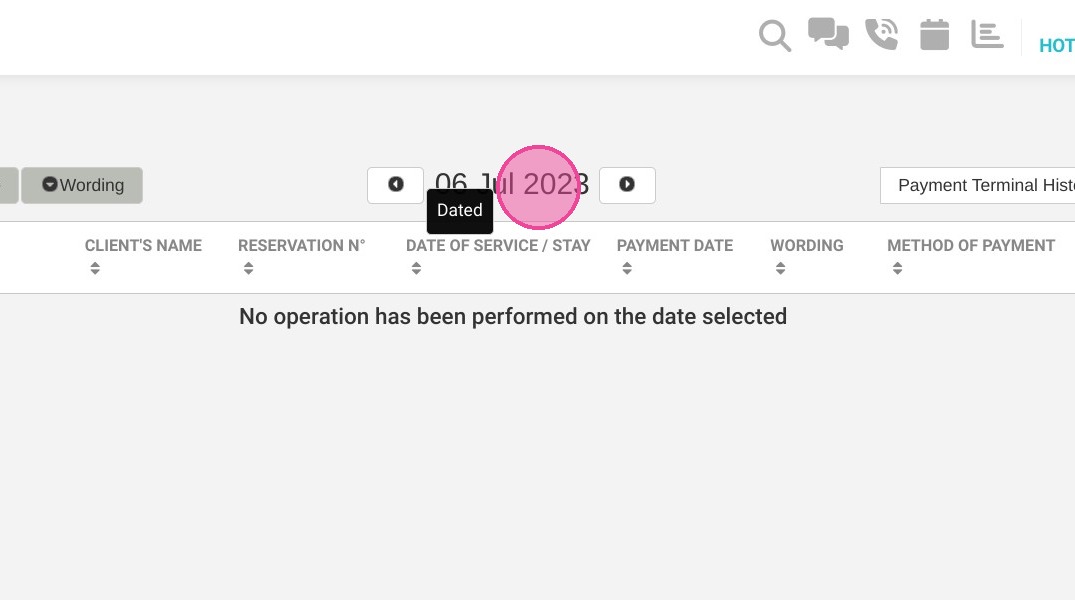
8. Here is the date that you can select
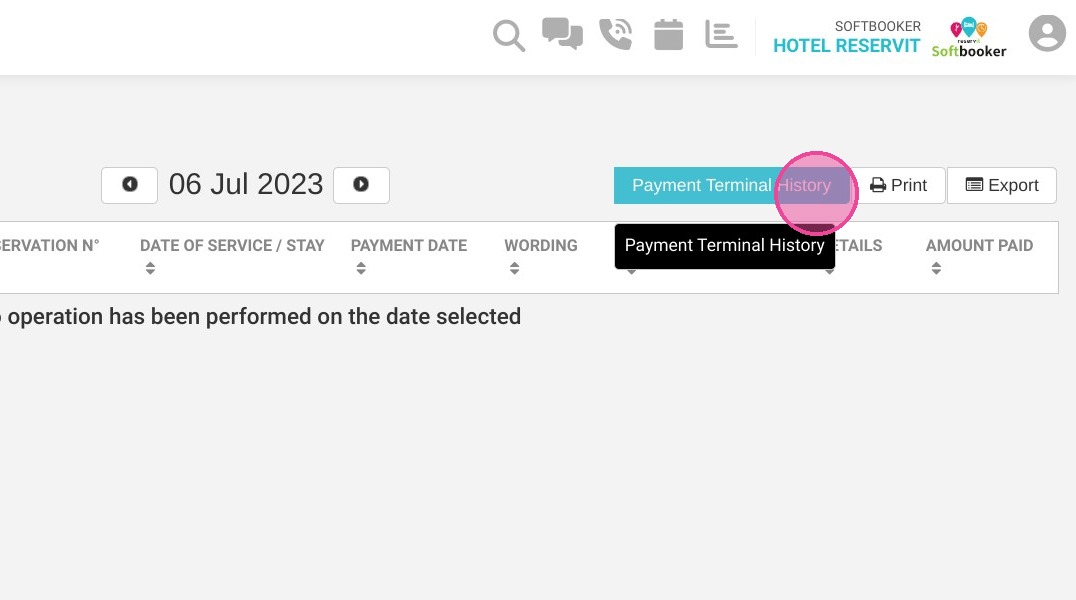
9. Here you have the "Payment Terminal History"
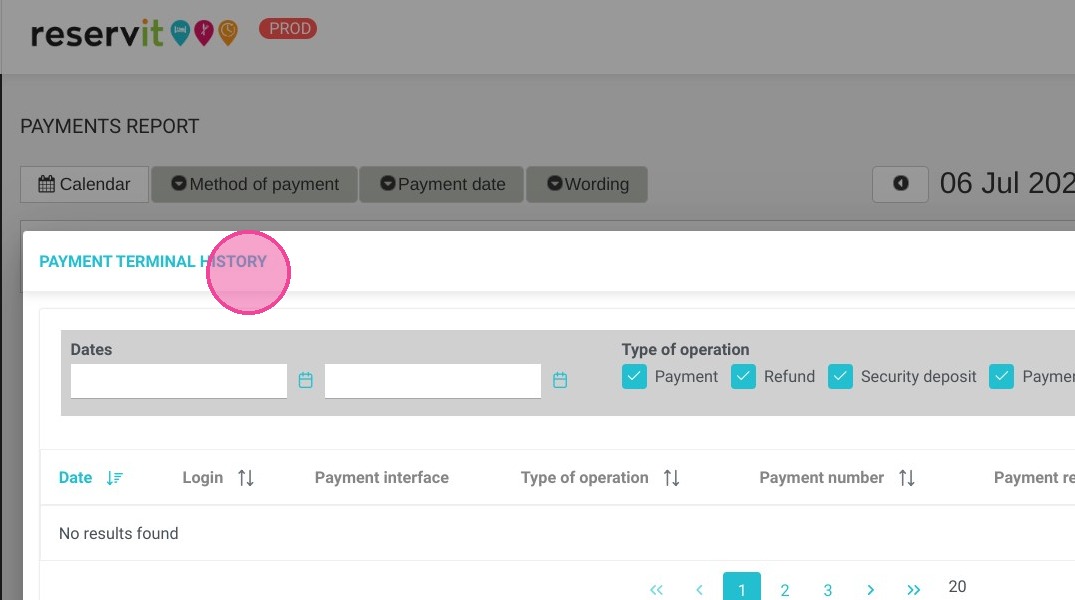
10. Here you have the details of the "Payment Terminal History"
11. "Print"
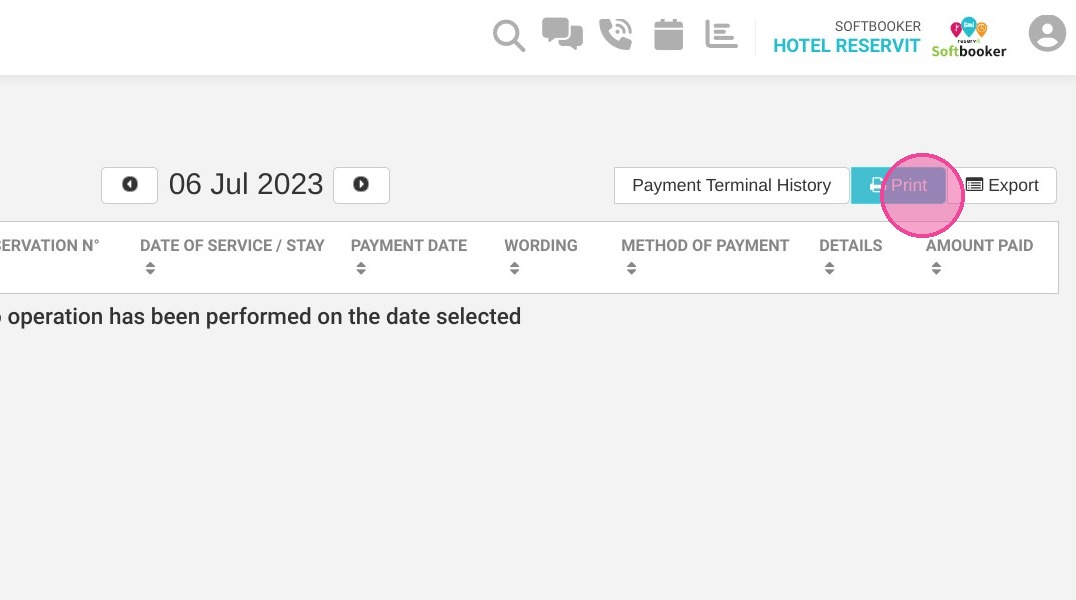
12. You can "Export" it into a file
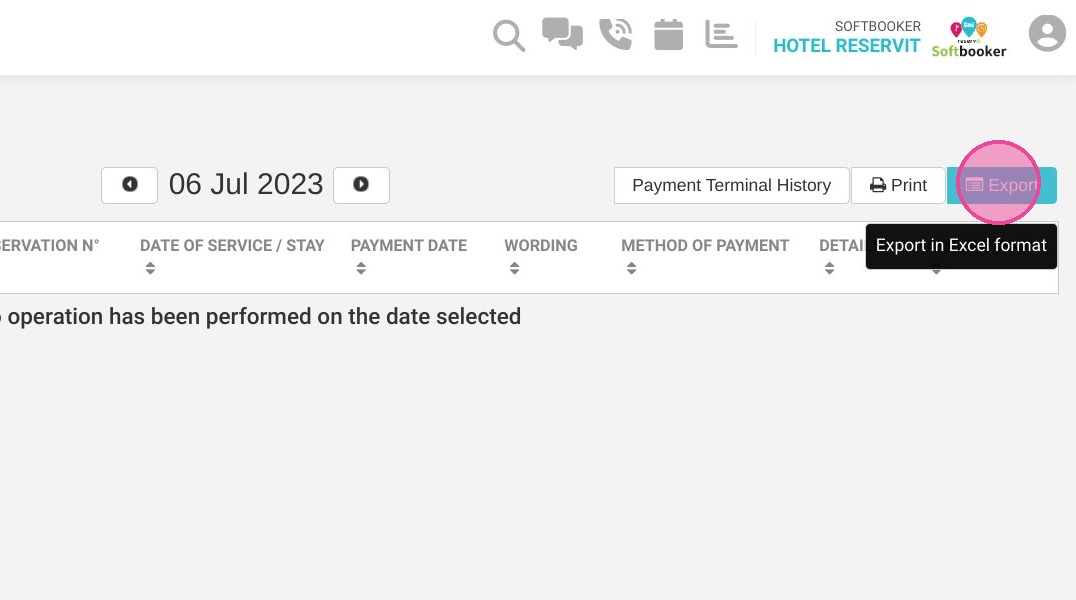
13. Here is the summary table of payment information