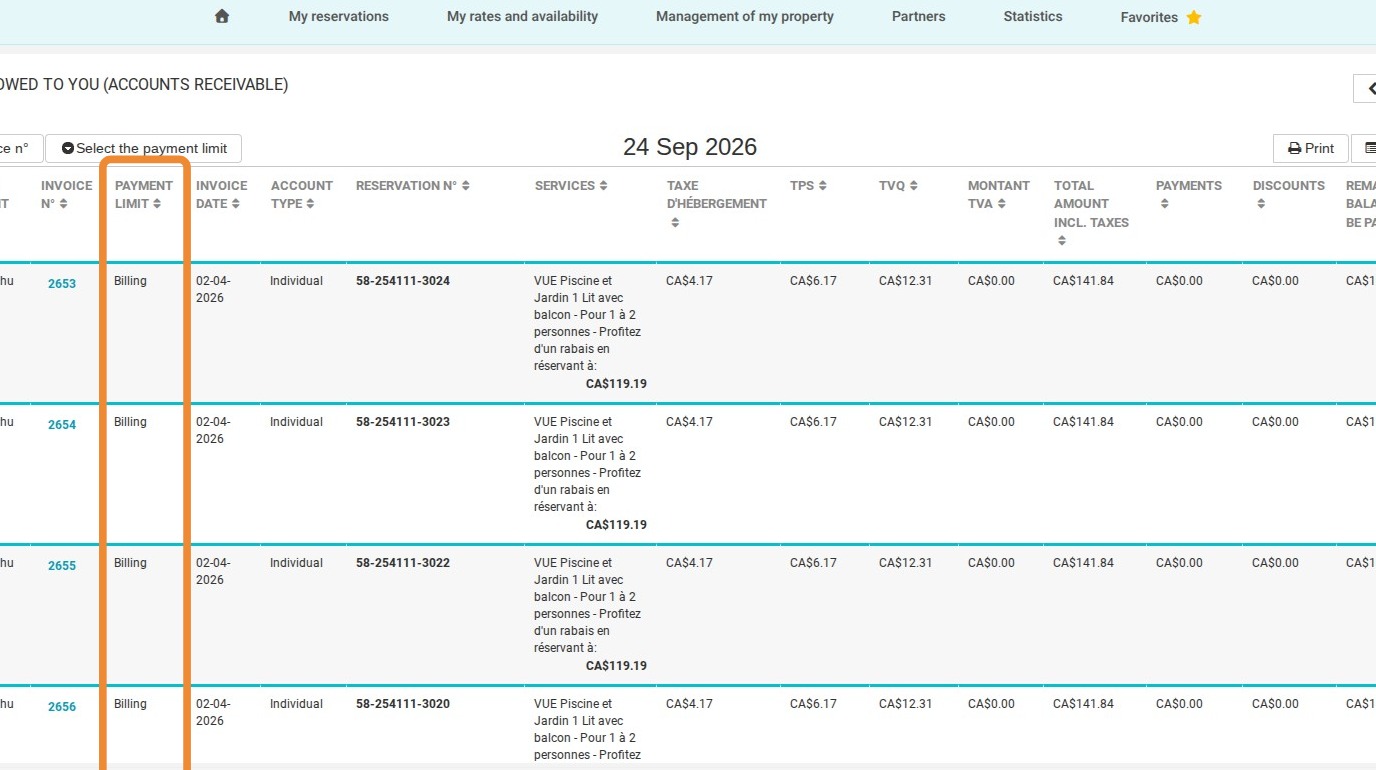

Article Summary: Learn how to easily set up default payment terms and conditions directly on your clients' billing accounts in Reservit Invoicing. This tutorial guides you through automating your invoice due date calculations by selecting standardized options like Net 30, Net 45, or End of Month. By proactively configuring these billing deadlines, you will streamline your invoicing workflow, ensure tax compliance, and accurately optimize your accounts receivable tracking.
The 4 key steps to set up default payment terms:
-
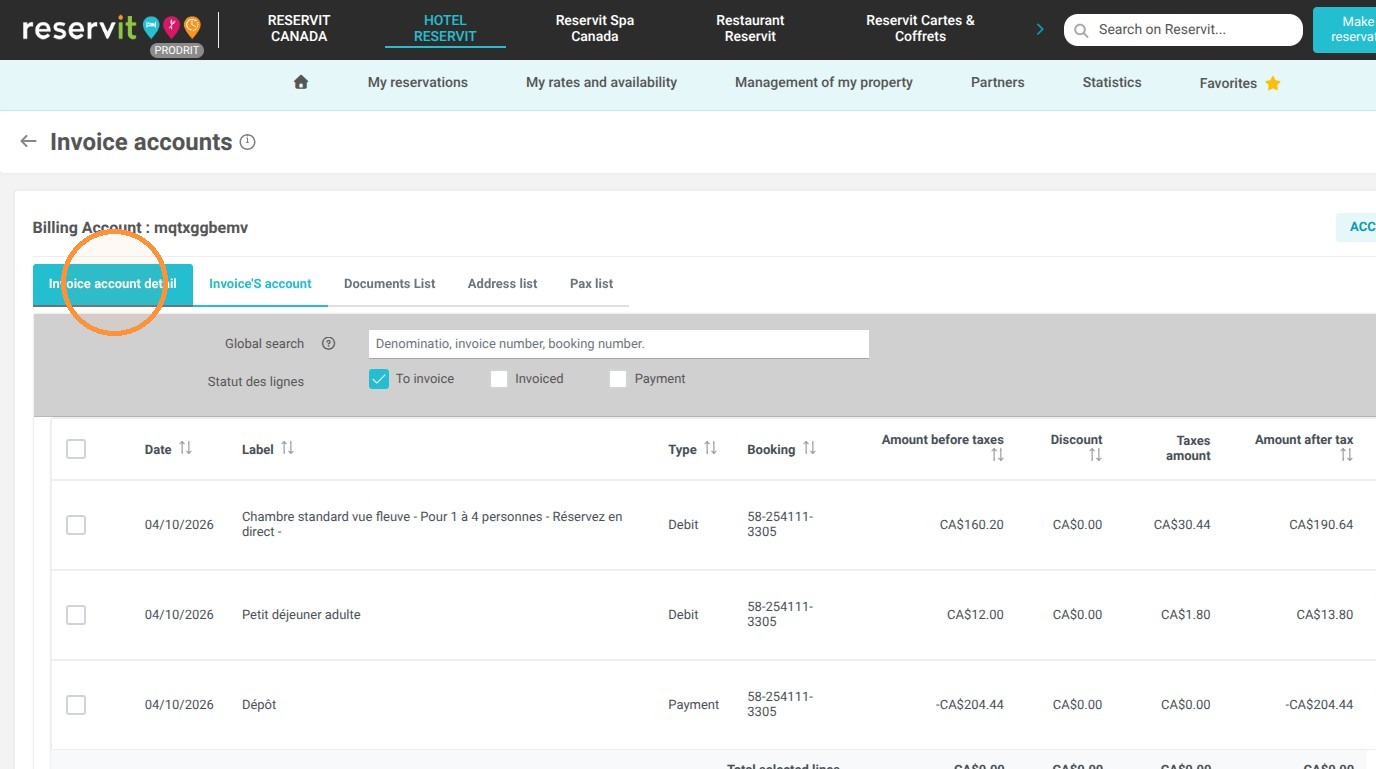
Access the client account: Click on "Invoice account detail" to open the specific billing profile of your client.
-
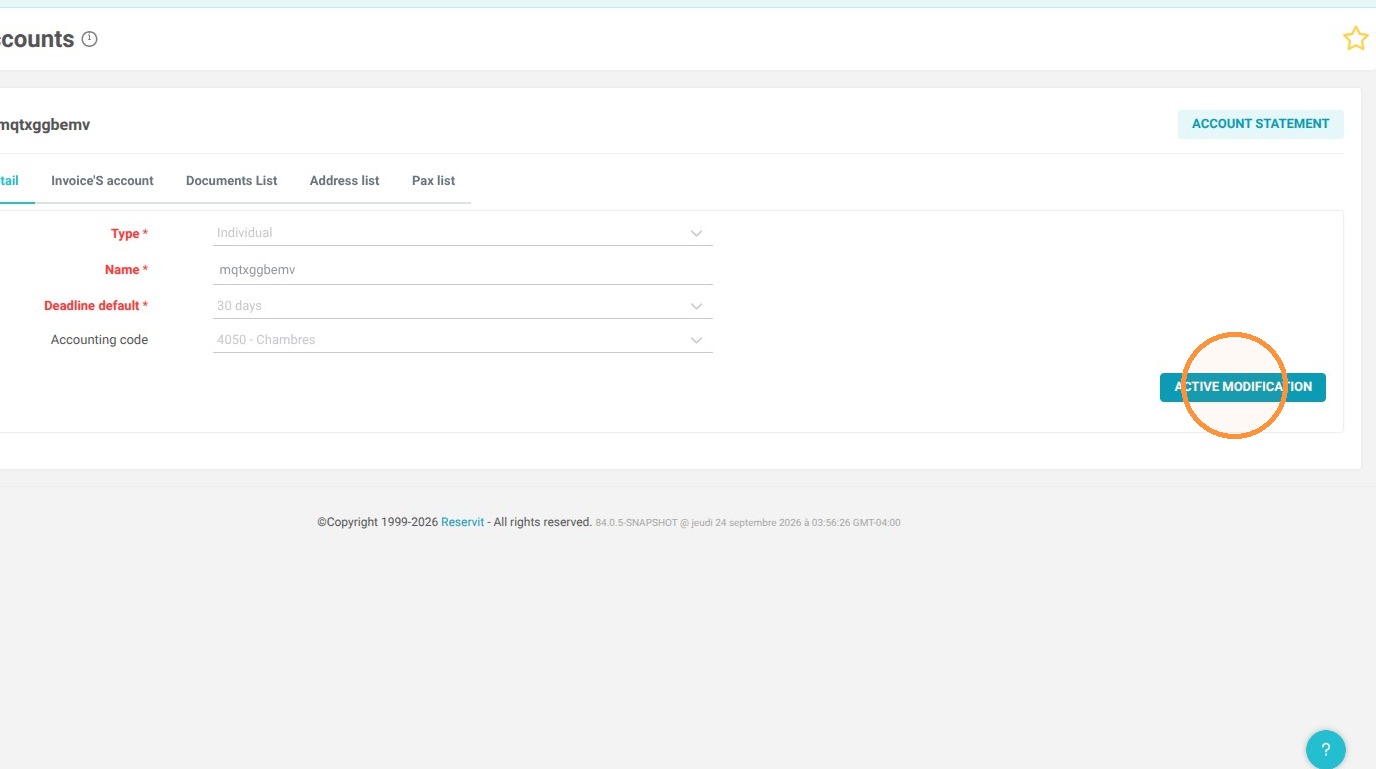
Enable editing mode: Click on "Active modification" to unlock the configuration settings and allow changes to the grayed-out fields.
-
Select the payment term: Choose your preferred deadline option (e.g., Upon Invoicing, Net 30, 45 Days End of Month) from the dropdown menu to automate due date calculations based on the invoice issue date.
-
Save your configuration: Click "Save" to apply the changes so that all future invoices automatically reflect the correct deadline and sync perfectly with your Accounts Receivable tracking.
Why follow this guide? Configuring default payment terms eliminates the need to manually calculate invoice deadlines, significantly saving you time and reducing the risk of administrative billing errors. This proactive automation ensures your financial tracking remains perfectly accurate while maintaining strict compliance with tax regulations regarding invoice issuance dates.
To ensure compliance with tax regulations, an invoice's issue date cannot be changed in Reservit. However, you can easily offer payment terms to your clients.
In this tutorial, learn how to set up default payment terms (Net 30, Net 45, End of Month...) directly from the billing account.
1. Click "Invoice account detail"
2. Click "Active modification"
3. The grayed-out fields can now be modified. Select the default payment term.
This field is used to automatically calculate the due date (the required deadline by which the client must pay) on every invoice generated for this client account.
Instead of manually calculating the deadline each time, the software takes the invoice date and applies the term selected from this dropdown menu.
Here is what each option means, using a concrete example for an invoice issued on January 10:
-
Upon Invoicing (or Due on Receipt): No grace period granted. The client must pay immediately.
-
Due date = January 10.
-
-
Net 30: The client has 30 calendar days to pay.
-
Due date = February 9.
-
-
Net 45: The client has 45 calendar days to pay.
-
Due date = February 24.
-
-
30 Days End of Month (Net 30 EOM): The deadline is first moved to the last day of the month in which the invoice is issued, then 30 days are added.
-
Due date = March 2 (January 31 + 30 days; March 1 in a leap year).
-
-
45 Days End of Month (Net 45 EOM): The deadline is first moved to the last day of the month in which the invoice is issued, then 45 days are added.
-
Due date = March 17 (January 31 + 45 days; March 16 in a leap year).
-
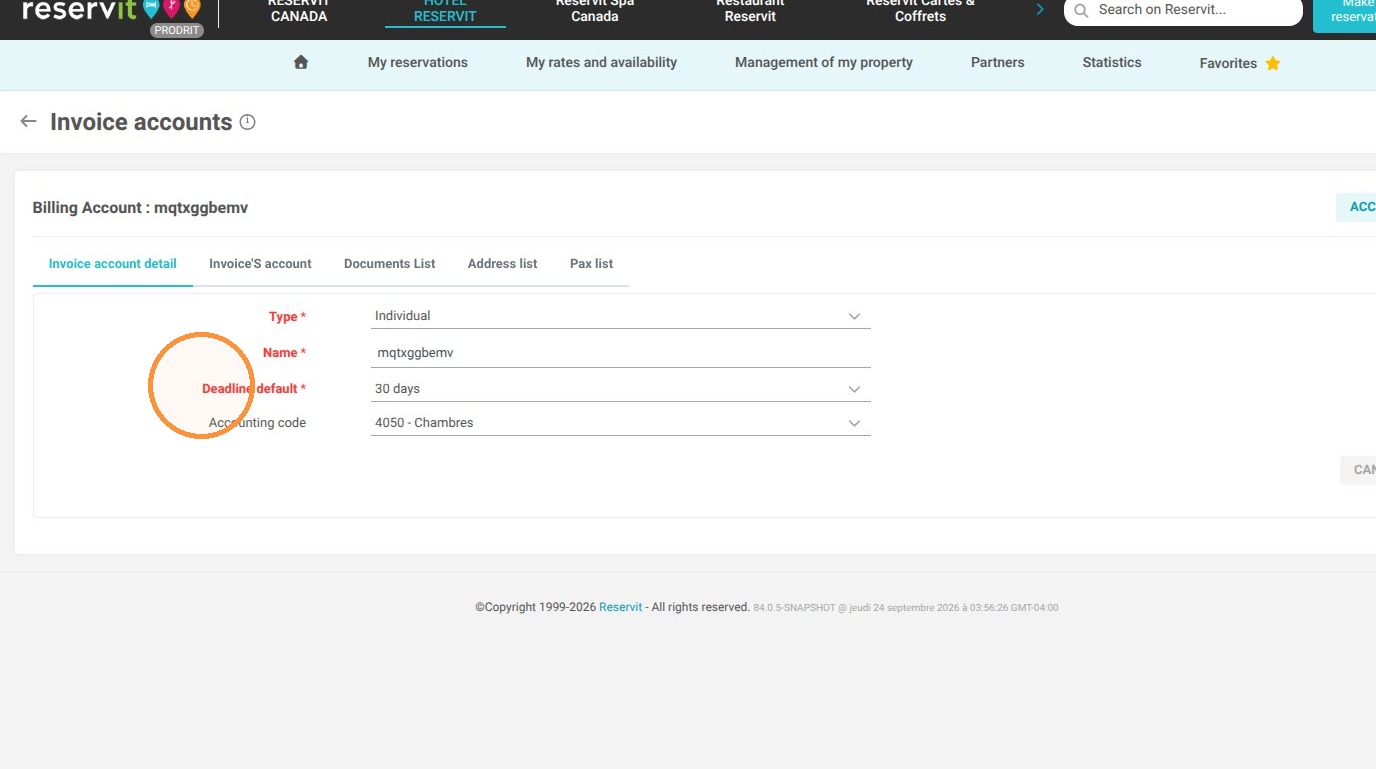
4. Click "Save" to apply the changes.
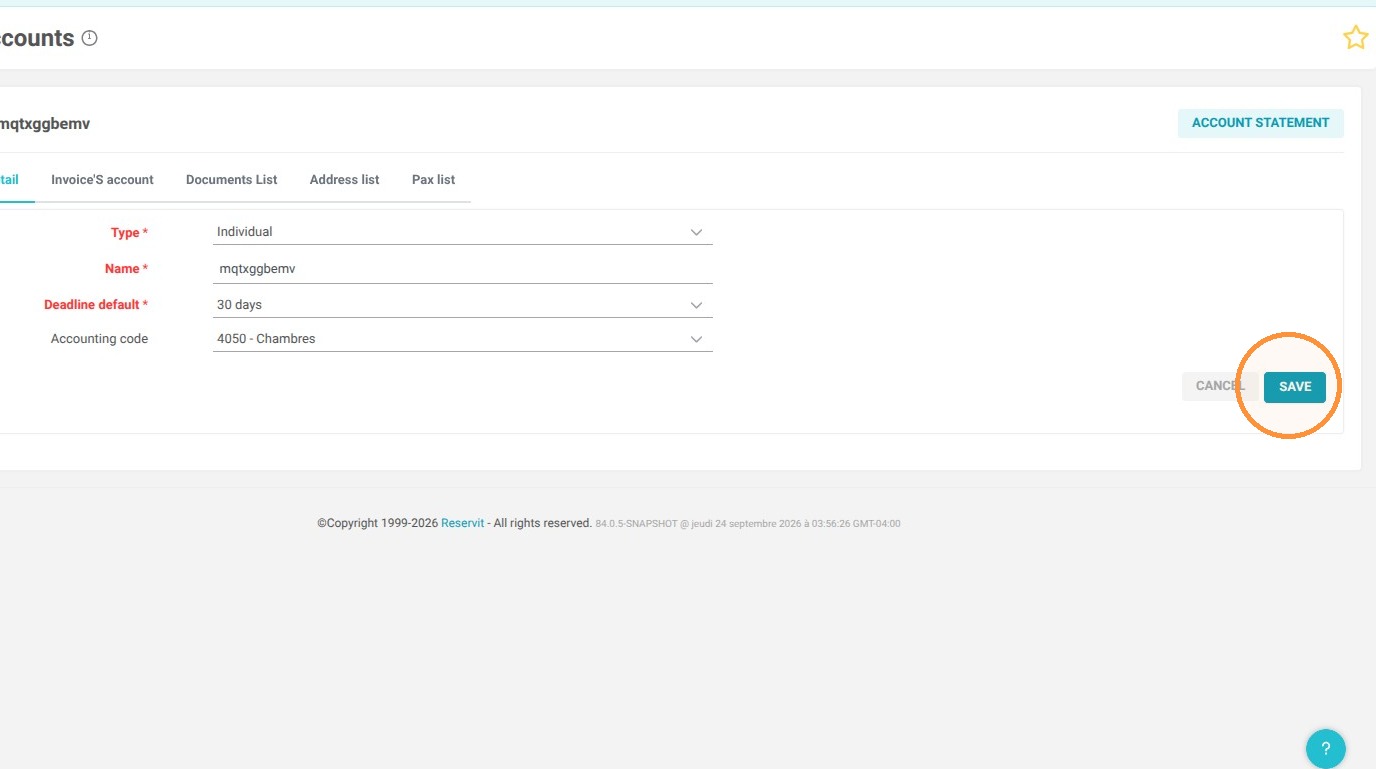
5. Going forward, whenever an invoice is issued, the due date will be applied automatically according to your chosen settings. This date will also carry over into your Accounts Receivable tracking.