

Article Summary: Find out how to structure the export of your financial data directly from Reservit PMS. This detailed tutorial guides you through saving your accounting codes and assigning them to your payment methods, room types, extras and taxes. By linking these elements correctly, you simplify the import of your entries, automate your financial reports and work smoothly with your accountant.
The 5 Key Steps to Set Up Your Accounting Export:
-
Create your accounting codes: In "Reservit PMS Setup" > "Accounting export", click "ADD" to save the codes and labels provided by your accountant.
-
Assign codes to payment methods: In the "Invoicing" tab, select an accounting code for each payment method you accept.
-
Assign codes to room types: Edit each room type and select its code in "MISCELLANEOUS COSTS AND TAXES".
-
Assign codes to extras: In "Manage extras" > "My options", open each option and select its accounting code.
-
Assign codes to taxes: Link the required accounting codes to your taxes (lodging tax, GST, QST).
Why Follow This Guide? Setting up your accounting export correctly saves you a lot of time at month-end and year-end closing by removing repetitive manual entries. It also prevents allocation errors, secures the transfer of your sales journals and makes working with your accountant easier.
Create your accounting codes
1. Before you start, get from your accountant the accounting codes for all your services (options, payment methods and taxes). Then click "Management of my property" > "Property Setup".
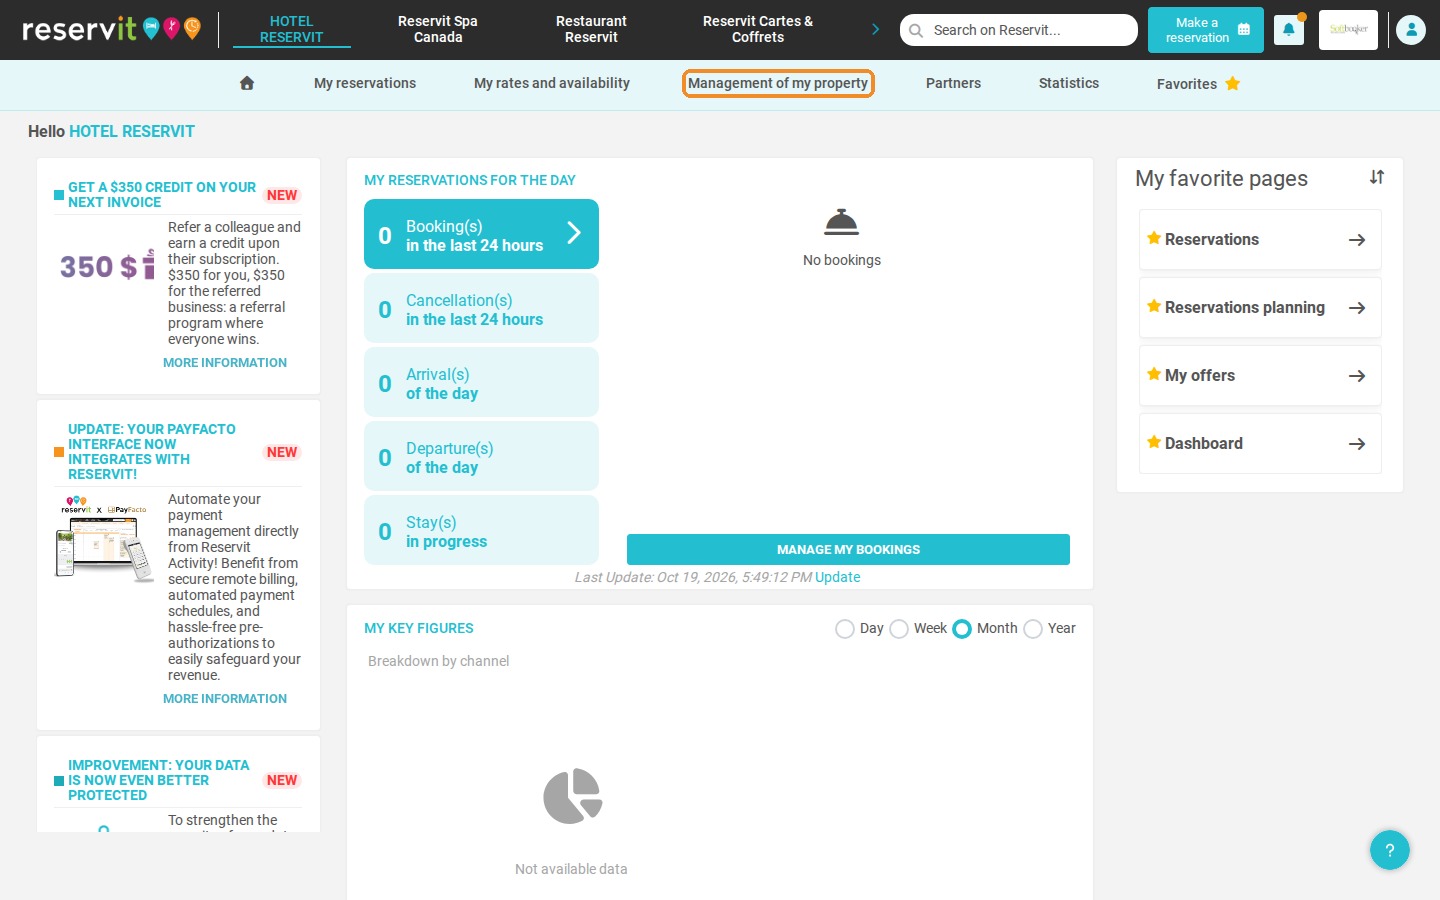
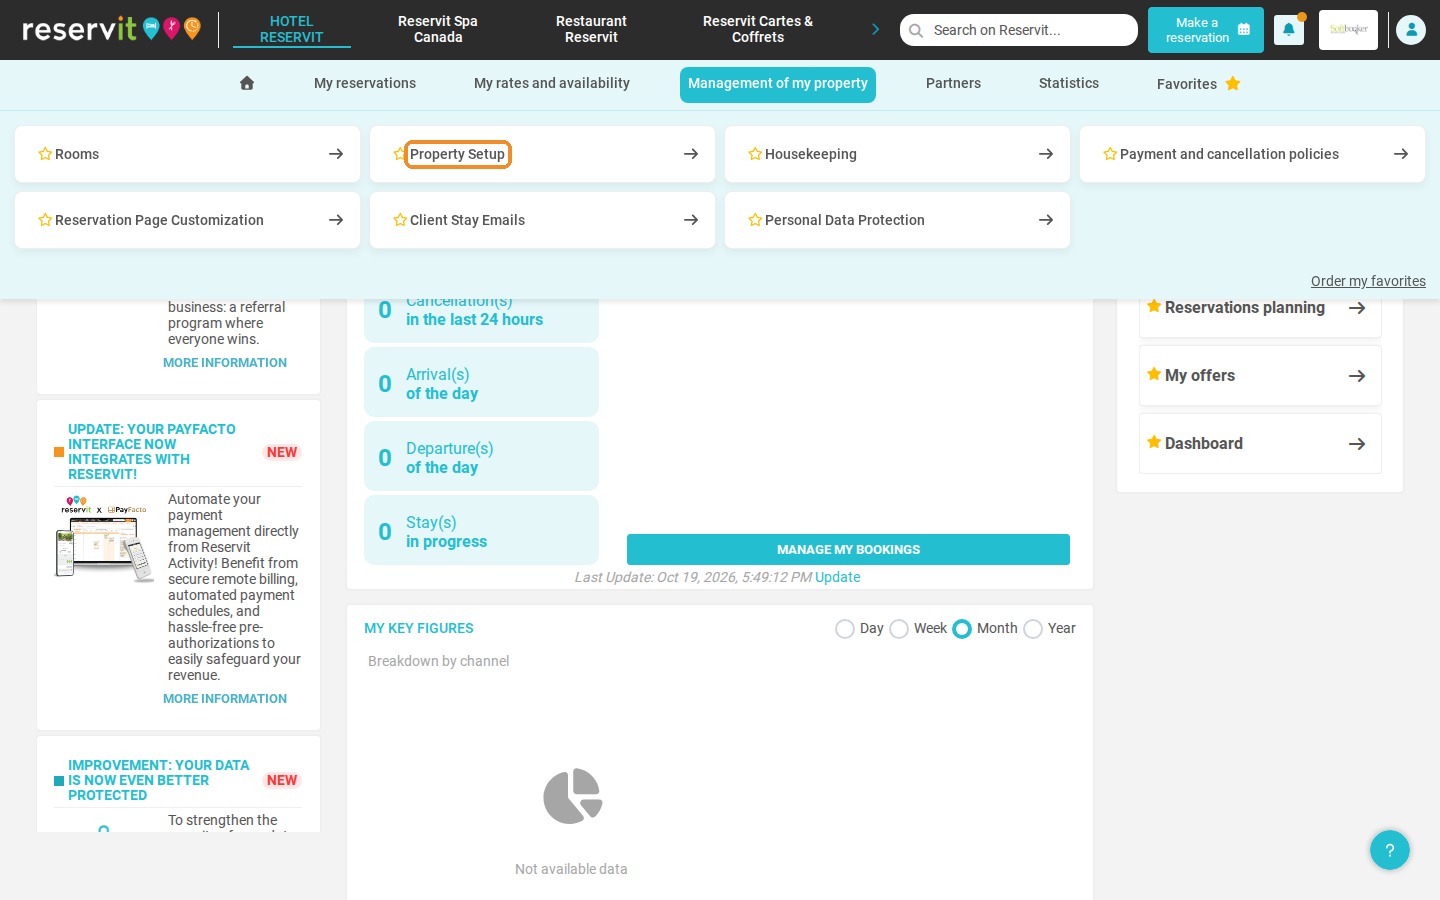
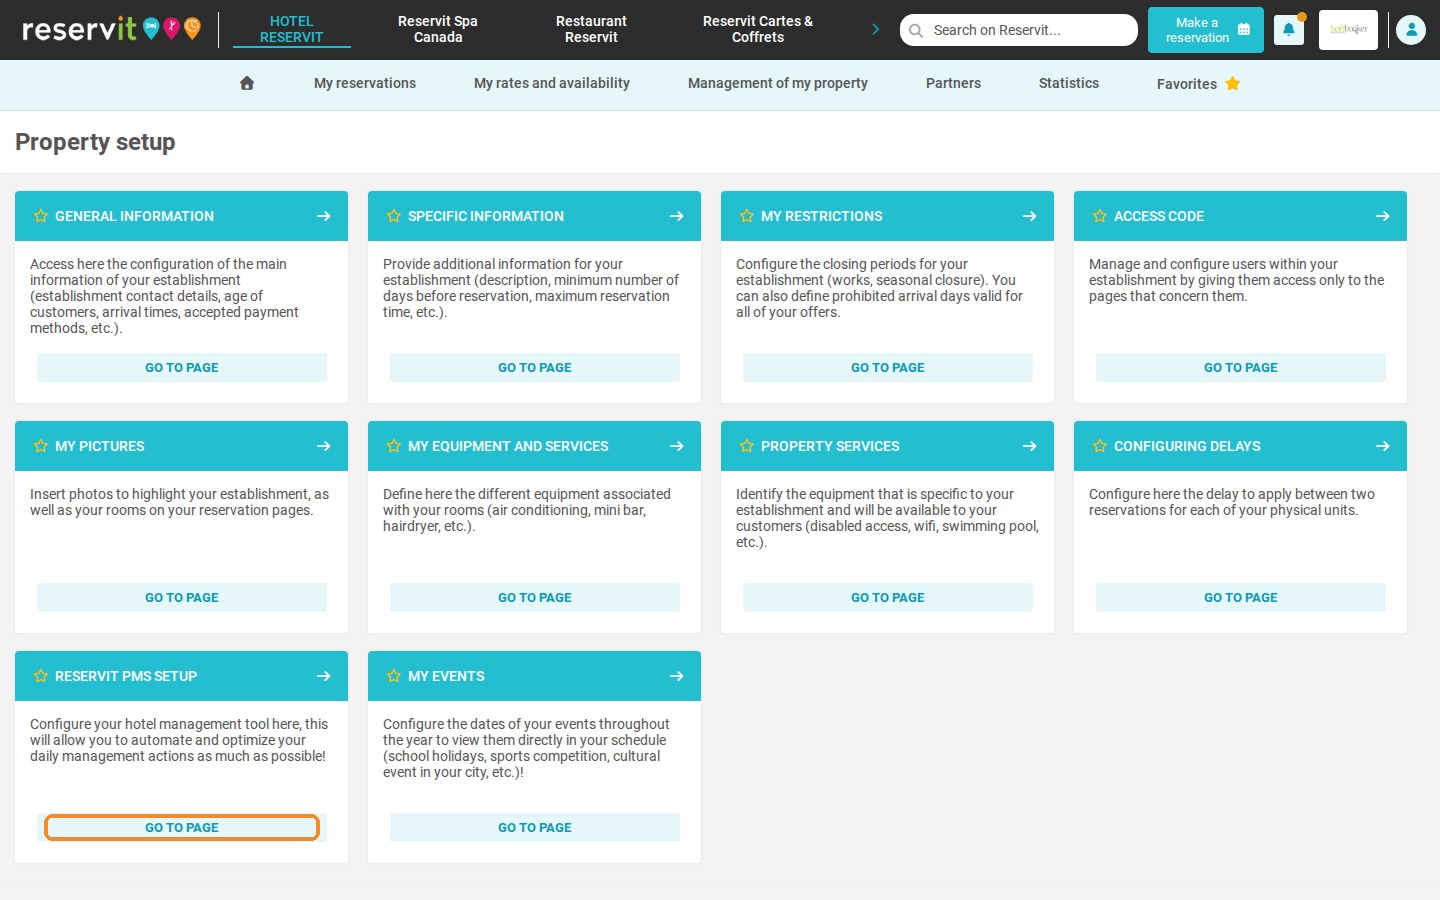
2. Click "GO TO PAGE" on the "RESERVIT PMS SETUP" tile, then open the "Accounting export" tab.
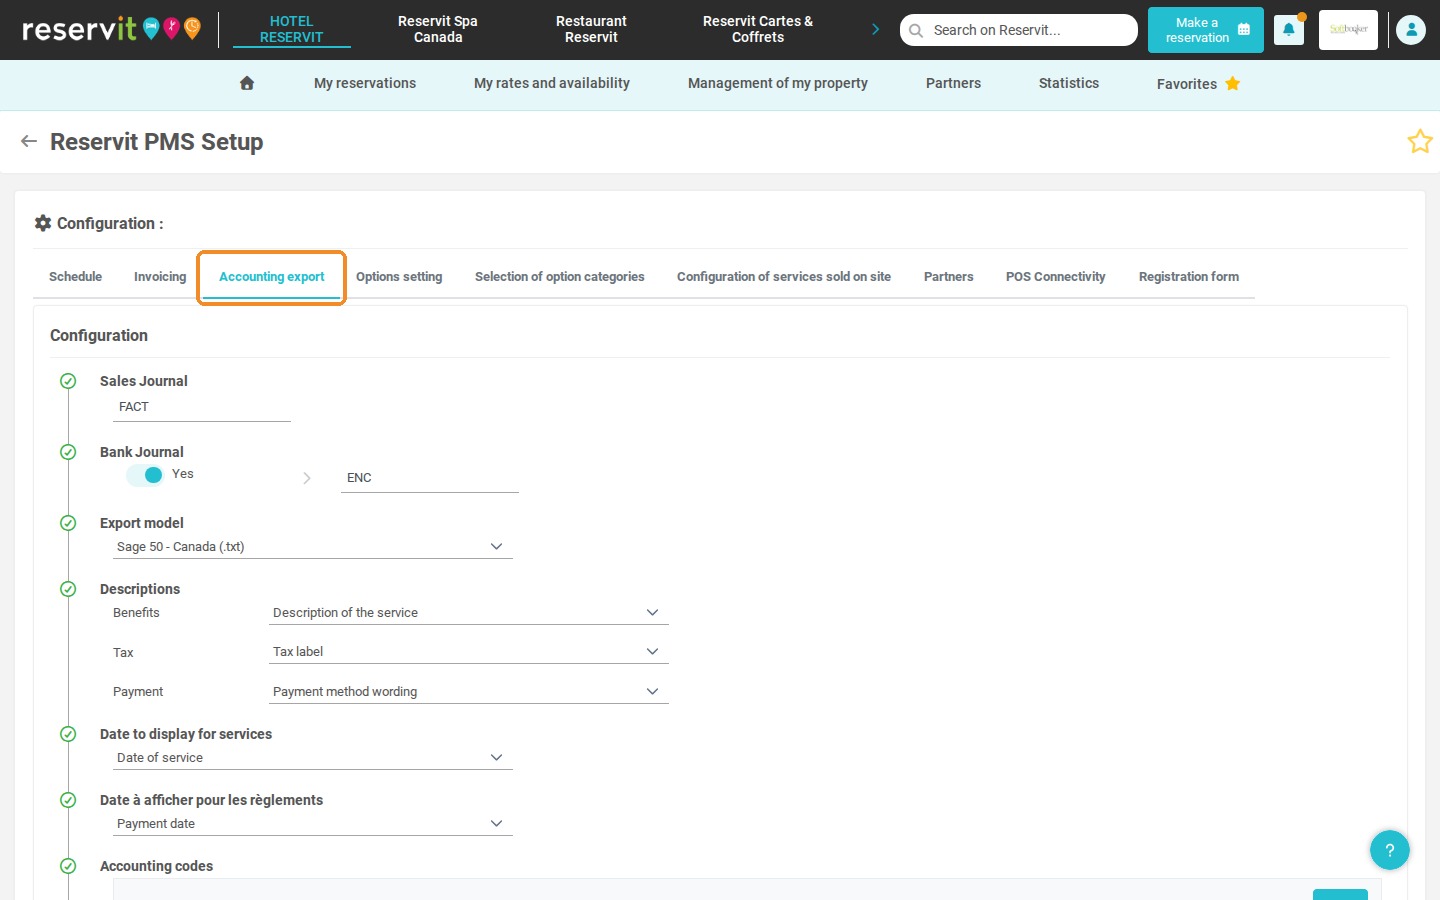
3. The "Accounting codes" list shows the codes already saved. Click "ADD" to add a code.
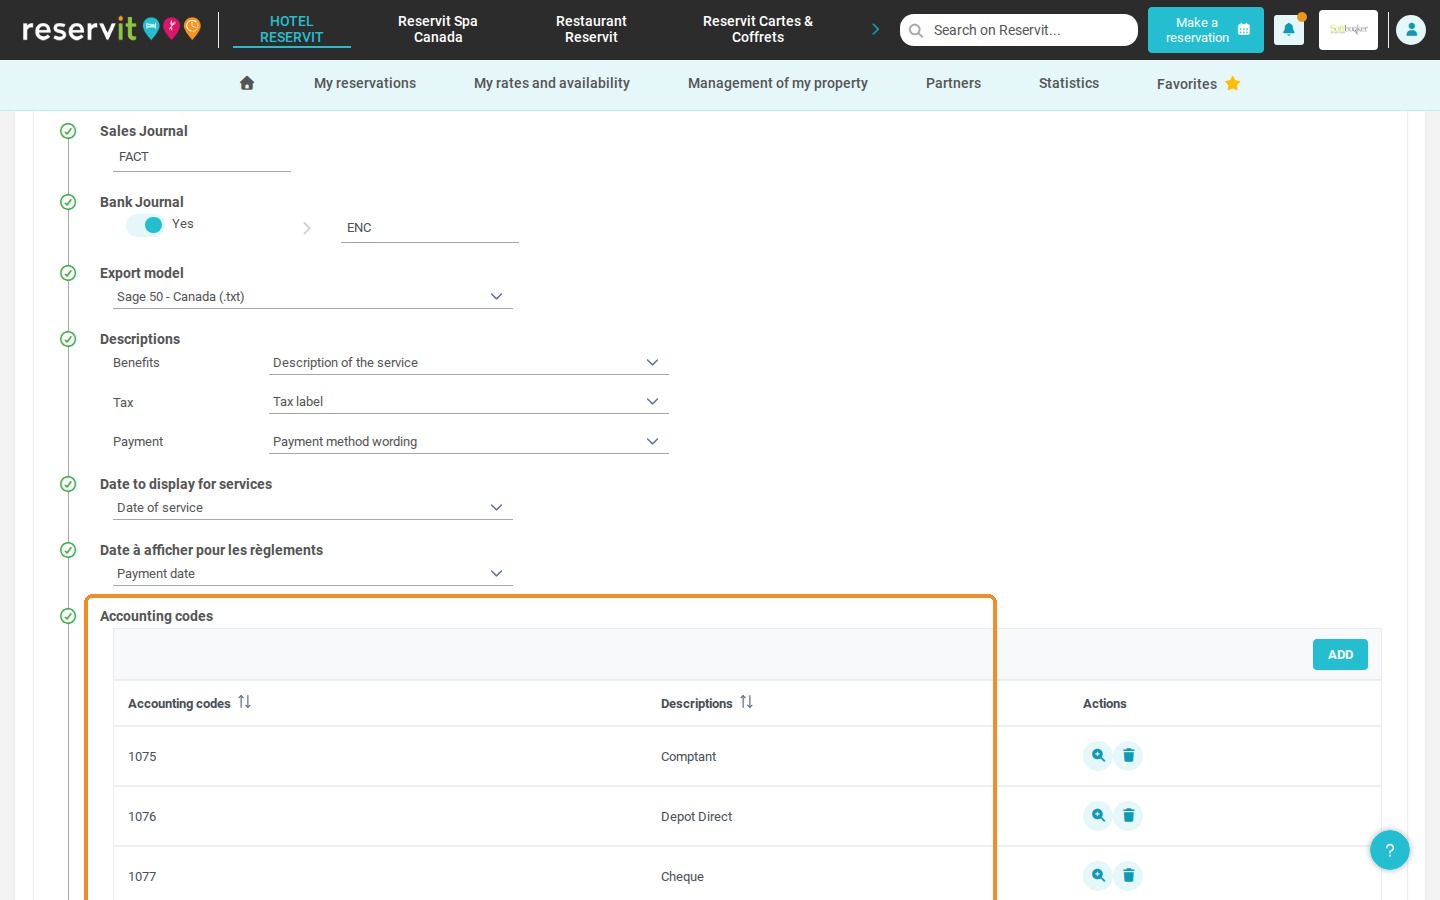
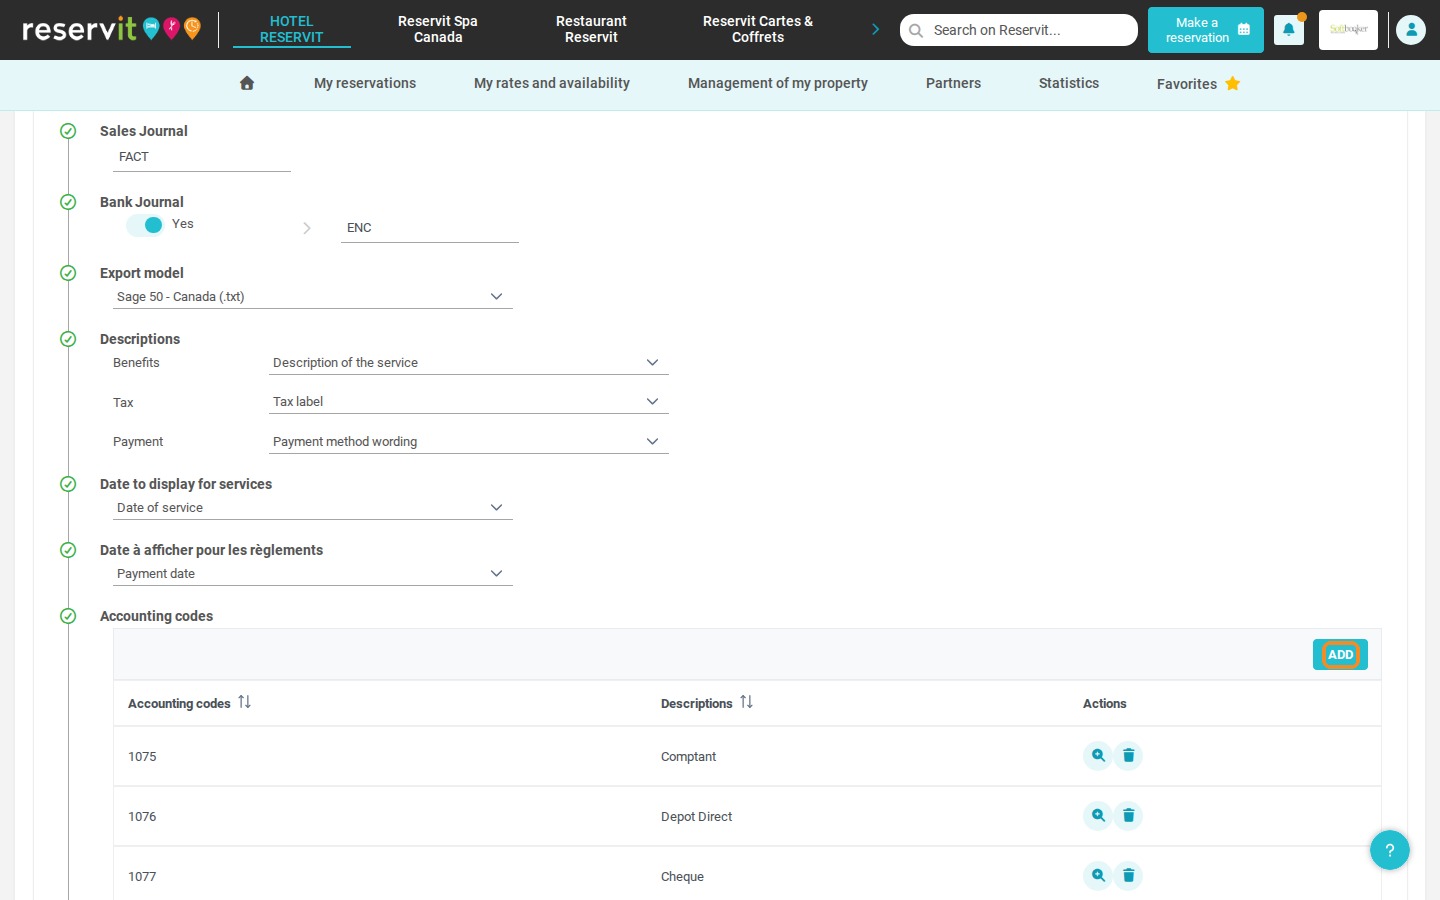
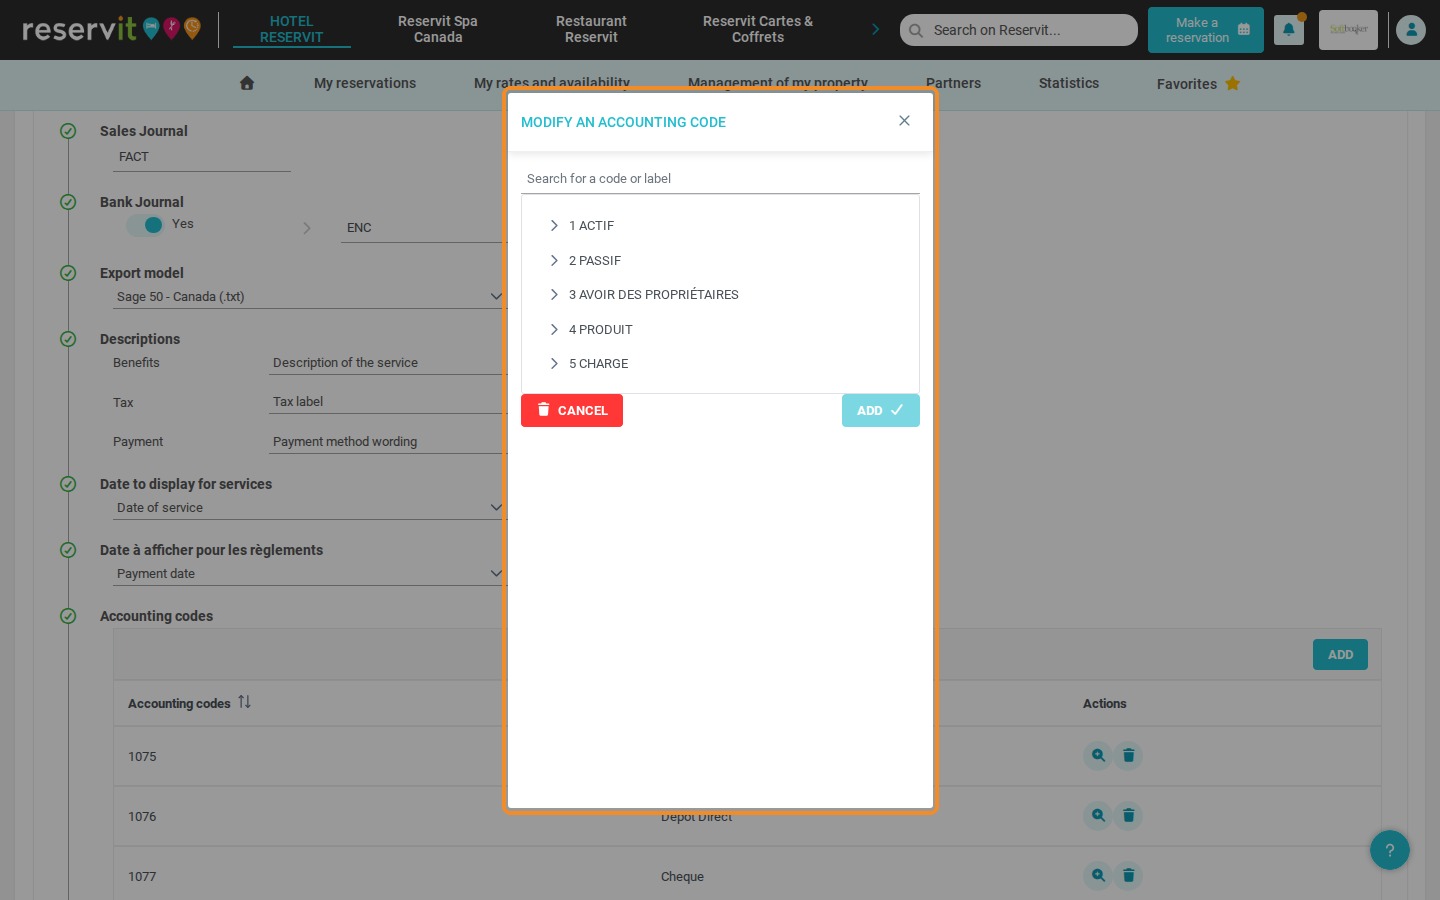
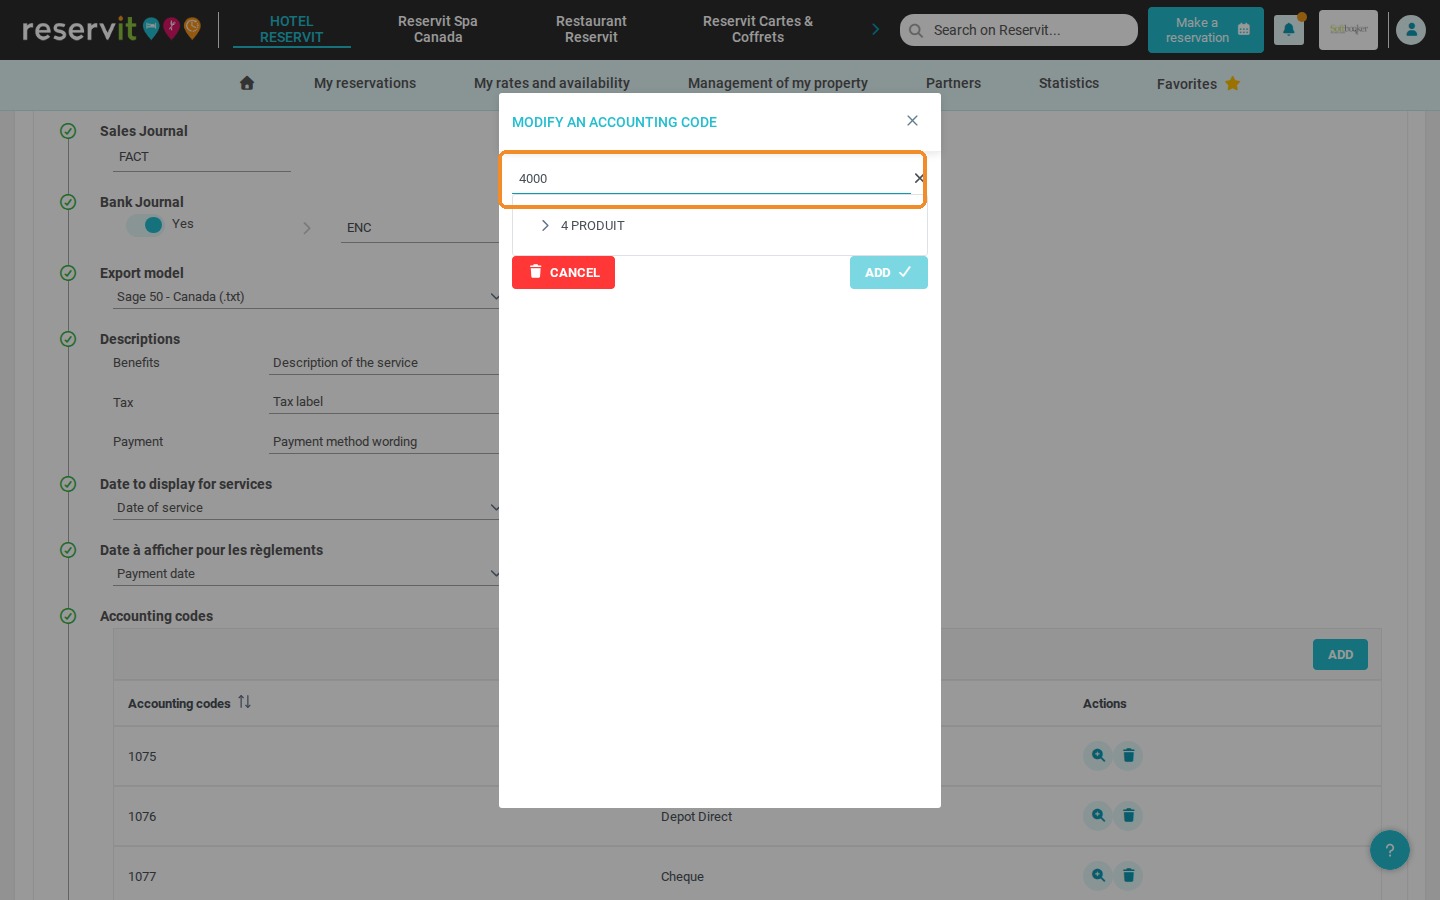
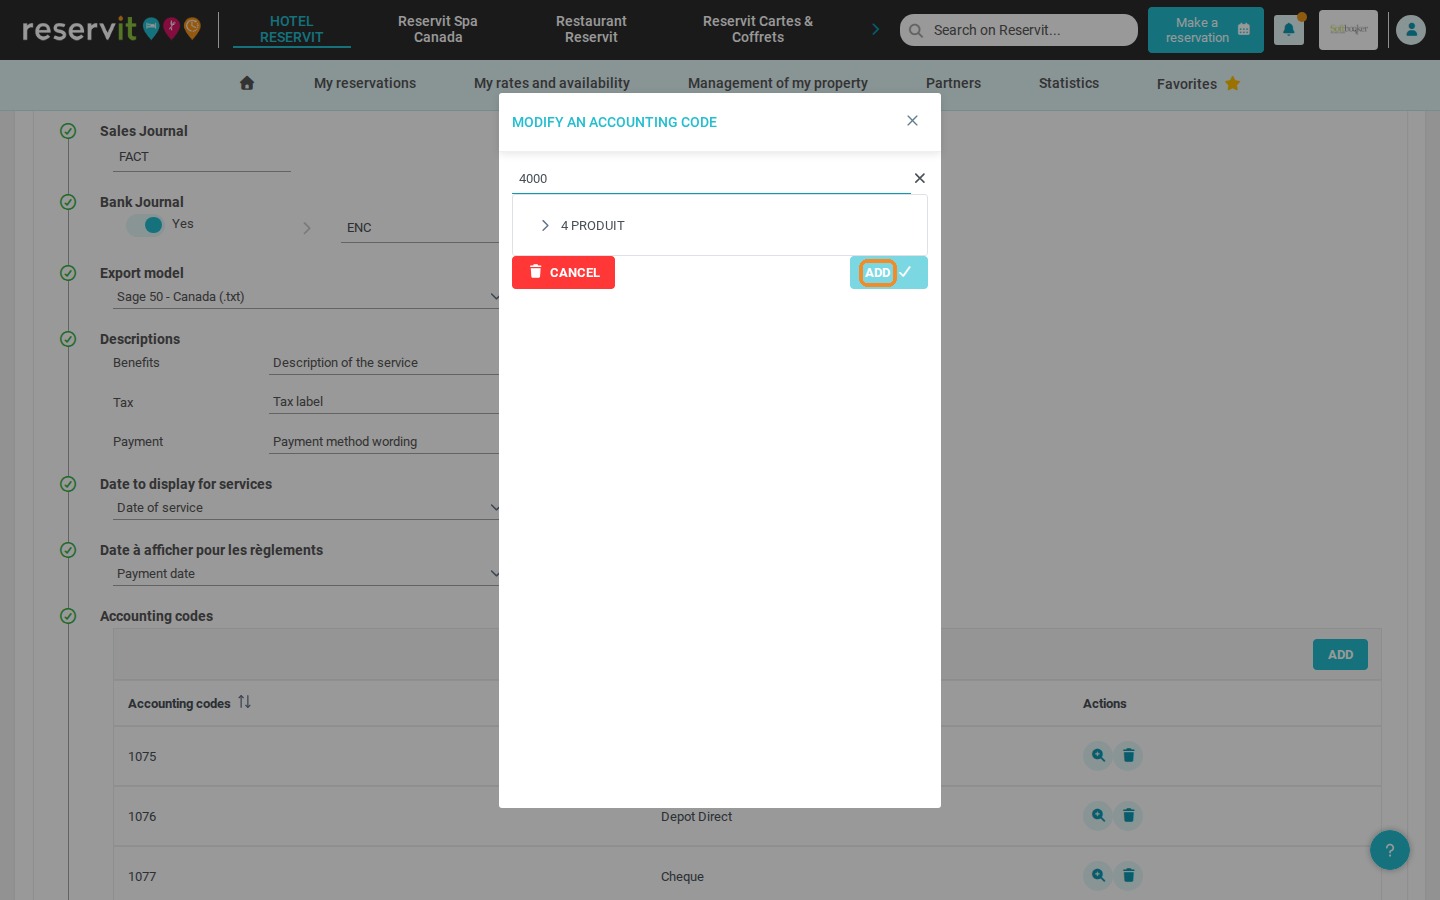
4. In the "MODIFY AN ACCOUNTING CODE" window, browse your chart of accounts or search for a code or a label, select the code and edit its label if needed. Then click "ADD".
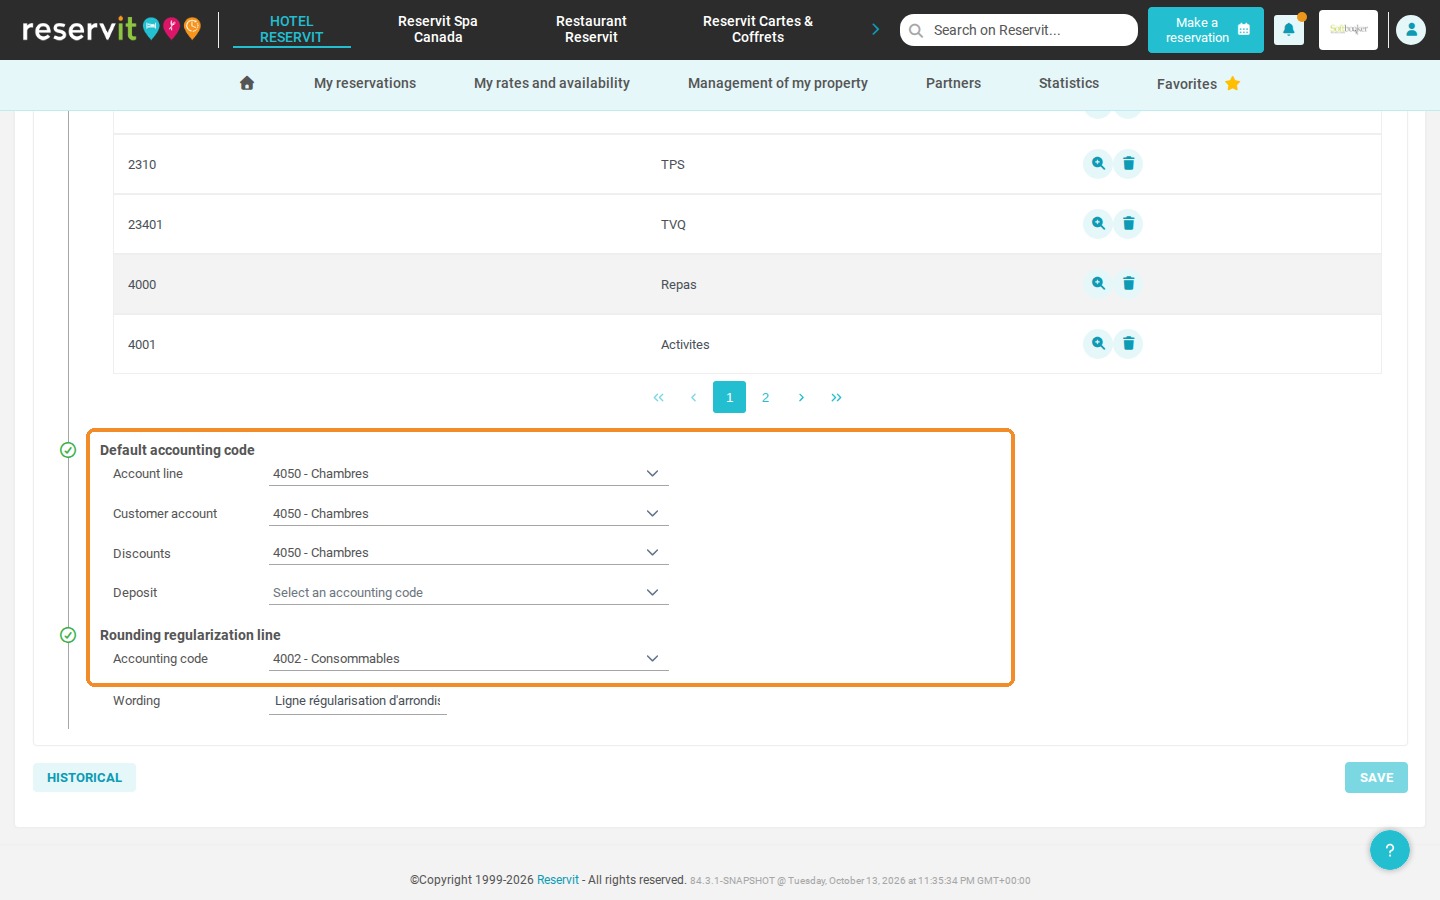
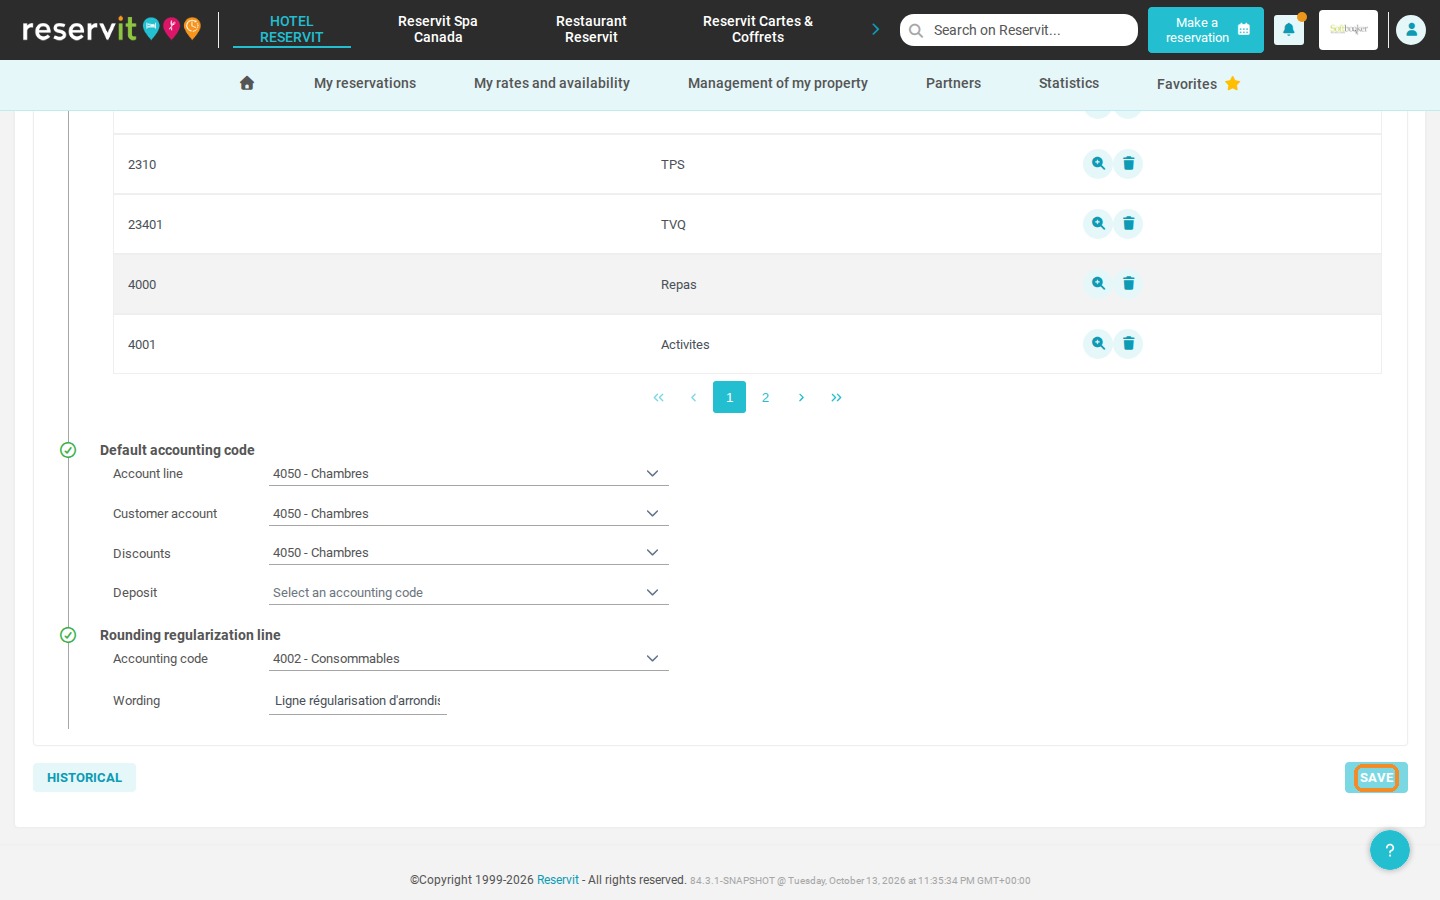
5. In "Default accounting code", choose the codes used for the lines that are not linked to a service (account line, customer account, discounts, deposit), as well as the rounding regularization line. Then click "SAVE".
Assign codes to payment methods
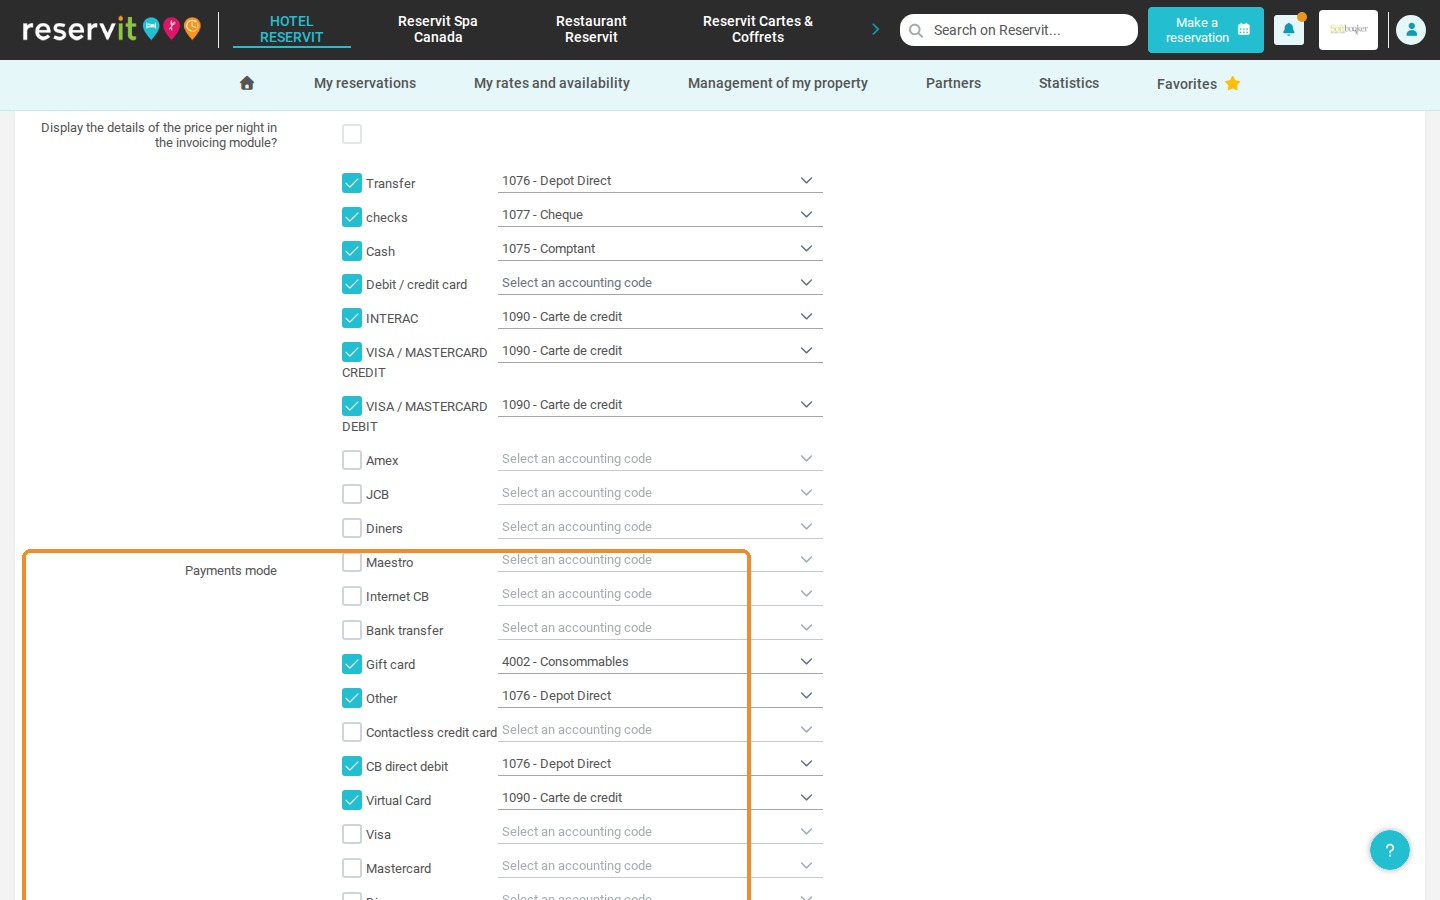
6. Click the "Invoicing" tab.
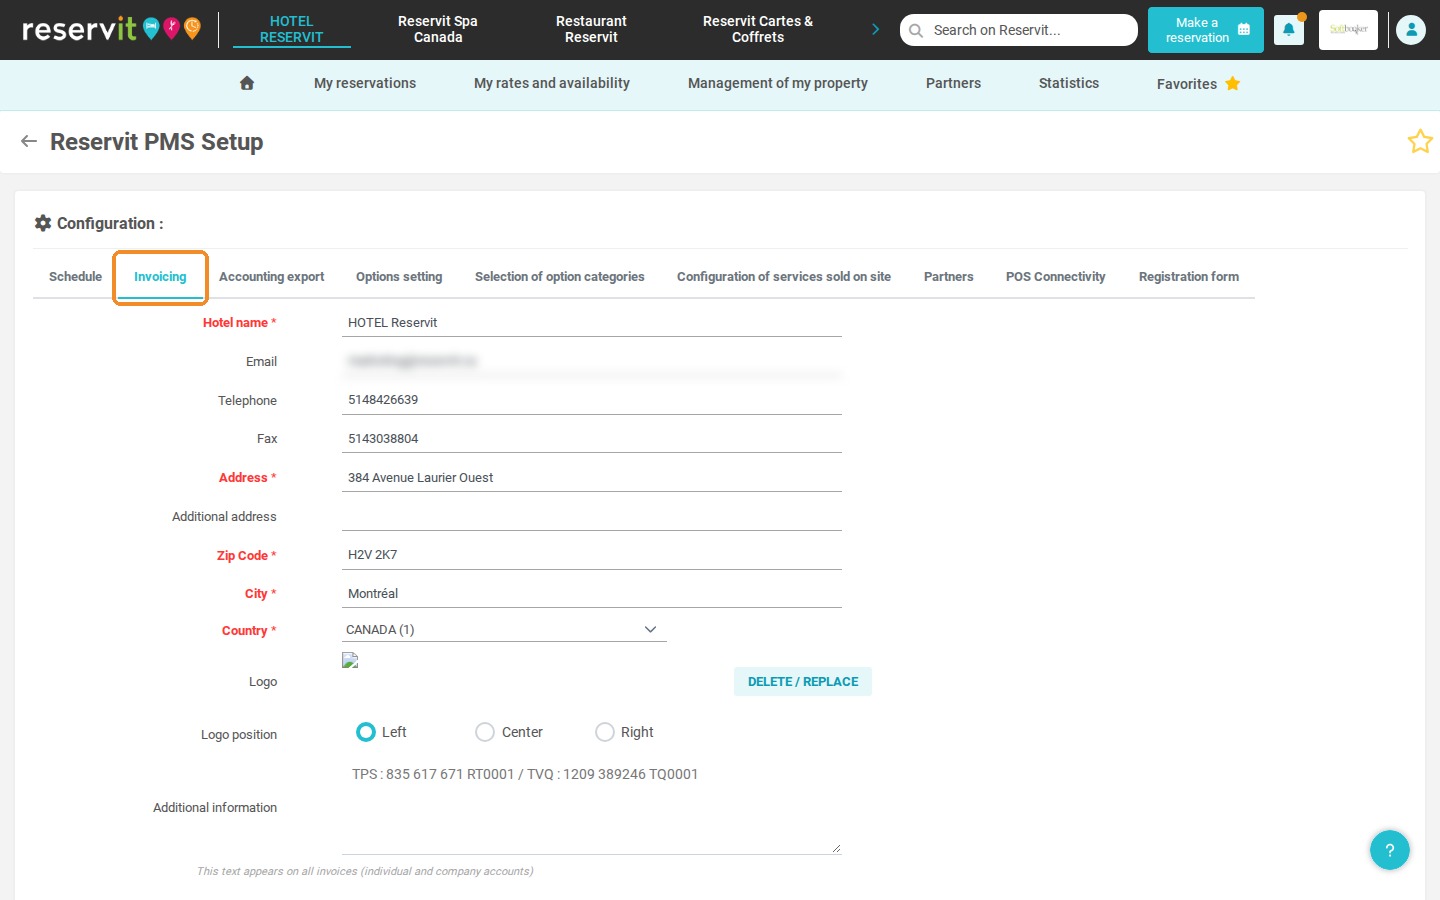
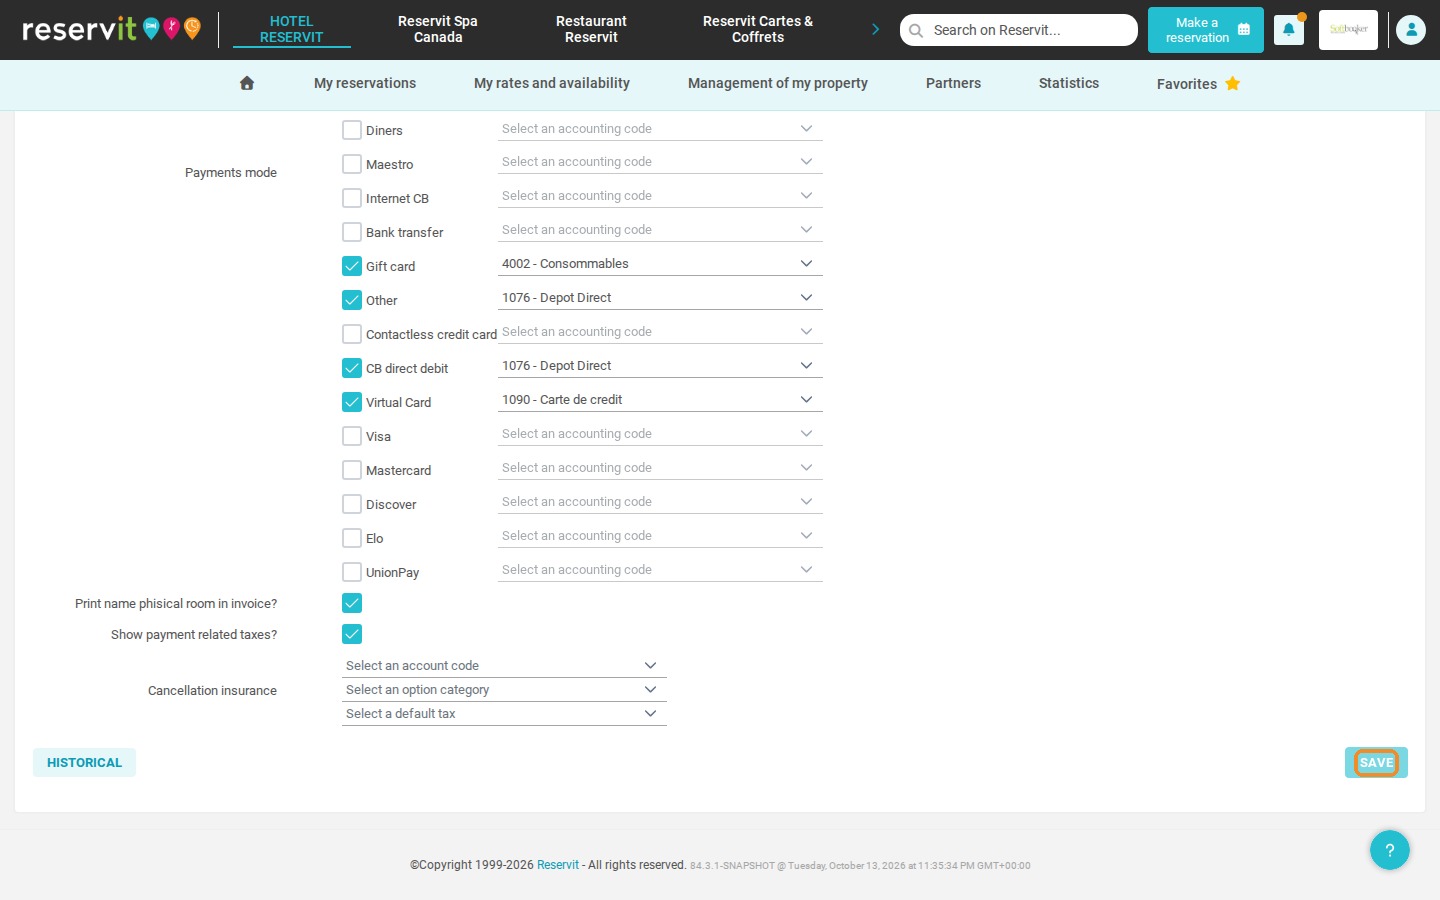
7. In "Payments mode", select the accounting code of each payment method you accept, then click "SAVE".
Assign codes to room types
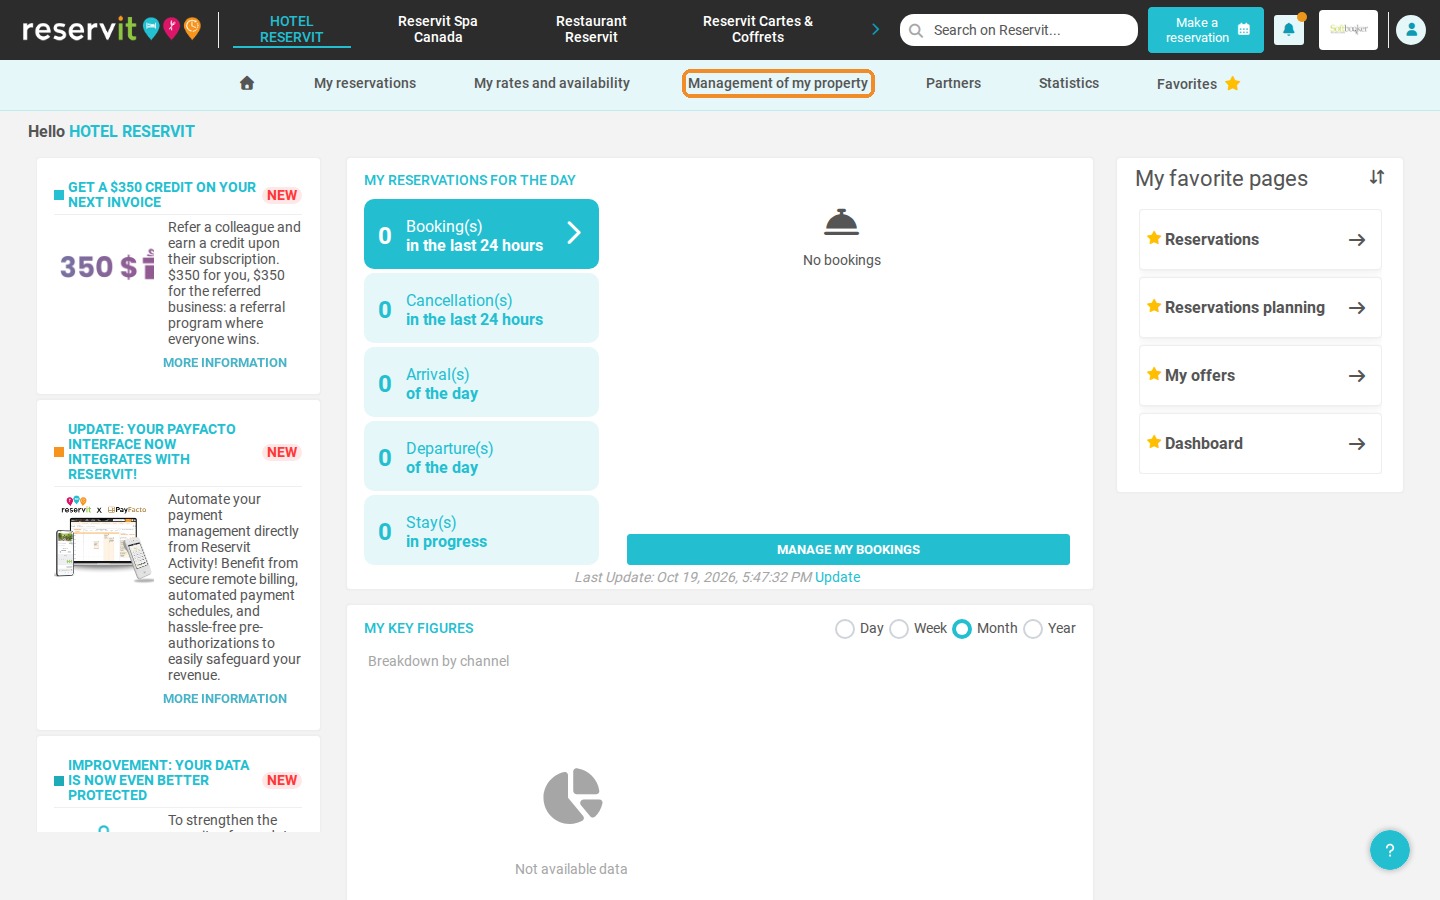
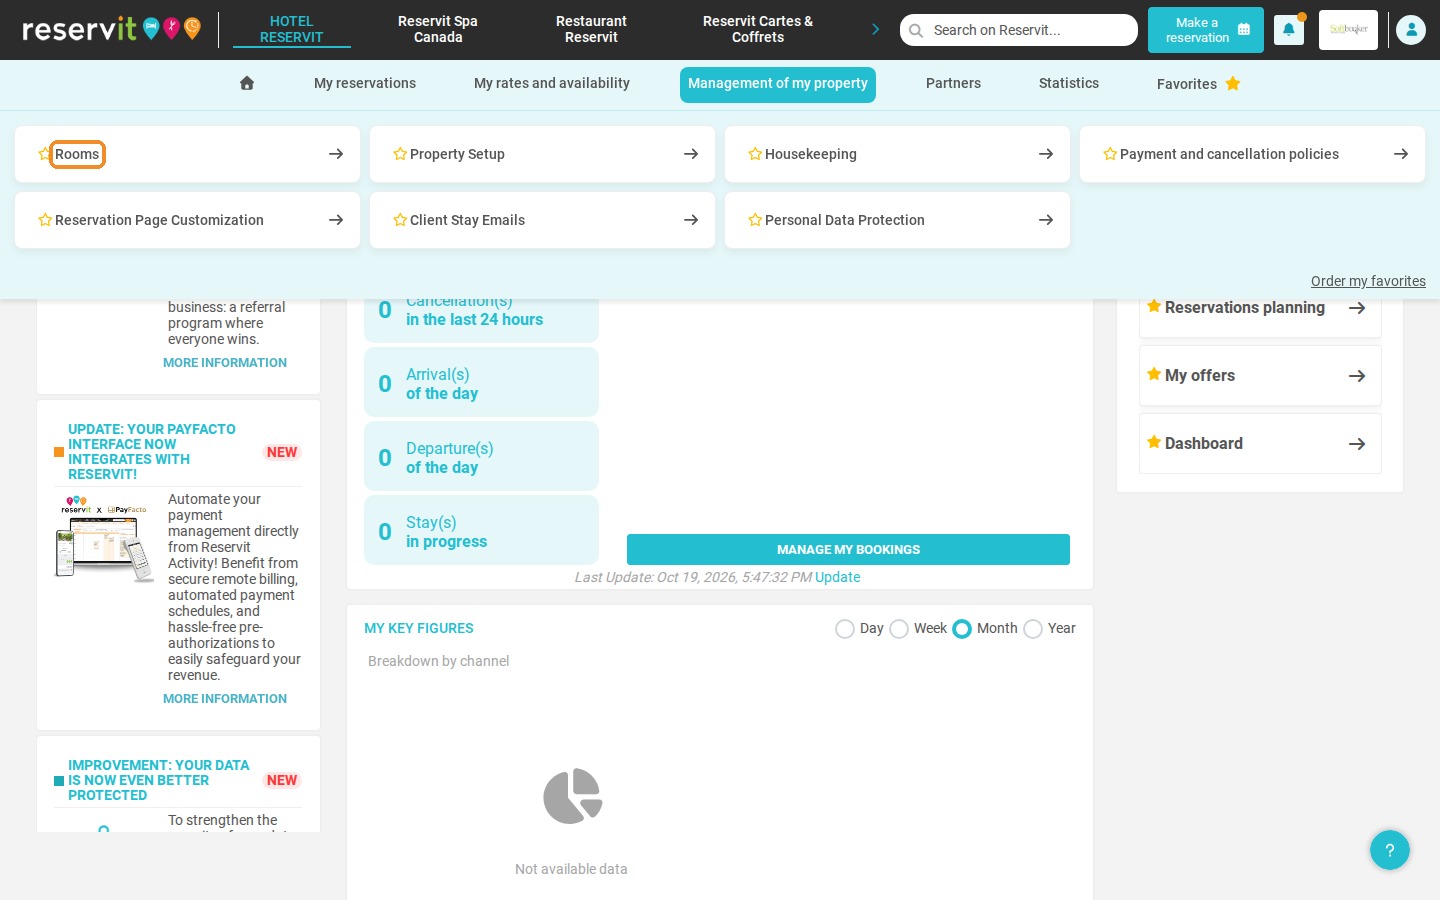
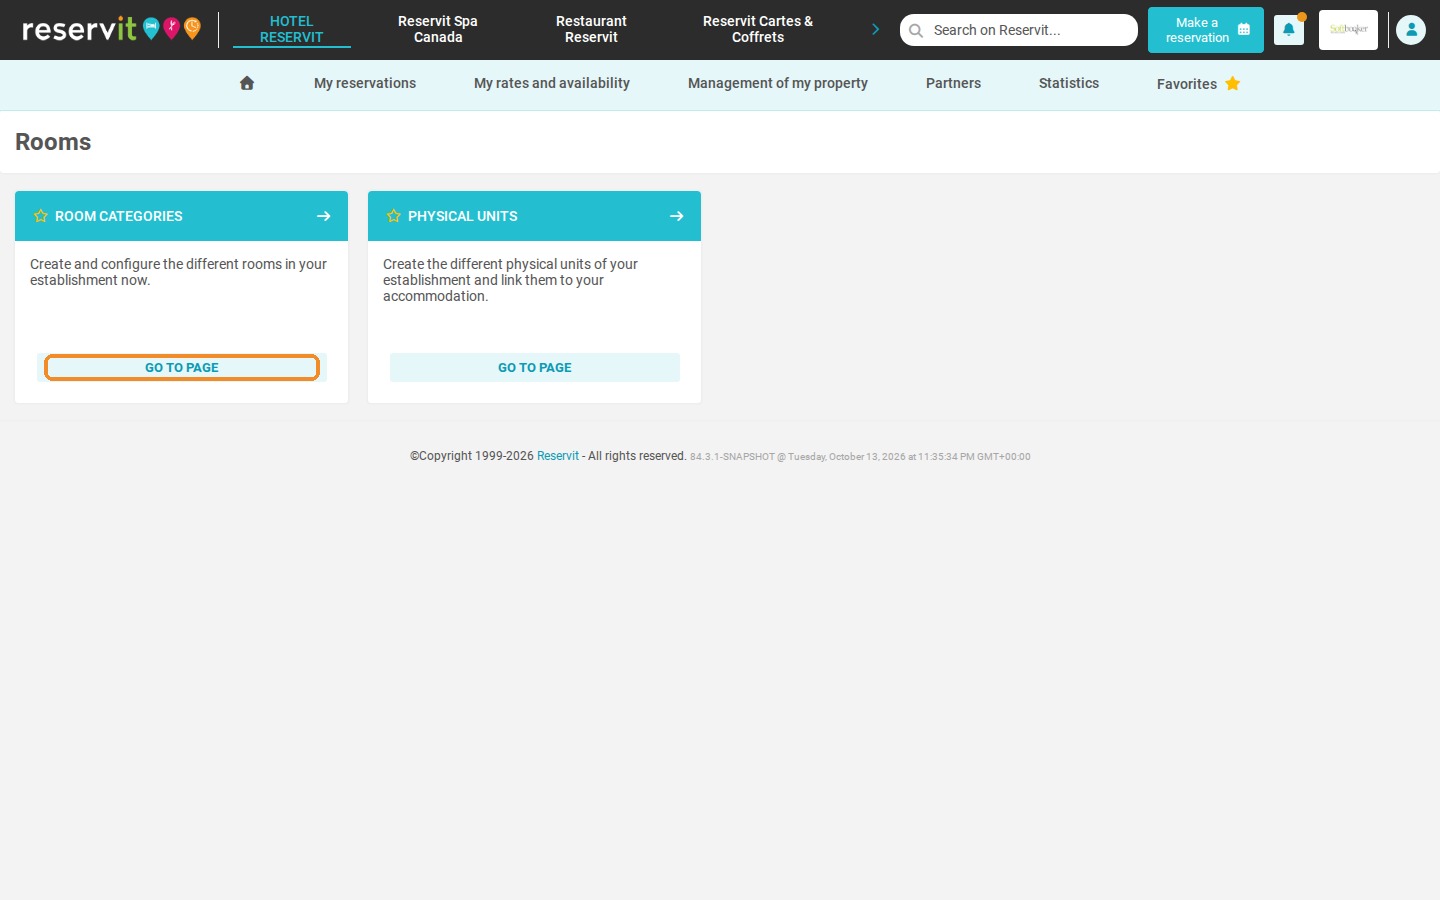
8. Click "Management of my property" > "Rooms", then "GO TO PAGE" on the "ROOM CATEGORIES" tile.
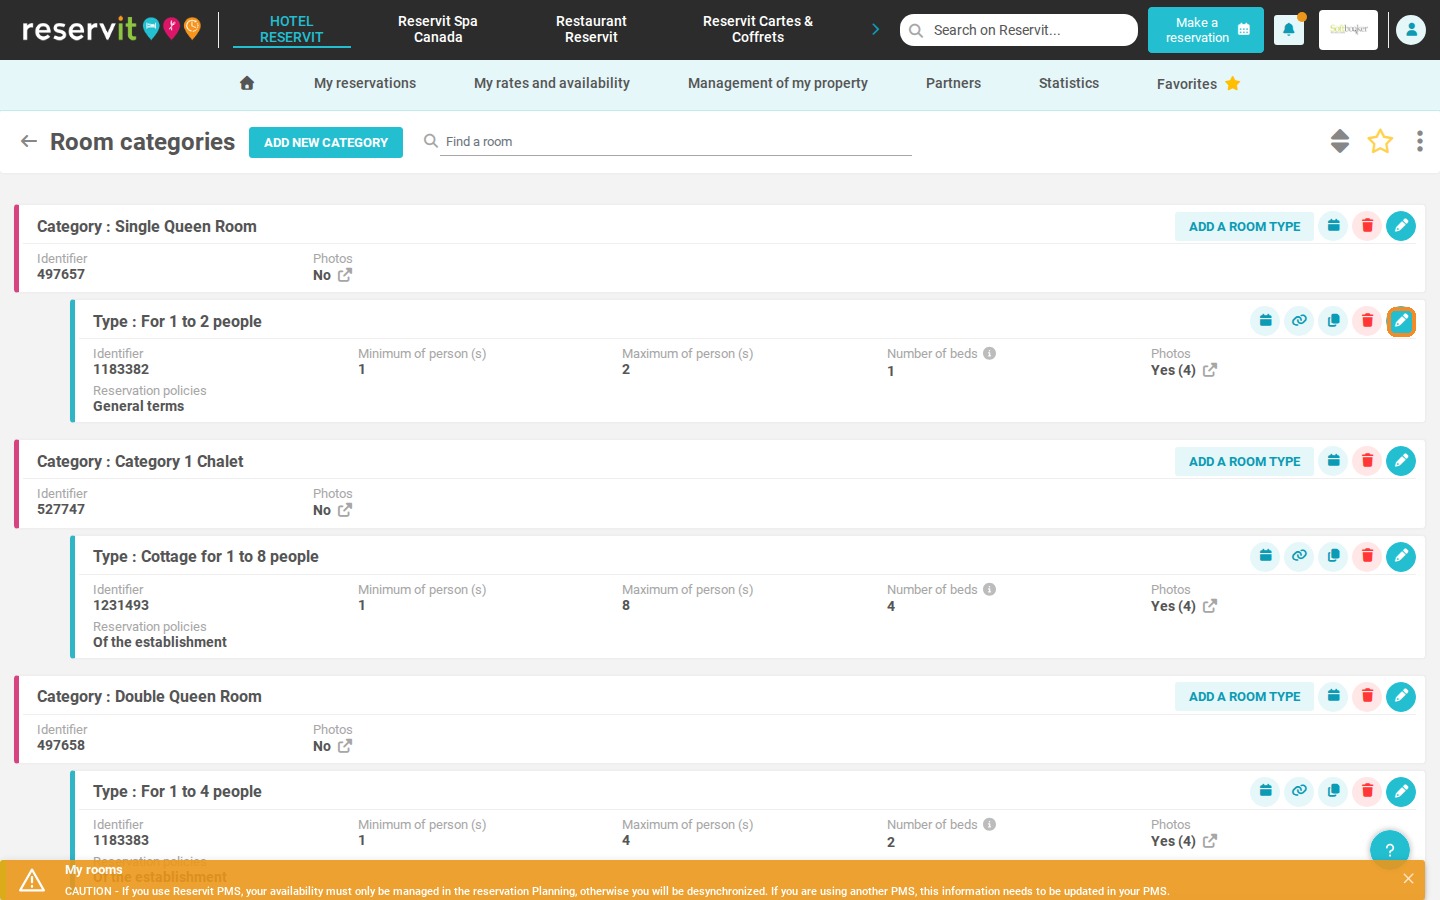
9. Click the pencil icon of the room type to edit it.
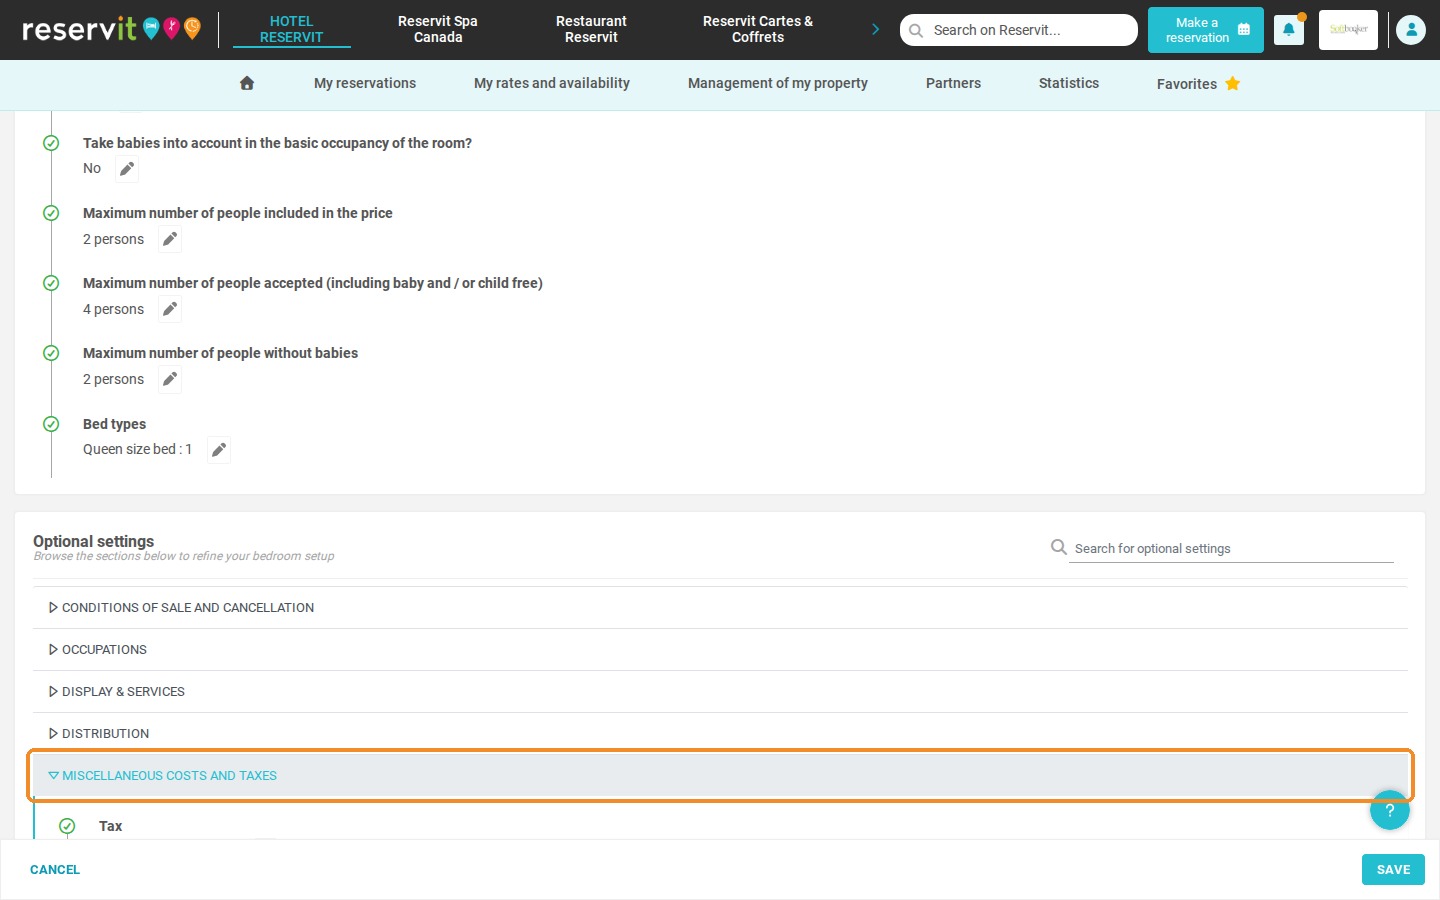
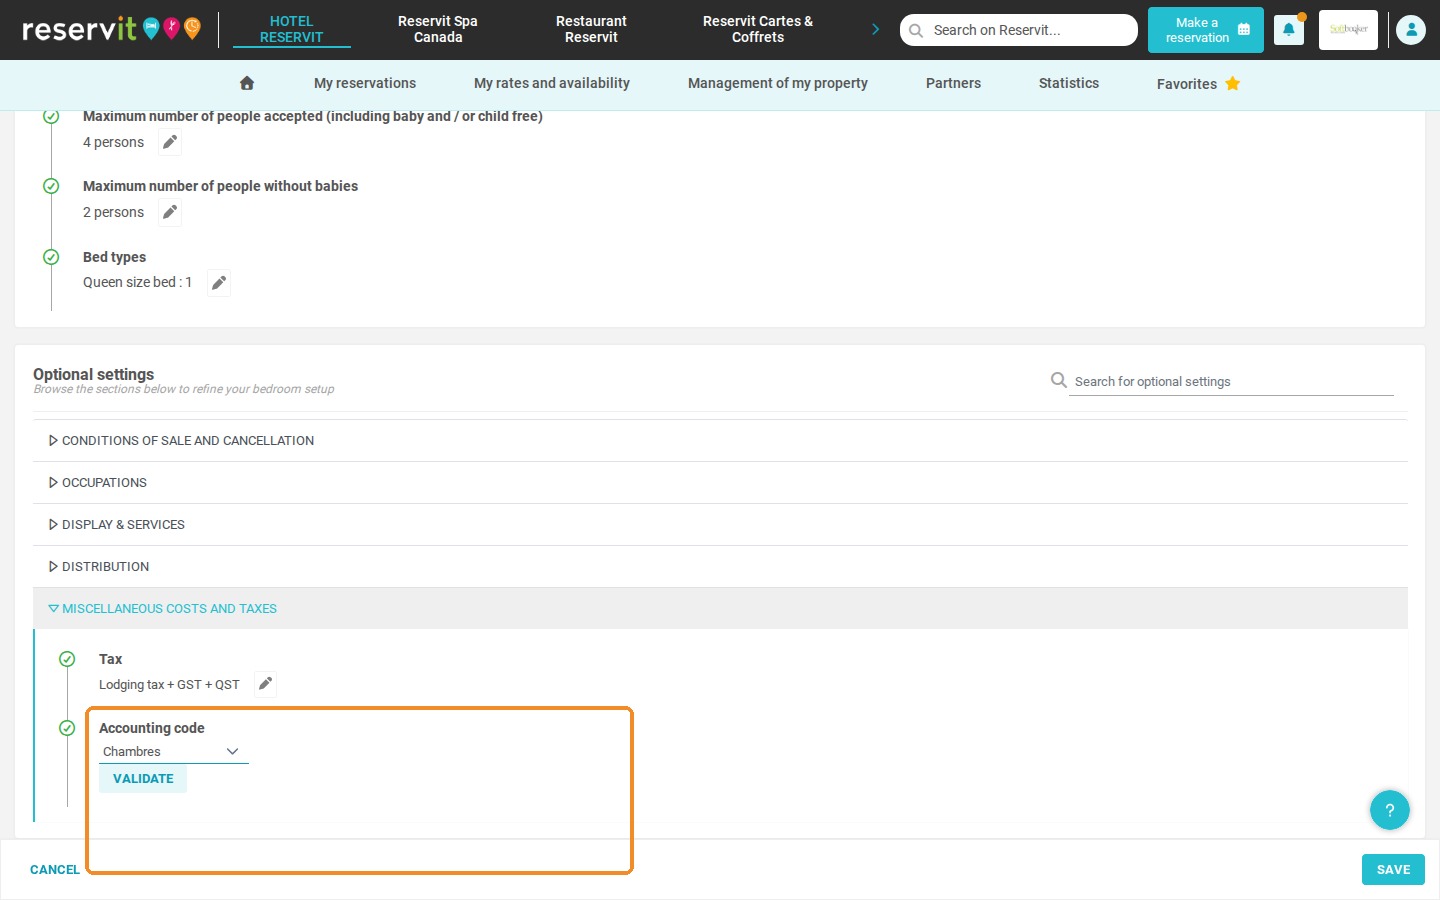
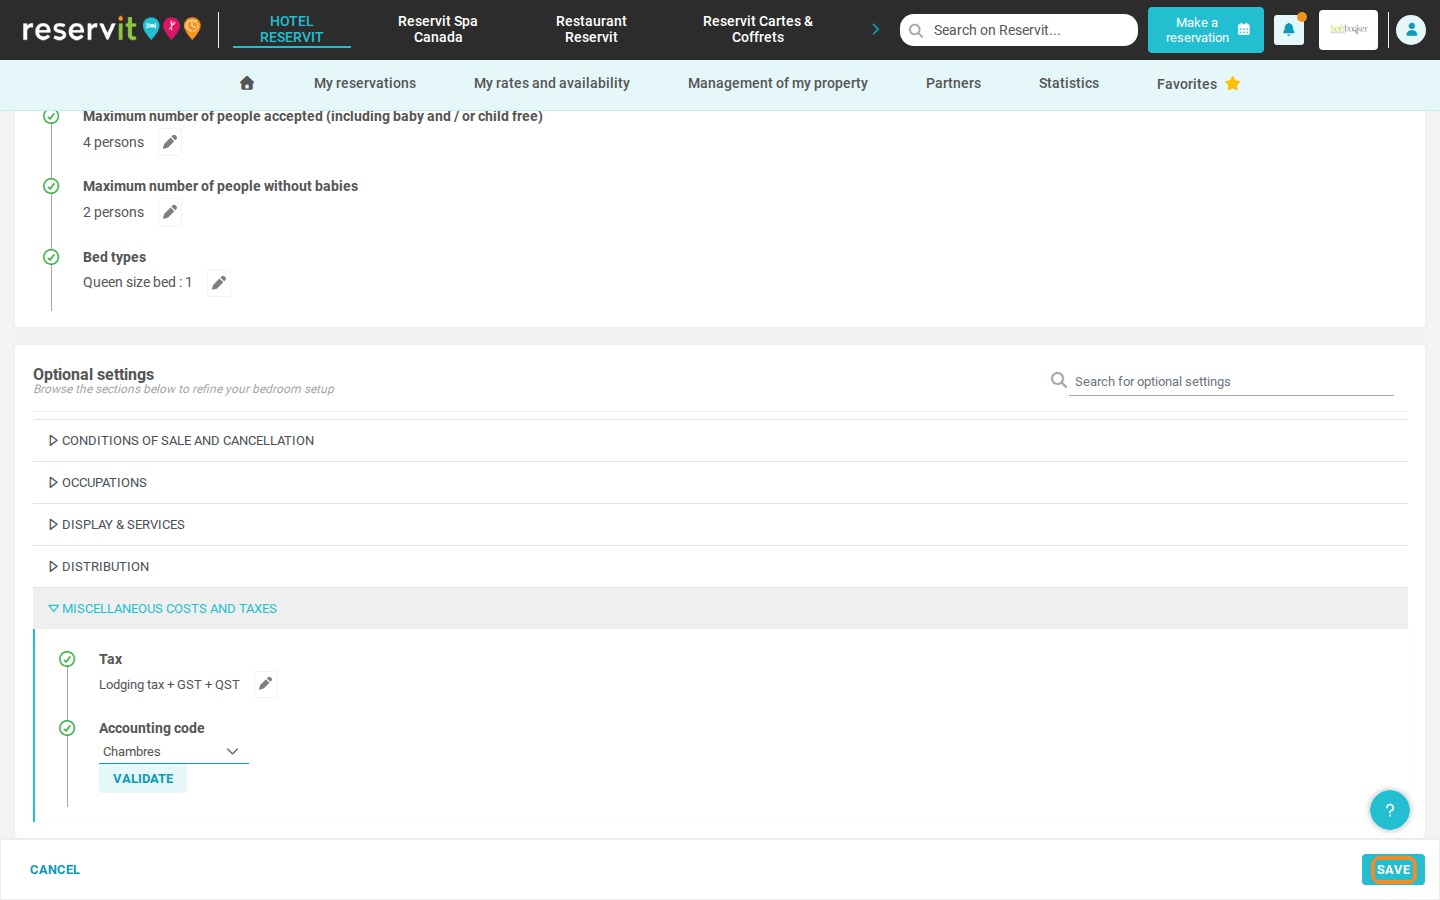
10. In "Optional settings", open "MISCELLANEOUS COSTS AND TAXES", select the code in "Accounting code" and click "VALIDATE". Then click "SAVE". Repeat for each room type.
Assign codes to extras
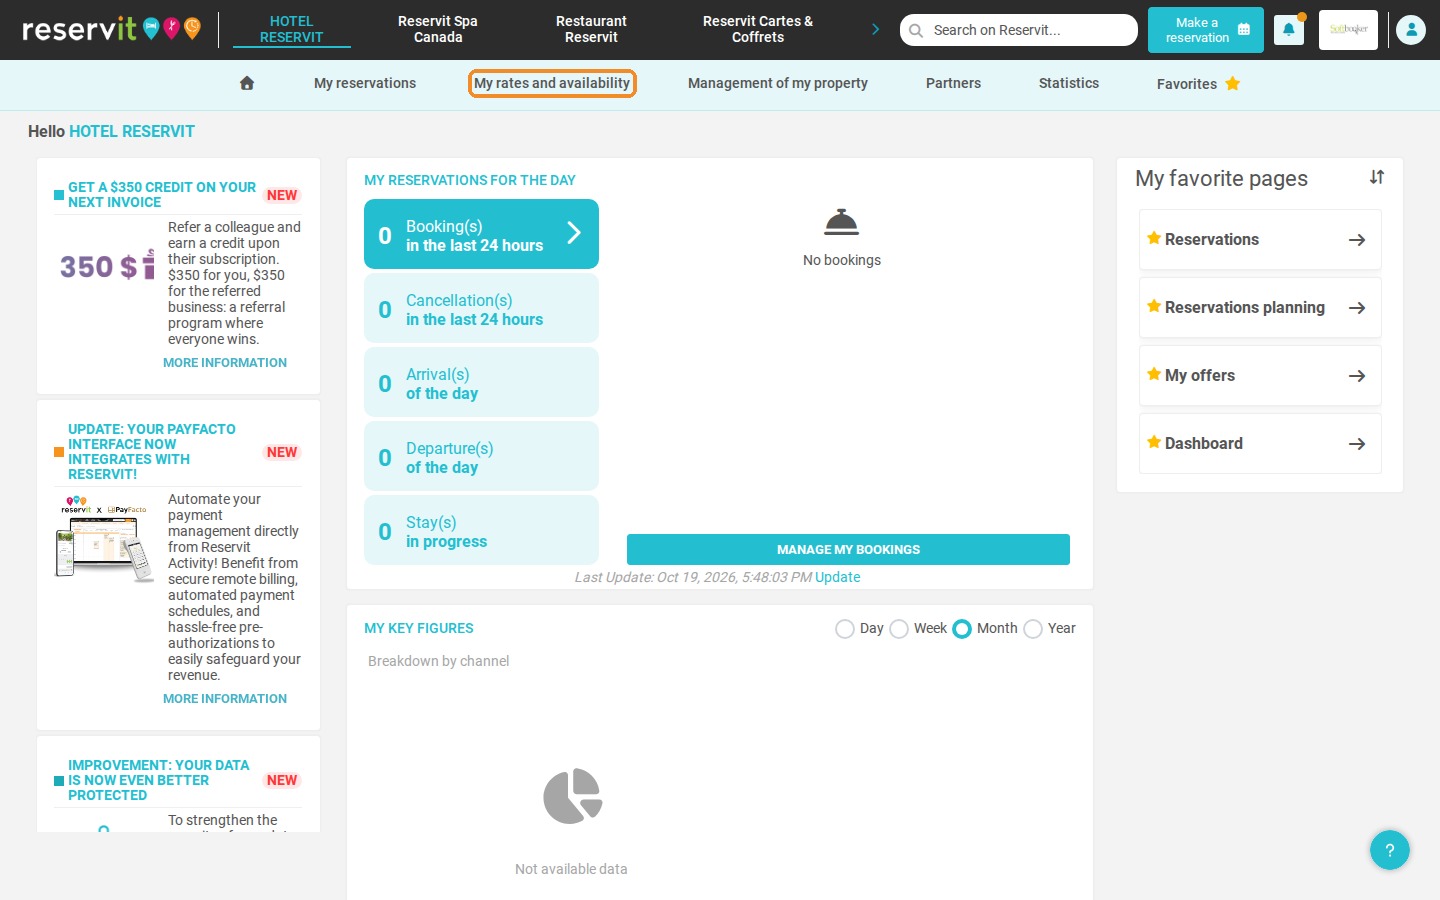
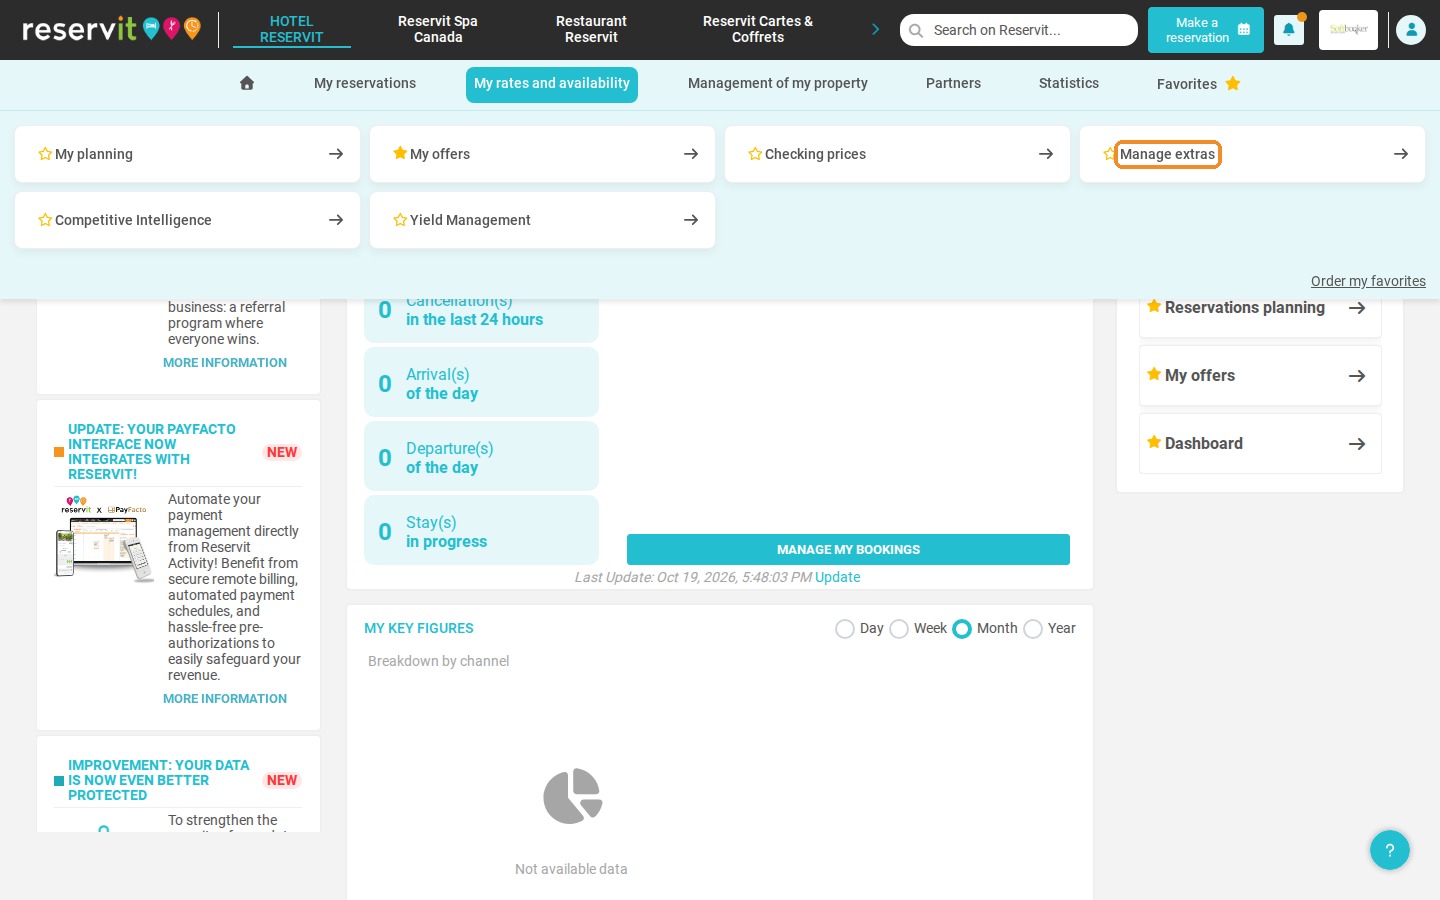
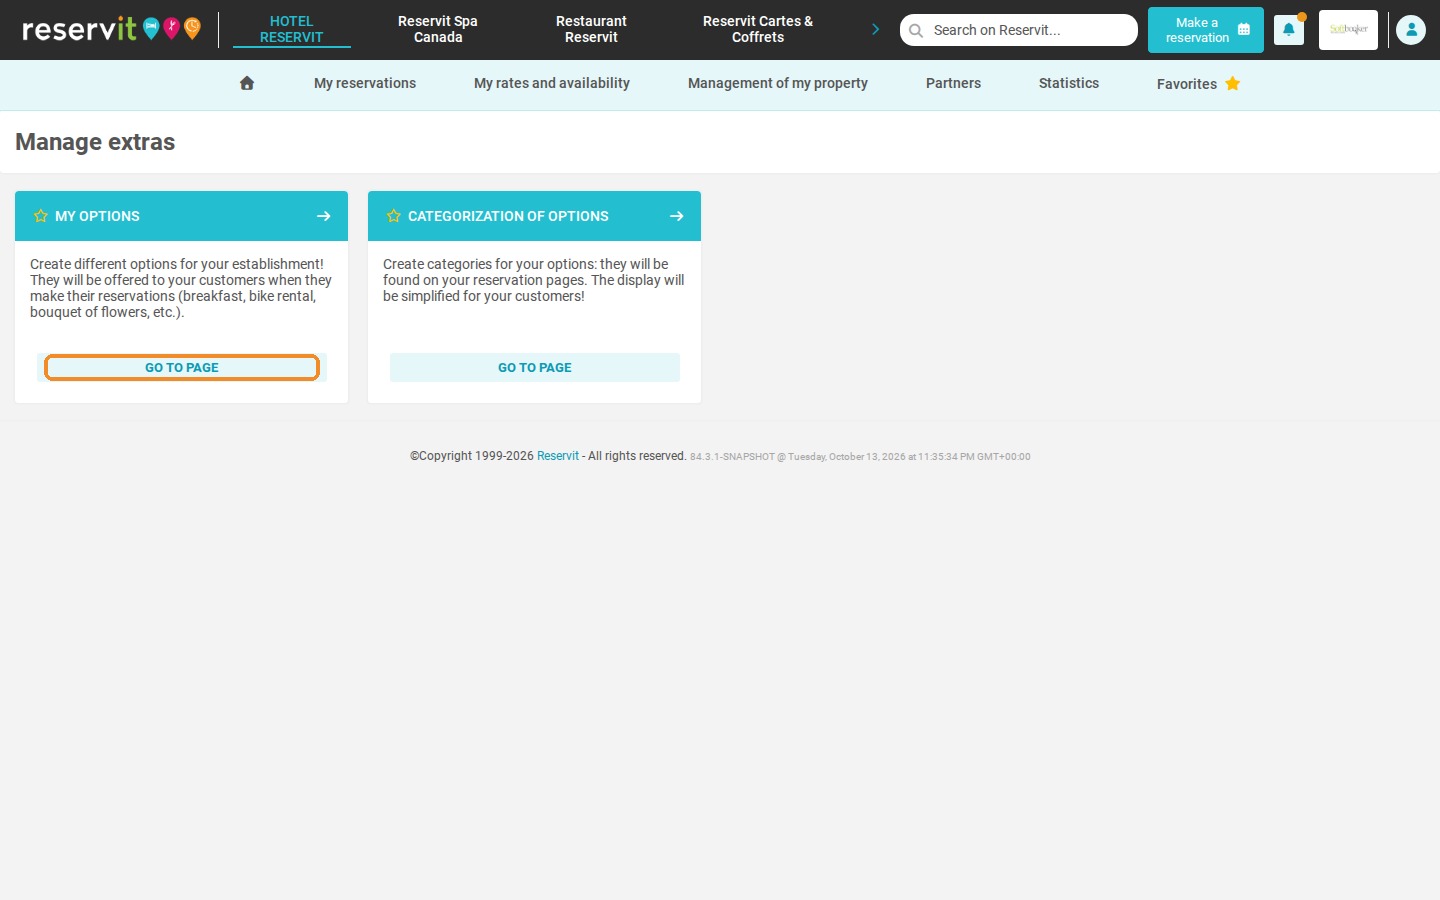
11. Click "My rates and availability" > "Manage extras", then "GO TO PAGE" on the "MY OPTIONS" tile.
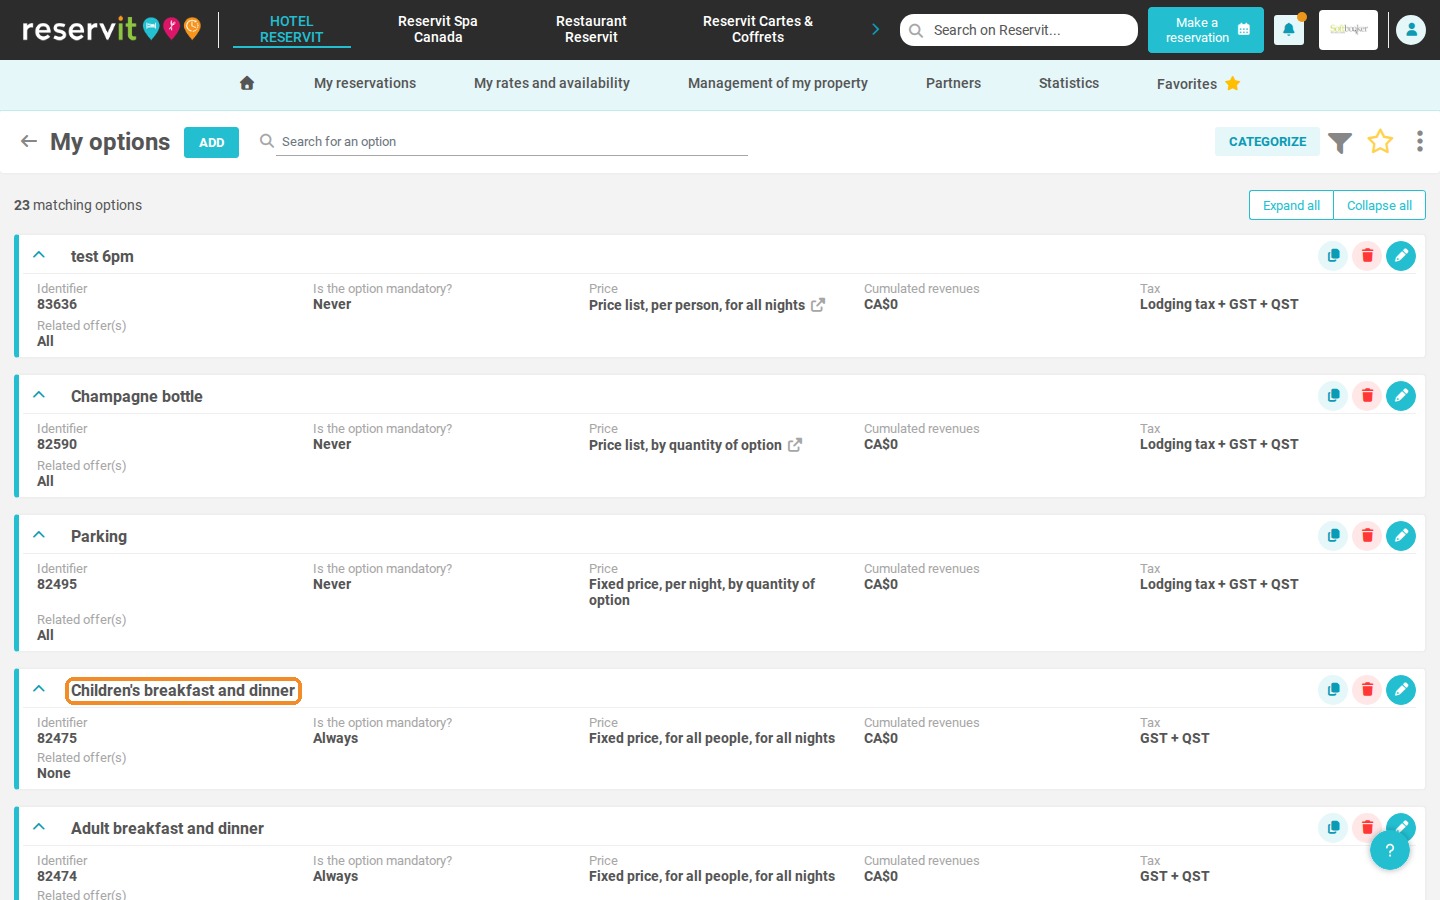
12. Click the option to edit it.
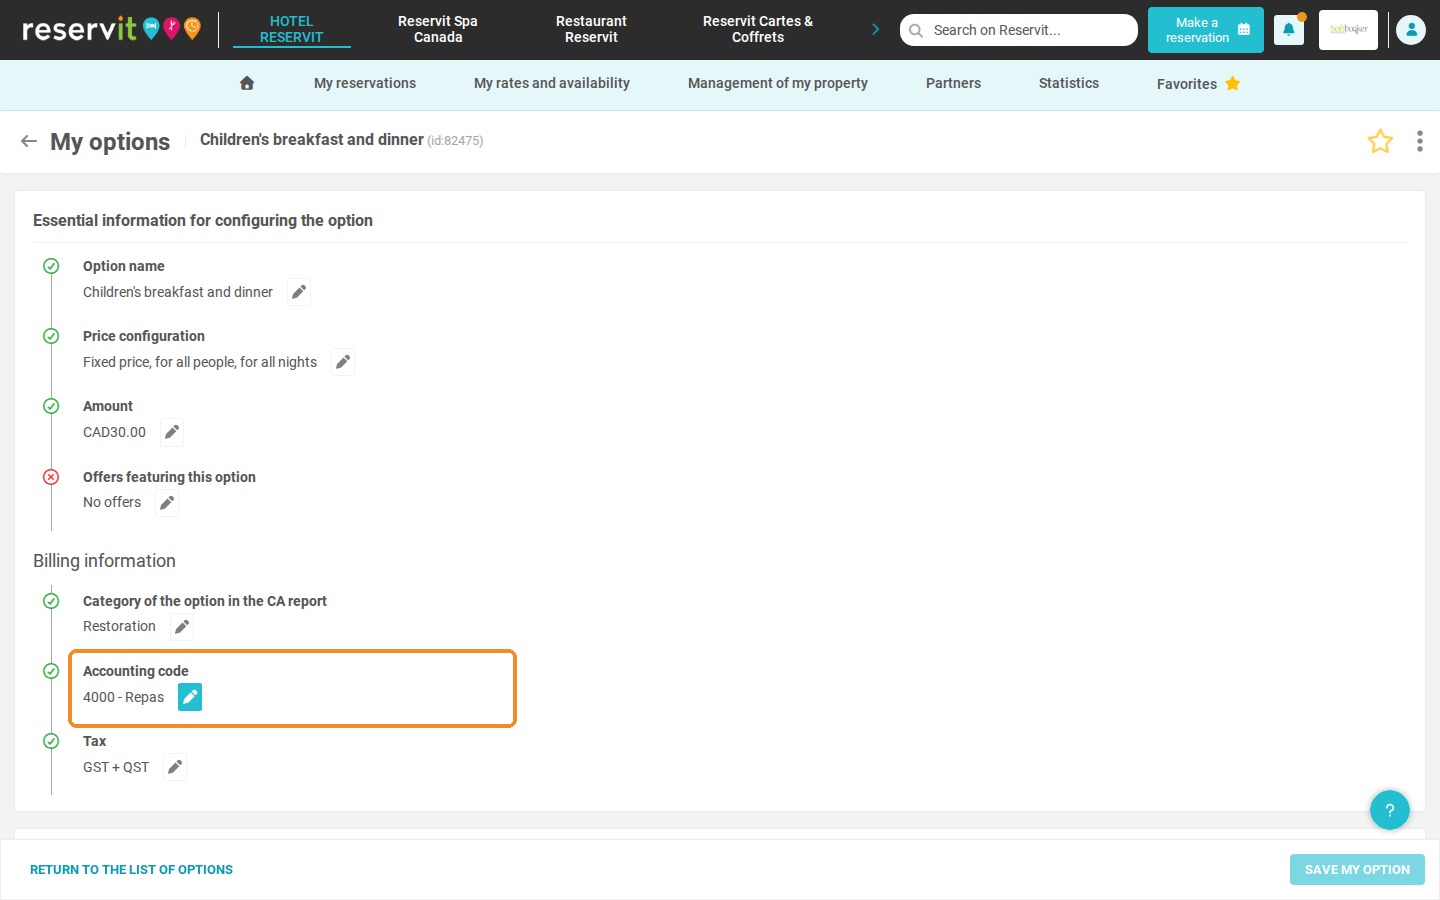
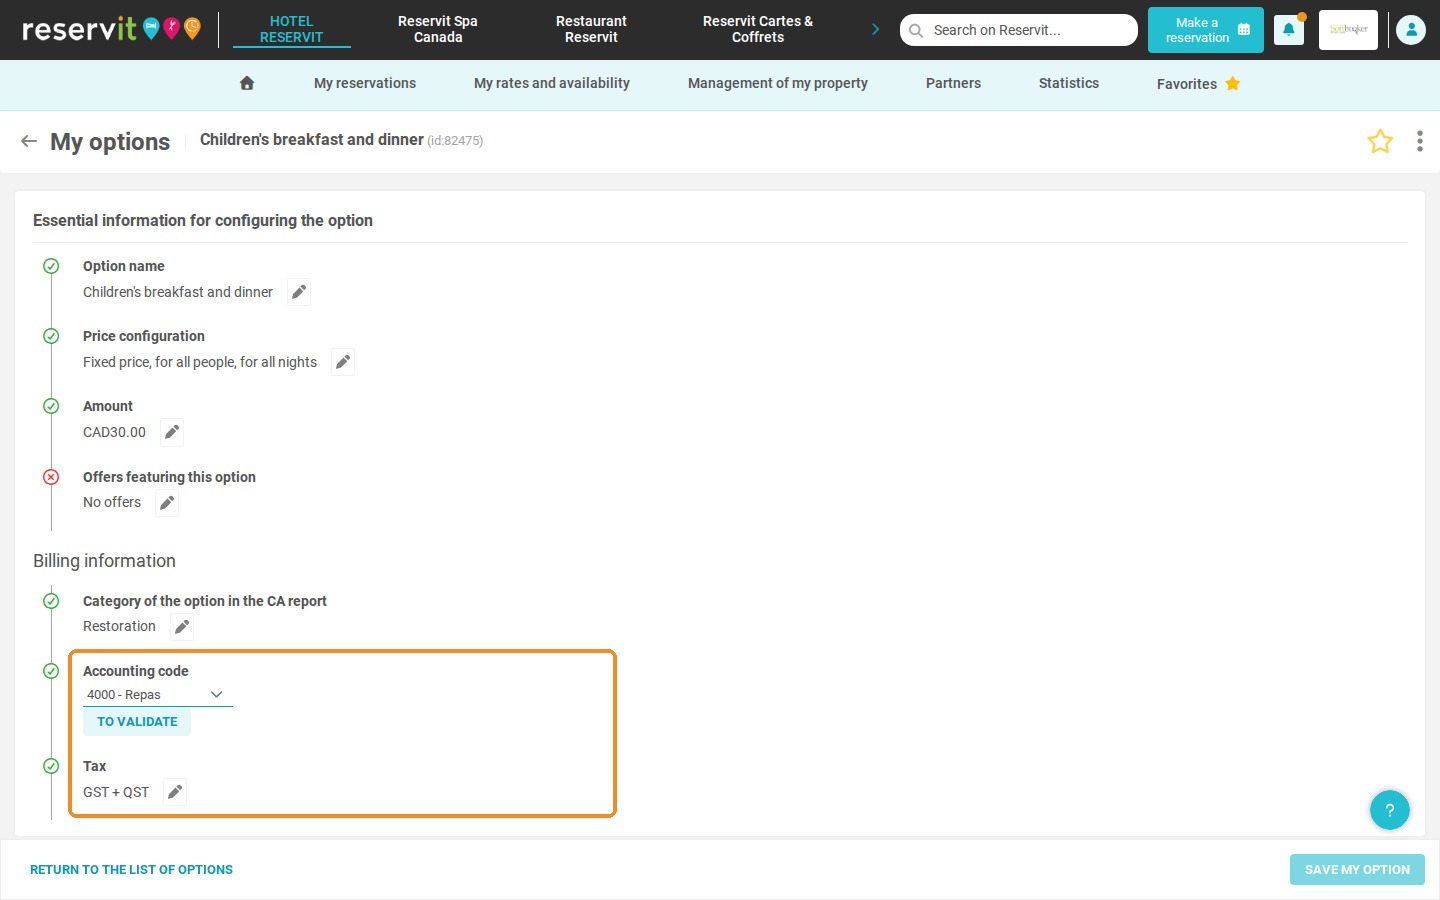
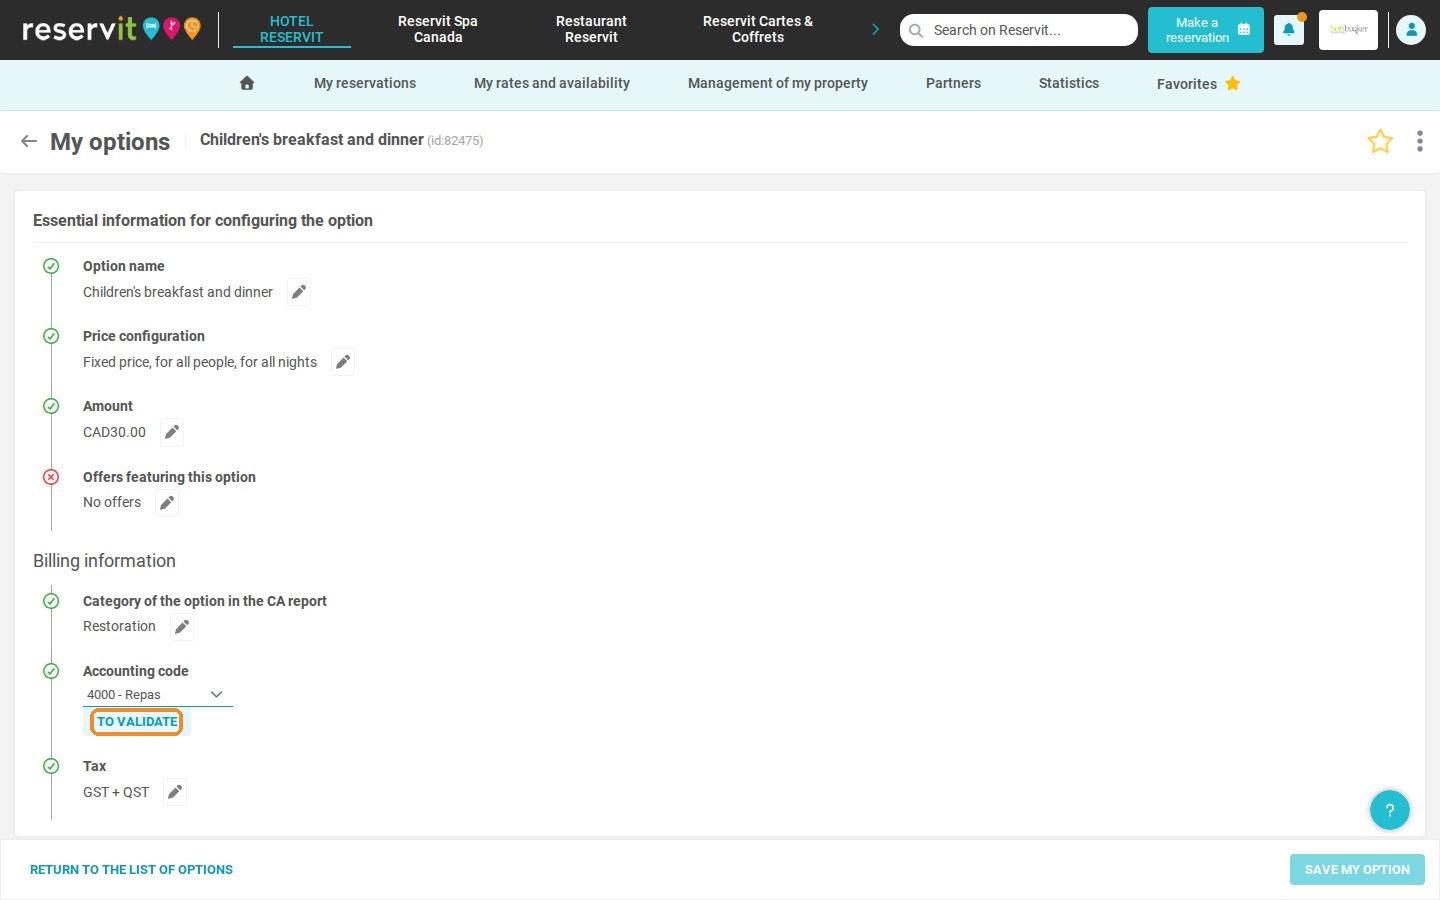
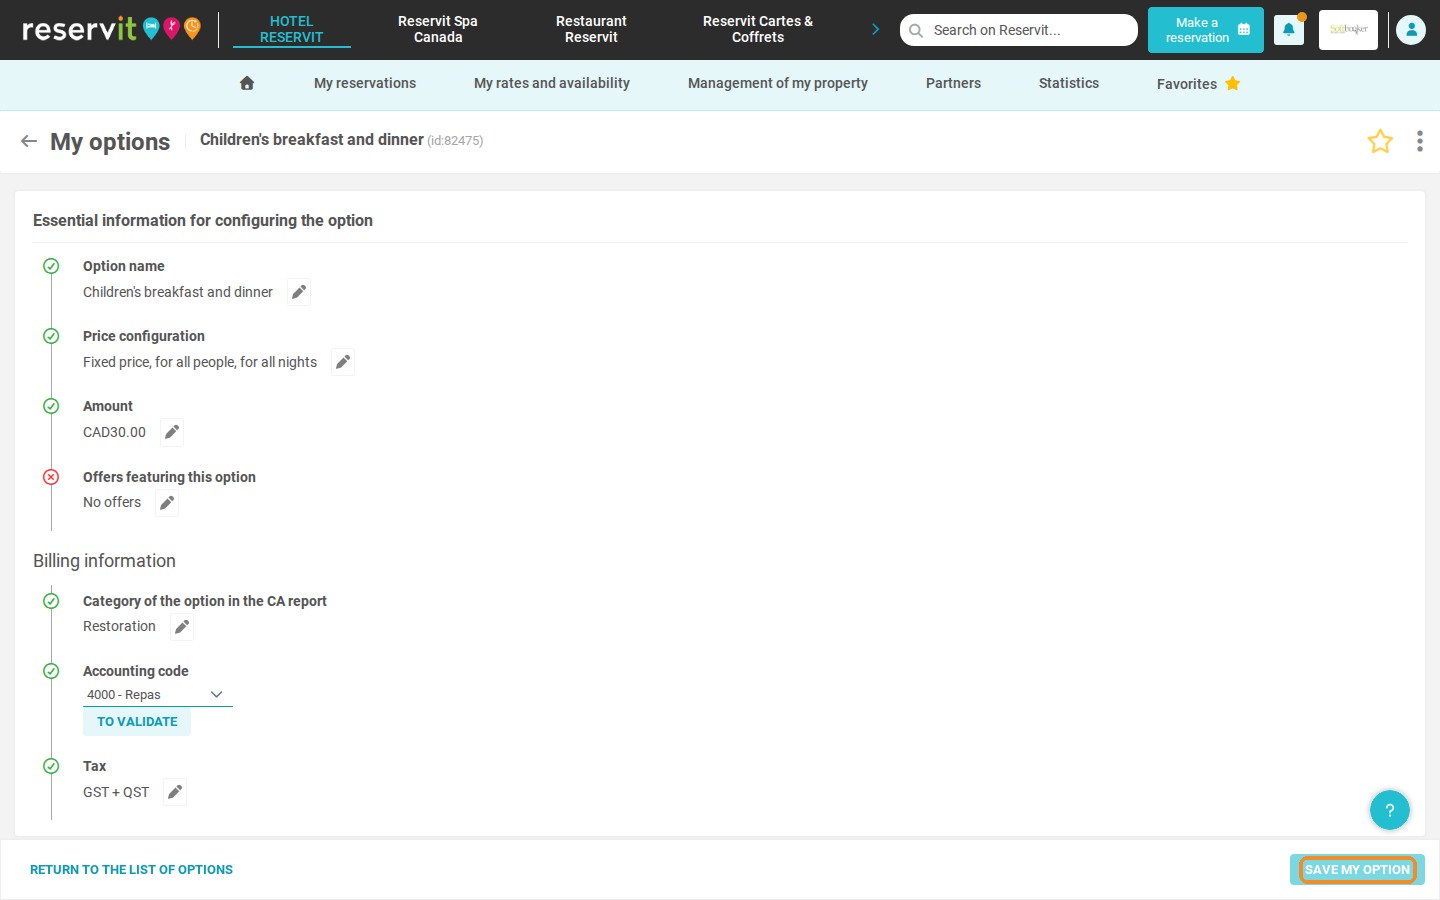
13. In "Billing information", click the pencil next to "Accounting code", select the code, click "TO VALIDATE", then "SAVE MY OPTION". Repeat for each option.
Assign codes to taxes
14. Finally, assign the accounting codes to your taxes (for example lodging tax, GST and QST): in your property's tax management, edit each tax, select its accounting code and save. If you do not see the tax management in your Property Setup, please contact our support team.
Your setup is complete. To export your accounting entries, see How to Generate an Accounting Export (Invoices and Credit Notes) in Reservit PMS. See also How to Assign Accounting Codes to Services and Categorize Revenues.