Article Summary: Learn how to efficiently create a booking directly from your planning grid within Reservit PMS to streamline your front-desk operations. This quick tutorial guides you through selecting check-in dates, adjusting guest counts, and confirming reservation details to secure phone or walk-in bookings instantly. By mastering this integrated calendar workflow, you will minimize entry errors and expedite your daily scheduling process.
The 4 Key Steps to Create a Booking From the Planning Grid:
-
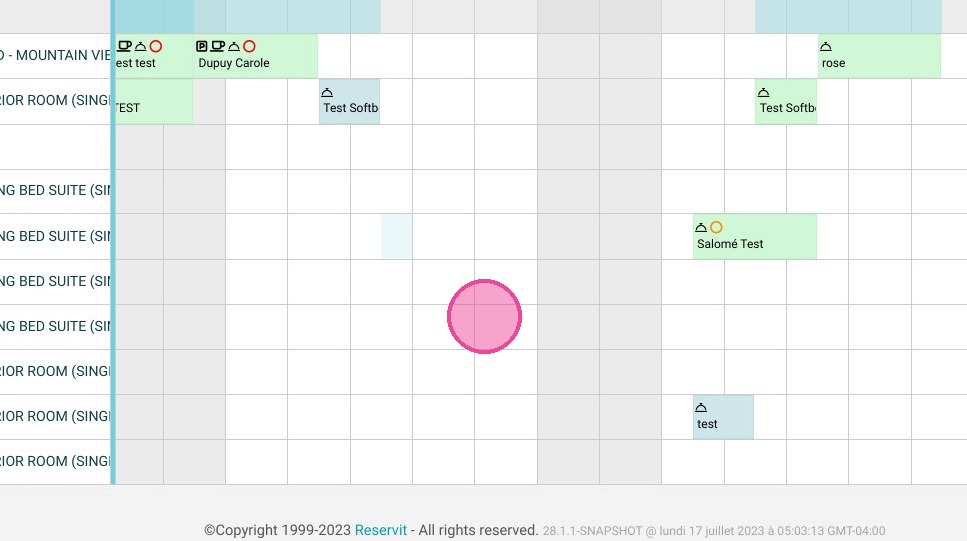
Select dates on the calendar: Click and drag from the requested check-in date to the check-out date, or simply double-click the check-in date on your visual planning board.
-
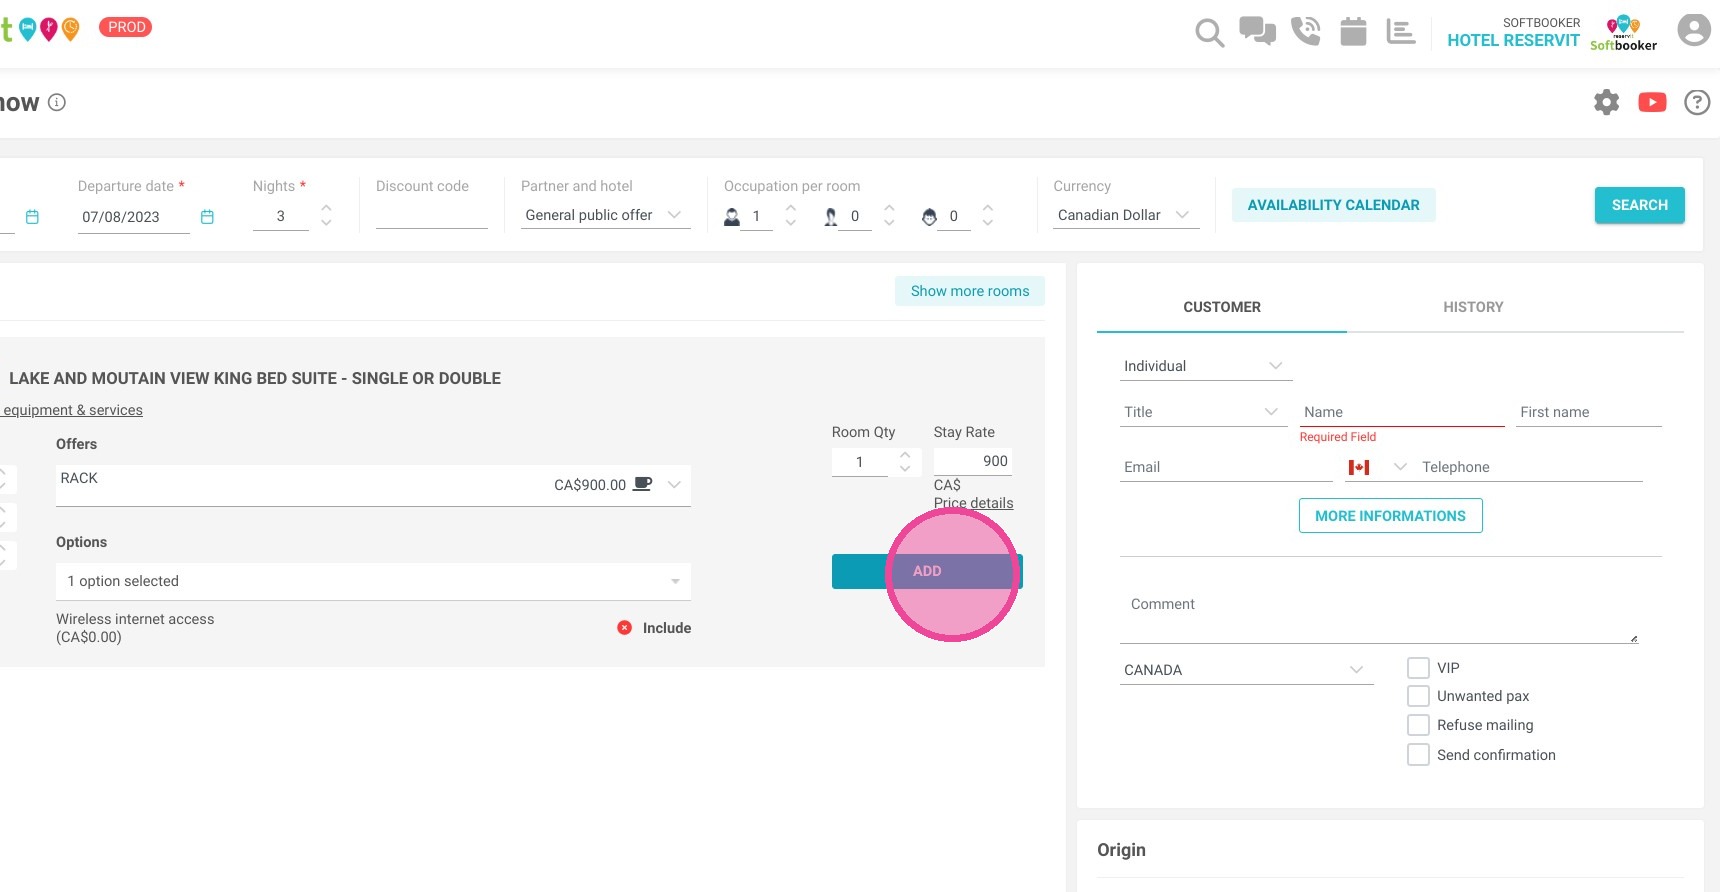
Review auto-populated details: Wait for the integrated call center window to launch, which automatically pulls your selected stay dates and lodging unit.
-
Adjust guest count and add details: Modify the number of people staying in the unit if necessary, then click "ADD" to move forward with the guest profile.
-
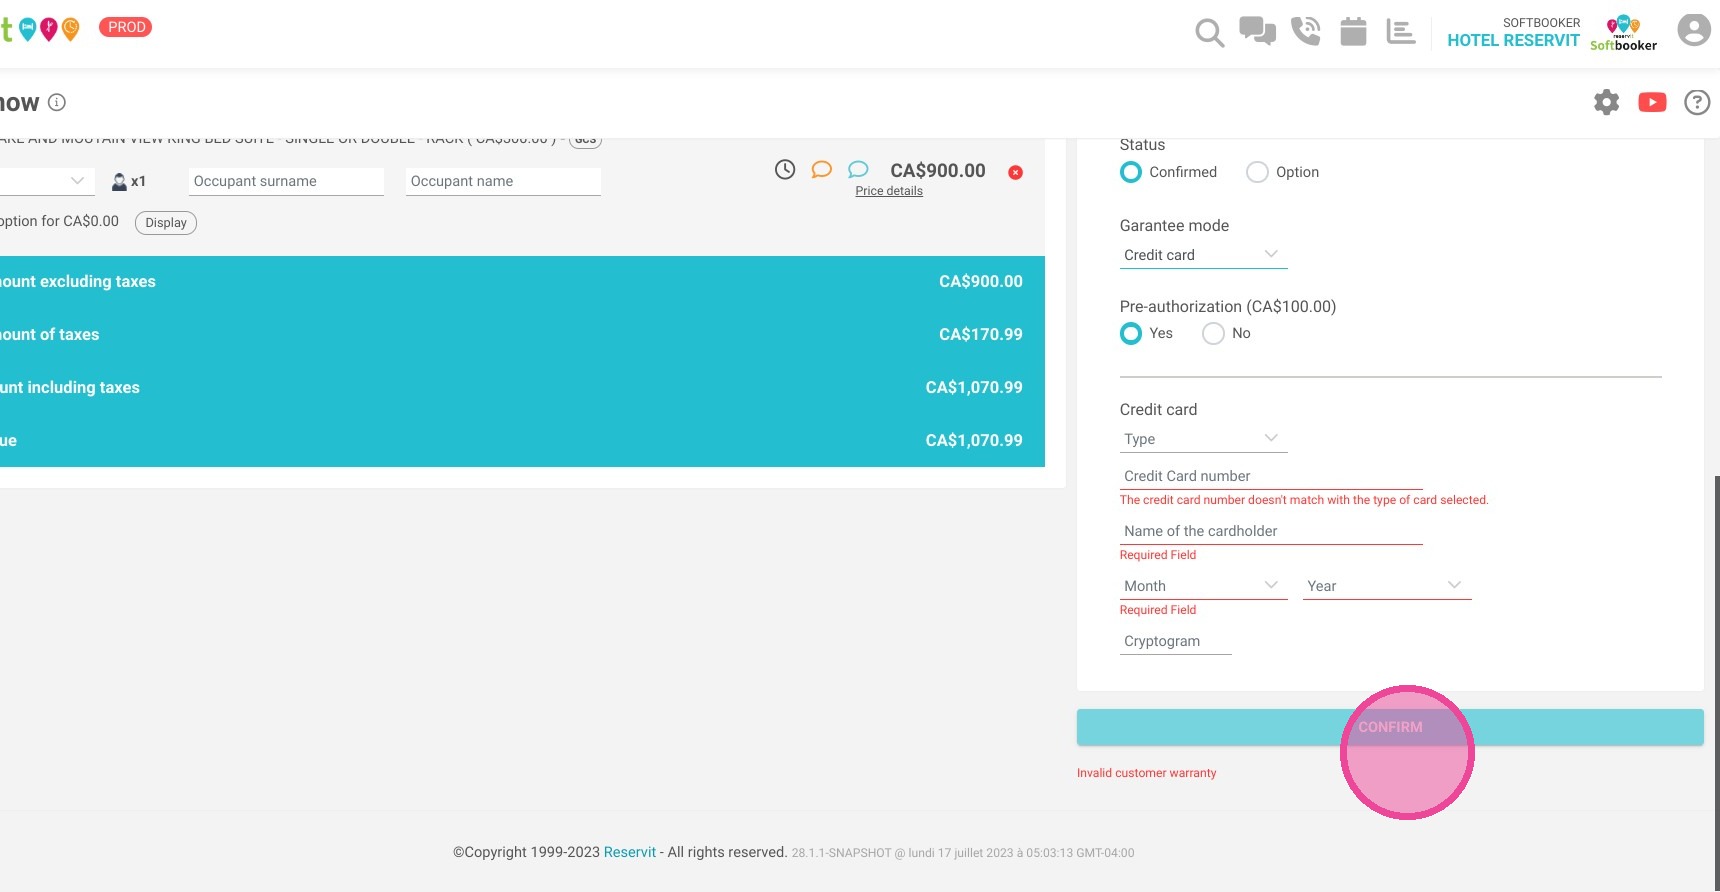
Finalize and confirm the reservation: Complete any remaining guest information fields and click to officially save and lock the booking into your schedule.
Why Follow This Guide? Following this guide saves your reception team valuable time by bypassing manual date entry, ensuring direct bookings are assigned to the correct rooms immediately. It provides an optimized, error-free workflow that prevents overbooking mistakes and dramatically accelerates front-desk response times.
1. To select your dates, click and drag from your check-in date to your check-out date, or simply double-click on your desired check-in date.
Double click on the date of the check-in requested.
2. The Call center will open with the dates you have selected and for the unit you have selected too.
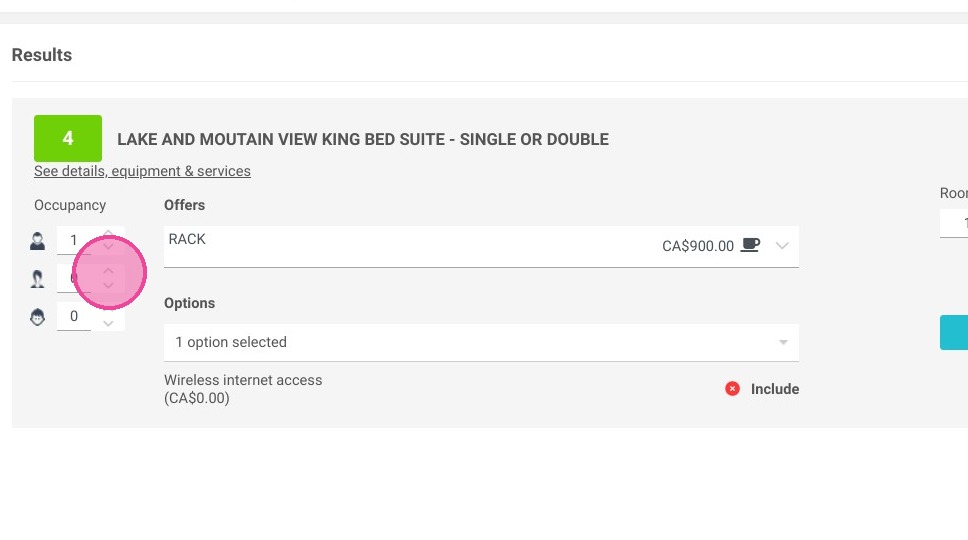
3. You can change the number of person in the unit and then take the booking as you used to.

4. Click "ADD"
5. When everything is completed you can confirm the booking.