Article Summary: Discover how to configure and manage the automated self-checkout feature within Reservit Accommodation to enhance your guest experience. This step-by-step guide explains how to enable automated departure emails, customize multi-language templates with essential functional tags, and monitor daily checkouts directly from your reservation calendar. By automating this process, your property will reduce front-desk bottlenecks and allow guests to securely review invoices and settle payments independently.
The 4 Key Steps to Set Up Self-Checkout:
-
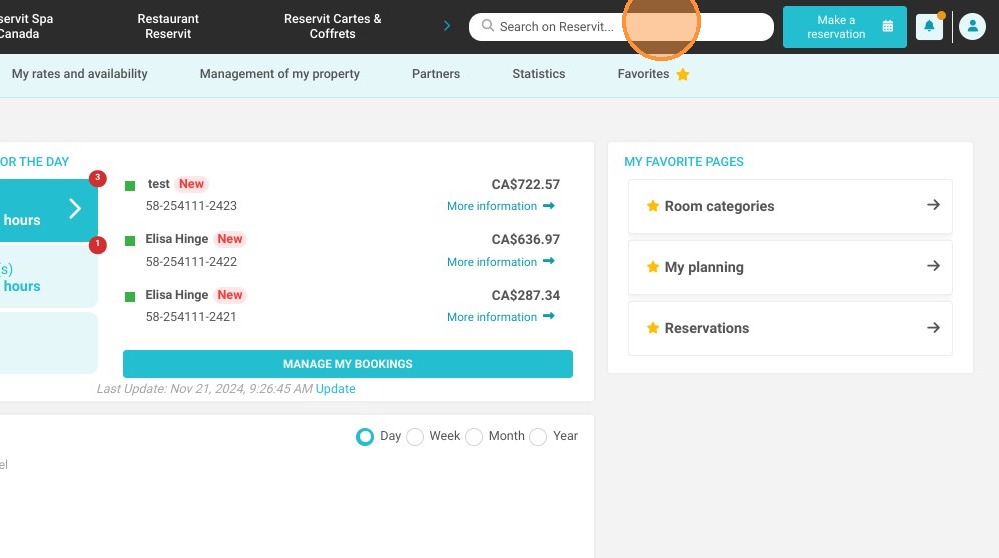
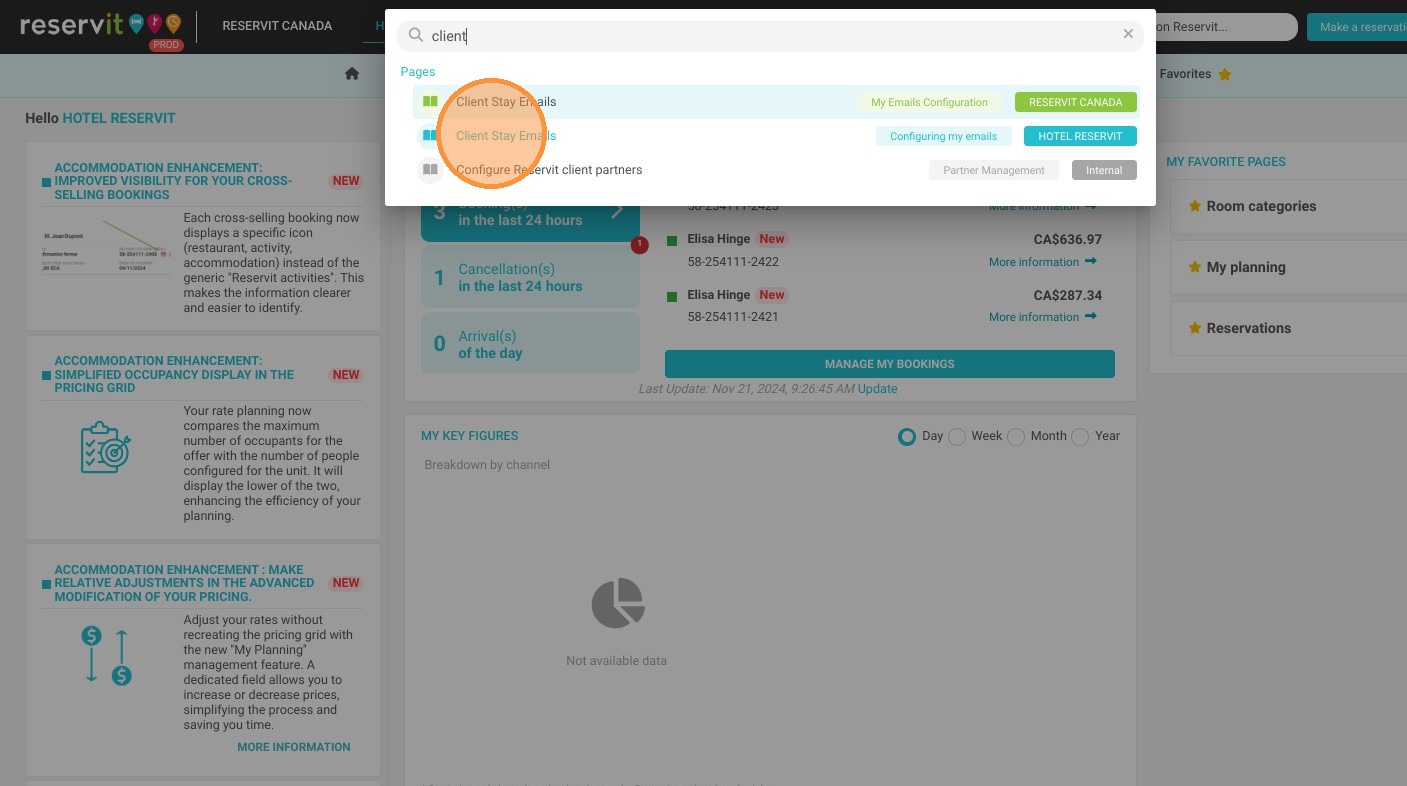
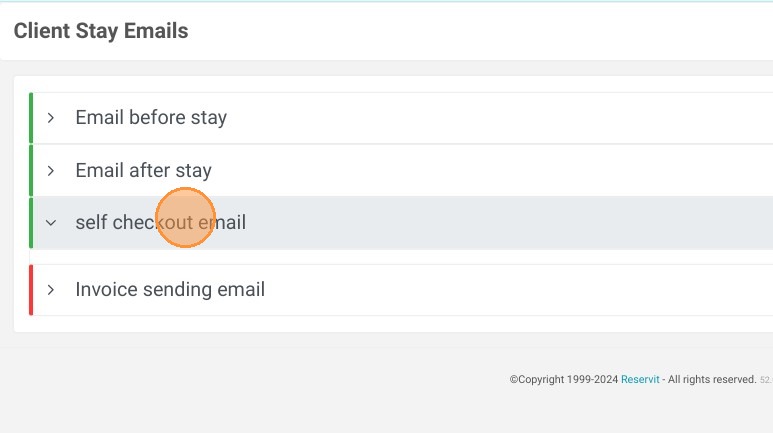
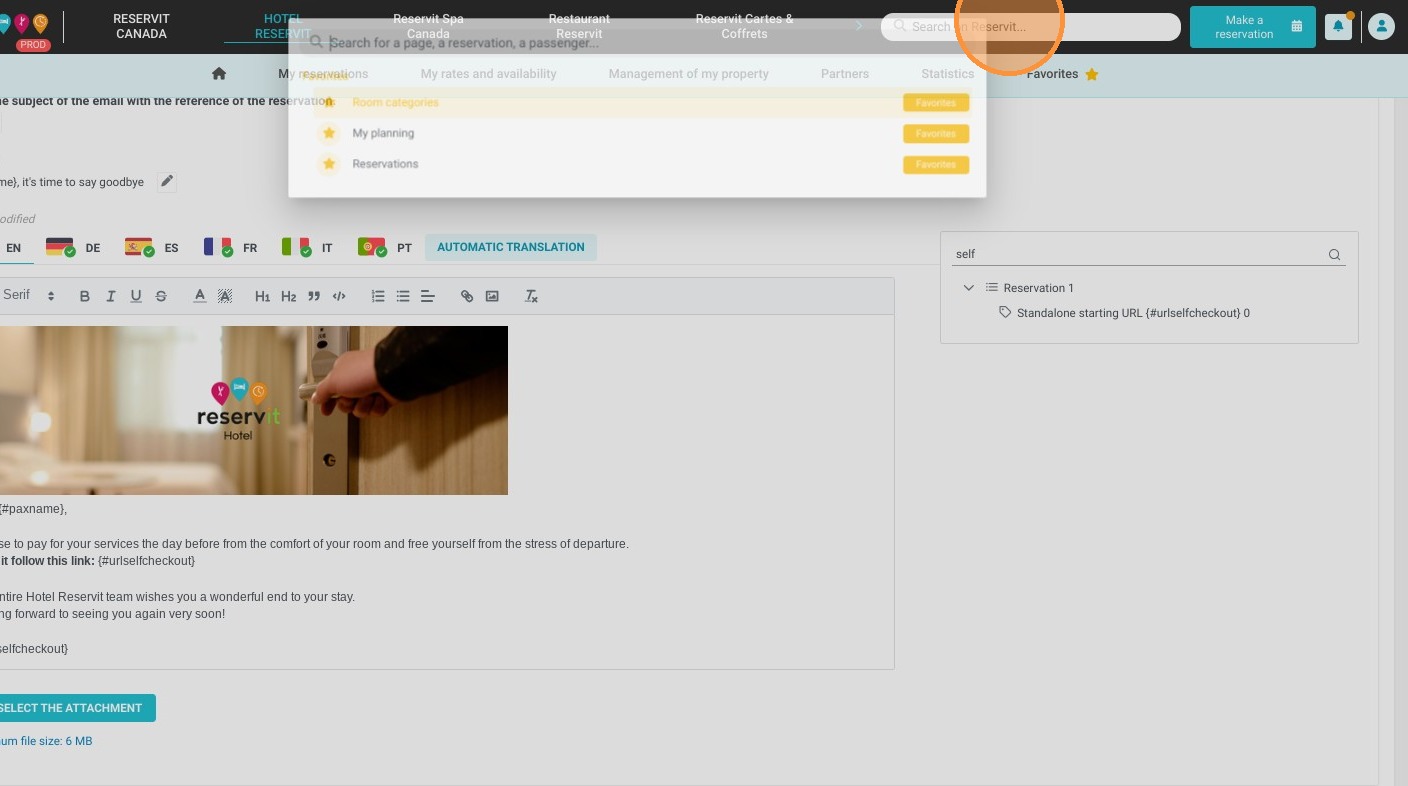
Access the email configuration: Click the global "Search on Reservit..." bar at the top, type "Client Stay Emails," and select the matching menu option.
-
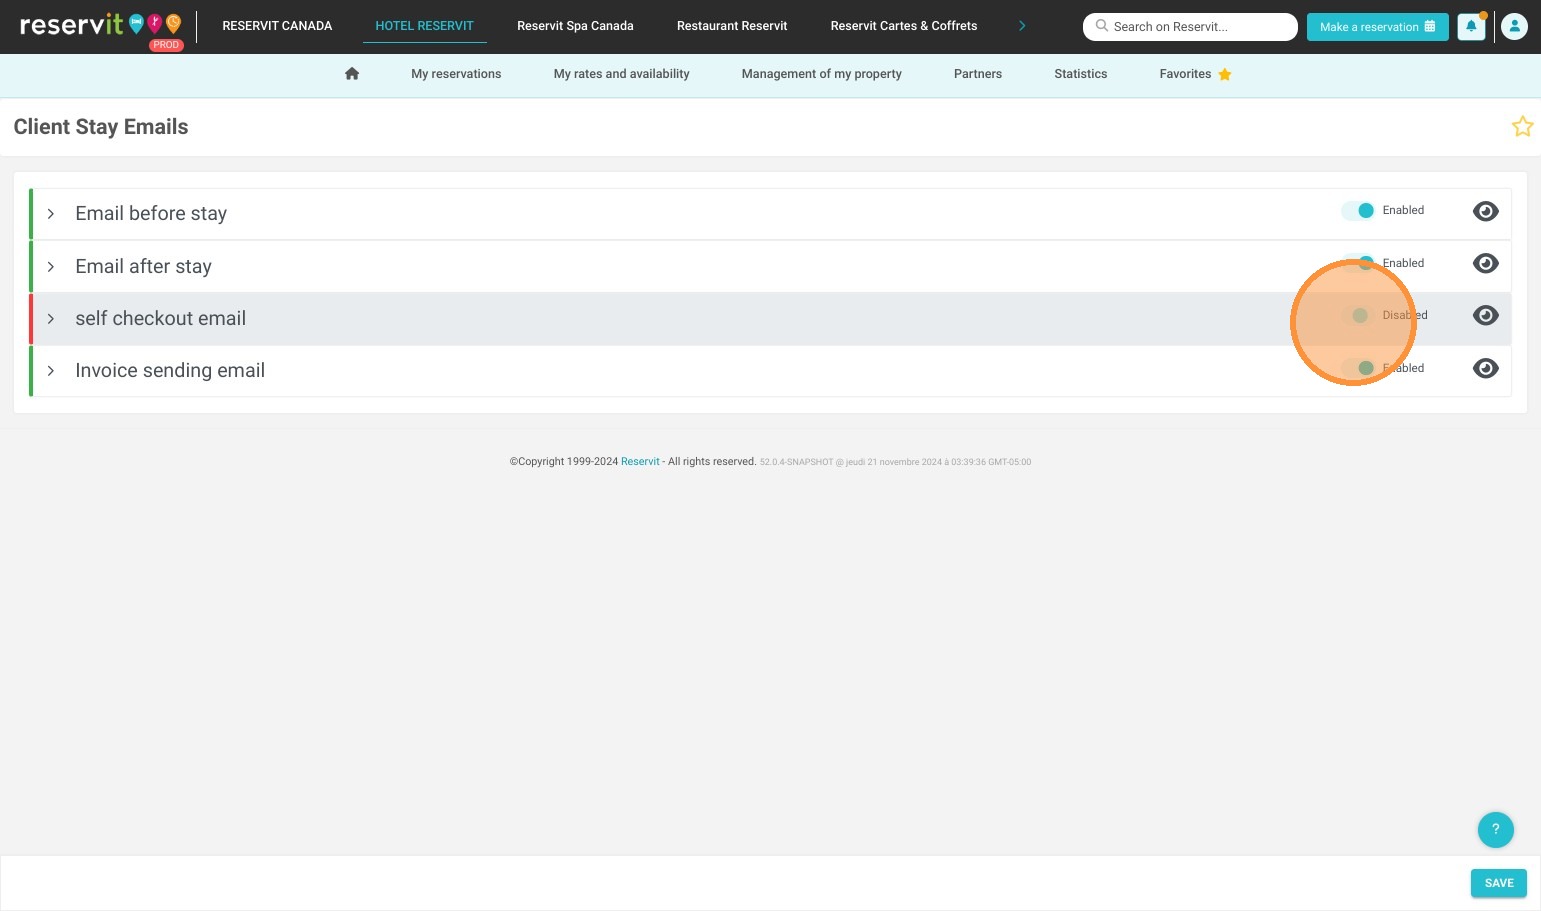
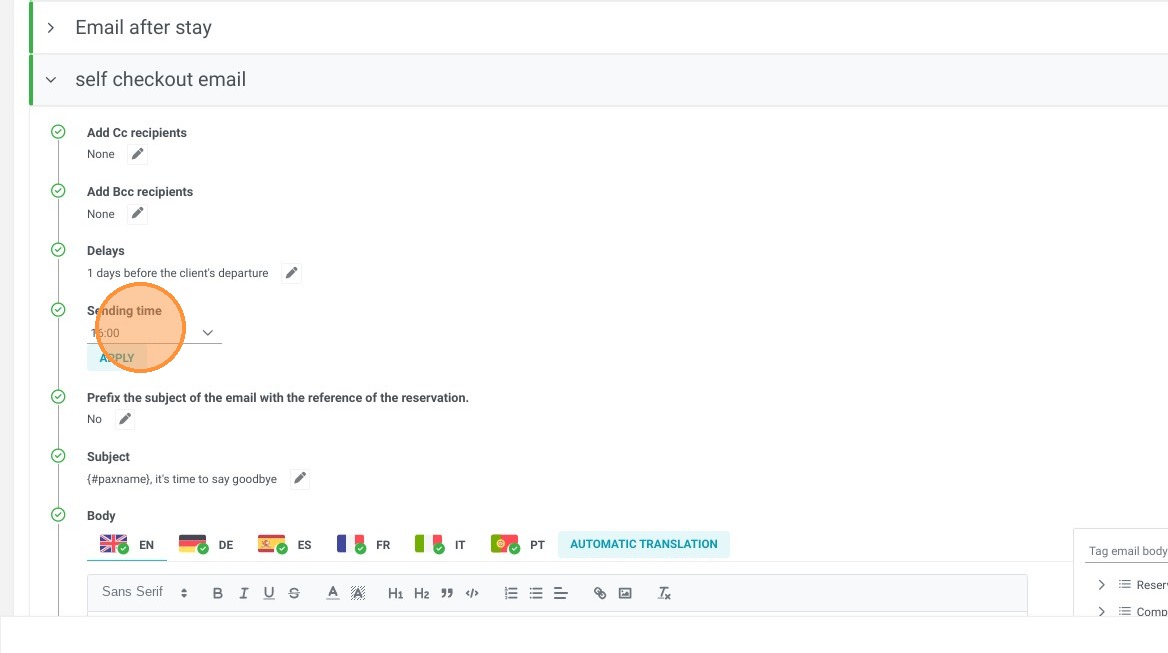
Enable and schedule the checkout email: Navigate to the "Self checkout email" section, toggle the status to "Enabled," and define your preferred automatic daily sending time (e.g., 16:00).
-
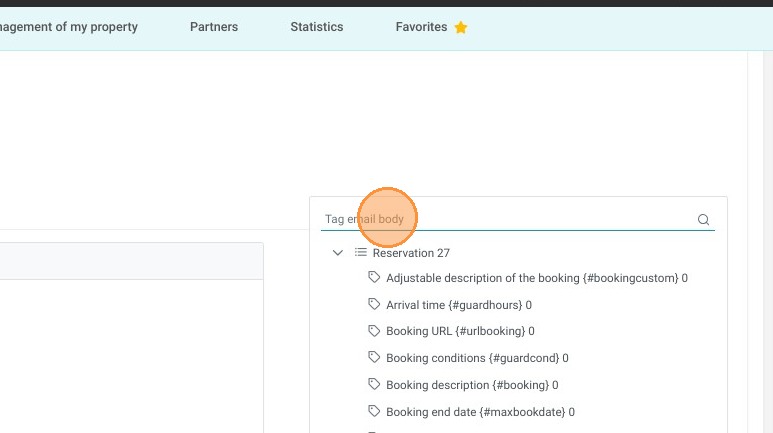
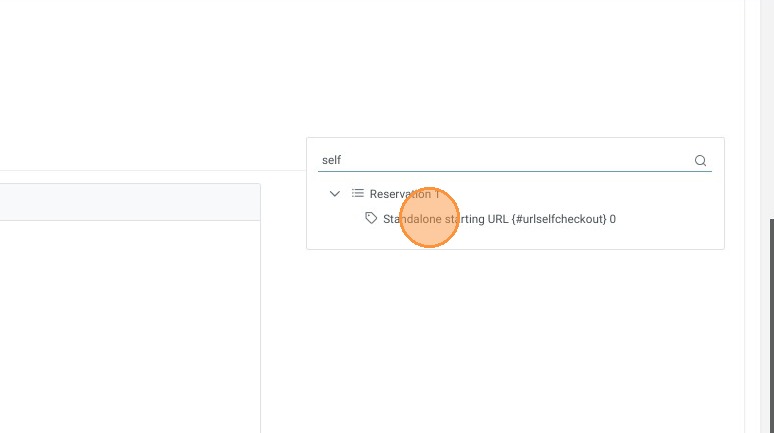
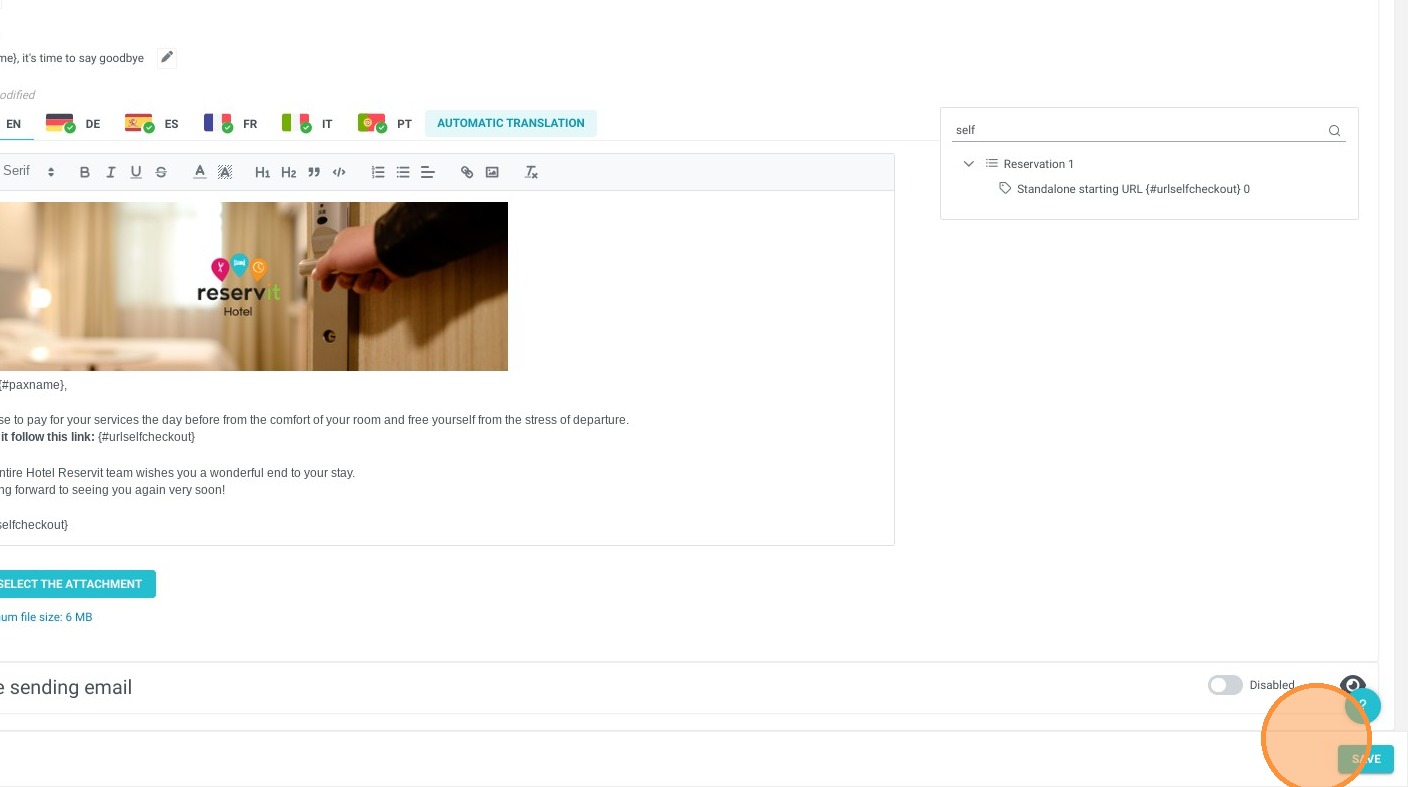
Customize and localize content: Personalize the email subject and body with your branding, translate the text into your active target languages, and insert the mandatory
{#urlselfcheckout}tag before clicking "SAVE." -
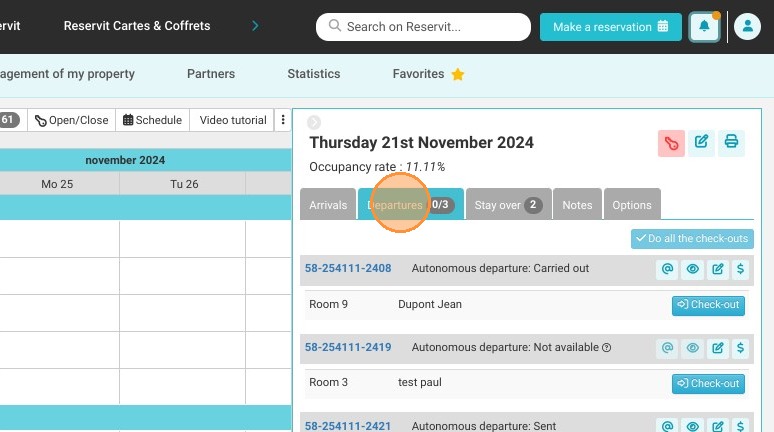
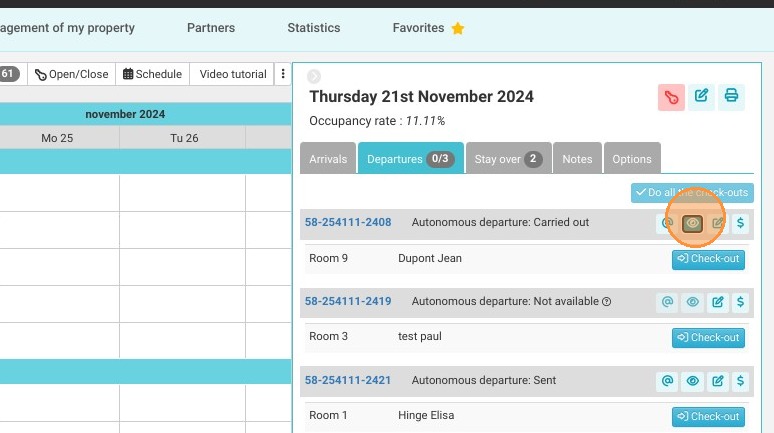
Manage daily departures on the planning grid: Navigate to your reservations calendar to view daily departures, where you can uncheck specific bookings to skip the email, or use the schedule sidebar pictograms to preview, edit, access billing, or manually resend the checkout link.
Why Follow This Guide? Activating self-checkout modernizes your property's operations, drastically reducing front-desk wait times during peak morning departure hours. It minimizes manual administrative tasks for your staff while offering your clients a seamless, safe, and entirely autonomous check-out experience.
Step 1 - Setup the self checkout
1. To configure the self checkout, please go to "Search on Reservit..."
2. Type and Click "Client Stay Emails"
3. Then go to the “Self checkout email” section.
Click on "self checkout email"Activate the “self checkout email” by switching to ''Enabled''
4. Set the desired time for sending the self checkout email, ex: 1 p.m.
Click "16:00" and ''Apply''
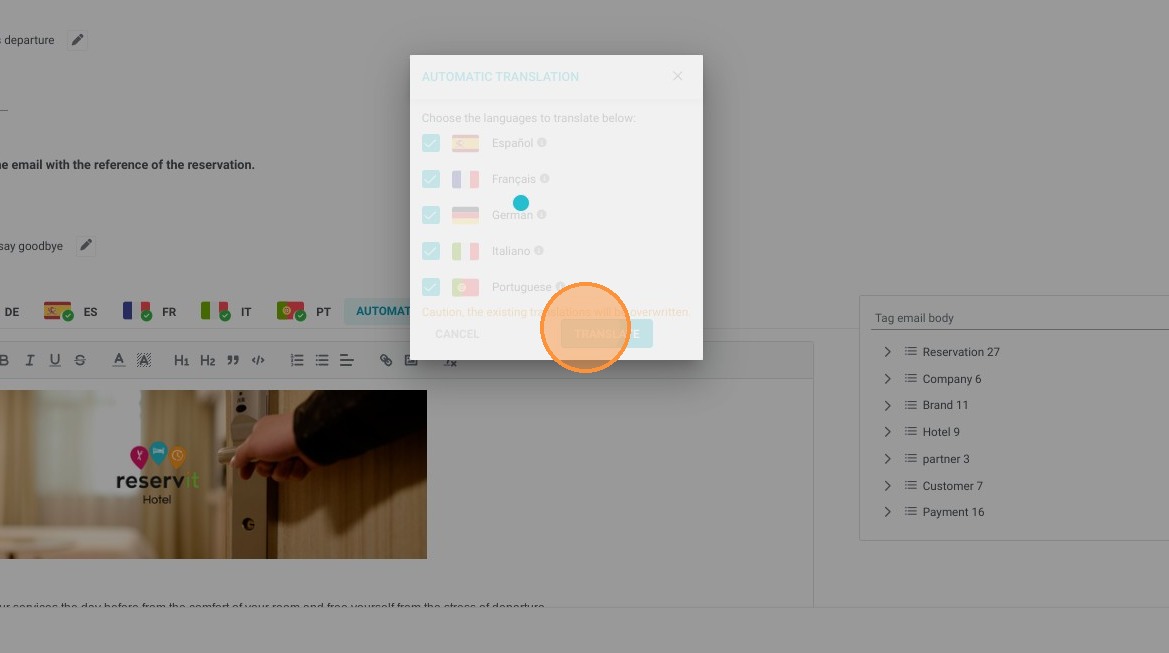
5. Don't forget to translate everything into other languages!
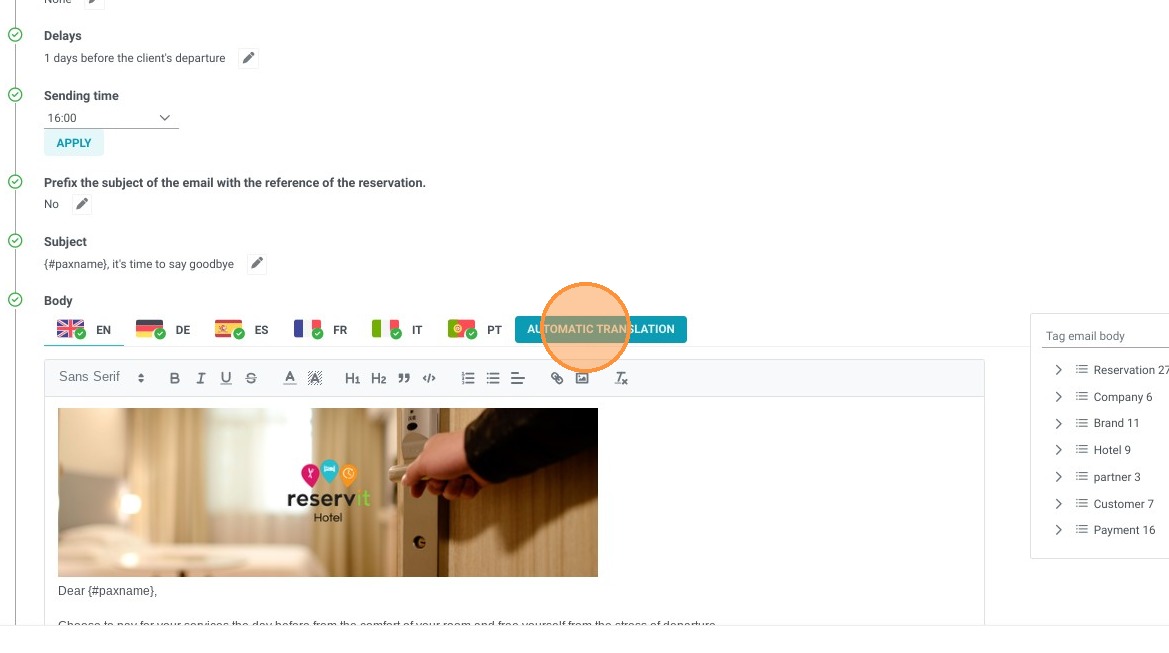
6. After programming the email sending time, you can then configure and personalize the subject of the email that will be sent to the customer.
In the body of the text you can add personalized text and images.
It is mandatory to add the tag {#urlselfcheckout} so that the email can be sent to the customer.
7. Do not forget to "SAVE"
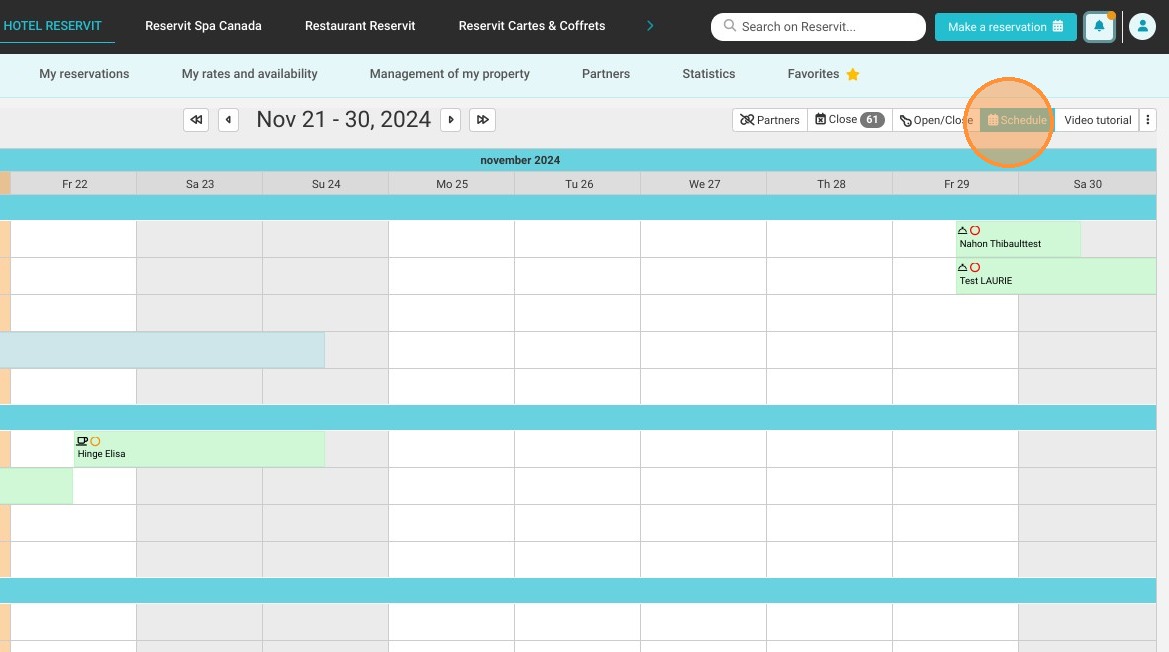
Step 2 - Reservations management
Alert: In your reservations planning, you will be able to manually manage self checkout.
8. Heading to your reservations planning
9. If you go to departures, you can see if self checkout is enabled for bookings departing that day.
Click on the date that interests you: ex: november 21st
You can uncheck at any time (before the automatic email send time) and the email will not be sent to the customer if you want them to go through reception to close their invoice.
10. Click "Schedule"
A window will open on the right with the arrivals and departures of the day.
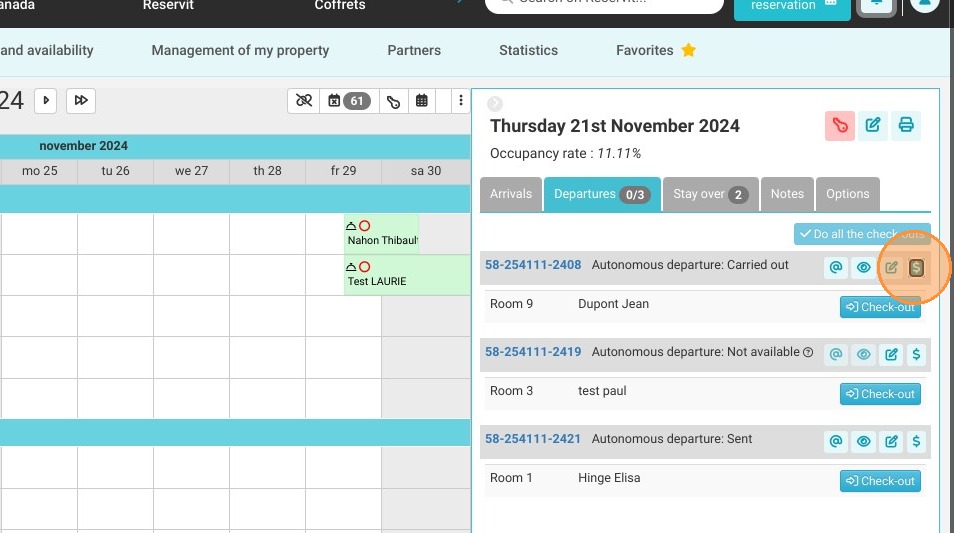
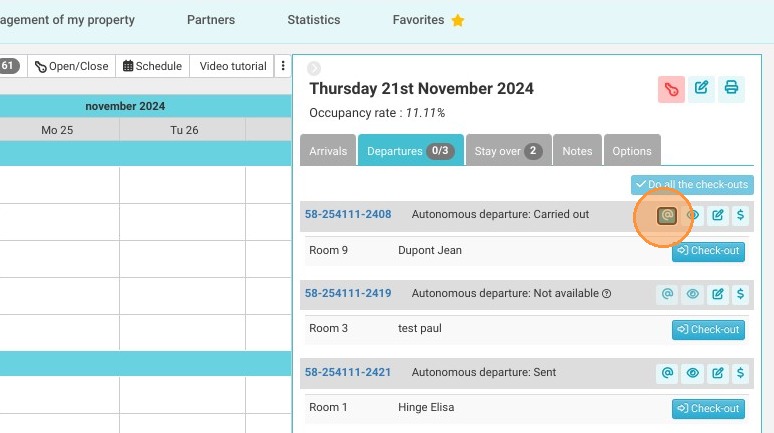
11. You also have pictograms that appear:
@ allows manual resending of the self checkout email
the eye: allows preview of what the customer will receive
pencil: edits the reservation
$: allows access to the customer's billing account
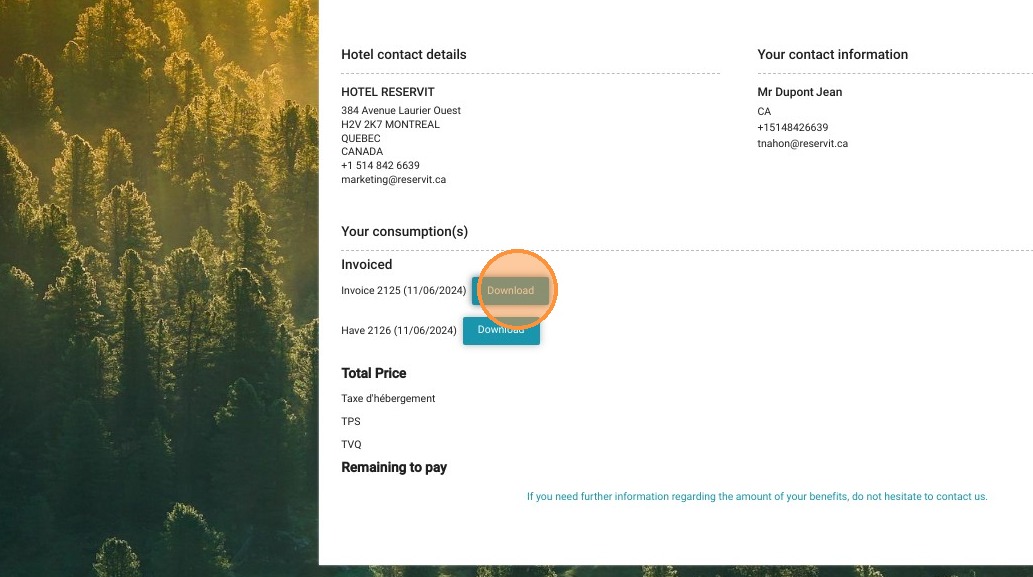
12. When the customer makes their checkout, they will land on this page which will summarize their reservation.
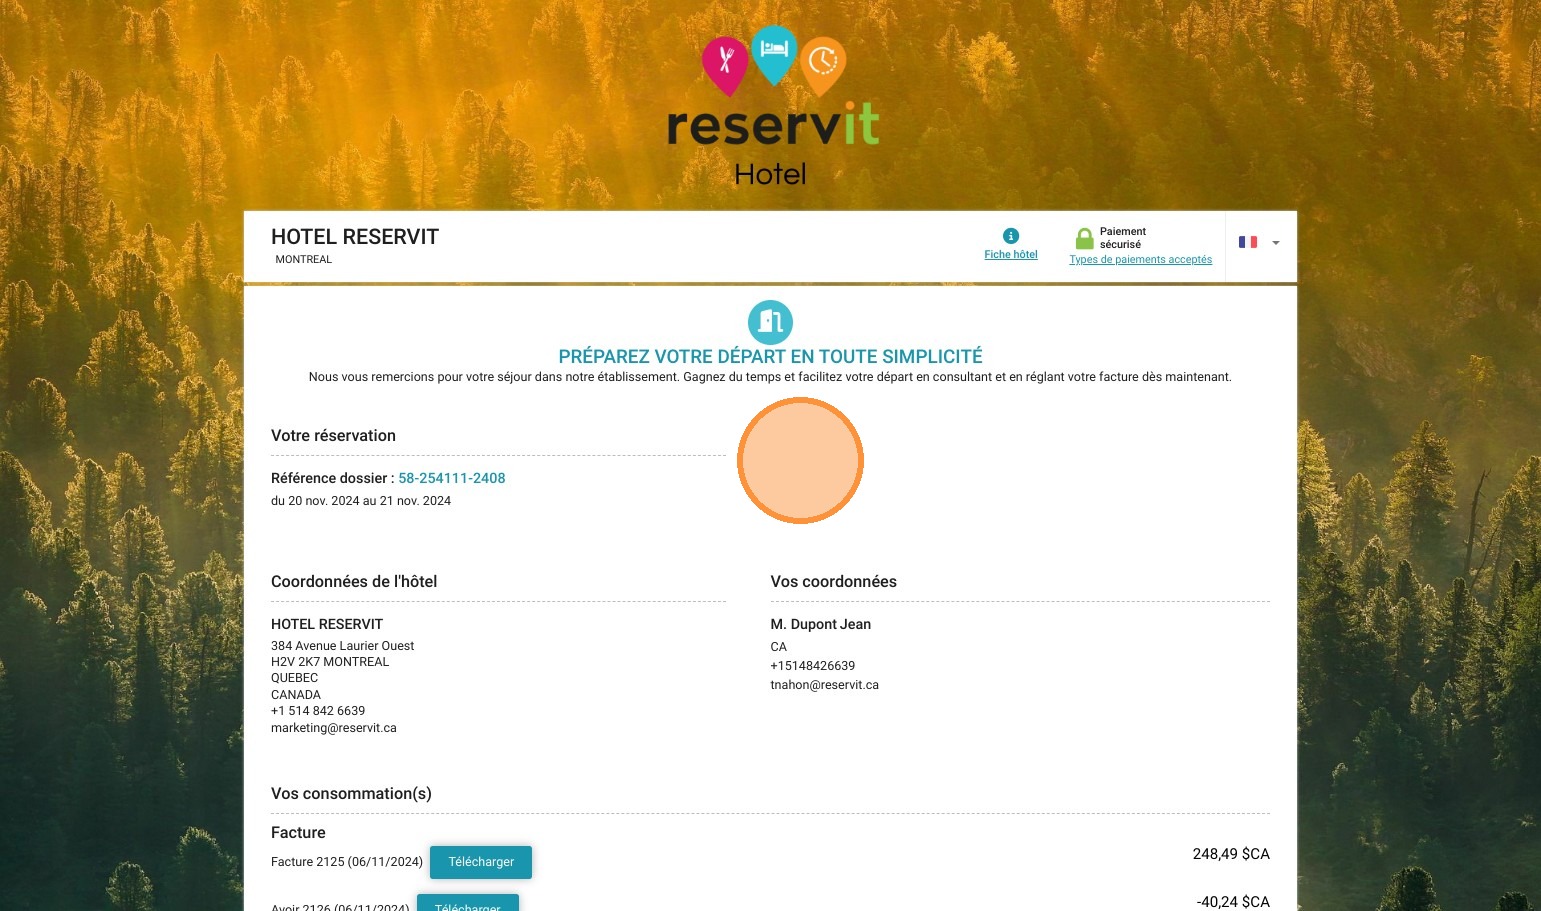
13. The customer can then “download” their invoice and pay for their reservation independently.