Article Summary: This practical tutorial explains how to use the hosting models built into Reservit Accommodation to quickly create pre-filled room types. You will learn how to open the model catalogue, adjust the default configuration, complete the required fields and apply your reservation and cancellation conditions. With this guide, you set up your rooms faster and keep your offers consistent across your property.
The 5 Key Steps to Use a Hosting Model in Reservit:
-
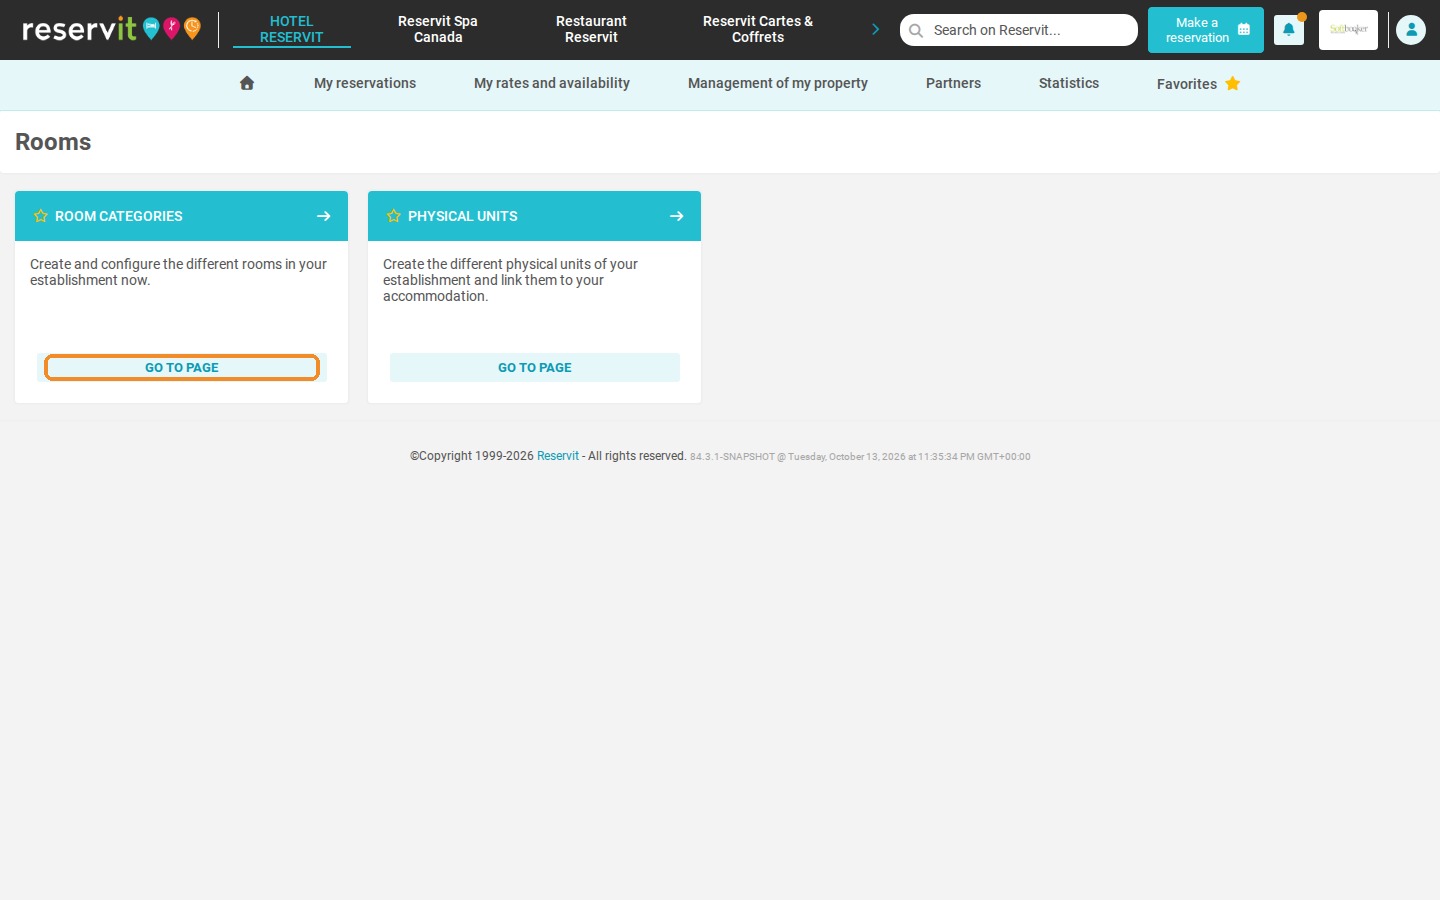
Go to your room categories: Click "Management of my property" > "Rooms", then "Go to page" on the "Room categories" tile.
-
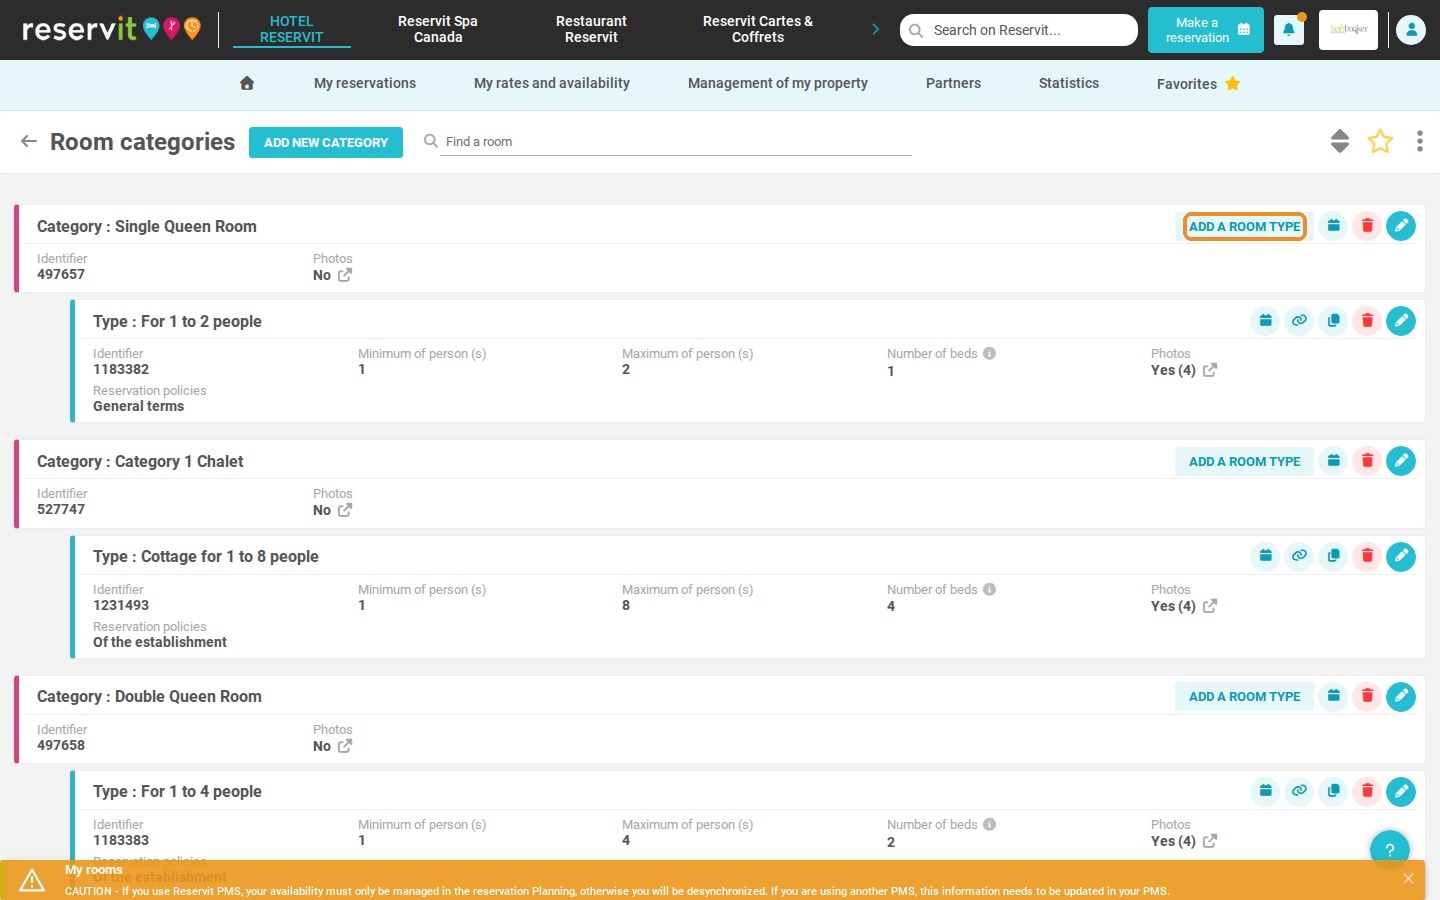
Open the model catalogue: Click "Add a room type" on the category of your choice to display the "Hosting models" window.
-
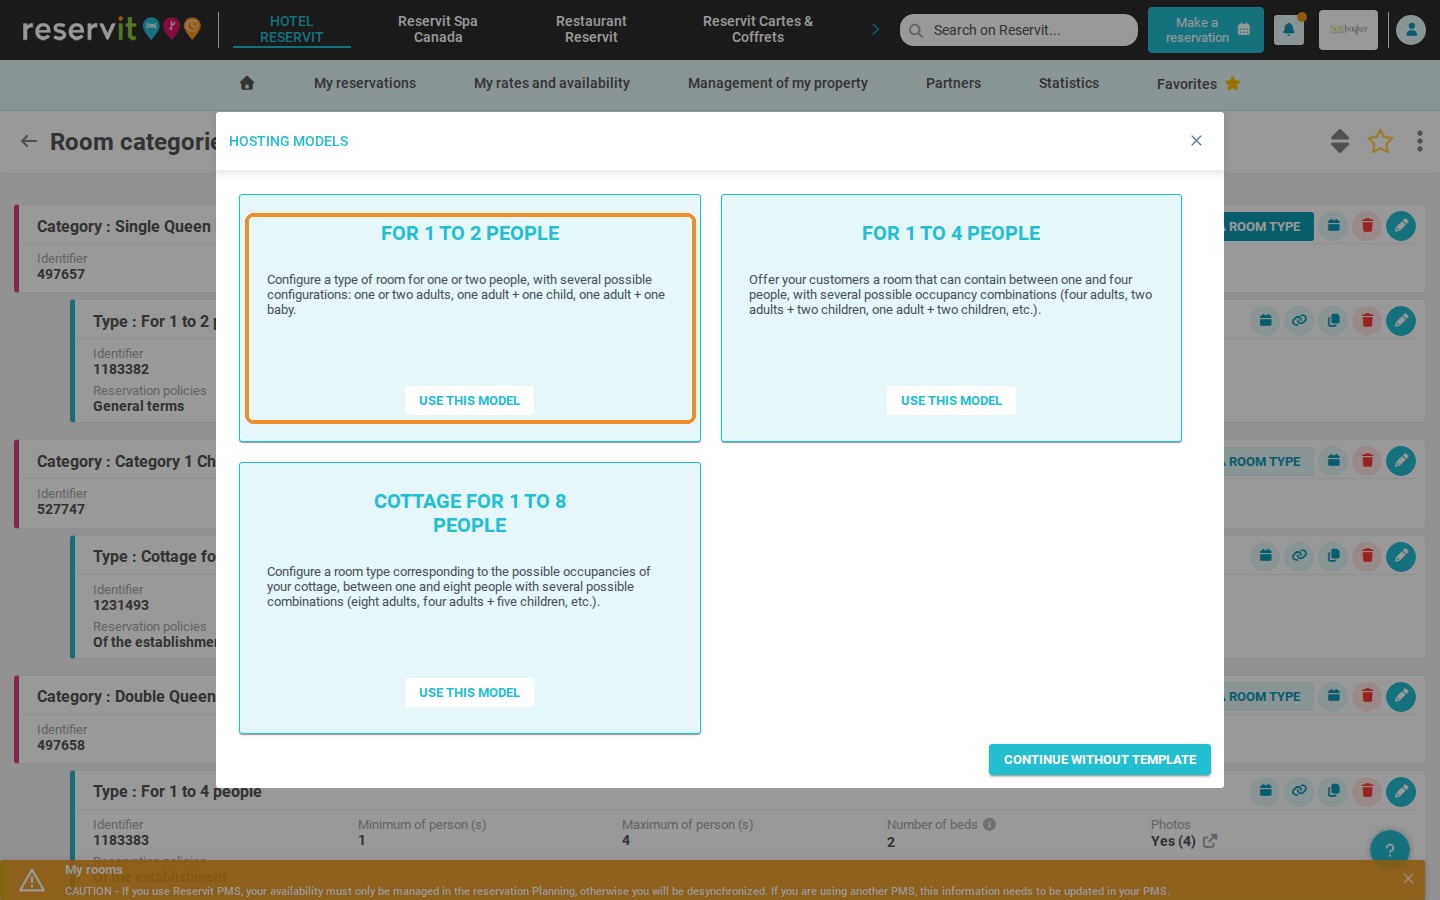
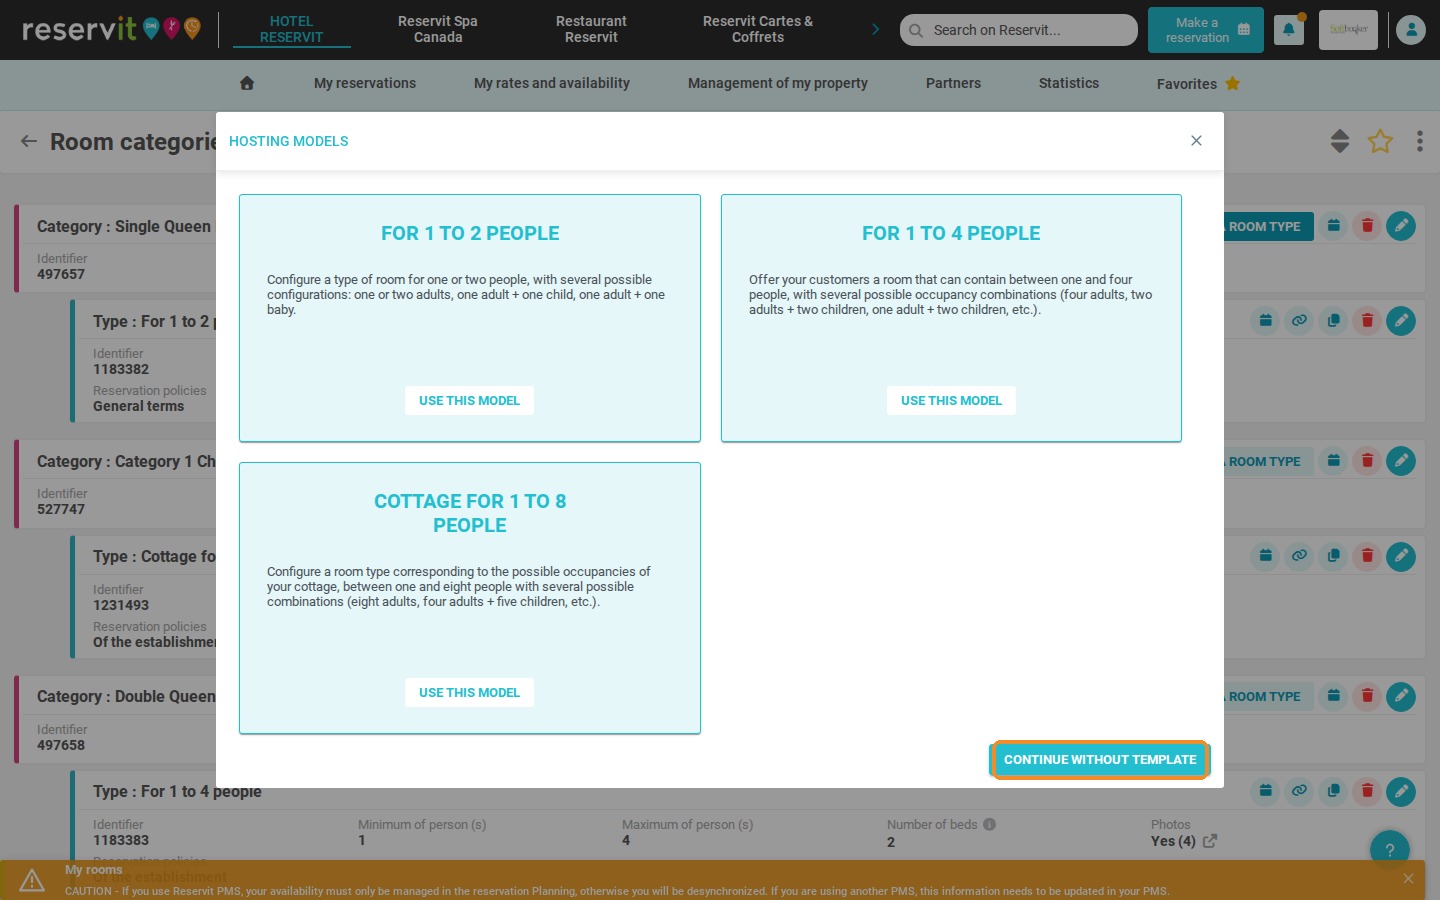
Choose the right model: Click "Use this model" on the model that fits your room, or "Continue without template" to start from a blank room type.
-
Complete the pre-filled room type: Review the default information, fill in the required fields marked in red (including the multilingual description) and check the reservation and cancellation conditions that apply.
-
Save the new room type: Click "Save" to create your pre-filled room type.
Why Follow This Guide? This guide helps you create your room types much faster while limiting omissions and input errors. By relying on Reservit's hosting models, you give your catalogue a consistent presentation and simplify the day-to-day management of your property.
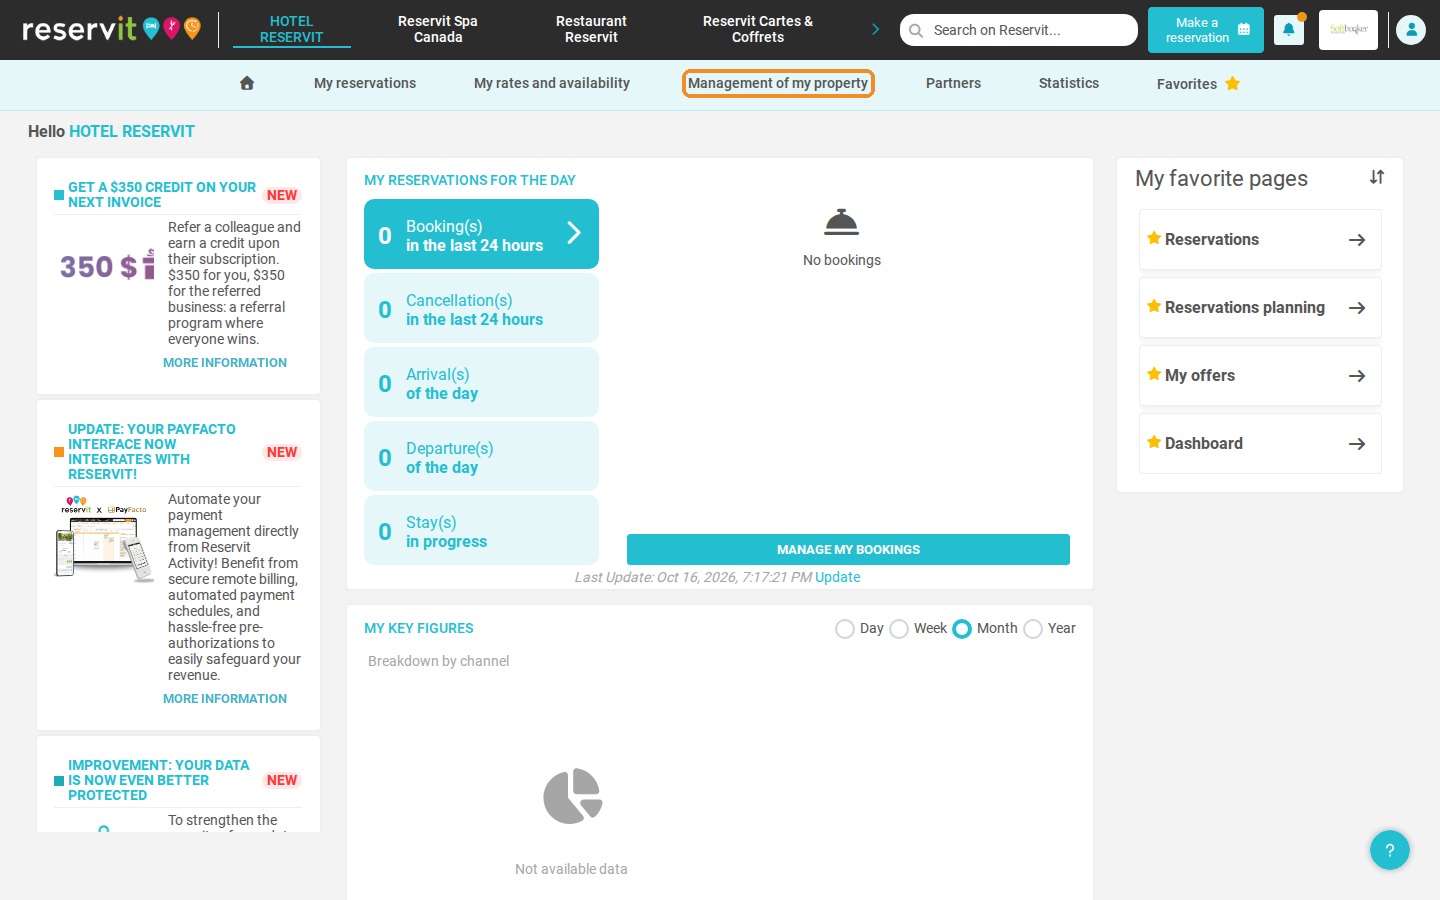
1. Hosting models let you create pre-filled room types in just a few clicks. Click "Management of my property" > "Rooms", then click "Go to page" on the "Room categories" tile.
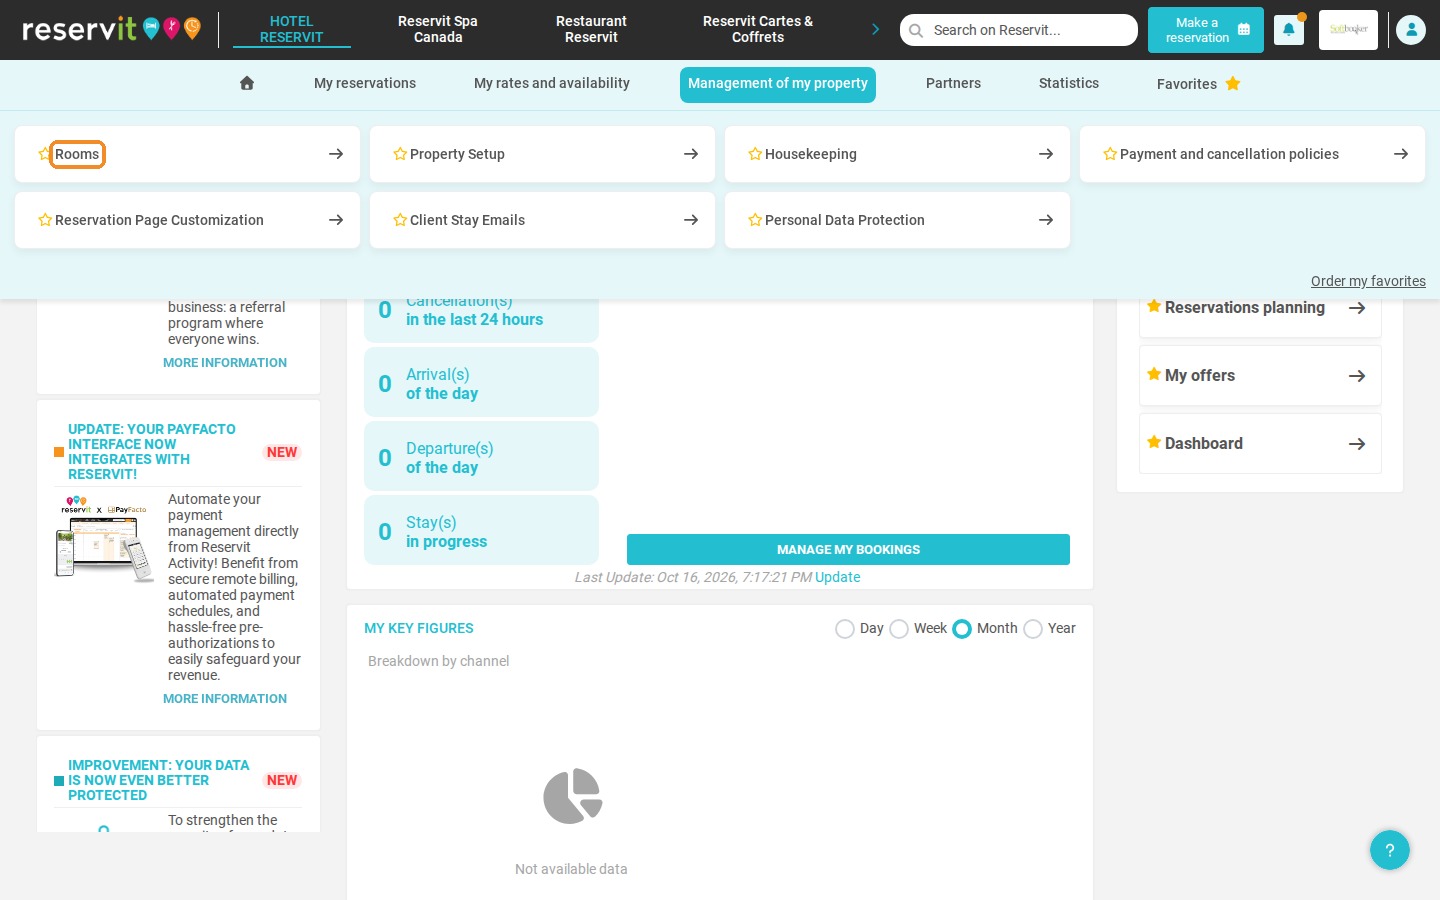
2. Click "Add a room type" on the category in which you want to create the new room type. The "Hosting models" window opens.
3. Choose a model (for 1 to 2 people, for 1 to 4 people or cottage for 1 to 8 people) and click "Use this model". To create a room type without a model, click "Continue without template".
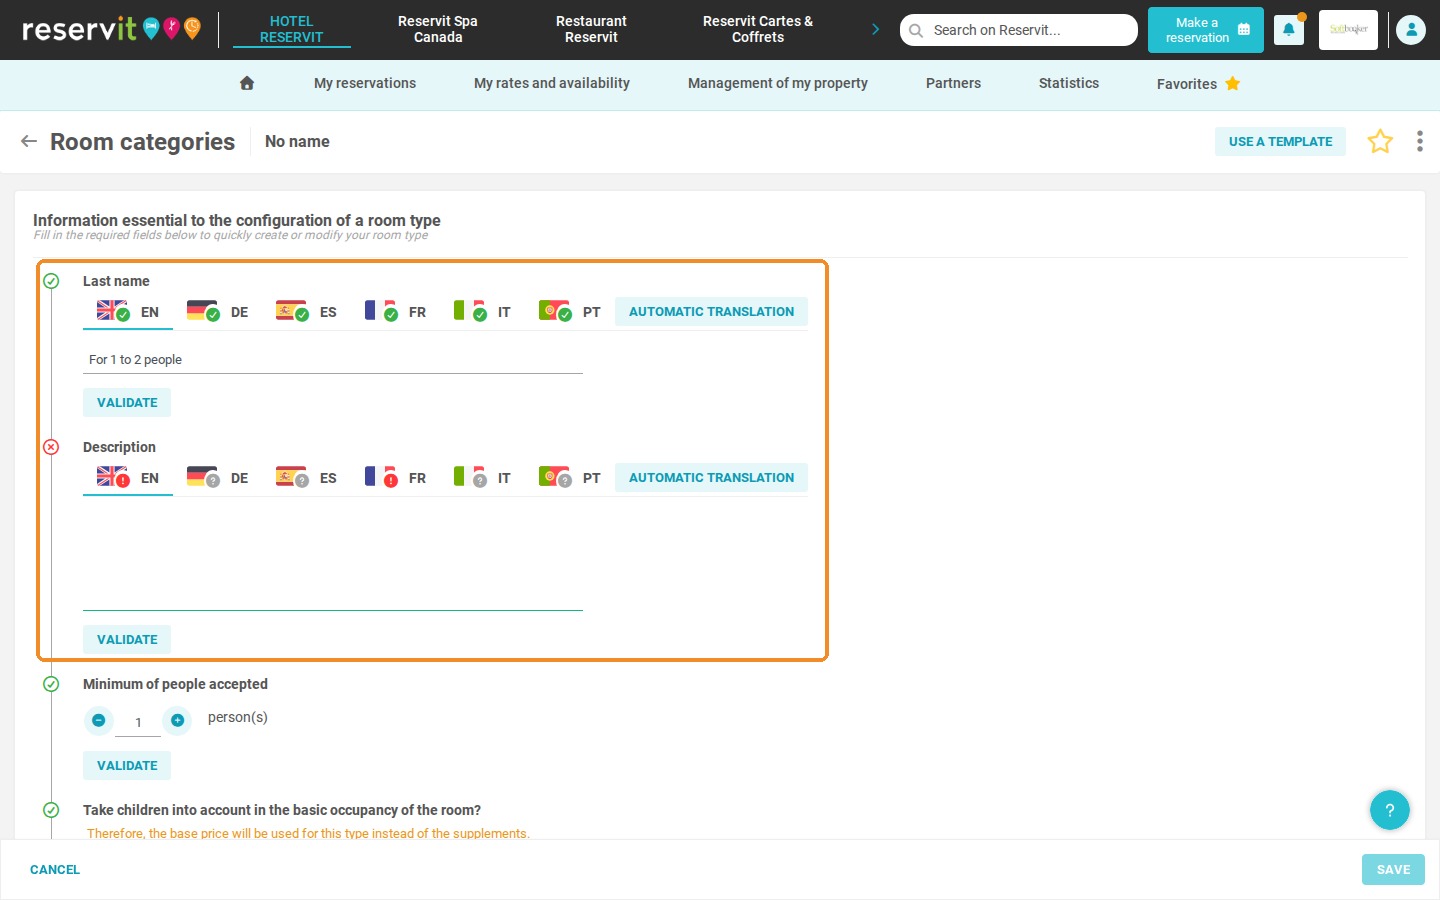
4. Your room type is pre-filled with the default information of the model: you can keep it, replace it or edit it. Complete the required fields (marked in red): enter your description, then translate it (the "Automatic translation" button can help).
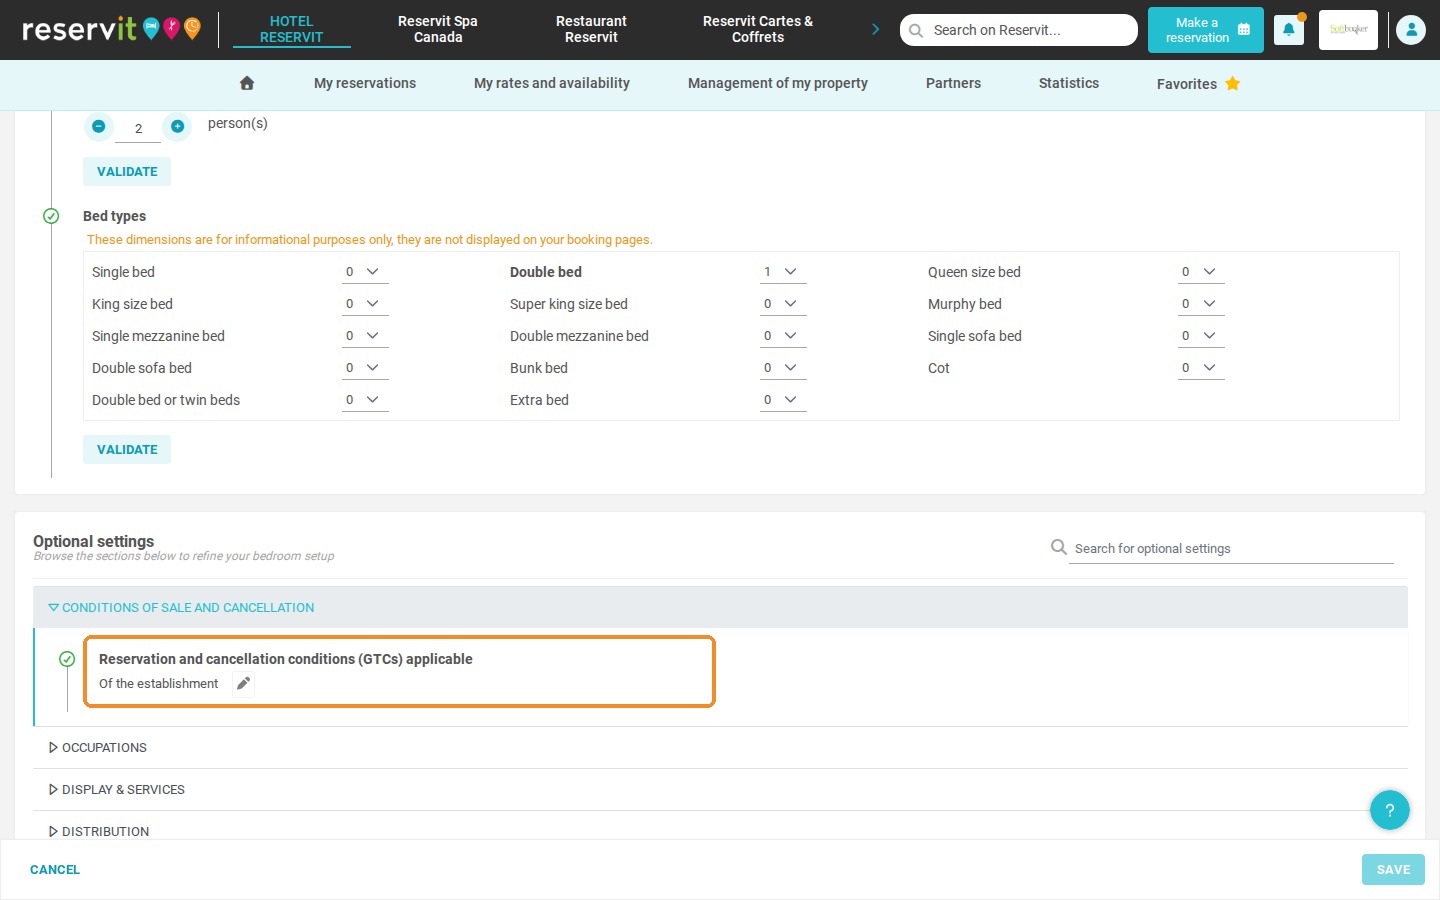
5. In "Optional settings" > "Conditions of sale and cancellation", click the pencil to choose the reservation and cancellation conditions (GTCs) that apply to this room type.
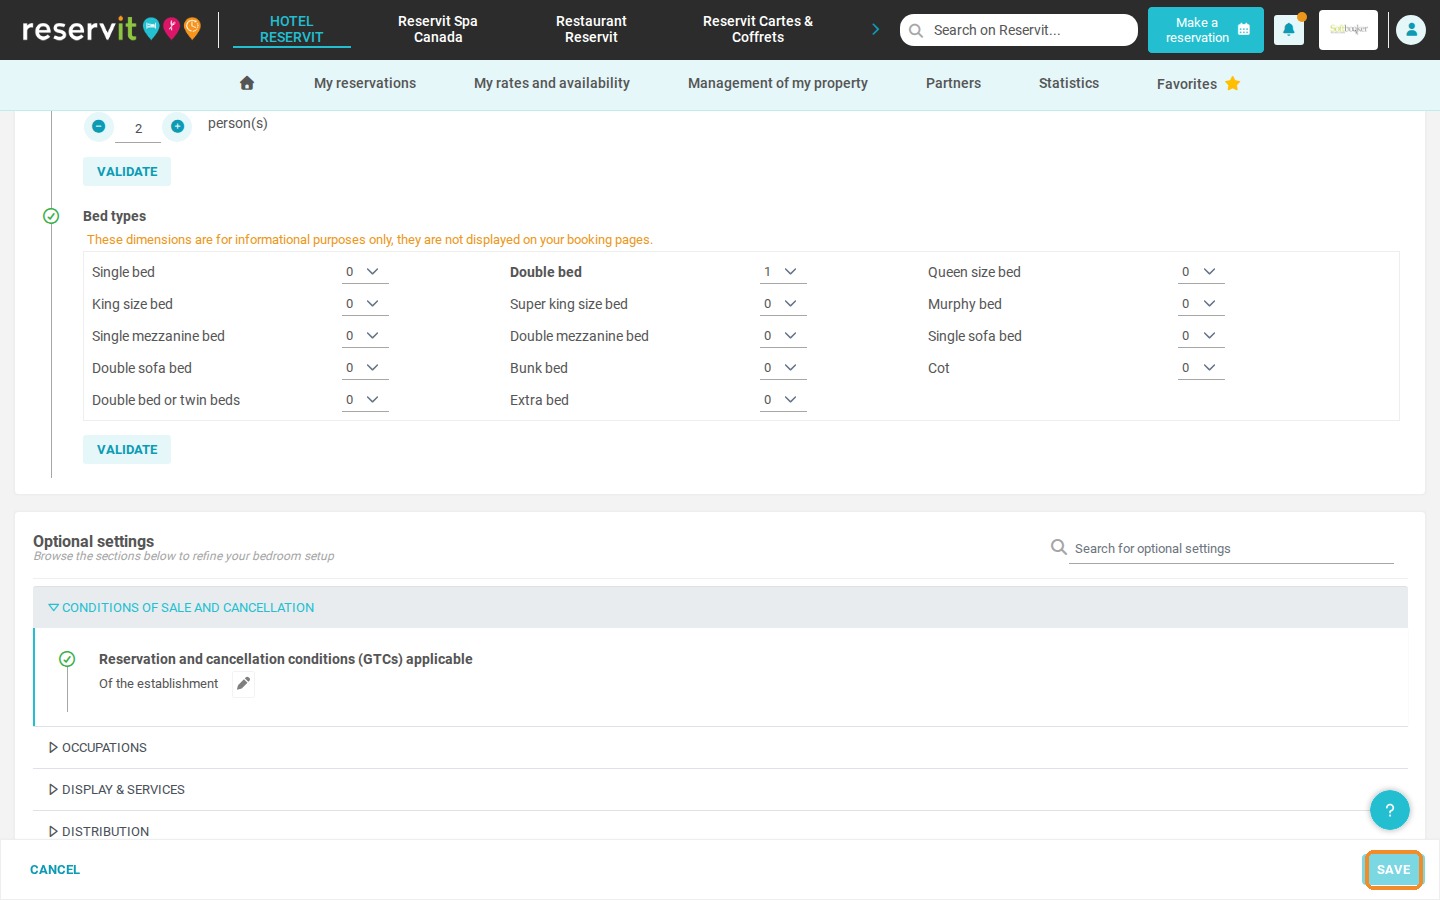
6. Click "Save".
To create a room type from scratch, see How to Create a Unit Type and Add New Room Configurations.