How to Configure Maître'D Integration and Set Up POS Connectivity in Reservit PMS
Article Summary: Learn how to seamlessly connect your Maître'D POS software with Reservit PMS to automate your point-of-sale and property data synchronization. This comprehensive tutorial will guide you through matching system IDs, setting up menu service lines, mapping local taxes, and configuring tips for clear, unified invoicing. By finalizing this POS integration, you ensure accurate ledger mappings and eliminate manual reconciliation discrepancies in your property's financial data.
The 4 Key Steps to Configure Maître'D POS Integration:
-
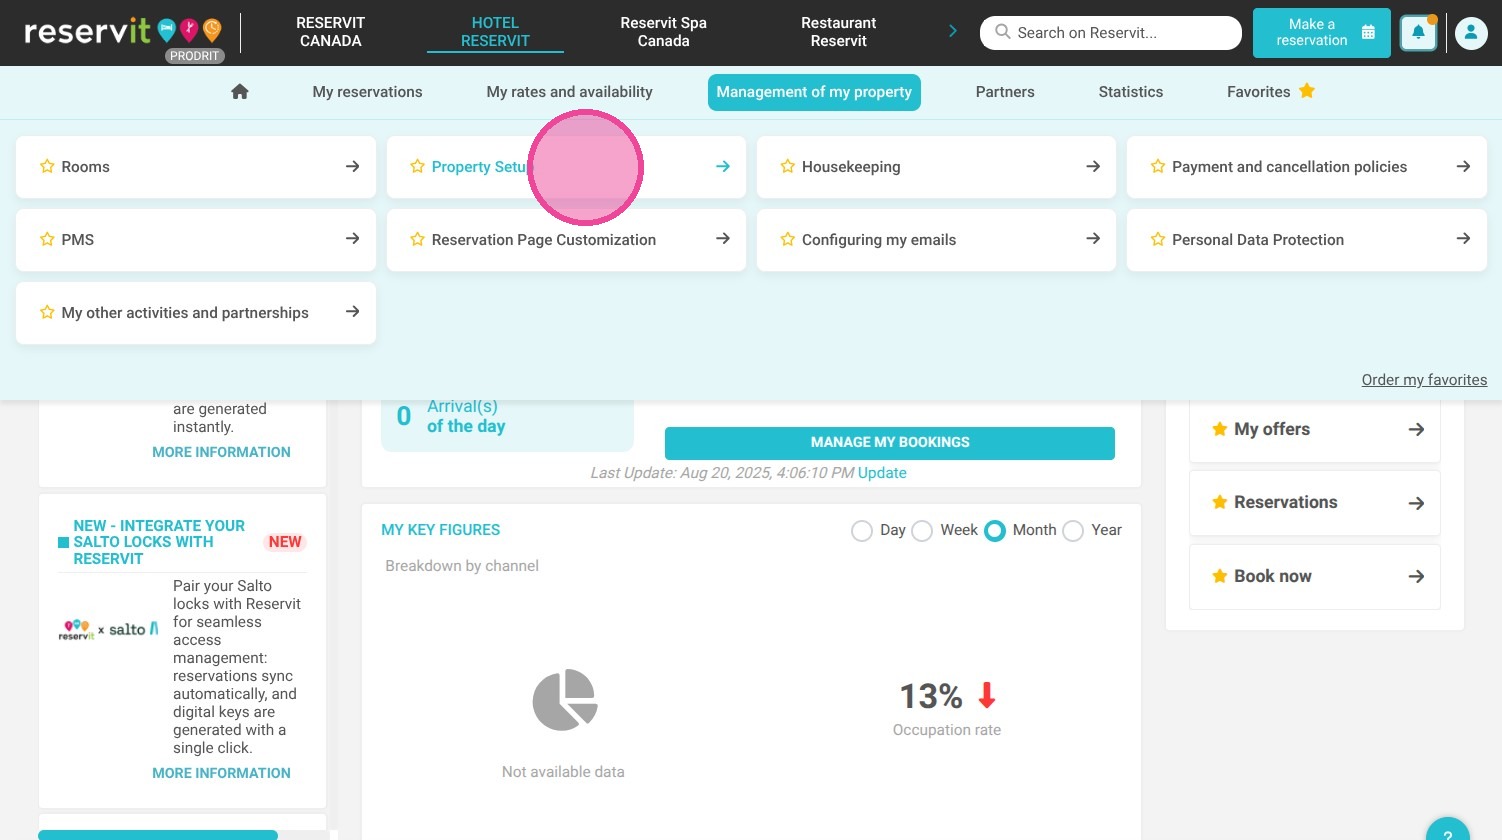
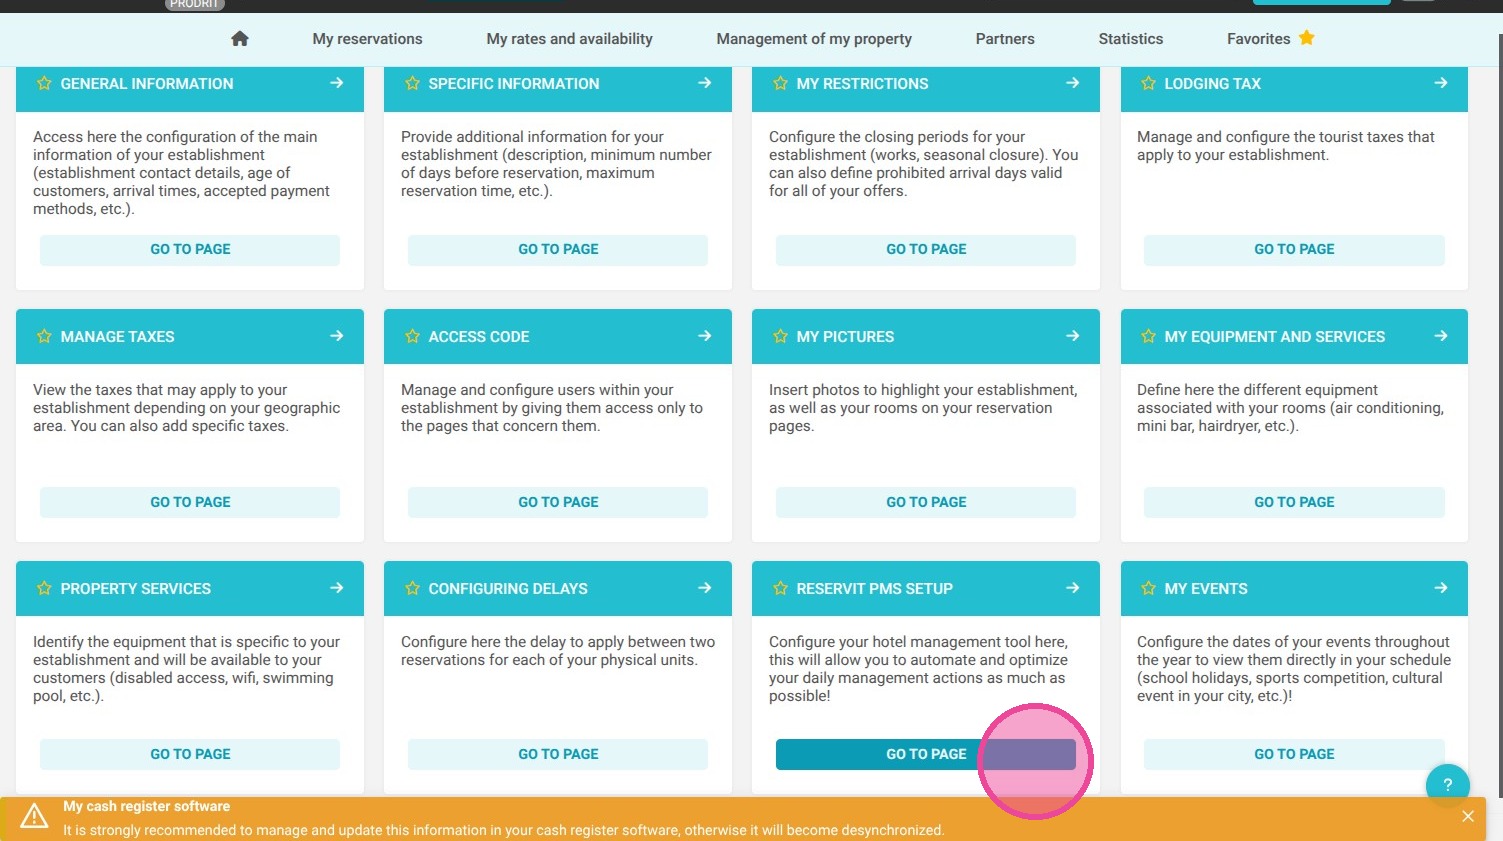
Access the Maître'D setup: Navigate to "Management of my property," select "Property Setup," choose "Reservit PMS Setup," and click on the "MasterD Connectivity" tab.
-
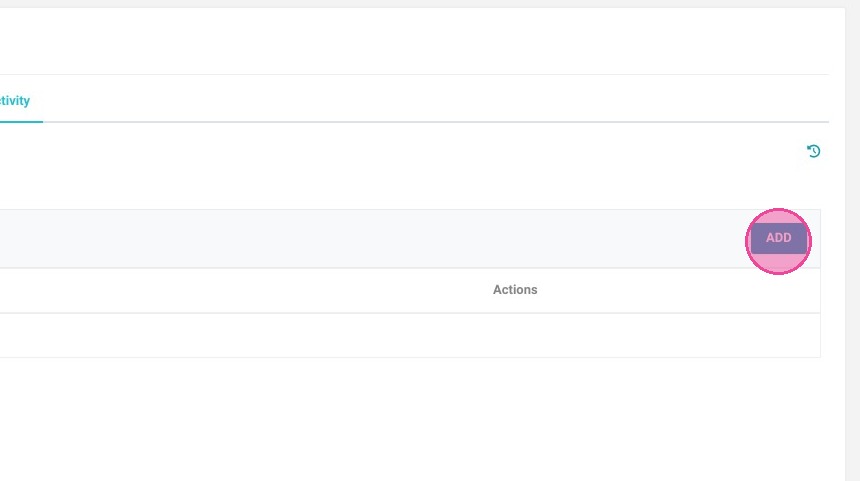
Add and map point-of-sale services: Click "ADD" to input your restaurant menus or services—ensuring the IDs match your Maître'D system precisely—then assign their respective labels, turnover report categories, and internal accounting codes.
-
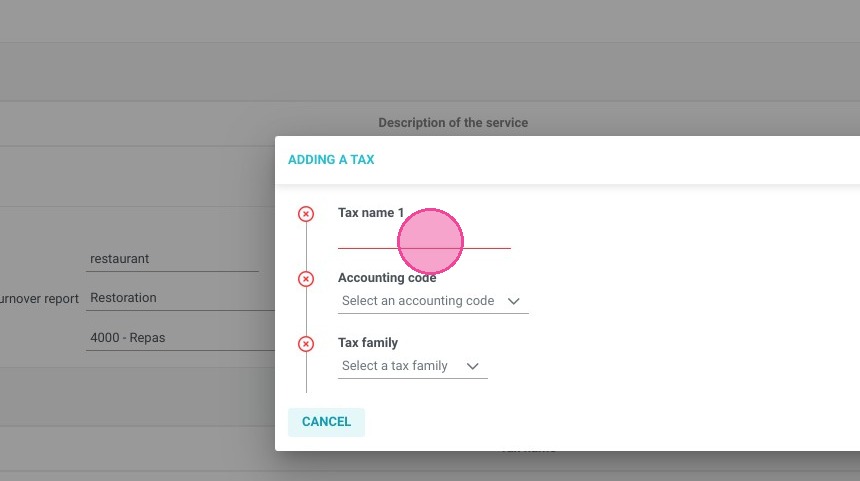
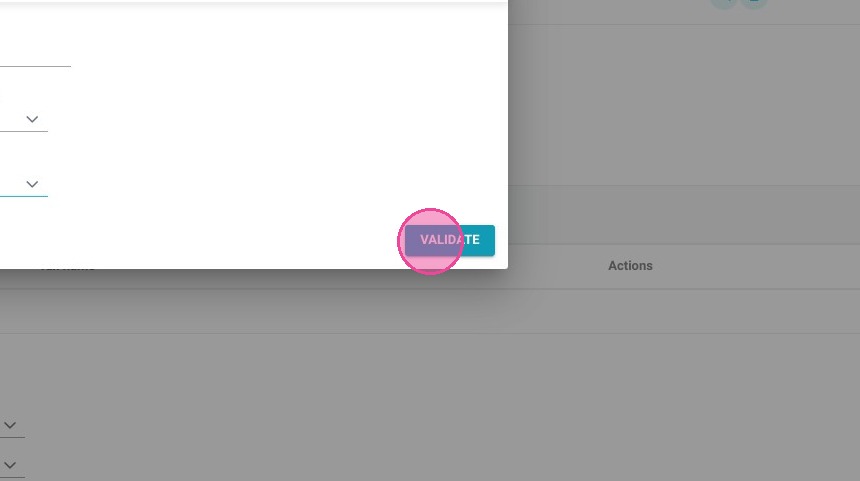
Configure tax mapping rules: Click "ADD" under the tax line section to input your active tax structures, map them to the corresponding ledger accounts, select the relevant tax family, and click "VALIDATE."
-
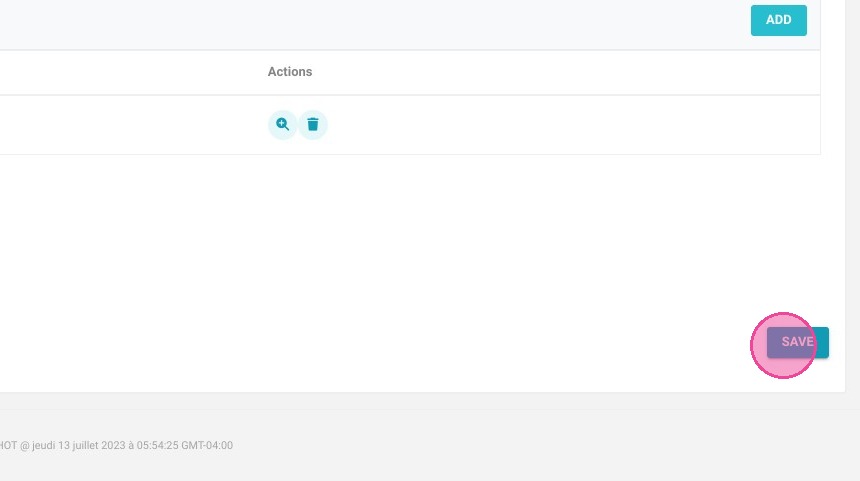
Set up tip lines and save: Choose how restaurant tips should be labeled on guest invoices, link them to the proper accounting codes and turnover options, and click "SAVE" to finalize the synchronization.
Why Follow This Guide? Linking your restaurant POS with your property management system eliminates manual data entry mistakes and guarantees absolute consistency across your department invoices. This technical integration saves your administrative and hospitality teams hours of double-check verification while delivering reliable, automated turnover reporting.
Alert: The IDs entered into Reservit must correspond precisely with those you have in Maître'D.
1. Go to Management of my property > Property Setup.
2. Access Reservit PMS Setup.
3. Click "MasterD Connectivity" tab

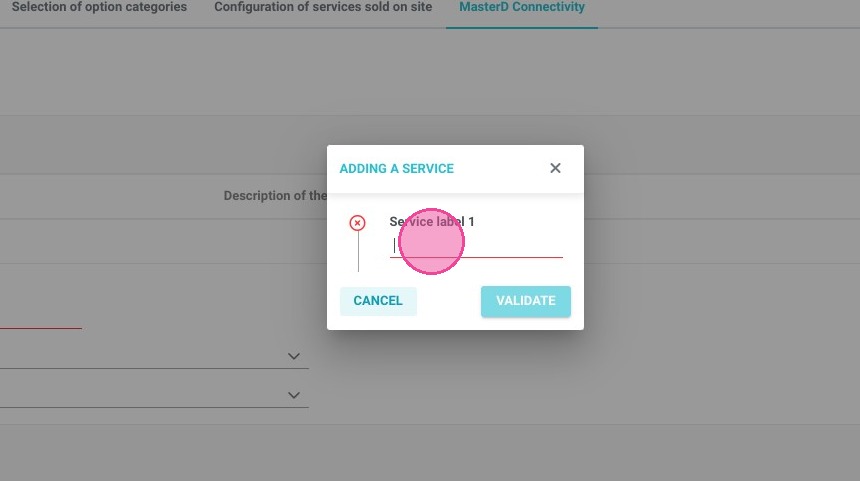
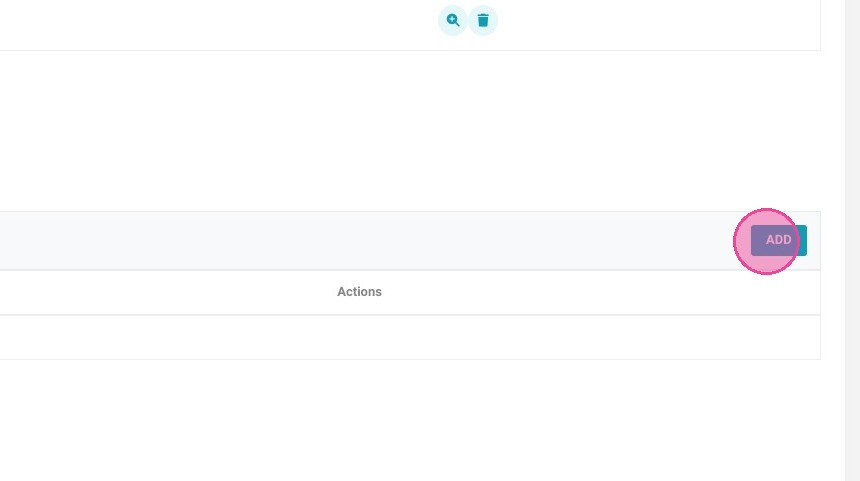
4. Click "ADD"
5. Enter your first service (or menu)
6. Repeat this step as many time as needed
7. In service line, you'll define how your maitre d charges will be labelled
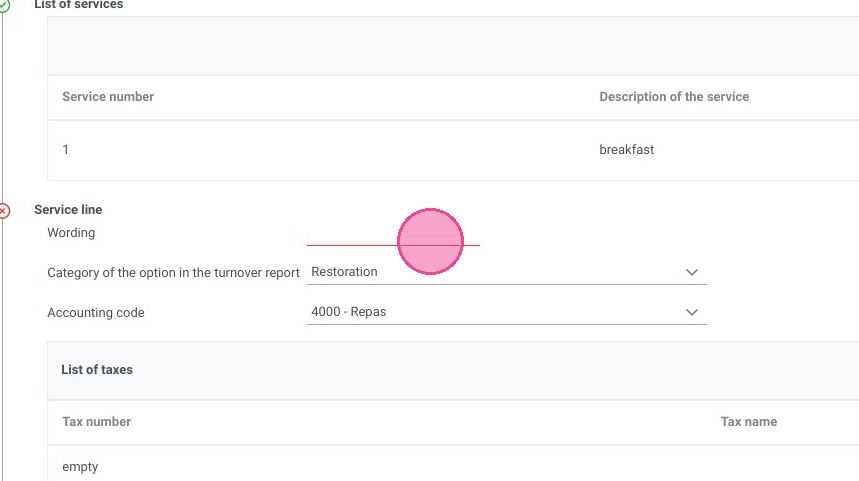
8. Select the relevant option for the turnover report
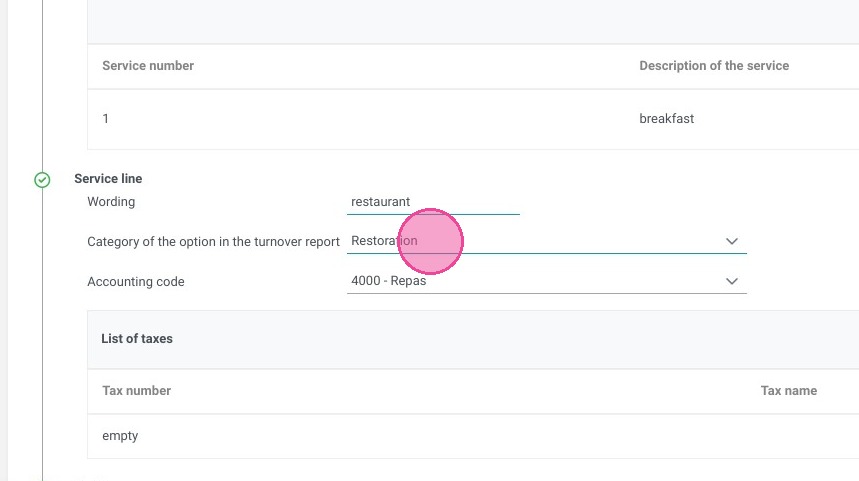
9. Select the relevant accounting code
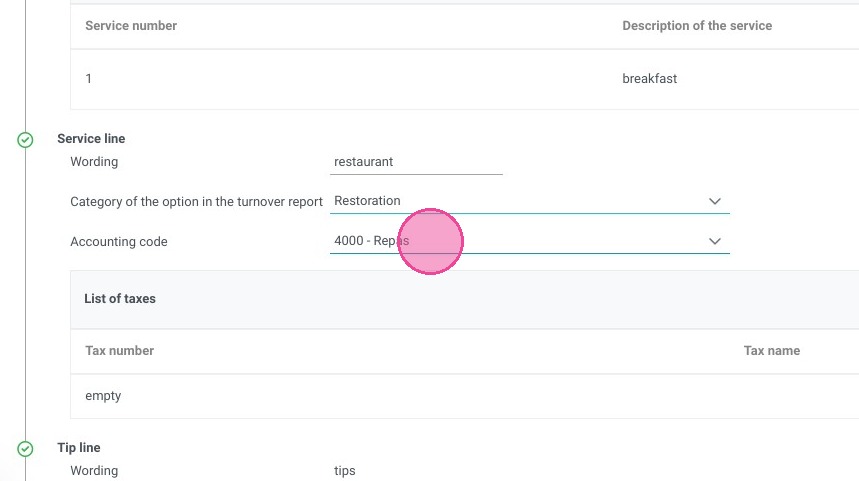
10. Click "ADD"
11. Add your first tax
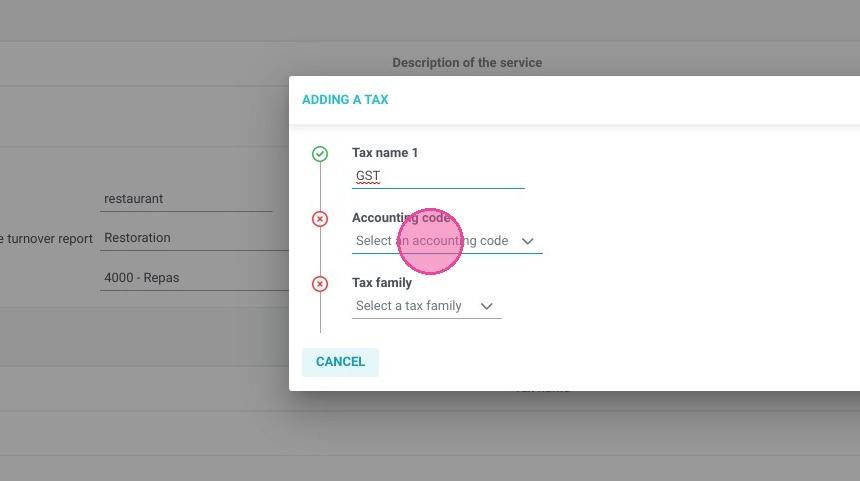
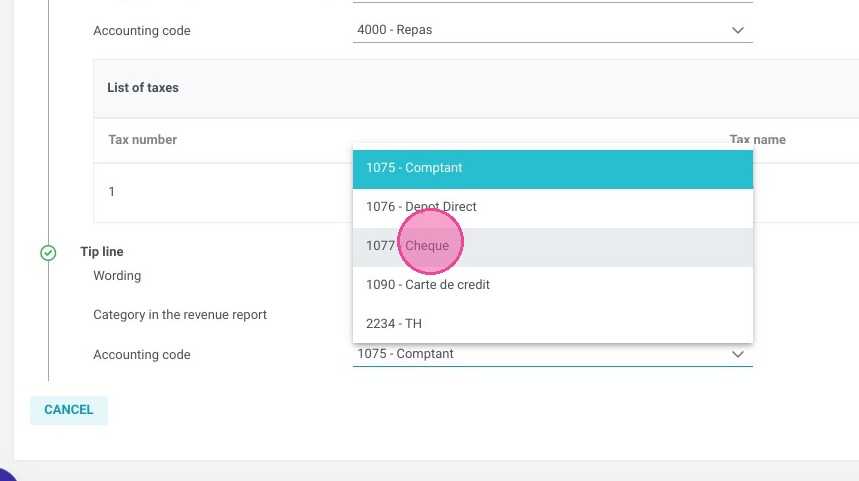
12. Select the relevant accounting code
13. Select the relevant tax family
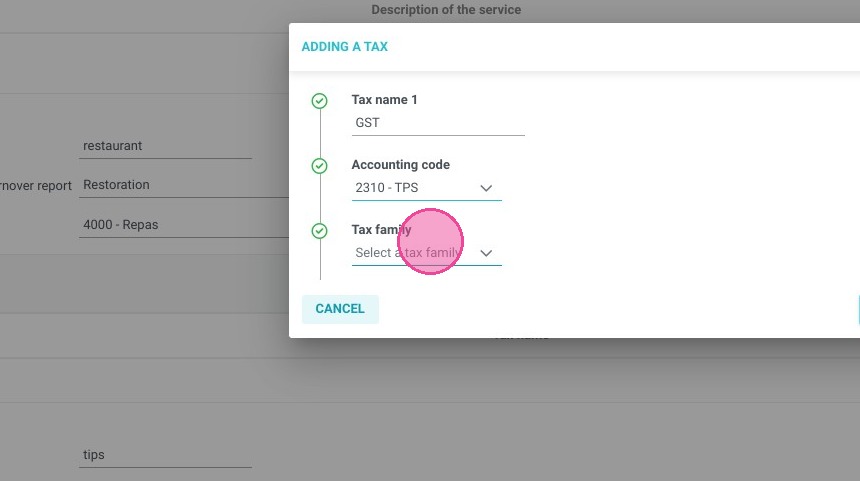
14. Click "VALIDATE"
15. In Tip line you'll choose how do you want the tips to be labelled in your invoicing
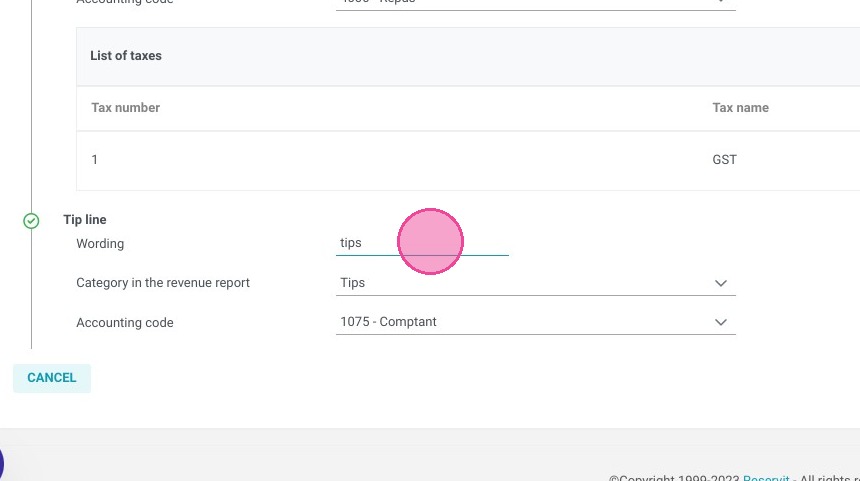
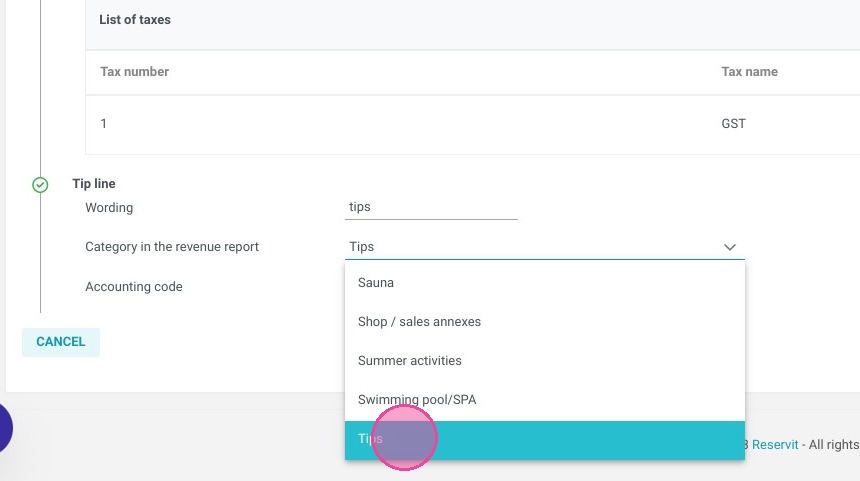
16. Select the relevant option for the turnover report
17. Select the relevant accounting code
18. Click "SAVE"