

Article Summary: This tutorial demonstrates how to successfully plan overnight stays and secure hotel bookings beyond the standard 12-month window in your property management system. You will learn how to utilize the "on-the-fly" room creation feature to easily bypass calendar display limits and configure specific rates for far-future dates. Mastering this workflow allows you to effortlessly anticipate client requests and capture long-term revenue with confidence.
The 5 key steps to take reservations more than 12 months in advance:
-
Search for extended dates: Click on "Make a reservation" and enter the desired dates that fall outside the standard calendar display limits.
-
Enable on-the-fly room creation: Since no rooms will show as available, click "Create a room" (or click the top-right gear icon to activate this feature if the button is hidden).
-
Configure room details and rates: Enter the category name, room type, and specific nightly price before taxes, then click "add to basket" to save your changes.
-
Assign units and enter guest data: Select the specific physical unit from your cart and input the customer's contact details to finalize the booking.
-
Manage and adjust via the calendar: View the newly booked rooms on your reservation calendar, where you can modify room assignments or adjust stay dates if plans change.
Why follow this guide? Following this guide empowers your team to capture early-bird revenue and accommodate long-term guest requests without being restricted by system display boundaries. It optimizes your business operations, ensuring you never have to turn away a high-value customer due to calendar display constraints.
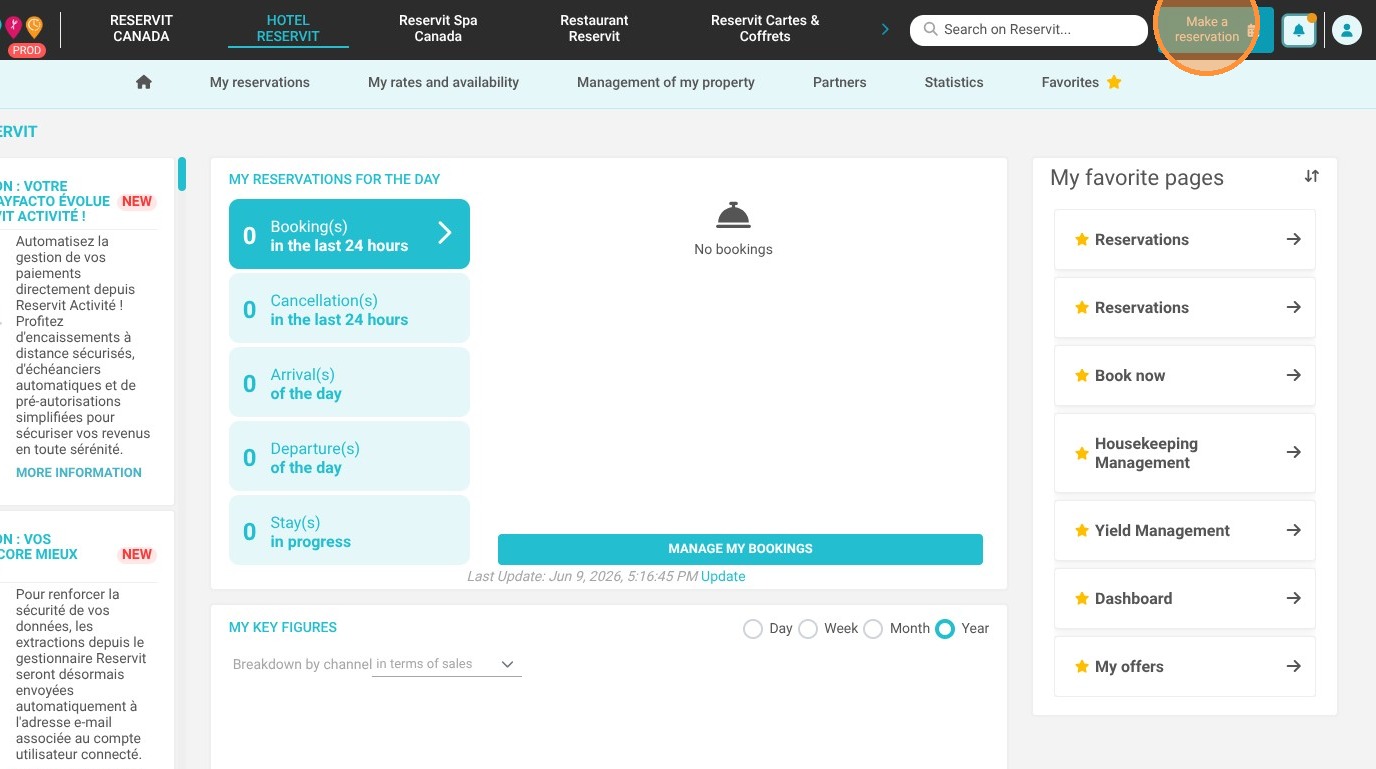
1. Click "Make a reservation"
2. Search for the desired dates.

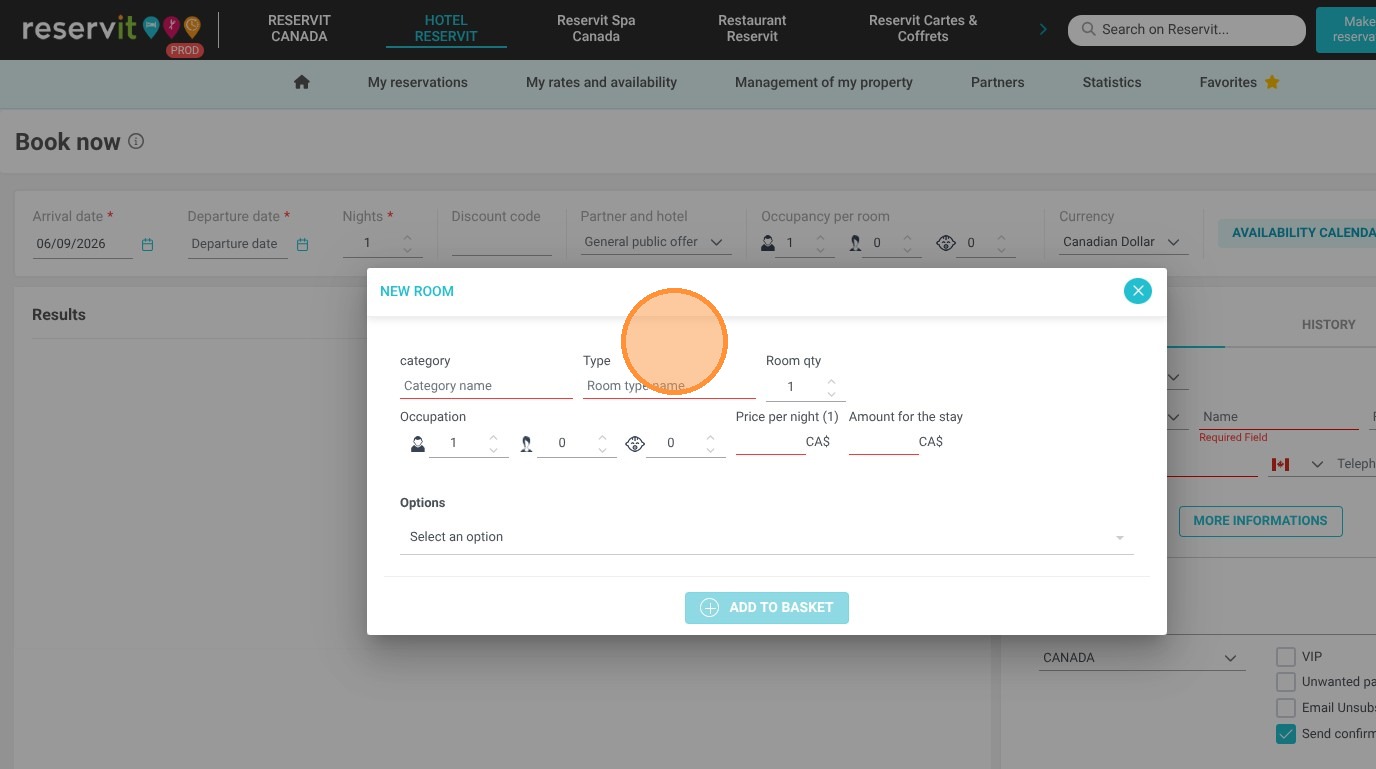
3. No rooms are available, so you need to click on "Create a room".

Tip: If the room creation button does not appear, click the gear icon in the upper-right corner to enable creating rooms on the fly.
4. Enter the category name and the room type. You can also choose the number of rooms to add.
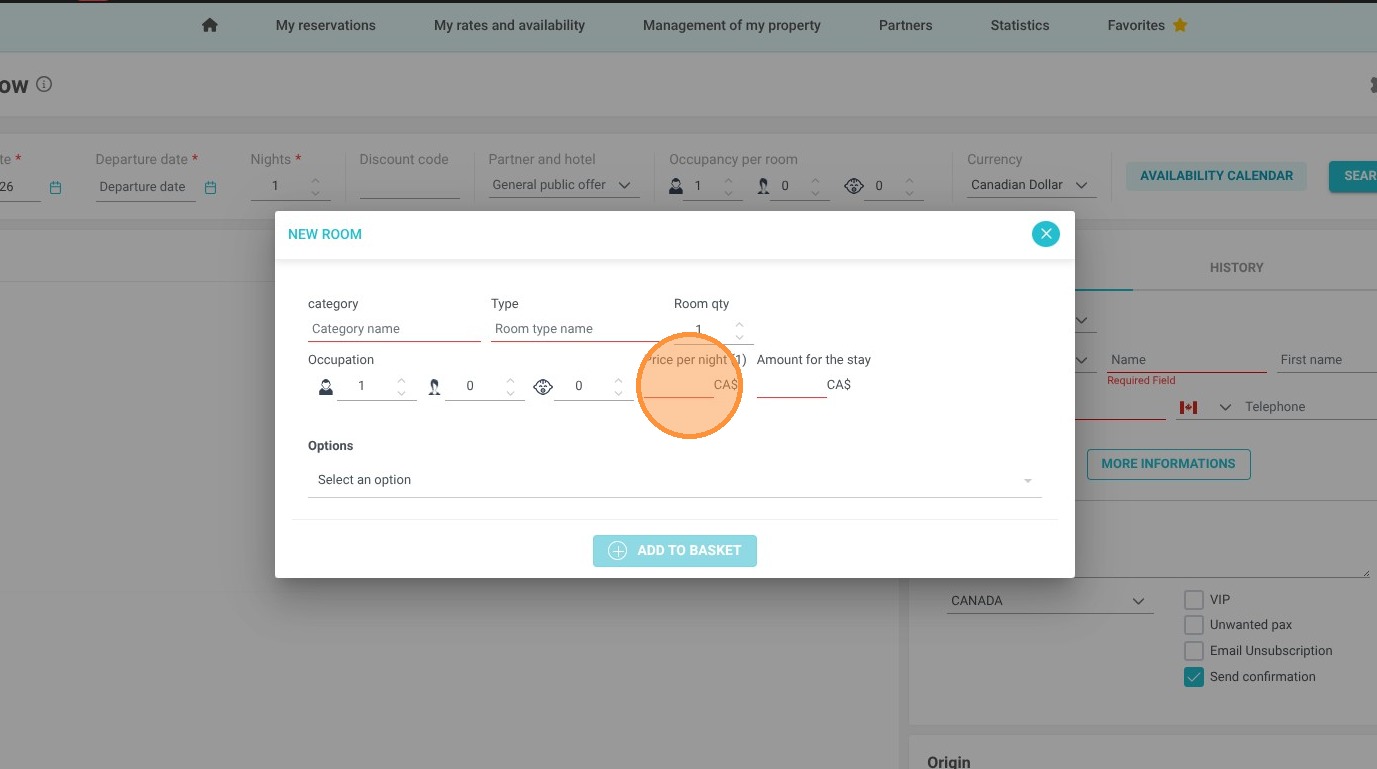
5. Enter the price per night, before taxes. The total amount for the stay will be automatically calculated.
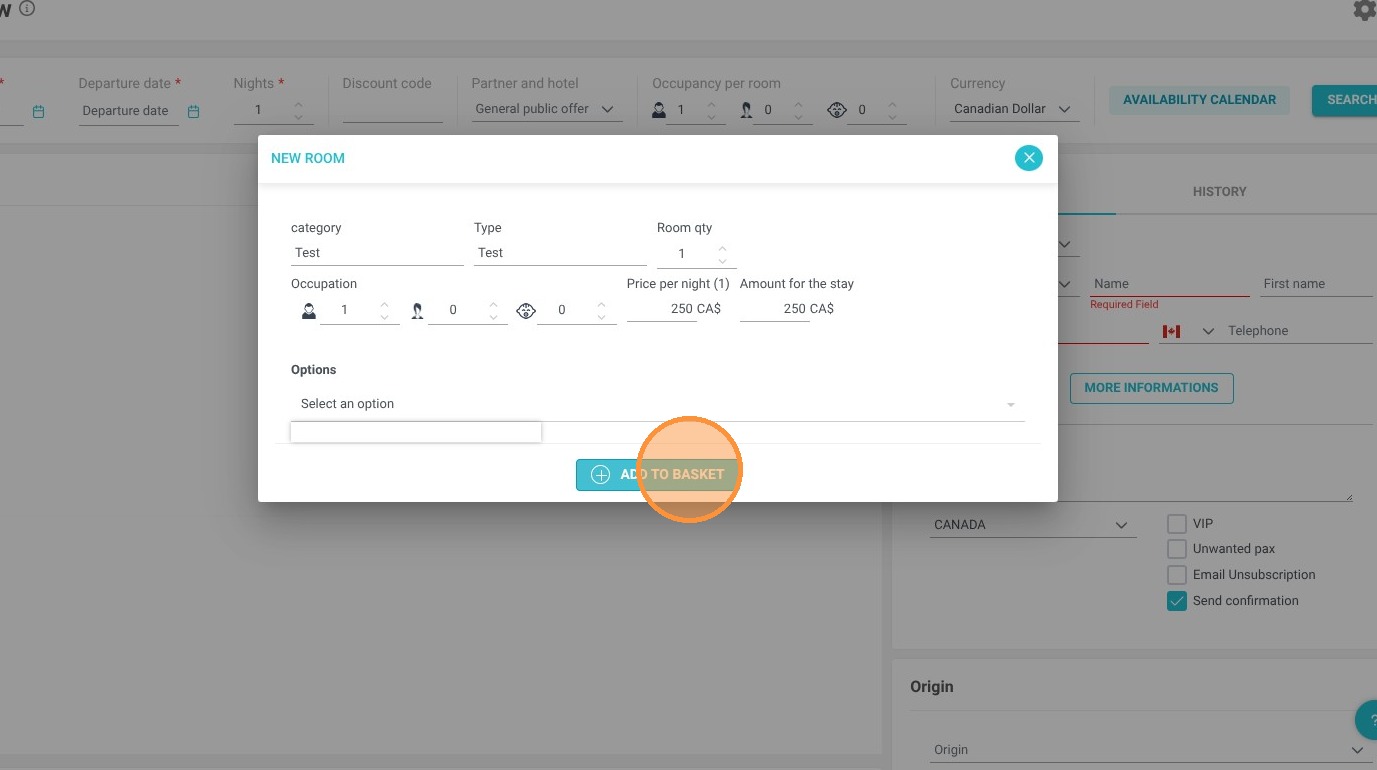
6. Click "add to basket" to validate everything. You can repeat this action multiple times if you wish to create several categories.
7. Once the units are added to the cart, you will have the option to select the physical unit to assign.
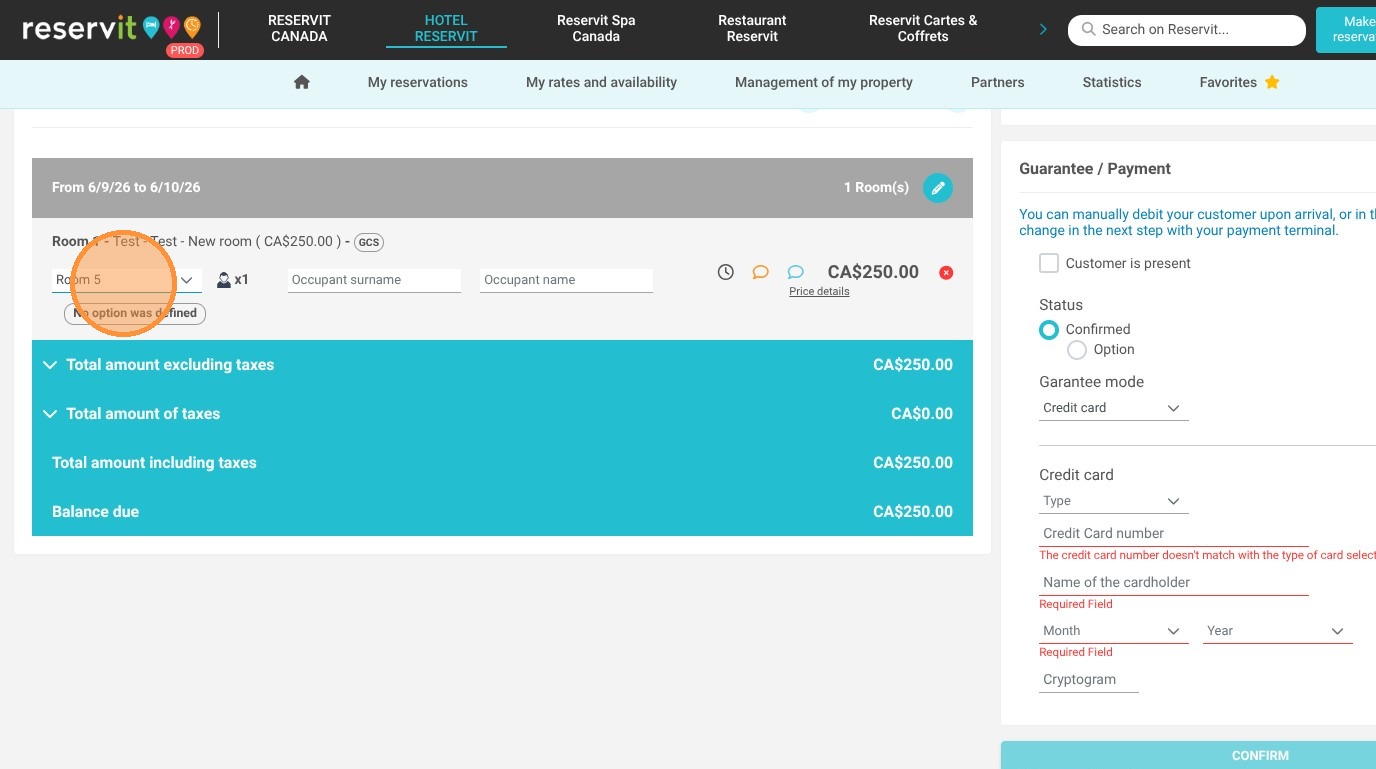
8. Finalize the reservation by entering the customer's contact details and confirm.

9. In the reservation calendar, you will find the different booked rooms and can modify their assignment if needed.
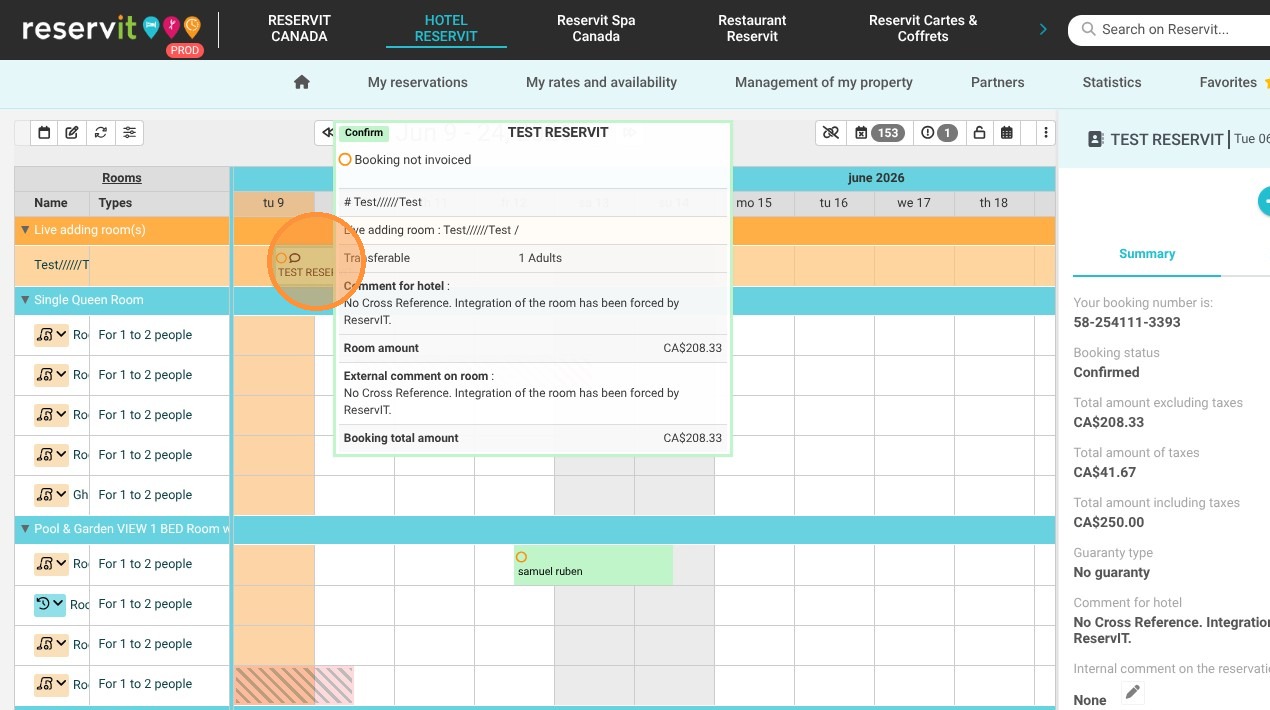
Alert: It is possible to edit the dates of these reservations. To do this, you will need to remove the selected unit from the cart and add a new one on the fly.