Article Summary: This tutorial explains how to filter your Reservit Accommodation dashboard by billing date to accurately analyze your key sales data. You will learn how to adjust your statistics to reflect invoice dates, allowing you to easily track accommodation, options, and total revenue across specific periods. By mastering this feature, you can streamline your financial reporting and gain clearer insights into your actual revenue flow.
The 4 key steps to filter your statistics by billing date:
-
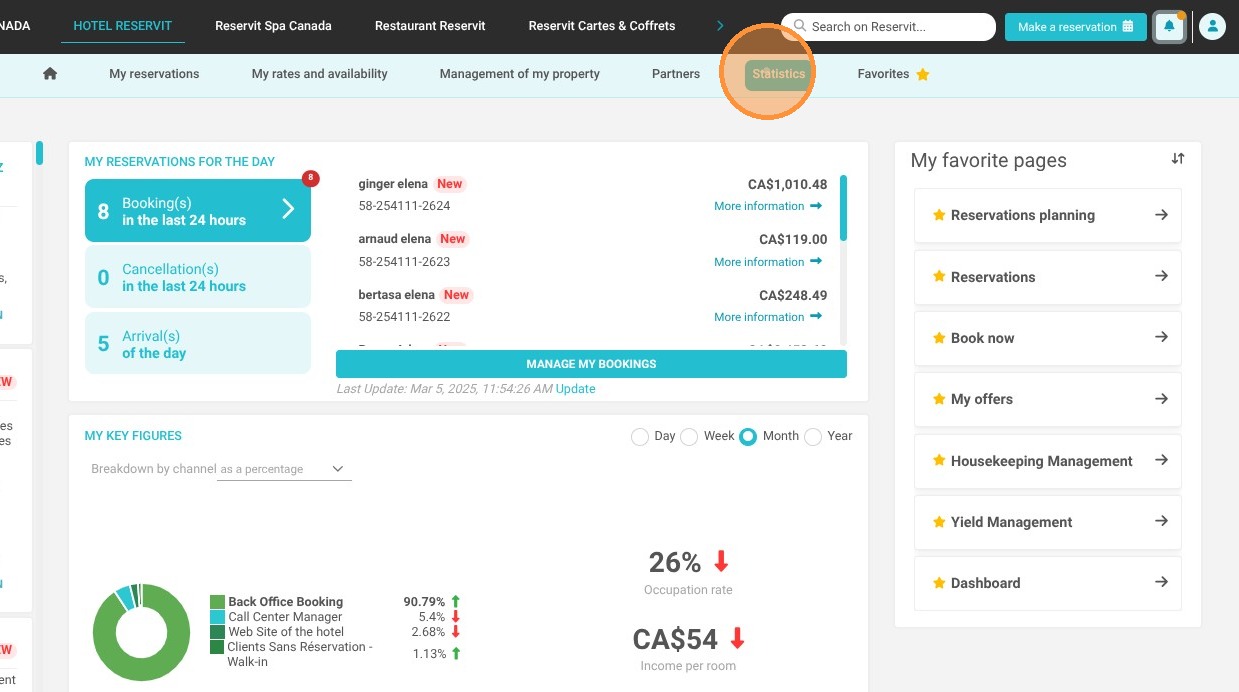
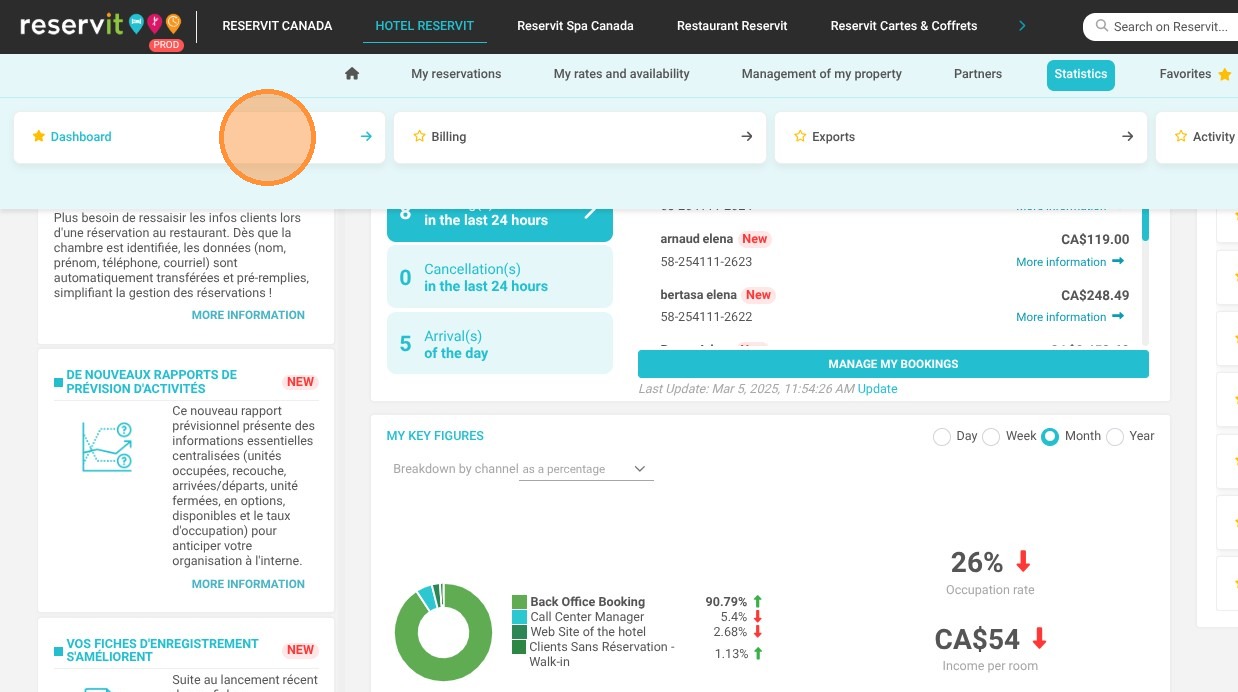
Access the Dashboard: Navigate to the "Statistics" menu and click on "Dashboard" to open your primary reporting interface.
-
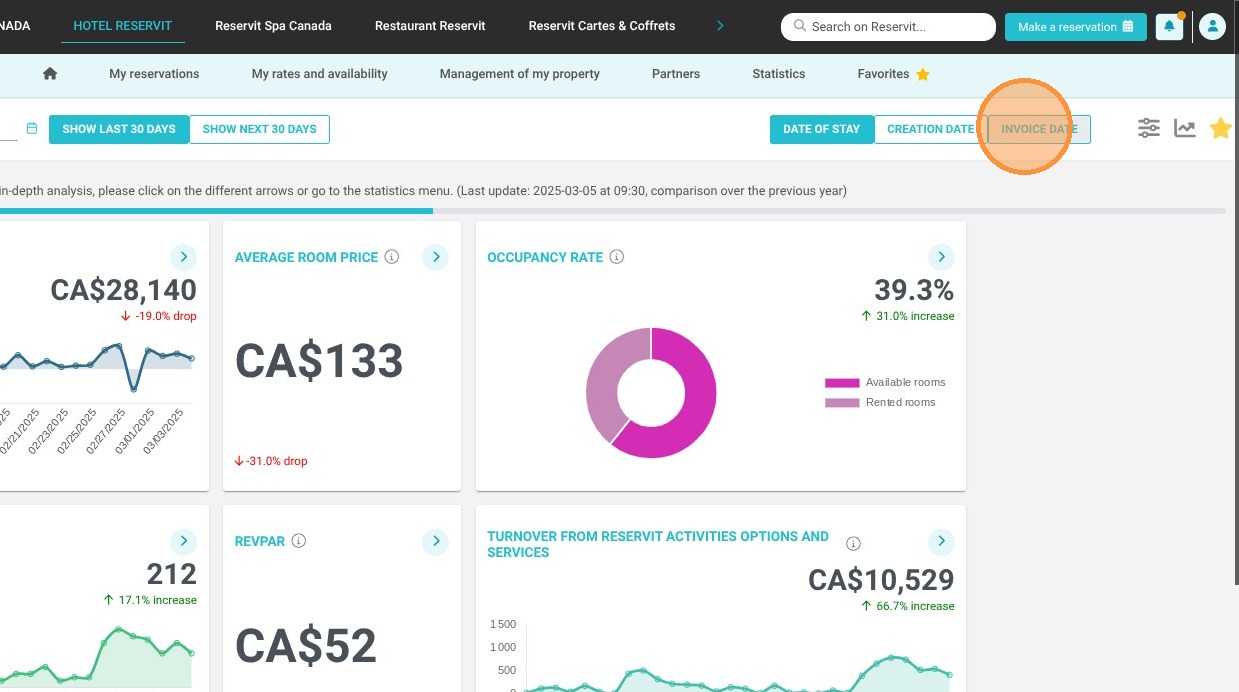
Select the Invoice Date Filter: Click directly on the "Invoice date" option to shift your dashboard's processing method away from creation or stay dates.
-
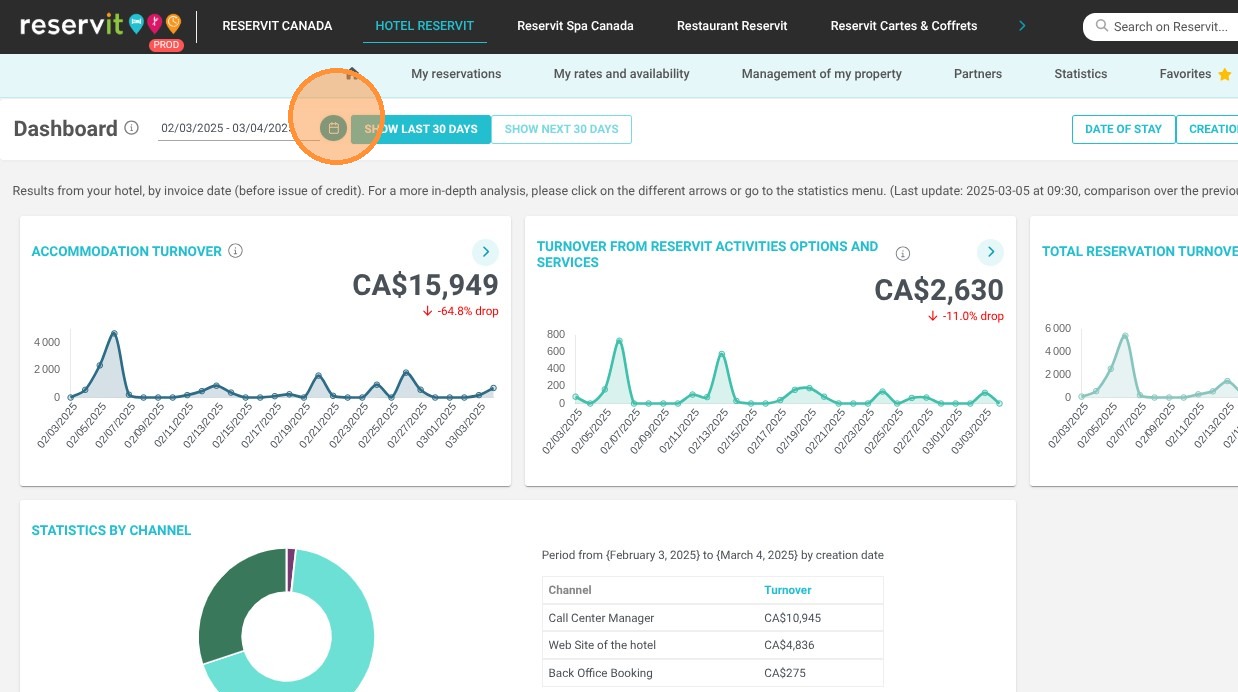
Define the Date Range: Use the calendar tools to select the specific beginning and ending dates for your financial analysis.
-
Review Revenue Indicators: Analyze your updated dashboard to view your accommodation, options, and overall revenue strictly based on when the invoices were generated. (Note: Credit notes and refunds are excluded from this specific view).
Why follow this guide? Filtering your statistics by billing date ensures your dashboard aligns perfectly with your accounting cycles, giving you a precise overview of your generated revenue. This quick adjustment saves you valuable time during financial reconciliations and helps prevent reporting errors when tracking your monthly sales.
Tip: The billing date dashboard is available for the following indicators:
-
Accommodation Revenue
-
Options Revenue
-
Total Revenue
-
Revenue by Booking Channel
Alert! Credit notes and refunds are not included in the revenue values displayed when viewing this data. You can find this information in the revenue reports and your Reservit PMS revenue summary.
1. Click "Statistics" then ''Dashboard''
2. Click "Invoice date"
3. Then, select the desired date range.