Article Summary: This tutorial explains how to easily customize the display order of your rooms and units on both your manager dashboard and public booking engine in Reservit Accommodation. You will learn how to access the internal sorting tools and strategically arrange your inventory to highlight specific accommodations. Optimizing your unit display order improves the overall user experience, allowing you to prioritize your most popular or profitable rooms for better direct conversion rates.
The 4 Key Steps to Set the Display Order of Units:
-
Access Room Categories: Navigate to the "Management of my property" tab, select "My Rooms" (or "My Units"), and click on "Category" to view your current inventory.
-
Open the Sort Tool: Locate and click the "Sort" button on the right side of your screen to access your display configuration settings.
-
Arrange Your Inventory: Use the up and down arrows to easily move selected items and establish your preferred ranking for both the manager and customer-facing booking pages.
-
Save Your Layout: Click the "SAVE" button to validate your new arrangement and instantly apply the updated display order to your live booking engine.
Why follow this guide? Customizing your unit display order gives you strategic control over how your inventory is presented, helping you seamlessly push high-margin or priority rooms to the top of the search results. This simple optimization prevents customers from endlessly scrolling, streamlining their booking journey and actively boosting your online sales strategy.
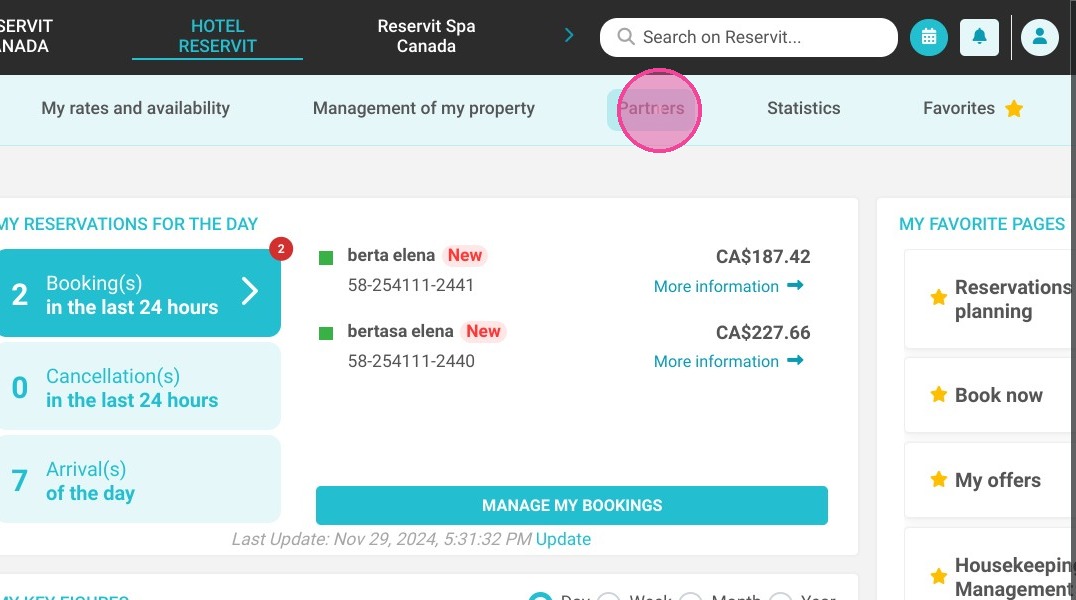
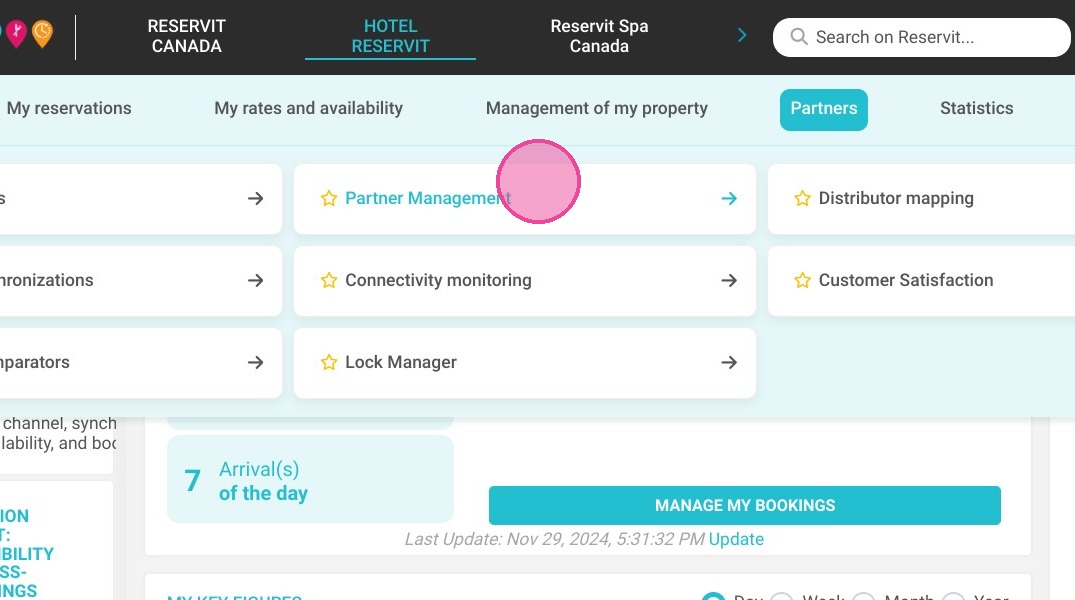
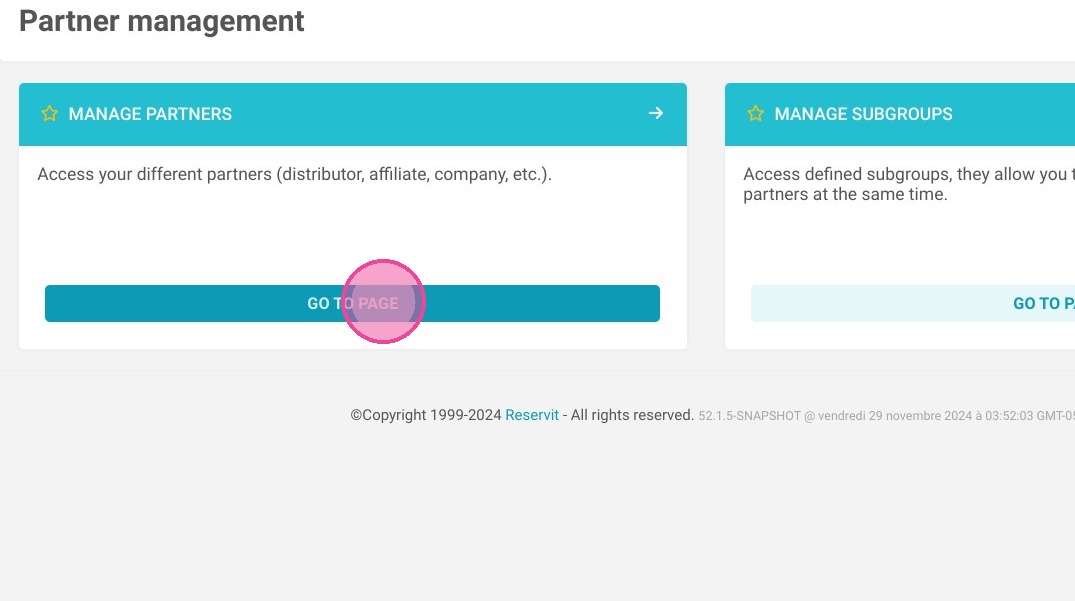
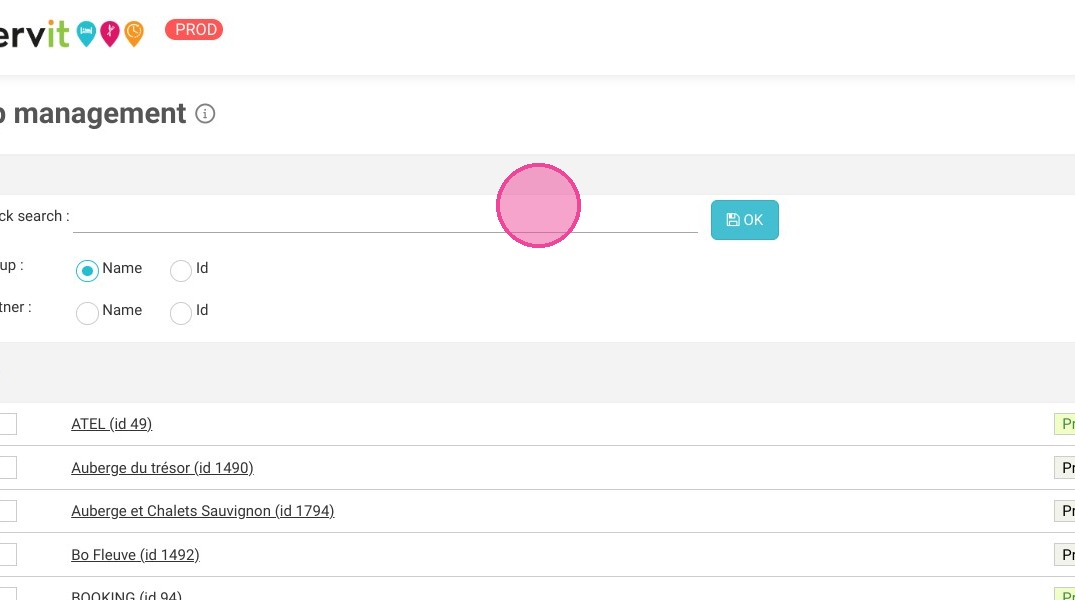
1. Click "Partners", 'Partner Management'' and ''Manage Partners''
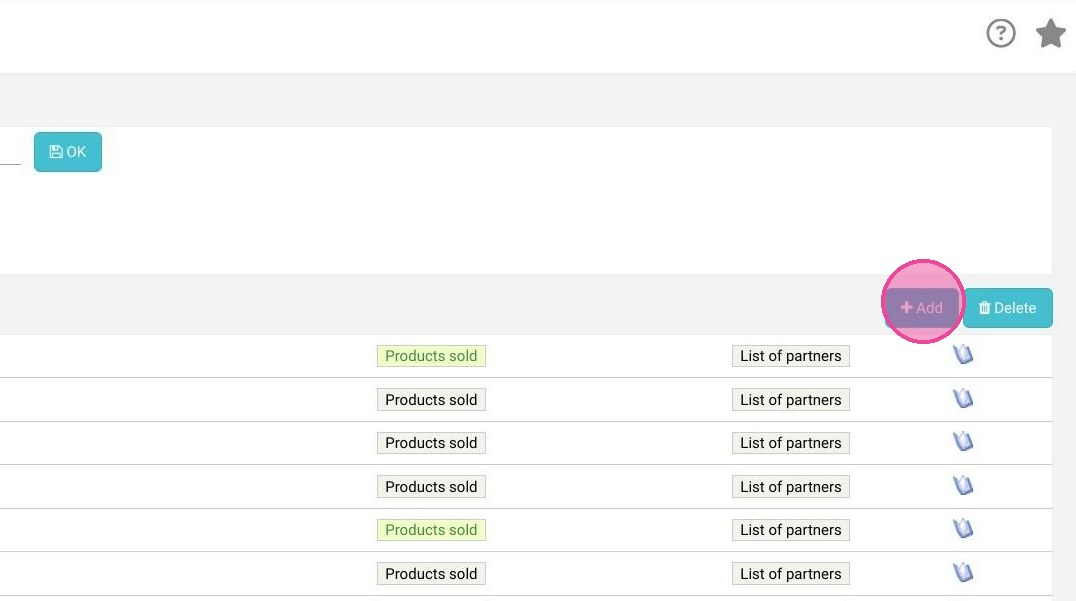
2. Click on "Add" to first determine the availability of the group
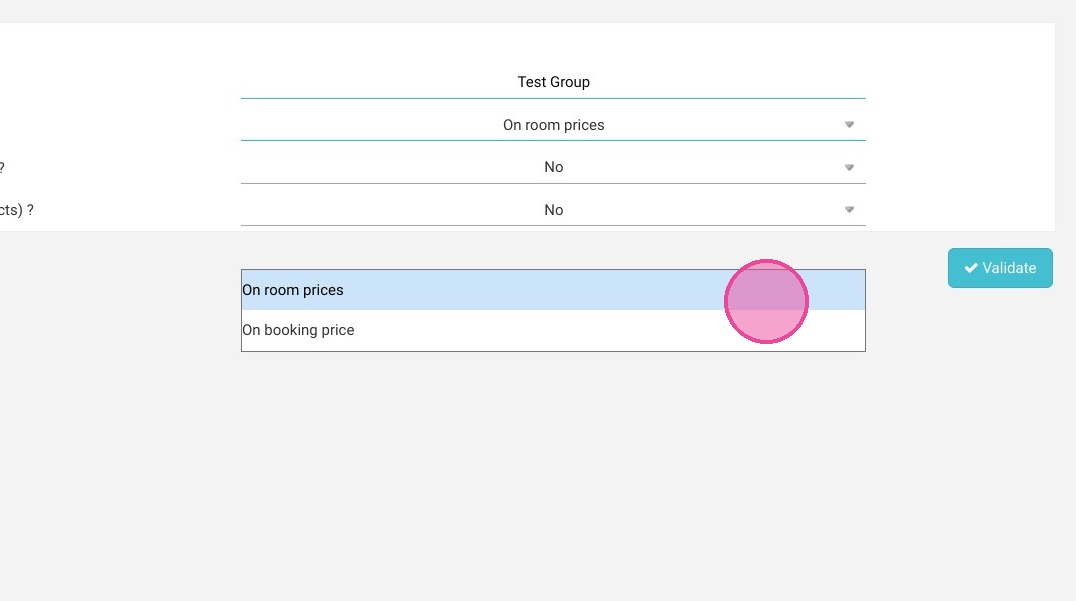
3. Fill in the name of the group

4. Leave the type of commission "on the price of the rooms"
5. Leave the professional distributors to no
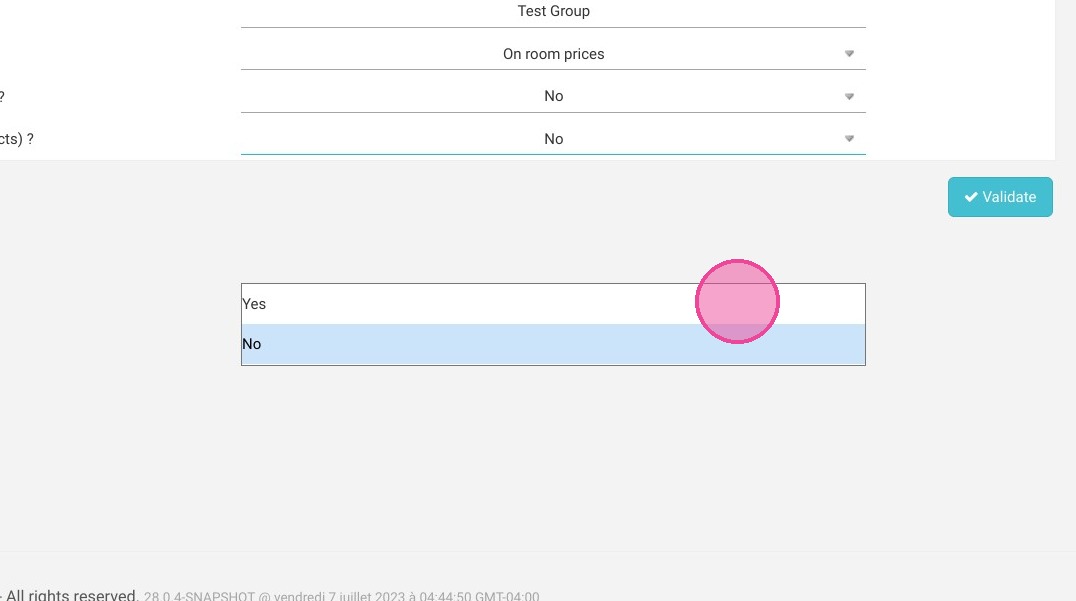
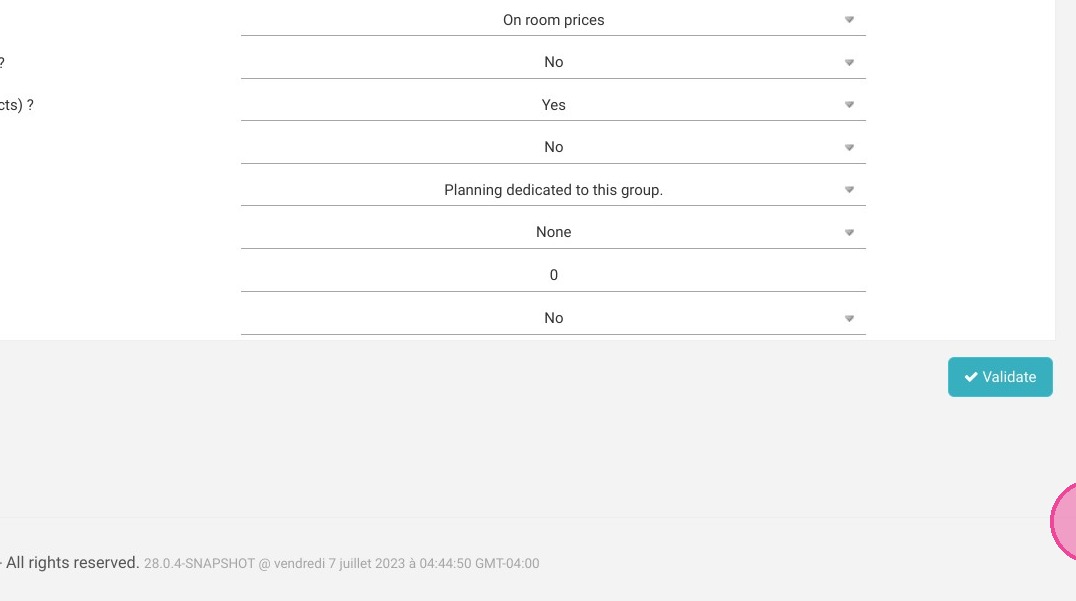
6. Switch to yes the general public offer and Leave the rest of the parameters as they are. *Having a schedule dedicated to this group makes it possible to have specific availabilities reserved for the partner. Then click on "Validate" to create the group
7. For the creation of the partner, go to the group and click on "List of partners"
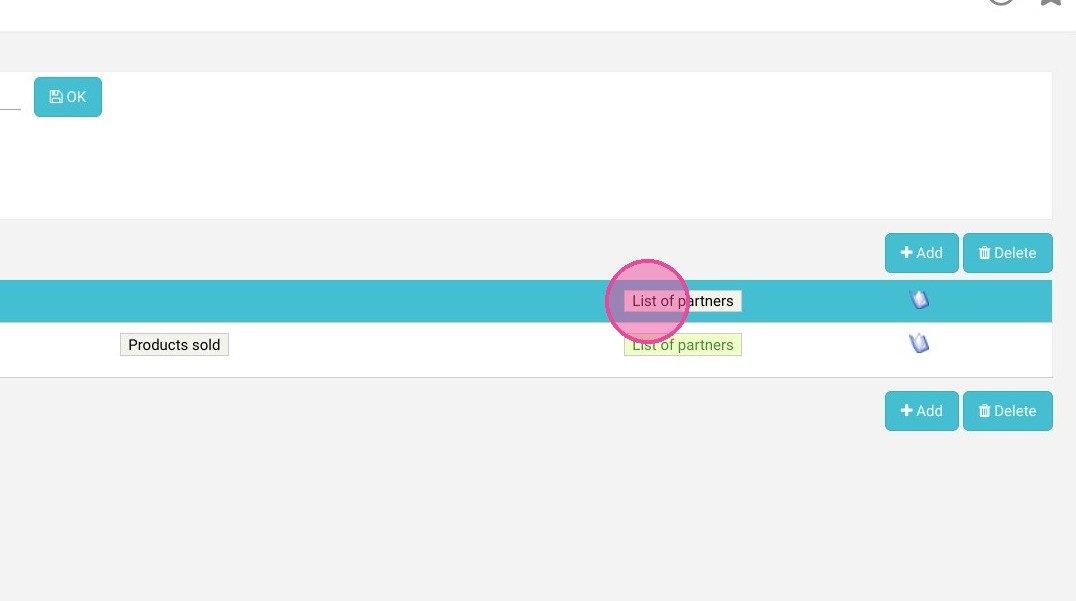
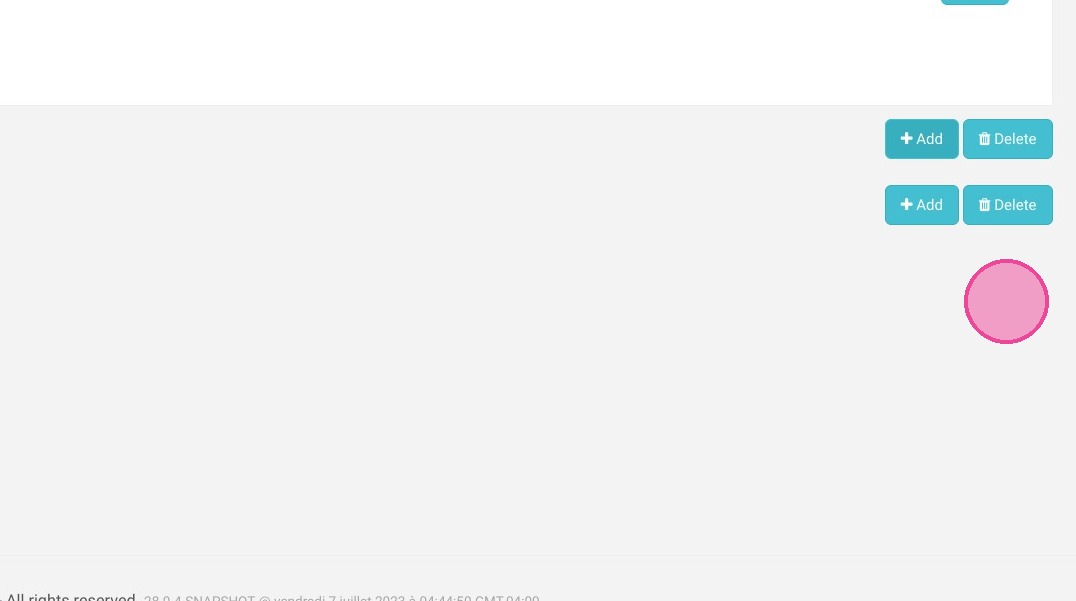
8. Click on "Add" to create the partner
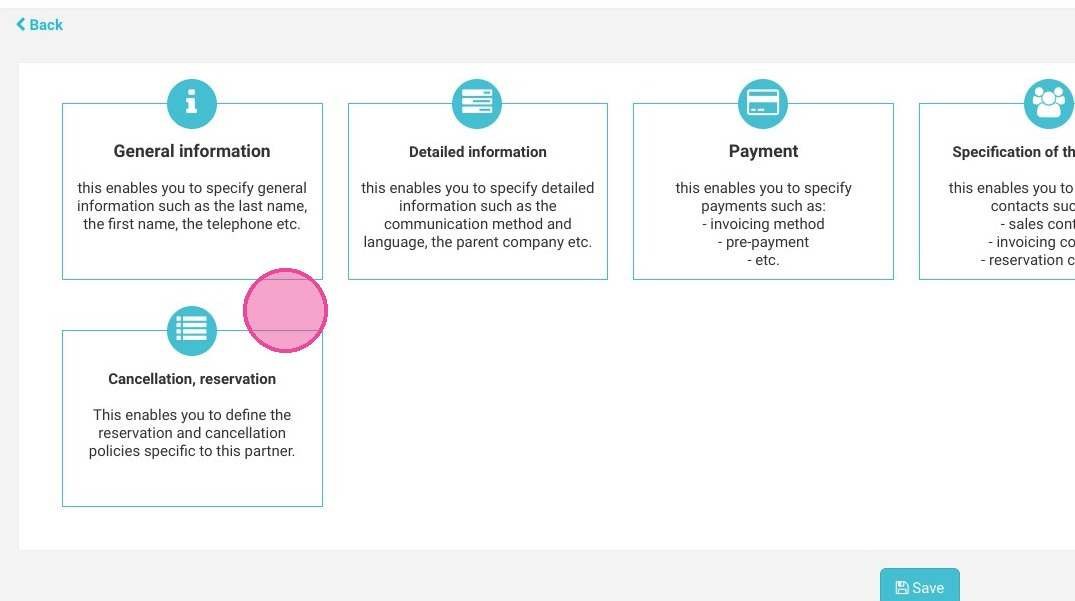
9. To create the partner, it is important to validate each of the boxes in order.
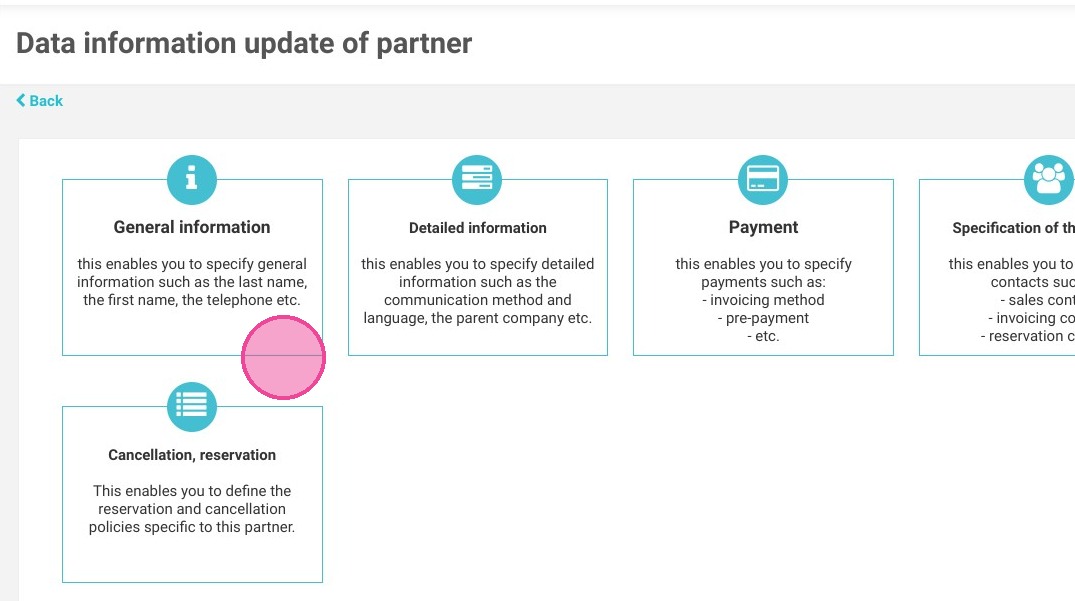
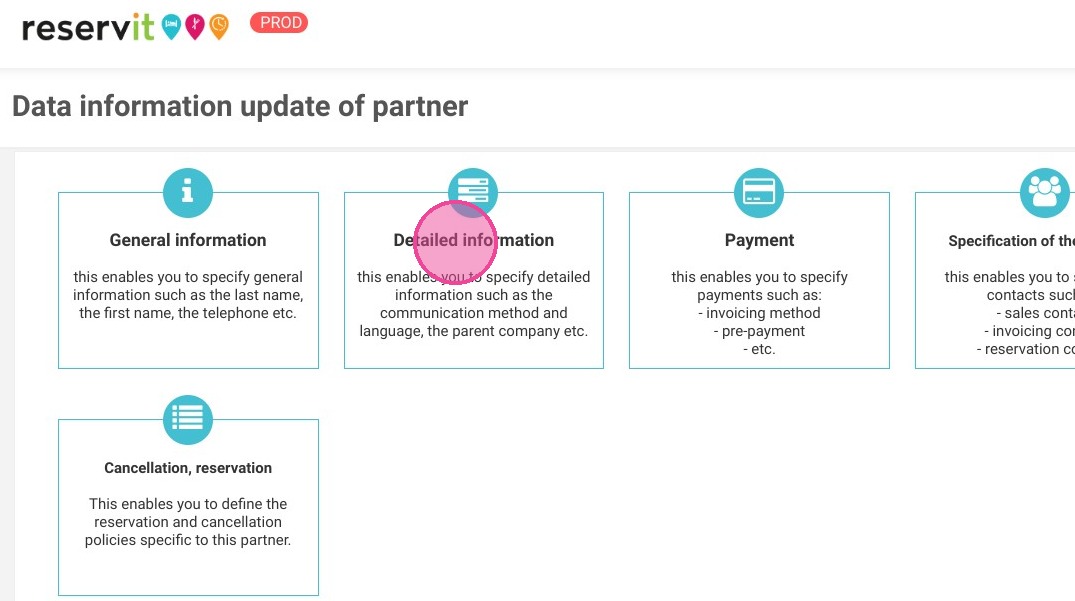
10. First, click on "General Information"
Alert: All fields in red are required!
11. Enter name. This name will be visible in your PMS, if you have one, and in the management of reservations. Address fields can be left blank.
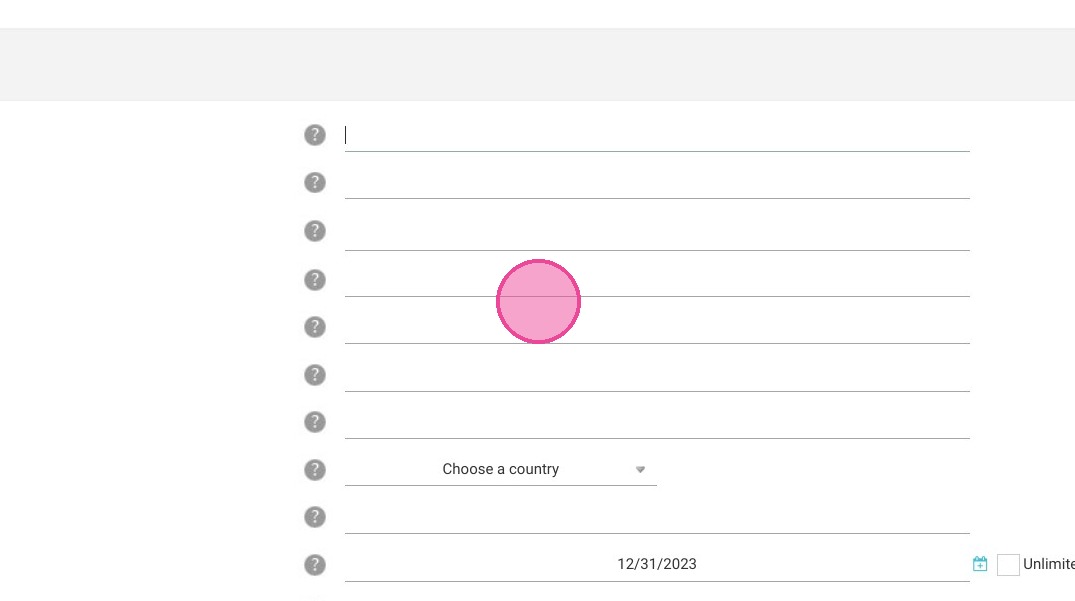
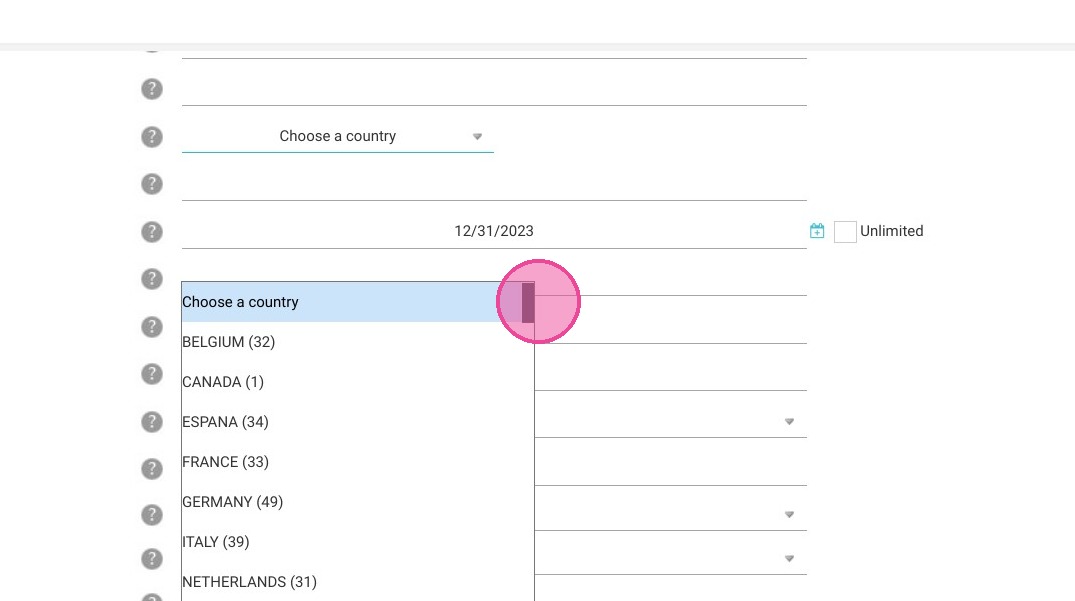
12. Put the country, Canada
13. Set the validity date to unlimited. The phone number is mandatory but is not visible to Set the validity date to unlimited.
The phone number is mandatory but is not visible to the customer, so you can put the number of your accommodation.
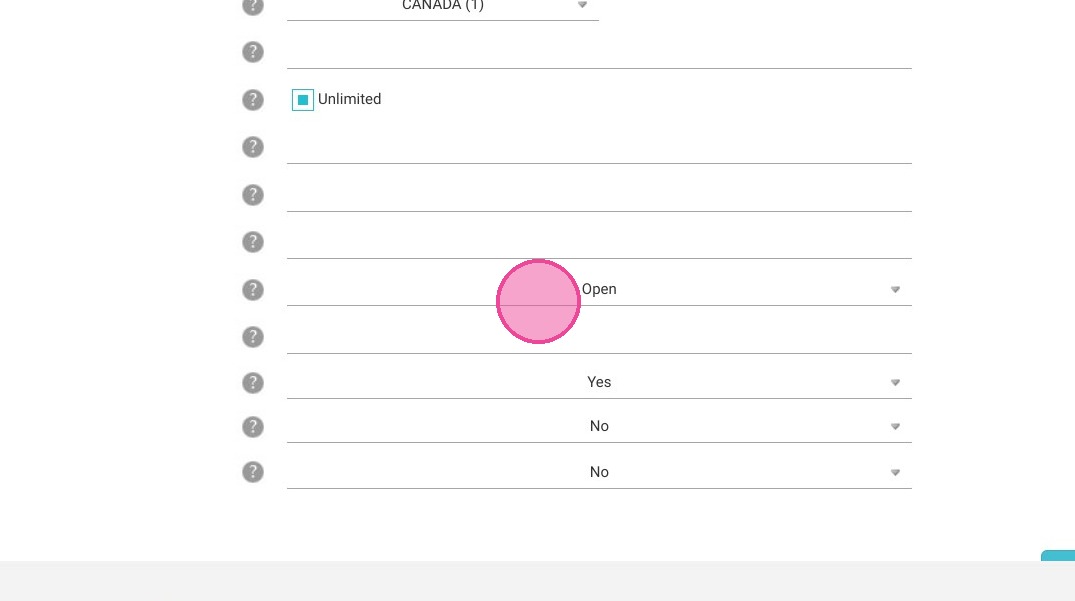
Put the status "open".
Set special rates to "yes".
Does this partner still benefit from the same offers as my site? Set to no so that the partner does not have access to all the general public offers.
Can be closed? Set to no so that it does not appear in the closing of the channels.
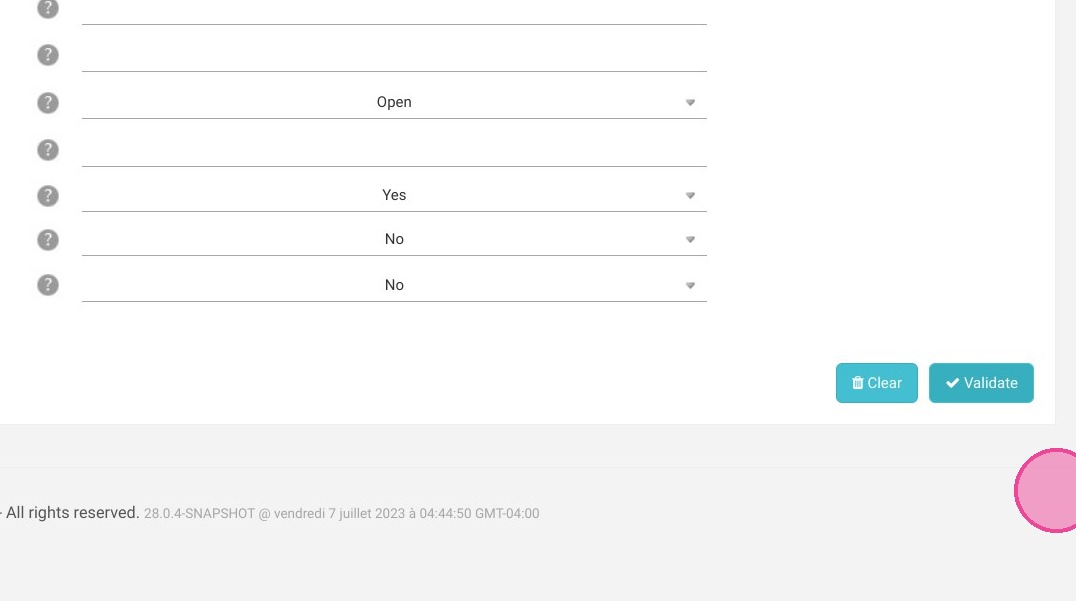
14. Then click on "Validate"
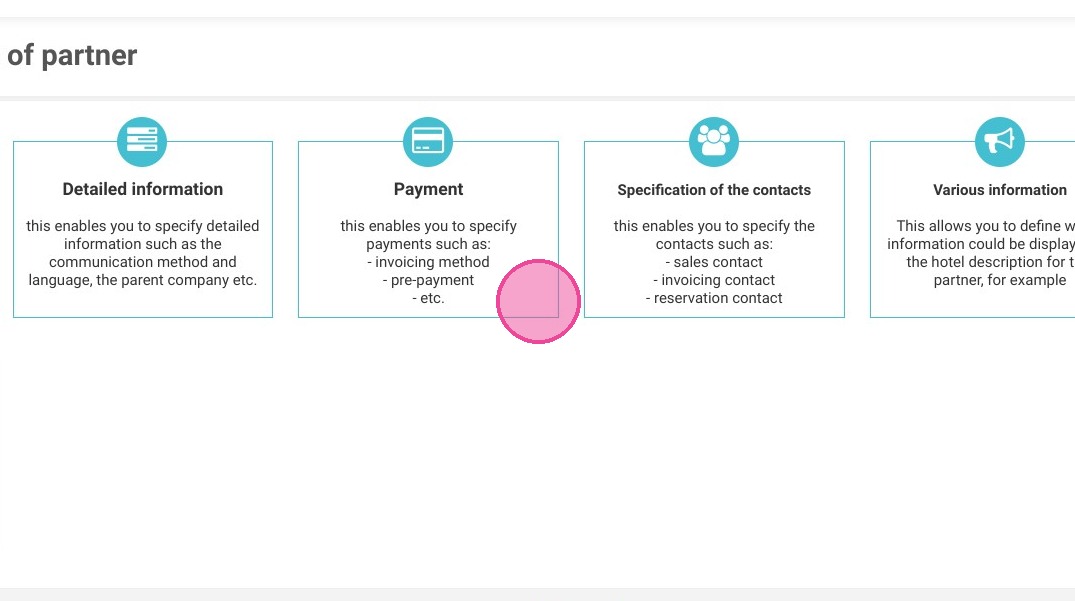
15. Click "Detailed information"
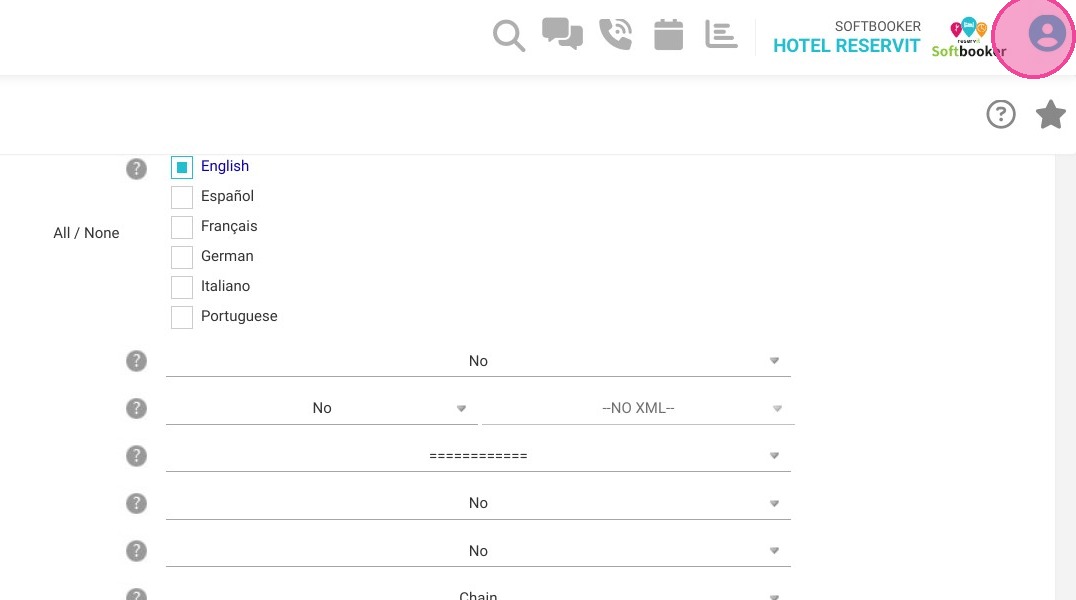
16. Choose the language of communication according to the situation

17. You have 2 connection options. The first is to set Secure Partner access to yes and give a username and password to access the booking page.
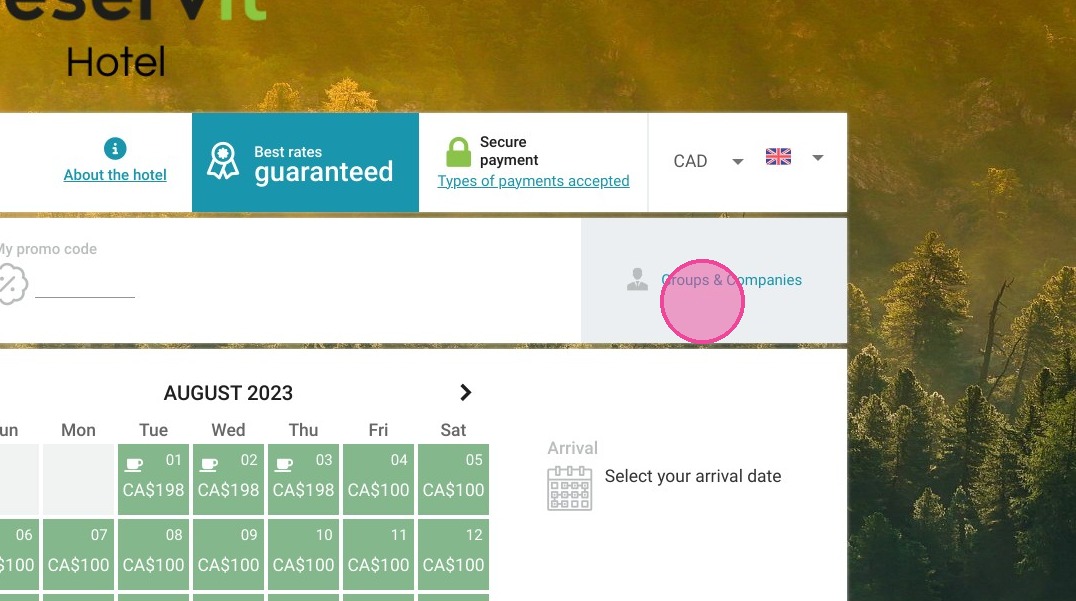
18. It will then be possible to log in with the username and password by clicking on "Group & Compagnies" on the booking page
19. The 2nd option is to set the Secure Partner access to "no" and provide a direct and unique link to the organizers of the group so that they can access it.
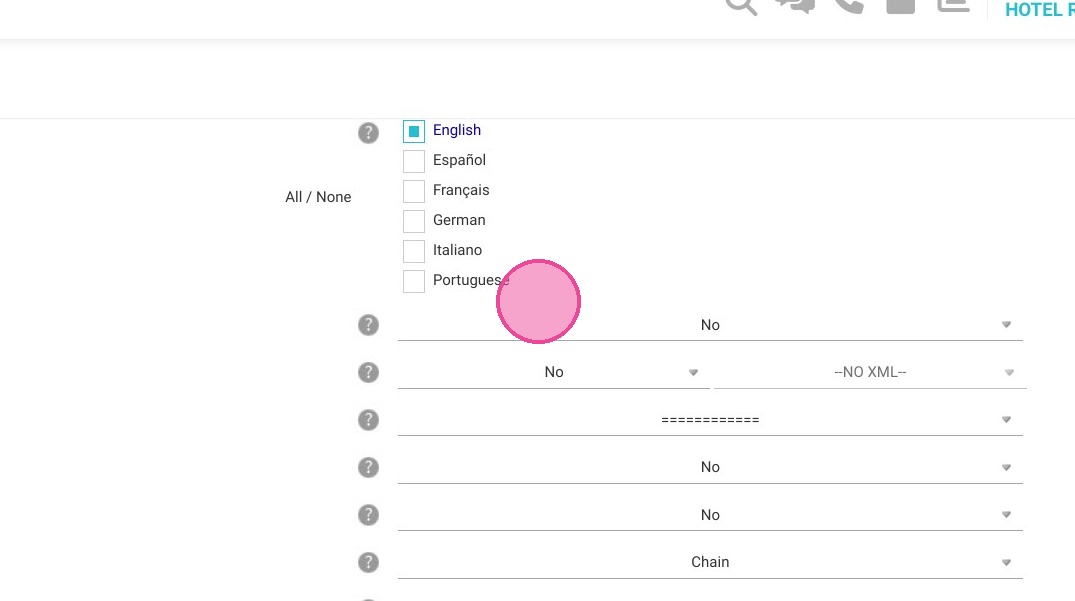
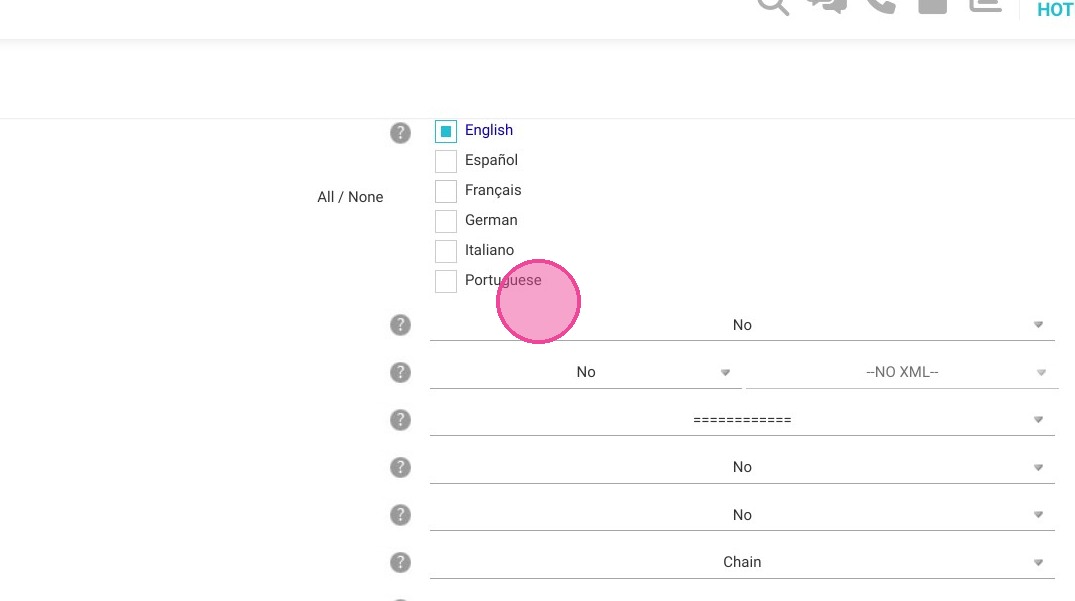
20. Put at least English and French in the languages to support
21. Leave the rest of the questions as they are
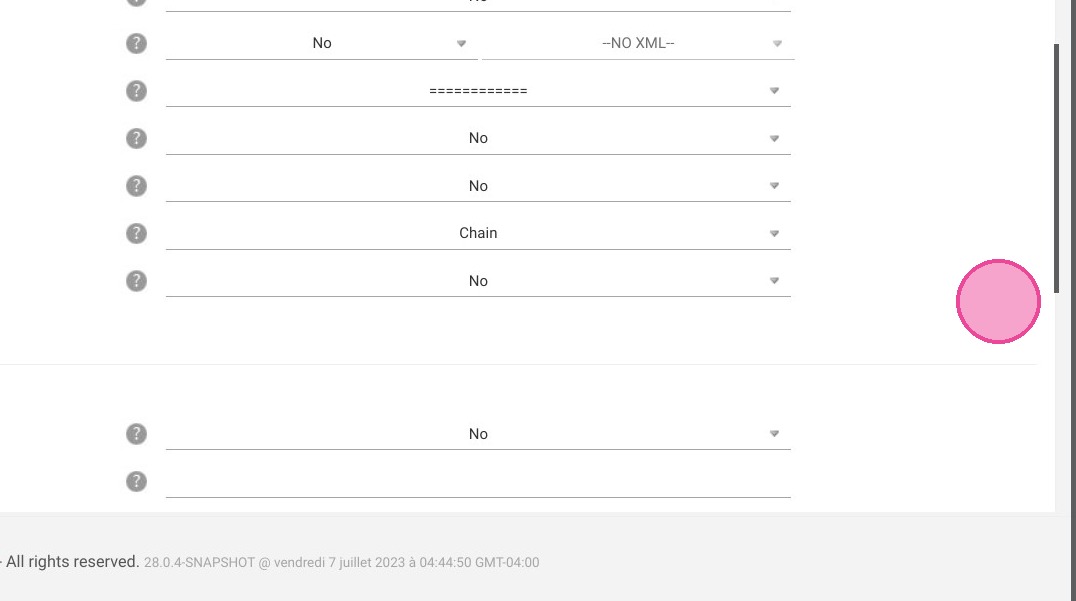
22. Click "Validate"
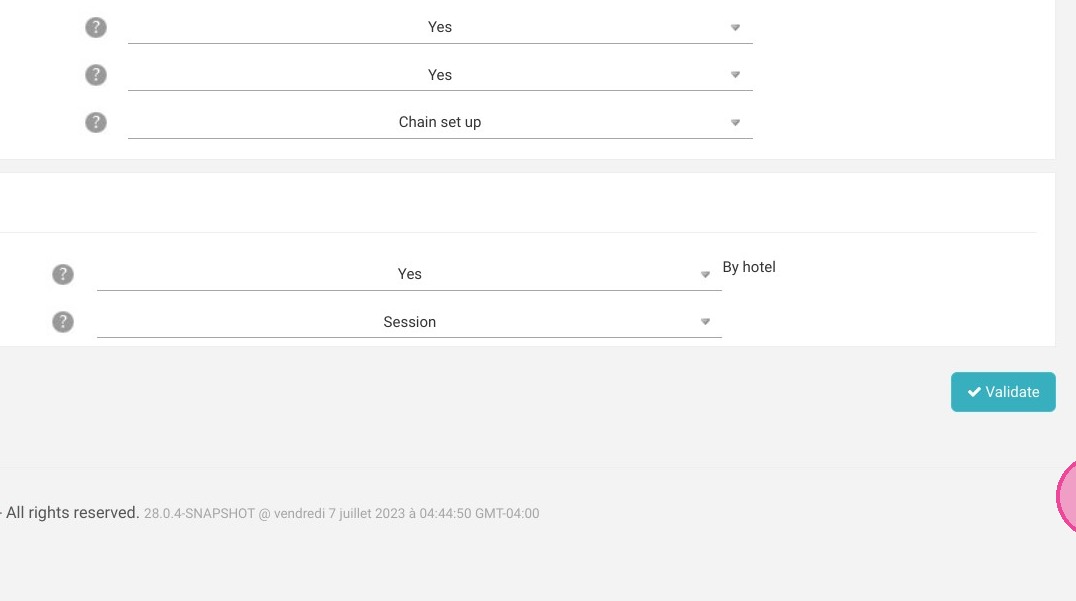
23. Then go to the "Payment" menu
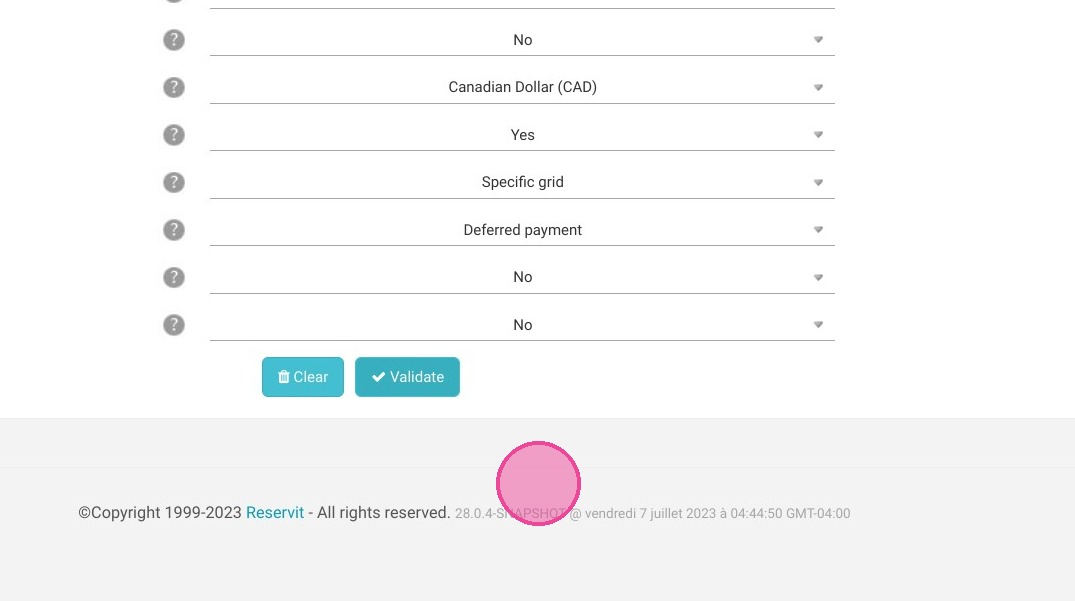
24. Choose Canadian Dollar (CAD) for currency
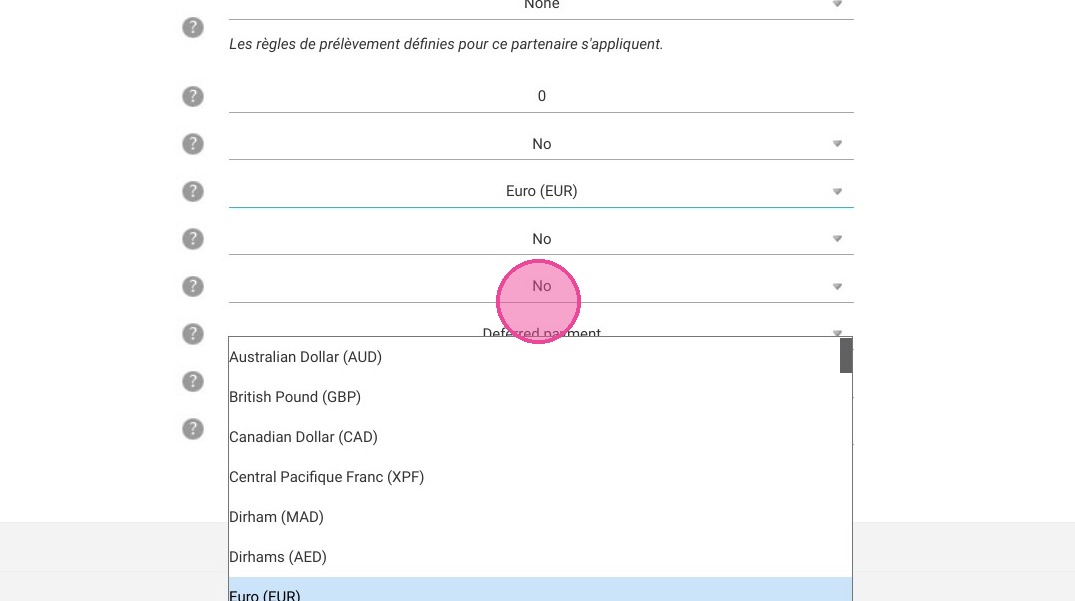
25. You can then choose whether you want the credit card to be requested or not.
For the specific price for the rooms, if you have a PMS software which allows the sending of the prices, choose the specific grid. Otherwise, set to "no" and the rack rate will be retained.
Does the customer accept reservations without prices? Leave at "no".
Does the partner allow the hotel to cancel reservations? Set to "yes" so that you can cancel reservations if necessary.
Then finally, validate.
26. Click "Specification of the contacts"
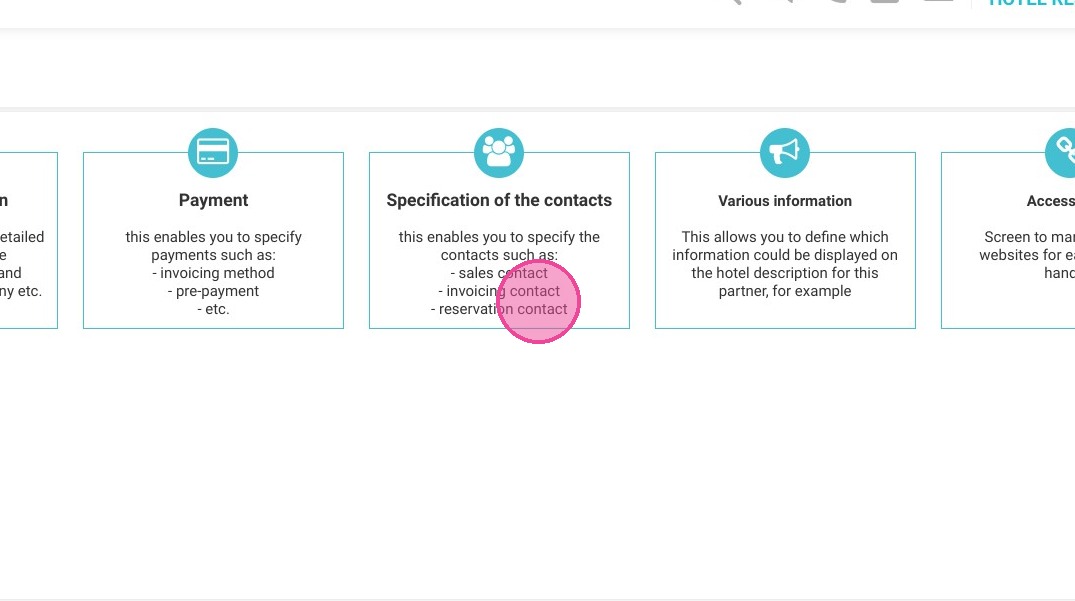
27. Do not fill in anything and go down to validate. IMPORTANT TO VALIDATE even if nothing is filled
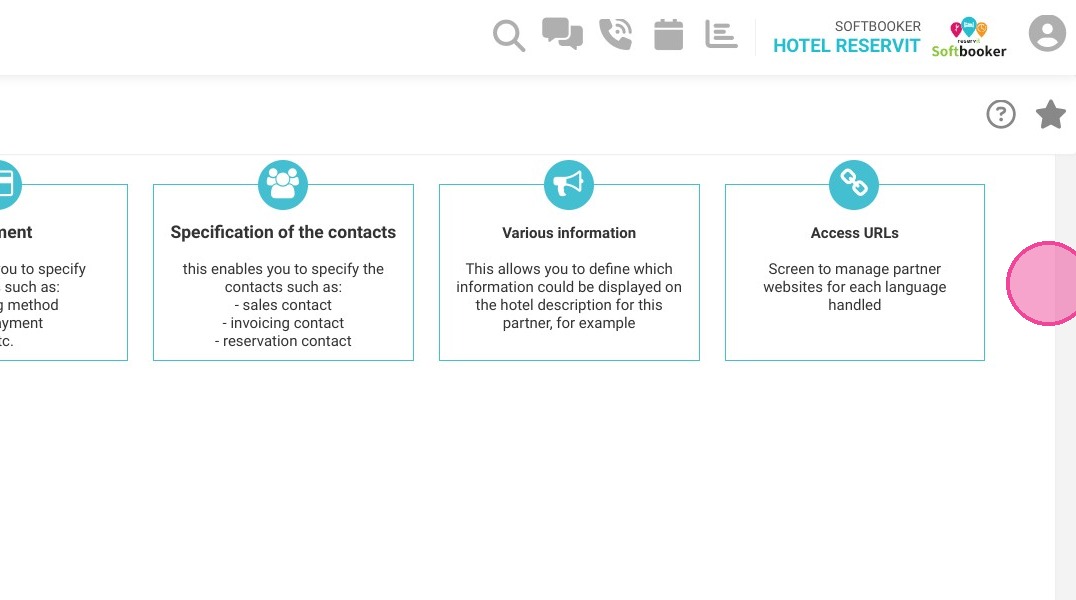
28. Click hereThen, it is not possible to select "Various information" and "Access URLs".
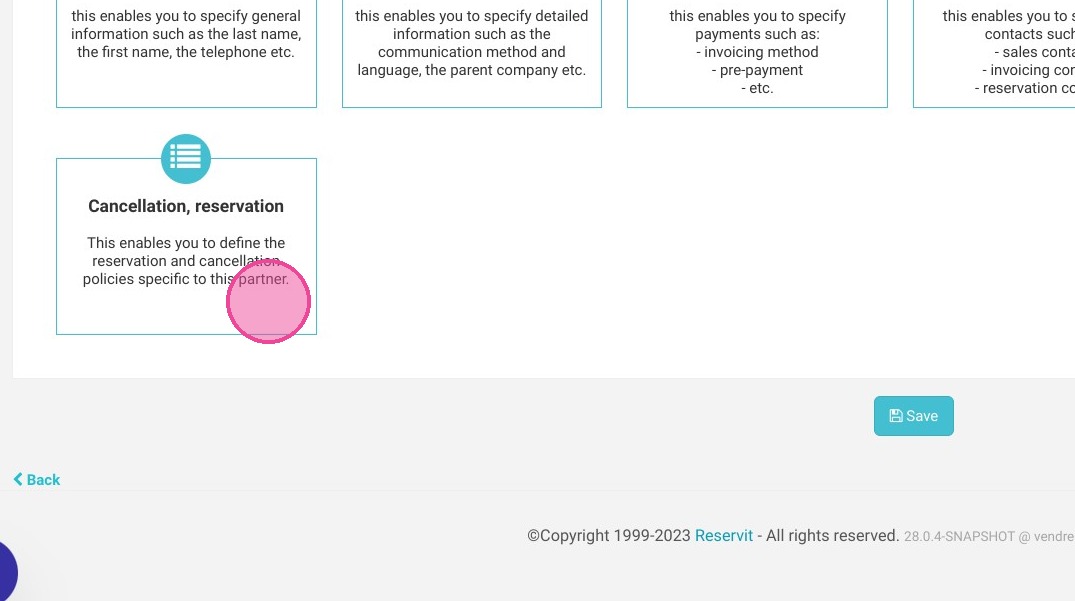
29. So, click on the last section "Reservation, cancellation"
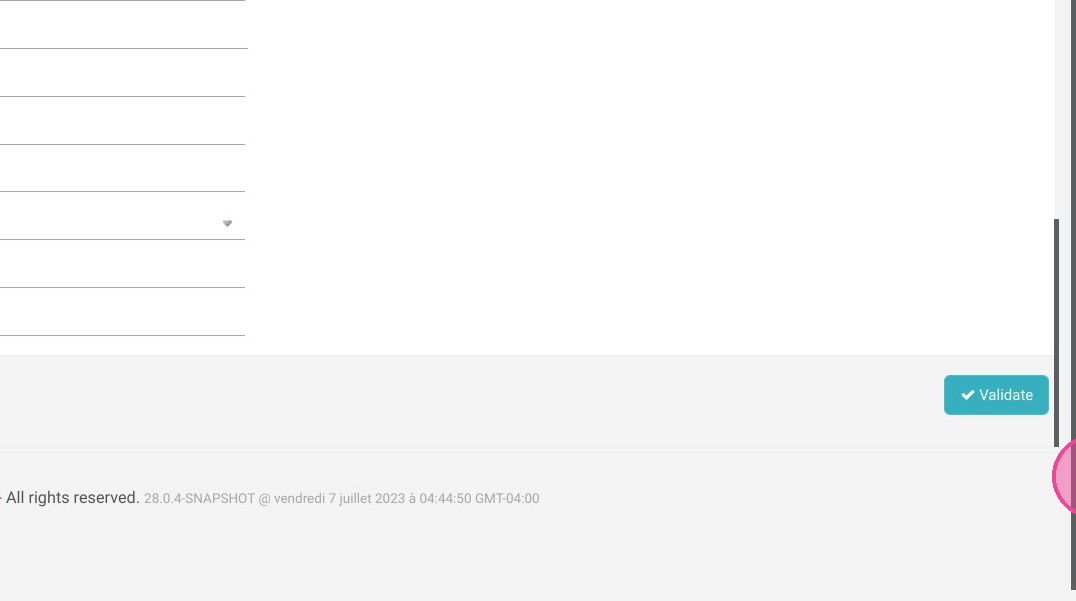
30. Choose the General Conditions that apply, if there are no specific conditions, choose "No specific T&Cs"
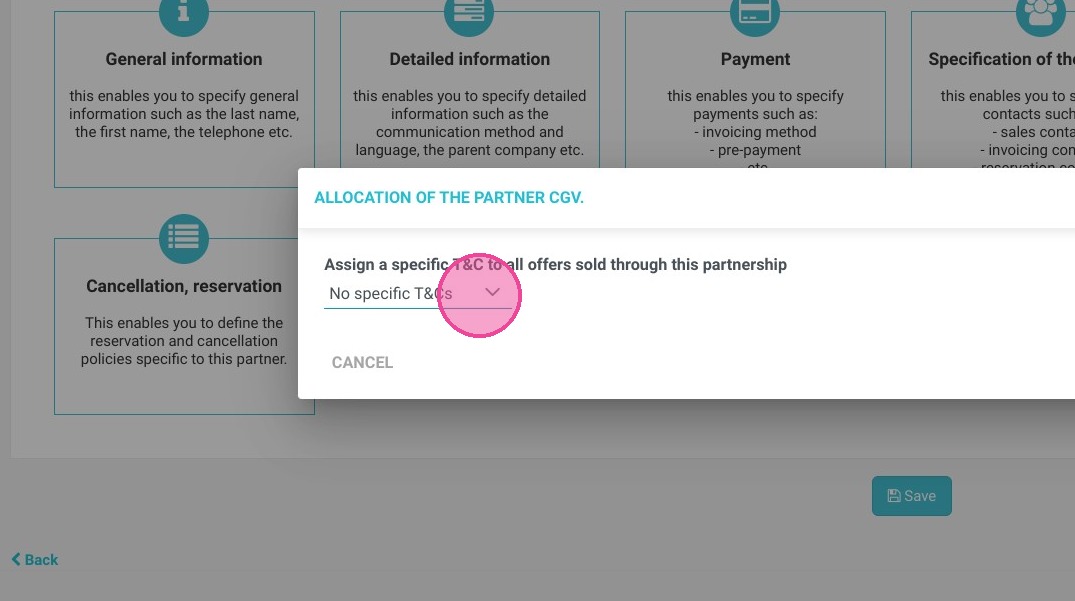
31. Click "SAVE"
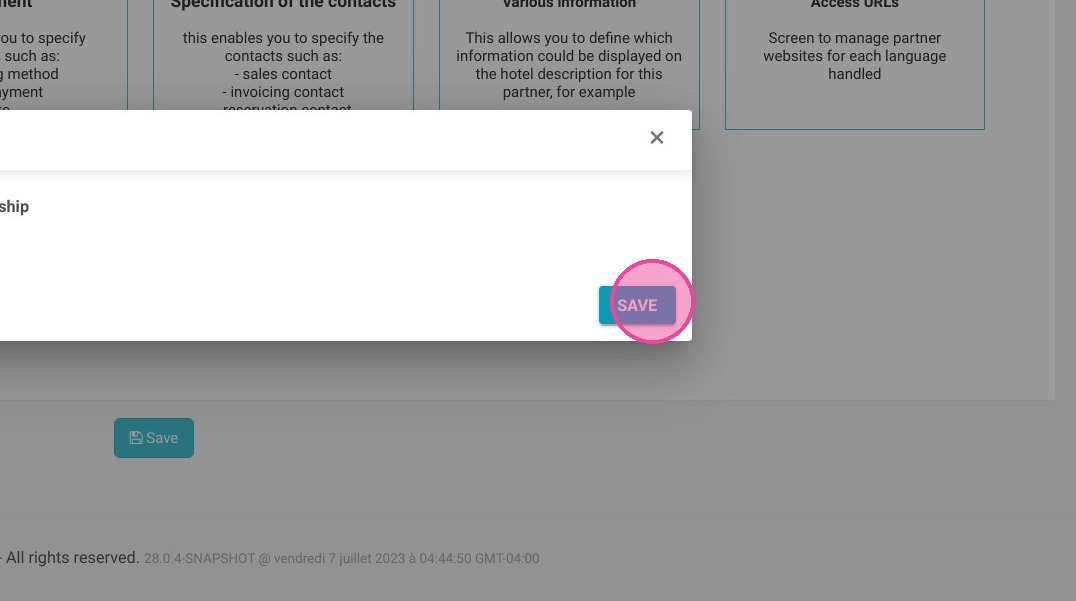
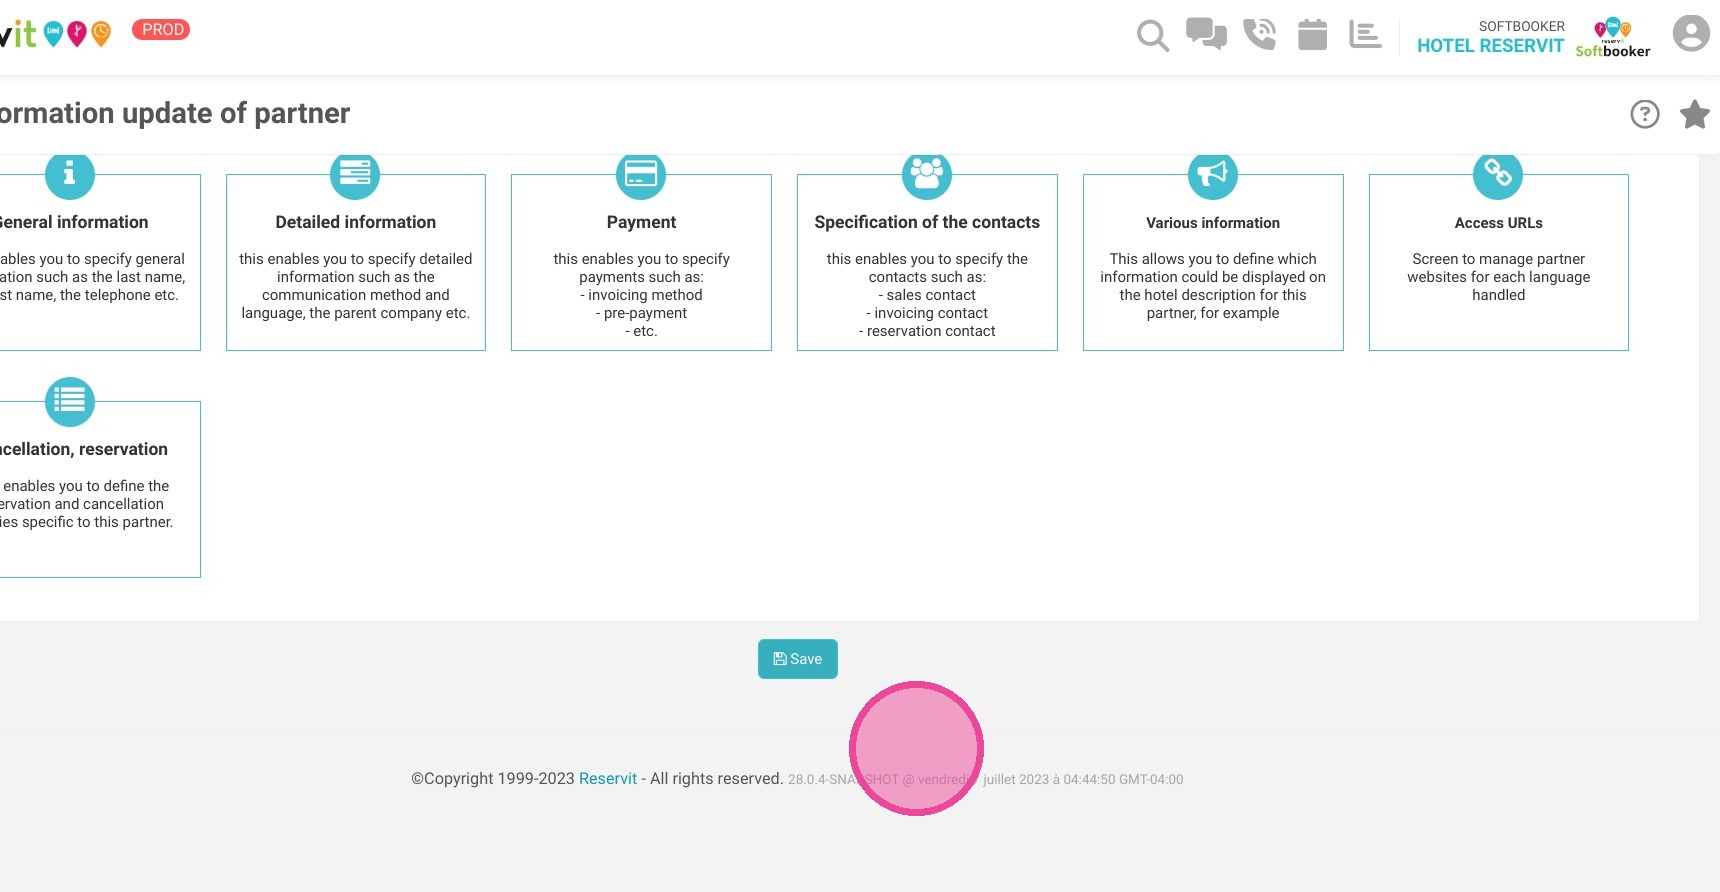
32. Once finished, click on "Save"
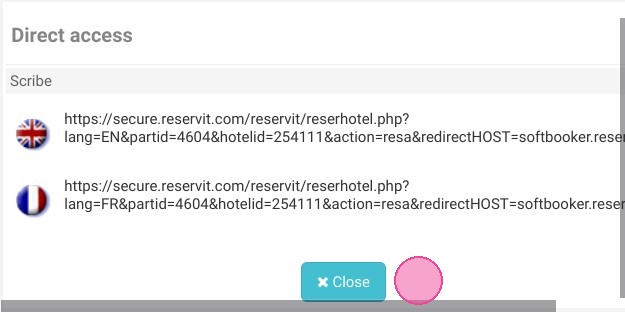
33. Your partner is therefore created here. Click on direct access to find unique links to copy and send to group organizers.
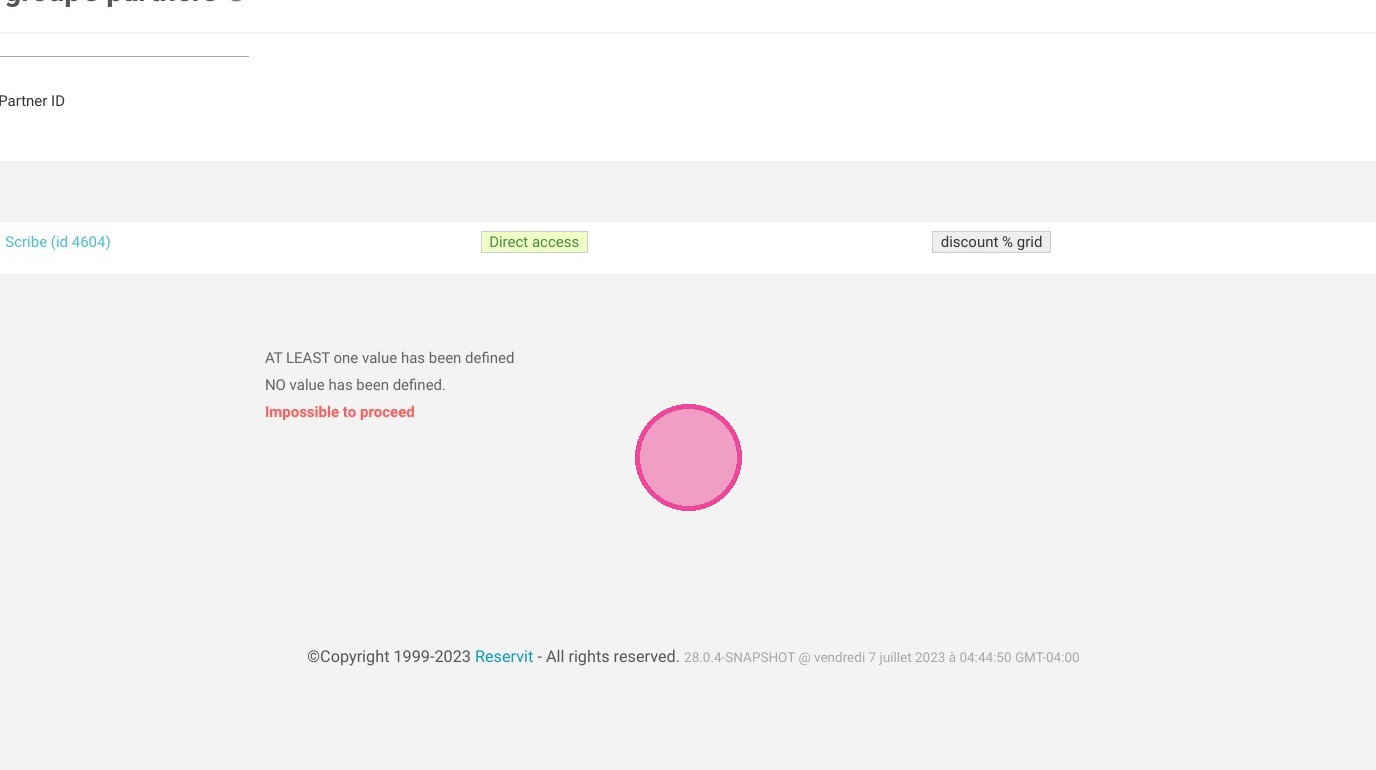
34. You can click on the links to access them or copy paste them to send them to the partner so that they can make the reservations
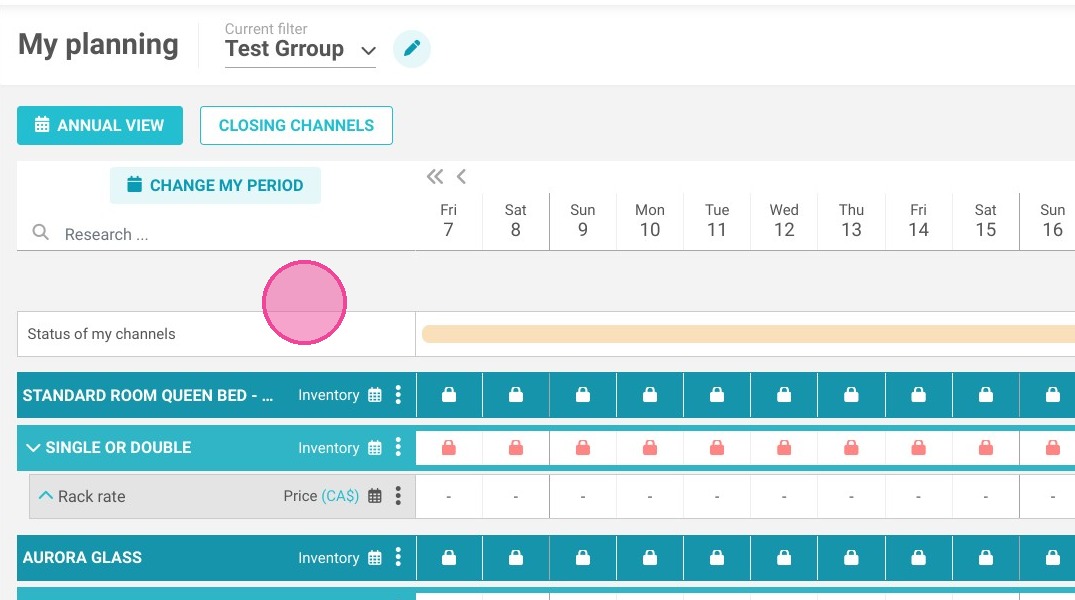
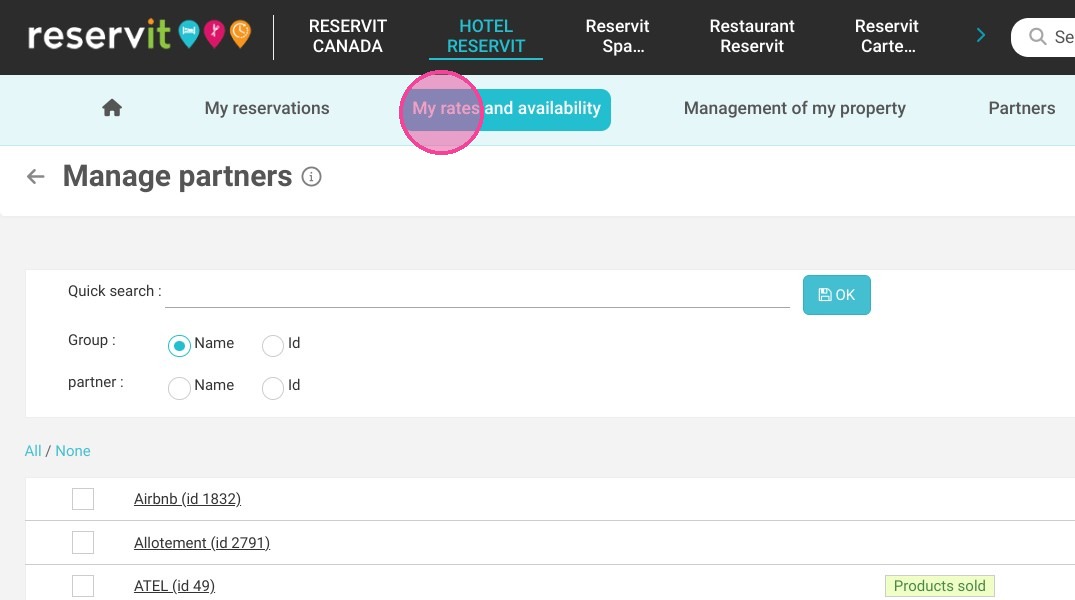
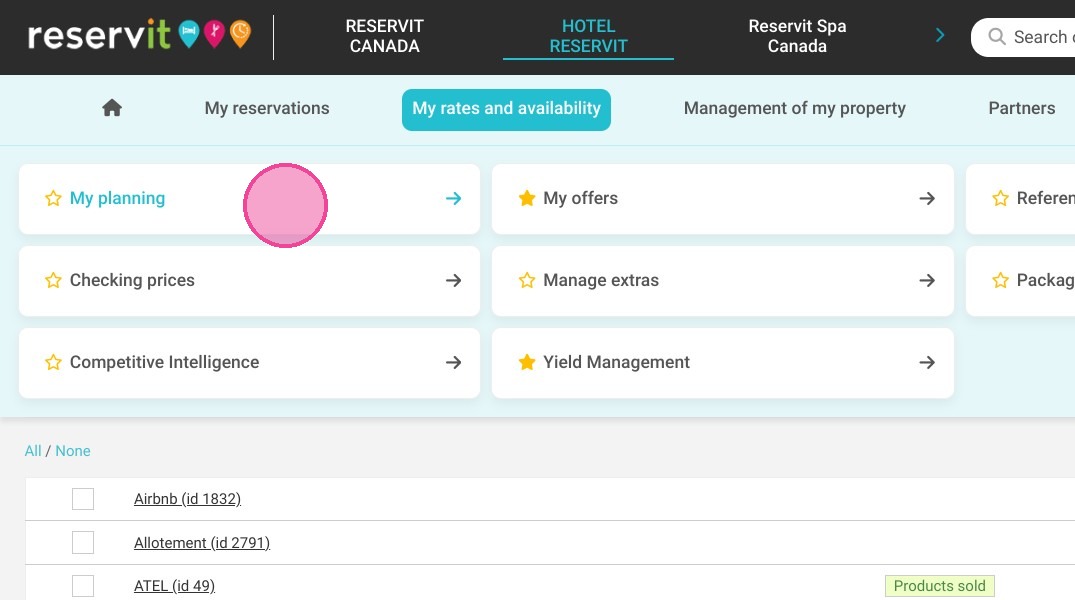
35. To configure availability and prices, go to "My rates and availability" then ''My planning''
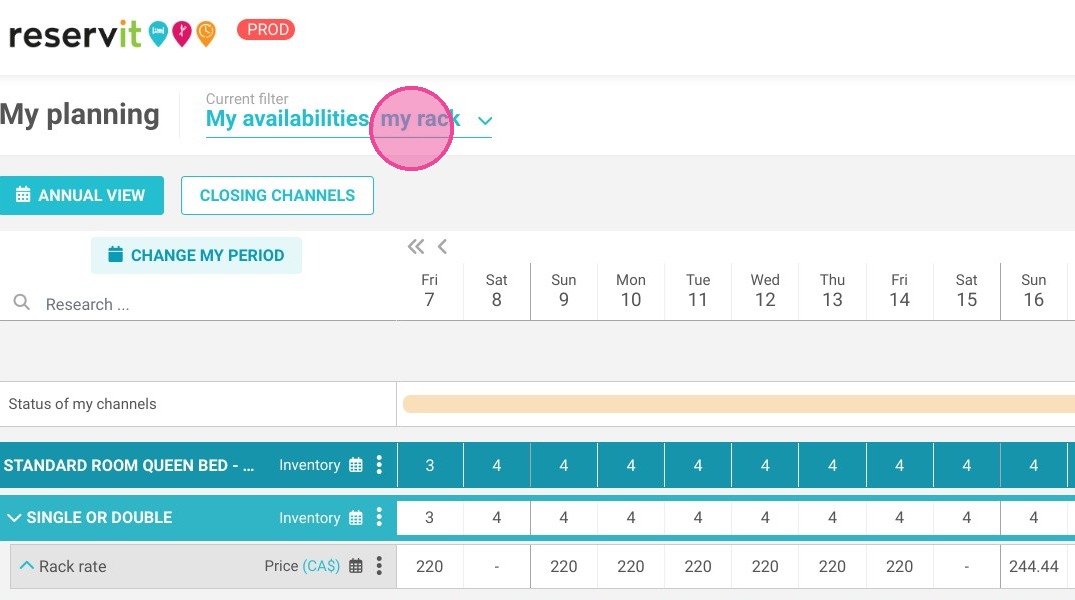
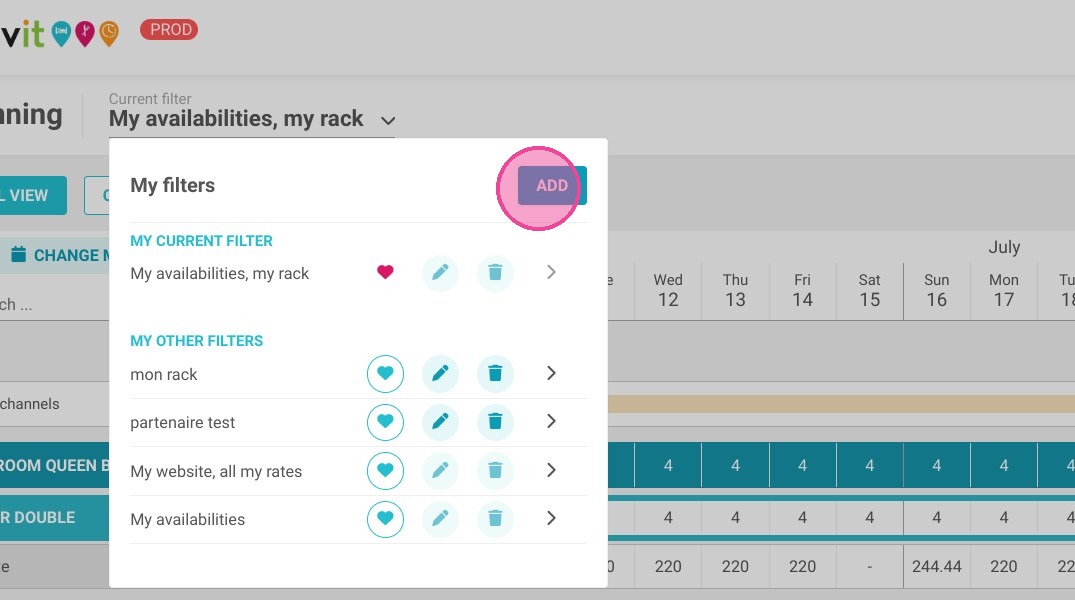
36. Click on the current filter, for example here "My availabilities, my rack"
37. Click "ADD"
38. Put the name of the filter
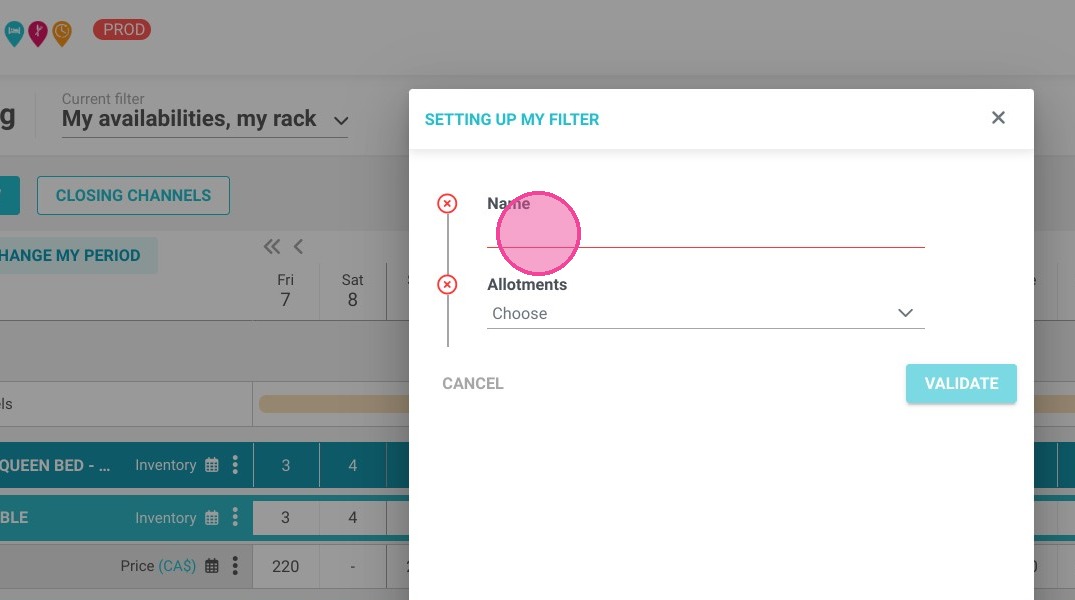
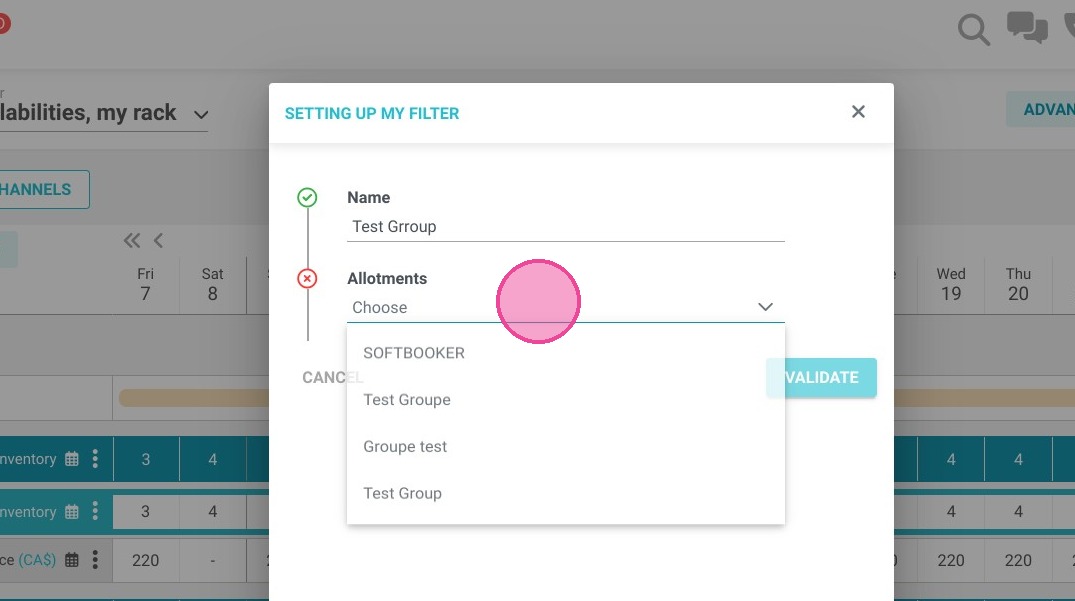
39. In "Allotments" choose the name of your group
40. Then choose the partner in "channels"
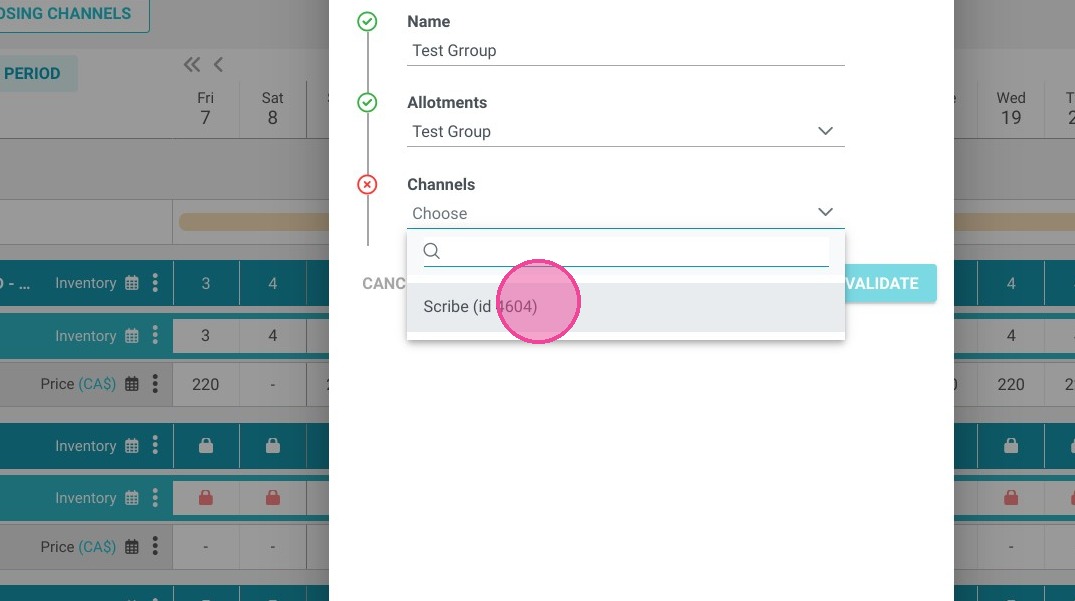
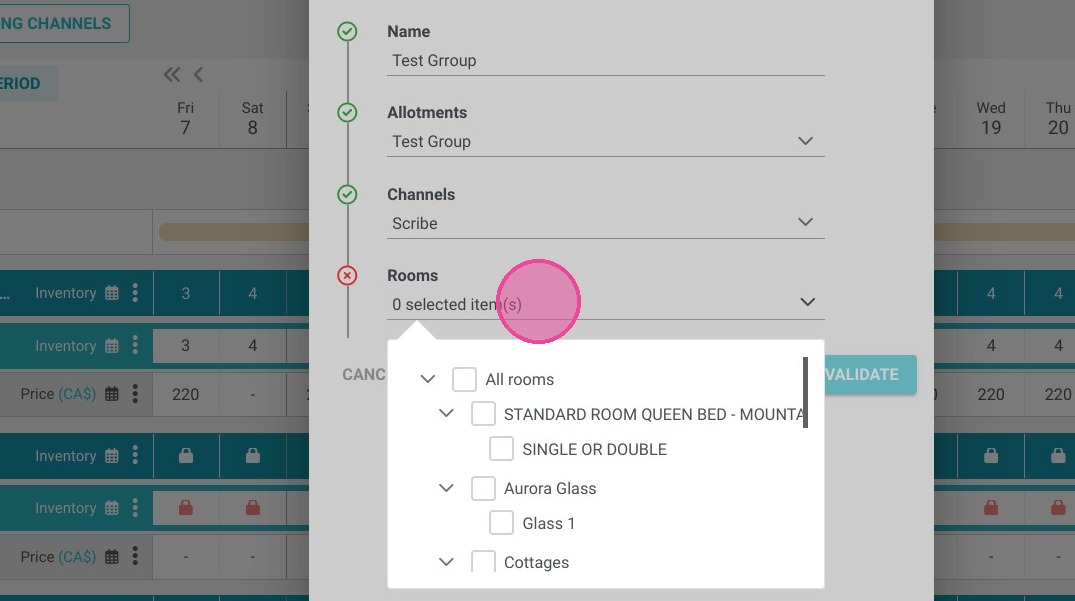
41. Choose the rooms that apply
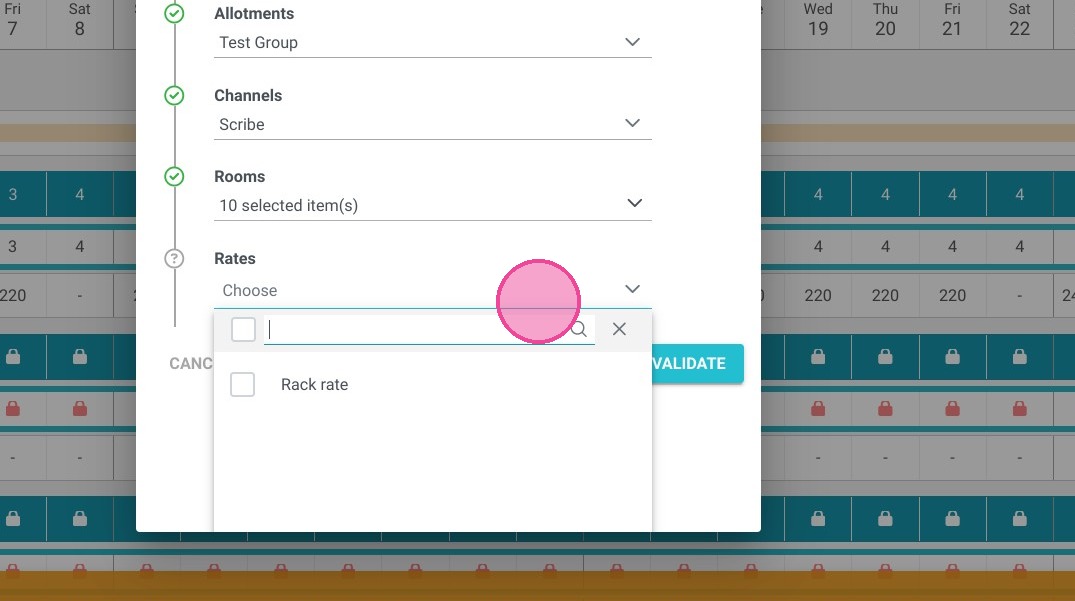
42. Then choose which offer applies. Then , click on "Validate".
43. Now, with this filter, you can control prices and availability. You can transmit the prices from your PMS software or enter them manually if you do not have a PMS.